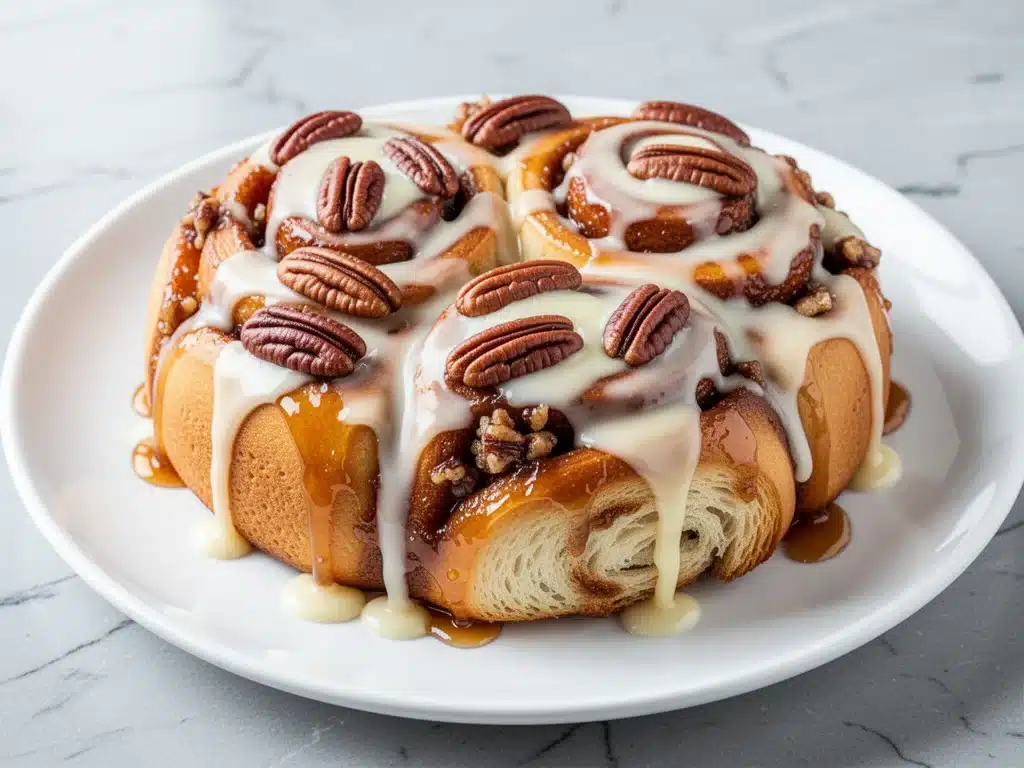
Last Saturday morning, I woke up to a house that smelled like heaven. Not the usual “someone burned toast” heaven, but the rich, caramelized, buttery scent of fresh baked buns that made my husband roll out of bed and wander into the kitchen before I’d even finished my first cup of coffee. He found me staring at the oven, waiting for the timer to go off, and whispered, “You know these are better than the bakery down the street, right?” I didn’t tell him that I almost called the bakery to order a dozen instead. But then I remembered why I started making these in the first place.
It was about three years ago, during a particularly stressful autumn. I was trying to recreate the sticky buns from that little cafe in Vermont that we’d visited on our honeymoon. I wanted that specific gooey, maple-pecan perfection. The first attempt was a dry, dense disaster. The second was too sweet. By the third time, I had cracked the code. Now, these fall maple pecan sticky buns with cream cheese glaze are the centerpiece of every weekend brunch at my house. They’re tender, they’re dripping with that spiced maple pecan syrup, and the tangy cream cheese glaze cuts through the sweetness perfectly. Honestly, once you try these homemade versions, you’ll never look at takeout again.
I’ve tested this recipe at least a dozen times to get the dough soft enough to melt in your mouth but sturdy enough to hold all that goo. The secret isn’t fancy equipment; it’s patience and a few specific tricks I’m about to share. Whether you’re hosting a holiday brunch or just want to feel like a genius on a lazy Sunday, this recipe is your new best friend. And if you’re looking for other cozy baked goods, these soft glazed cinnamon rolls are a close second in my rotation, but nothing beats the maple pecan combo.
Why You’ll Love This Recipe
There are plenty of sticky bun recipes out there, but this one has completely changed our weekend mornings. I’ve made these for everyone from my picky teenage nephew to my food-snobbish sister-in-law, and they all ask for the recipe. Here’s why these fall maple pecan sticky buns with cream cheese glaze better than takeout are worth the effort:
- That Gooey Factor — Seriously, the syrup at the bottom of the pan is liquid gold. I’ve had people scrape the pan with a spoon after the buns are gone. It’s sweet, spicy, and packed with toasted pecans. It’s the best part, hands down.
- Soft, Cloud-Like Dough — These aren’t dense or heavy. The dough is enriched with butter and milk, giving it that pillowy texture that pulls apart in soft strands. It’s the kind of dough that makes you want to eat it plain, but you’ll want to drown it in syrup instead.
- The Glaze is a Game-Changer — Most recipes just use a powdered sugar drizzle. Adding cream cheese gives it a tangy richness that balances the intense sweetness of the maple syrup. It’s sophisticated but easy to throw together.
- Weekend Brunch Hero — I can prep these the night before and let them rise in the fridge. In the morning, I just pop them in the oven and have hot, fresh buns ready while I make coffee. It takes the stress out of hosting.
- Freezer Friendly — I often double the dough and freeze half for later. You can bake them straight from frozen (just add a few minutes to the bake time). Perfect for unexpected guests or when you just need a sweet treat.
This recipe is my go-to when I want to impress without spending hours in the kitchen. It’s reliable, delicious, and smells incredible. Plus, compared to the $20 I’d spend at a bakery, this costs about $8 to make at home. That’s a win in my book.
Ingredients You’ll Need
I’m particular about a few ingredients here, but don’t worry—most of this is pantry staples. Here’s what you need to make these fall maple pecan sticky buns with cream cheese glaze better than takeout:
For the Dough
Warm milk (1 cup / 240ml) — Warm, not hot. You want it around 110°F (43°C). If it’s too hot, it’ll kill the yeast. If it’s too cold, the yeast won’t activate. I keep a thermometer handy, but if I don’t have one, I test it on my wrist like a baby bottle.
Active dry yeast (2 teaspoons / 1 packet) — I use Fleischmann’s or Red Star. Make sure it’s not expired! I’ve learned this the hard way with flat dough. Proof it in the milk with a teaspoon of sugar to check if it bubbles.
All-purpose flour (3 ½ to 4 cups / 420-480g) — I usually start with 3 ½ cups and add more as needed. Don’t pack the flour into the cup; spoon it in and level it off. Too much flour makes dense buns.
Granulated sugar (¼ cup / 50g) — Feeds the yeast and adds a little sweetness to the dough itself.
Unsalted butter (¼ cup / 57g, melted) — Adds richness and softness. Let it cool slightly before adding so it doesn’t cook the yeast.
Eggs (2 large, room temperature) — Room temp eggs incorporate better into the dough. If I forget, I put them in a bowl of warm water for 5 minutes.
Salt (1 teaspoon) — Essential for flavor. Don’t skip it.
For the Maple Pecan Filling & Syrup
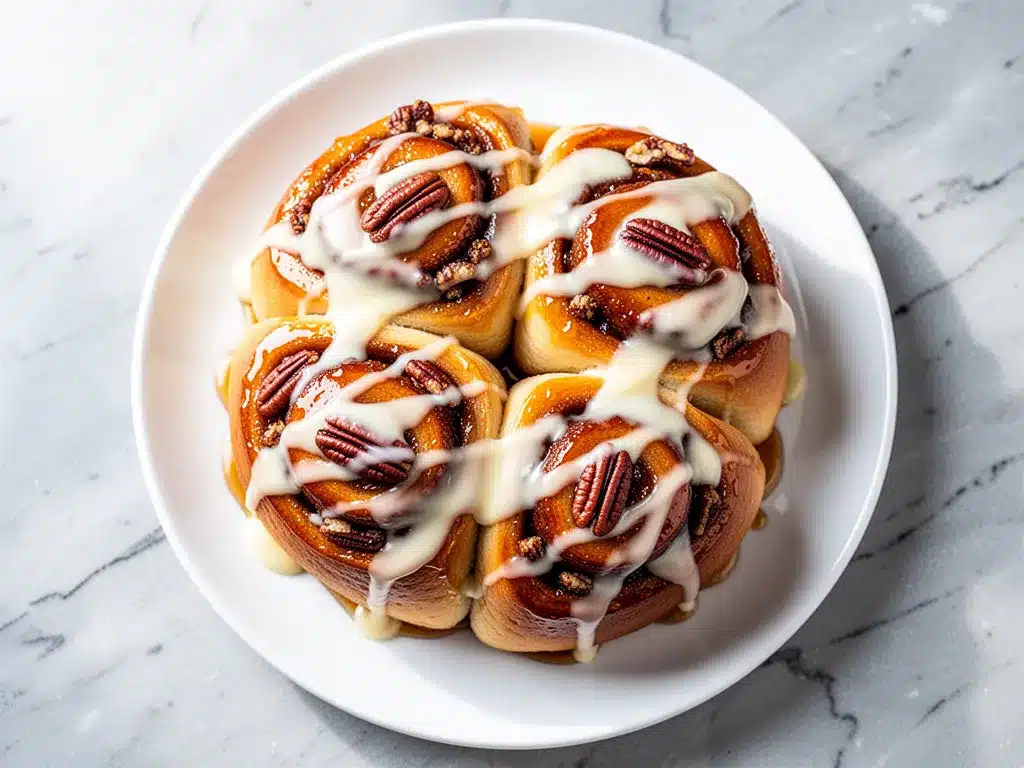
Unsalted butter (½ cup / 113g) — This goes into the bottom of the pan. Use good quality butter; it makes a difference in the flavor of the syrup.
Dark brown sugar (1 cup / 200g) — Dark brown sugar has more molasses, which gives that deep, caramel-like flavor. Light brown works in a pinch, but dark is better for fall flavors.
Maple syrup (½ cup / 120ml) — Use real maple syrup, not “pancake syrup” with high fructose corn syrup. It’s worth the extra cost. I love the robust flavor of Grade B or dark amber maple syrup.
Pecans (1 cup / 100g, chopped) — Toast them first! I toast them in a dry pan for 3-4 minutes until fragrant. It brings out the oils and makes them crunchy.
Cinnamon (1 tablespoon) — Don’t be shy. This is a fall recipe; you want that spice kick.
Nutmeg (½ teaspoon) — Just a pinch. It adds warmth.
For the Cream Cheese Glaze
Cream cheese (4 oz / 113g, softened) — Full-fat cream cheese is non-negotiable. Light cream cheese won’t give you that thick, creamy glaze.
Powdered sugar (1 cup / 100g) — Sift it if it’s lumpy. You want a smooth glaze, not a gritty one.
Milk or cream (1-2 tablespoons) — Adjust for consistency. I prefer a thick glaze that stays on the bun rather than running off.
Vanilla extract (1 teaspoon) — Pure vanilla, not imitation.
Equipment Needed
You don’t need fancy gear for this. Here’s what I actually use:
9-inch round cake pan or cast iron skillet — A 9-inch round pan is standard, but I love using a 10-inch cast iron skillet. It gives you slightly larger buns and that rustic, crusty edge. Just make sure it’s oven-safe.
Stand mixer or hand mixer — I use a stand mixer with a dough hook because it’s easier on my arms. But you can absolutely knead this by hand. It takes about 10 minutes of elbow grease.
Measuring cups and spoons — Basic stuff. Be precise with the yeast and salt.
Dry skillet — For toasting the pecans.
Spatula — For mixing the syrup and glaze.
Pastry brush — Optional, but helpful for brushing melted butter if you’re lining the pan.
How to Make It: Step-by-Step
Alright, let’s make these! I’m walking you through exactly how I do it, including the little tricks I’ve picked up over the years.
Step 1: Proof the Yeast (5 minutes)
In the bowl of your stand mixer (or a large measuring cup), combine the warm milk, yeast, and a teaspoon of the sugar from the recipe. Stir gently and let it sit for 5-10 minutes. You want it to get foamy and bubbly. If it doesn’t bubble, your yeast is dead, and you need to start over. This is the most common failure point, so pay attention here.
Step 2: Make the Dough (10 minutes active)
Add the remaining sugar, melted butter, eggs, and salt to the yeast mixture. Mix on low speed until combined. Then, add the flour, one cup at a time, mixing on low. Once the dough starts to come together and look shaggy, switch to the dough hook and knead on medium-low speed for 5-7 minutes. The dough should be soft, slightly sticky, but pull away from the sides of the bowl. If it’s too sticky, add a little more flour. If it’s too dry, add a splash of milk. I usually end up using about 3 ½ to 4 cups. Kneading develops the gluten, which makes the buns soft. Don’t rush this step.
Step 3: First Rise (1-1.5 hours)
Lightly grease a large bowl with oil or cooking spray. Place the dough in the bowl, turning it once to coat it with oil. Cover with plastic wrap or a damp kitchen towel. Let it rise in a warm, draft-free place for 1-1.5 hours, or until doubled in size. I usually turn on my oven to 200°F for 2 minutes, then turn it off, and let the bowl sit inside. It creates the perfect warm environment. If you’re planning ahead, you can let it rise in the fridge overnight for a deeper flavor, but it will take longer.
Step 4: Make the Syrup (5 minutes)
While the dough rises, prepare the syrup. In a small saucepan over medium heat, melt the ½ cup butter with the brown sugar and maple syrup. Stir constantly until the sugar dissolves and the mixture comes to a gentle simmer. Remove from heat and stir in the chopped toasted pecans, cinnamon, and nutmeg. Pour this mixture into your 9-inch round pan or cast iron skillet, spreading it evenly. This is the base that will become the gooey topping.
Step 5: Shape the Buns (10 minutes)
Punch down the risen dough to release the air. Turn it out onto a lightly floured surface. Roll it out into a large rectangle, about 12×18 inches. Spread the remaining ¼ cup of softened butter evenly over the surface of the dough. Sprinkle the remaining brown sugar (if you have any left, or just use more) and a generous amount of cinnamon over the butter. Starting from the long edge, roll the dough up tightly into a log. Pinch the seam to seal it. Cut the log into 12 equal pieces. I use dental floss for this! Slide the floss under the log, cross it over the top, and pull. It cuts cleanly without squishing the dough. Place the cut buns into the prepared pan, cut-side up. They should be snug but not touching too much.
Step 6: Second Rise (30-45 minutes)
Cover the pan loosely with plastic wrap or a towel. Let the buns rise again for 30-45 minutes. They don’t need to double in size this time, just get puffy and fill the pan. This step ensures they’re light and fluffy, not dense bricks.
Step 7: Bake (25-30 minutes)
Preheat your oven to 350°F (175°C). Bake the buns for 25-30 minutes, or until they are golden brown and cooked through. If the tops start getting too dark, cover them loosely with foil for the last 10 minutes. Insert a toothpick into the center of a bun; it should come out clean or with just a few moist crumbs. Do not overbake, or they’ll be dry.
Step 8: Glaze and Serve (5 minutes)
While the buns bake, make the glaze. In a small bowl, whisk the softened cream cheese until smooth. Add the powdered sugar, vanilla, and 1 tablespoon of milk. Whisk until smooth. Add more milk if needed to reach your desired consistency. Once the buns are out of the oven, let them cool in the pan for 5-10 minutes. This is crucial—if you flip them immediately, the syrup will run out. After 10 minutes, place a large serving plate over the pan and carefully flip it over. The buns should release easily, coated in that sticky maple pecan syrup. Drizzle the cream cheese glaze over the warm buns. Serve immediately.
Expert Tips & Tricks
Here’s everything I’ve learned from making this dozens of times. These tips will save you from my mistakes.
Toast Your Pecans
I cannot stress this enough. Raw pecans are fine, but toasted pecans have a deeper, nuttier flavor that pairs perfectly with maple. Toast them in a dry skillet over medium heat for 3-4 minutes, stirring frequently, until they smell fragrant. It takes 3 minutes but makes a huge difference.
Don’t Skip the Second Rise
I know you’re eager to eat, but skipping the second rise results in dense, heavy buns. Let them get puffy. If you’re in a hurry, you can speed it up by placing the pan in a warm oven (turned off) with a pot of boiling water next to it to create steam and warmth.
Flip with Confidence
When you flip the pan, be decisive. Hesitation can cause the syrup to spill. Have your plate ready. If a few buns stick, just use a spatula to gently pry them loose. The syrup is sticky, so it’s normal for one or two to stick. Just wiggle them out.
Glaze Consistency
The glaze should be thick enough to coat the back of a spoon but thin enough to drizzle. If it’s too thick, add milk a teaspoon at a time. If it’s too thin, add more powdered sugar. You want it to stay on the bun, not run off the plate.
Common Mistakes (and how to avoid them):
- Mistake: Buns are dry. Fix: Overbaking. Check them at 25 minutes. The tops should be golden, not dark brown.
- Mistake: Dough won’t rise. Fix: Your yeast was dead or the milk was too hot. Always proof your yeast first.
- Mistake: Syrup is too thin. Fix: Not enough brown sugar or butter. Measure accurately.
Variations & Substitutions
Once you’ve nailed the basic version, here’s how you can mix it up. I’ve tried all of these.
Walnut or Pecan Mix
Swap half the pecans for walnuts. It adds a slightly bitter note that balances the sweetness. My family loves this mix.
Maple Bourbon Version
Add 1 tablespoon of bourbon to the syrup mixture. It adds a sophisticated depth of flavor. Perfect for adult brunches.
Gluten-Free
Use a 1:1 gluten-free flour blend. The texture might be slightly different, but it still works. I’ve used King Arthur Measure for Measure with good results.
Dairy-Free
Use dairy-free butter and milk in the dough. For the glaze, use dairy-free cream cheese (like Kite Hill) and dairy-free milk. It’s not quite the same, but it’s close.
Mini Sticky Buns
Divide the dough into smaller rolls and bake in a muffin tin. They bake faster (15-18 minutes) and are great for portion control.
Other Filling Ideas
Try soft homemade brioche buns techniques for a richer dough, or swap the maple pecan filling for cinnamon raisin. The possibilities are endless.
Serving & Storage
How to serve these beauty best:
I serve these straight from the pan, upside down, with a big dollop of extra cream cheese glaze on the side for dipping. They pair wonderfully with a cup of hot coffee or a spiced apple honey cider for a festive touch.
Storage Instructions:
Room Temperature: Store leftovers in an airtight container for up to 2 days. Reheat in the microwave for 20-30 seconds to soften them up.
Refrigerator: Store in an airtight container for up to 5 days. Reheat in the oven at 300°F for 10 minutes to keep them from getting soggy.
Freezer: You can freeze the baked buns (without glaze) for up to 3 months. Thaw overnight in the fridge and reheat in the oven. Or, freeze the shaped, uncooked buns on a baking sheet, then transfer to a bag. Bake from frozen, adding 5-10 minutes to the bake time.
Nutrition Information
I’m not a nutritionist, but here’s the breakdown if you’re tracking. This is a treat, so enjoy it mindfully.
Per Serving (1 of 12 buns with glaze):
- Calories: 380
- Fat: 18g
- Carbs: 48g
- Fiber: 2g
- Sugar: 30g
- Protein: 6g
These are rich in carbohydrates and sugar, so a little goes a long way. If you’re watching your intake, try sharing a bun or using less glaze. But honestly? It’s worth every calorie.
Final Thoughts
So that’s my go-to fall maple pecan sticky buns with cream cheese glaze! I’ve probably talked your ear off at this point, but when you make a recipe this often, you have a lot to say about it. These buns have saved my weekends, impressed my in-laws, and made my kitchen smell like a dream. They’re my answer to “what’s for brunch” when I want something special but don’t want to stress.
Make it yours! Try different nuts, add a splash of bourbon, or just enjoy them as is. The best recipes are the ones you adapt to your family’s tastes. If you make this, drop a comment and let me know what you think! I love hearing how recipes turn out in your kitchen. And if something doesn’t work, tell me that too—I’m here to help troubleshoot.
Happy baking! And I hope your kitchen smells half as good as mine does right now.
Frequently Asked Questions
Can I use instant yeast instead of active dry yeast?
Yes, you can use instant yeast. You don’t need to proof it in the milk first; just mix it directly with the flour. The results are the same, and it might rise slightly faster. I’ve used both with good success.
Why did my buns turn out flat?
This usually happens if the yeast was dead or if the dough was over-kneaded. Make sure your yeast is fresh and the milk isn’t too hot. Also, don’t over-knead; once the dough is smooth and elastic, stop. Over-kneading can break down the gluten structure.
Can I make these ahead of time?
Absolutely. After shaping the buns and placing them in the pan, cover them tightly with plastic wrap and refrigerate overnight. In the morning, let them sit at room temperature for 30-45 minutes while your oven preheats, then bake as directed. This is my favorite method for weekend brunches.
Can I freeze the dough?
Yes, you can freeze the dough after the first rise. Punch it down, wrap it tightly in plastic wrap and foil, and freeze for up to 3 months. Thaw it overnight in the fridge, then let it rise again before shaping and baking.
What if I don’t have a stand mixer?
You can knead this dough by hand. It will take about 10-12 minutes of kneading on a floured surface. It’s good arm workout, but the result is the same. Just be patient and keep adding flour as needed.
Can I use light brown sugar instead of dark?
Yes, but dark brown sugar has more molasses, which gives a deeper, more complex flavor. If you only have light brown sugar, it will still be delicious, just a little less rich. I wouldn’t recommend using white sugar instead.
How do I store the glaze?
The glaze is best made fresh, but you can make it ahead and store it in the fridge for up to 3 days. Let it come to room temperature and whisk it again before drizzling. It might thicken in the fridge, so add a splash of milk to loosen it up.
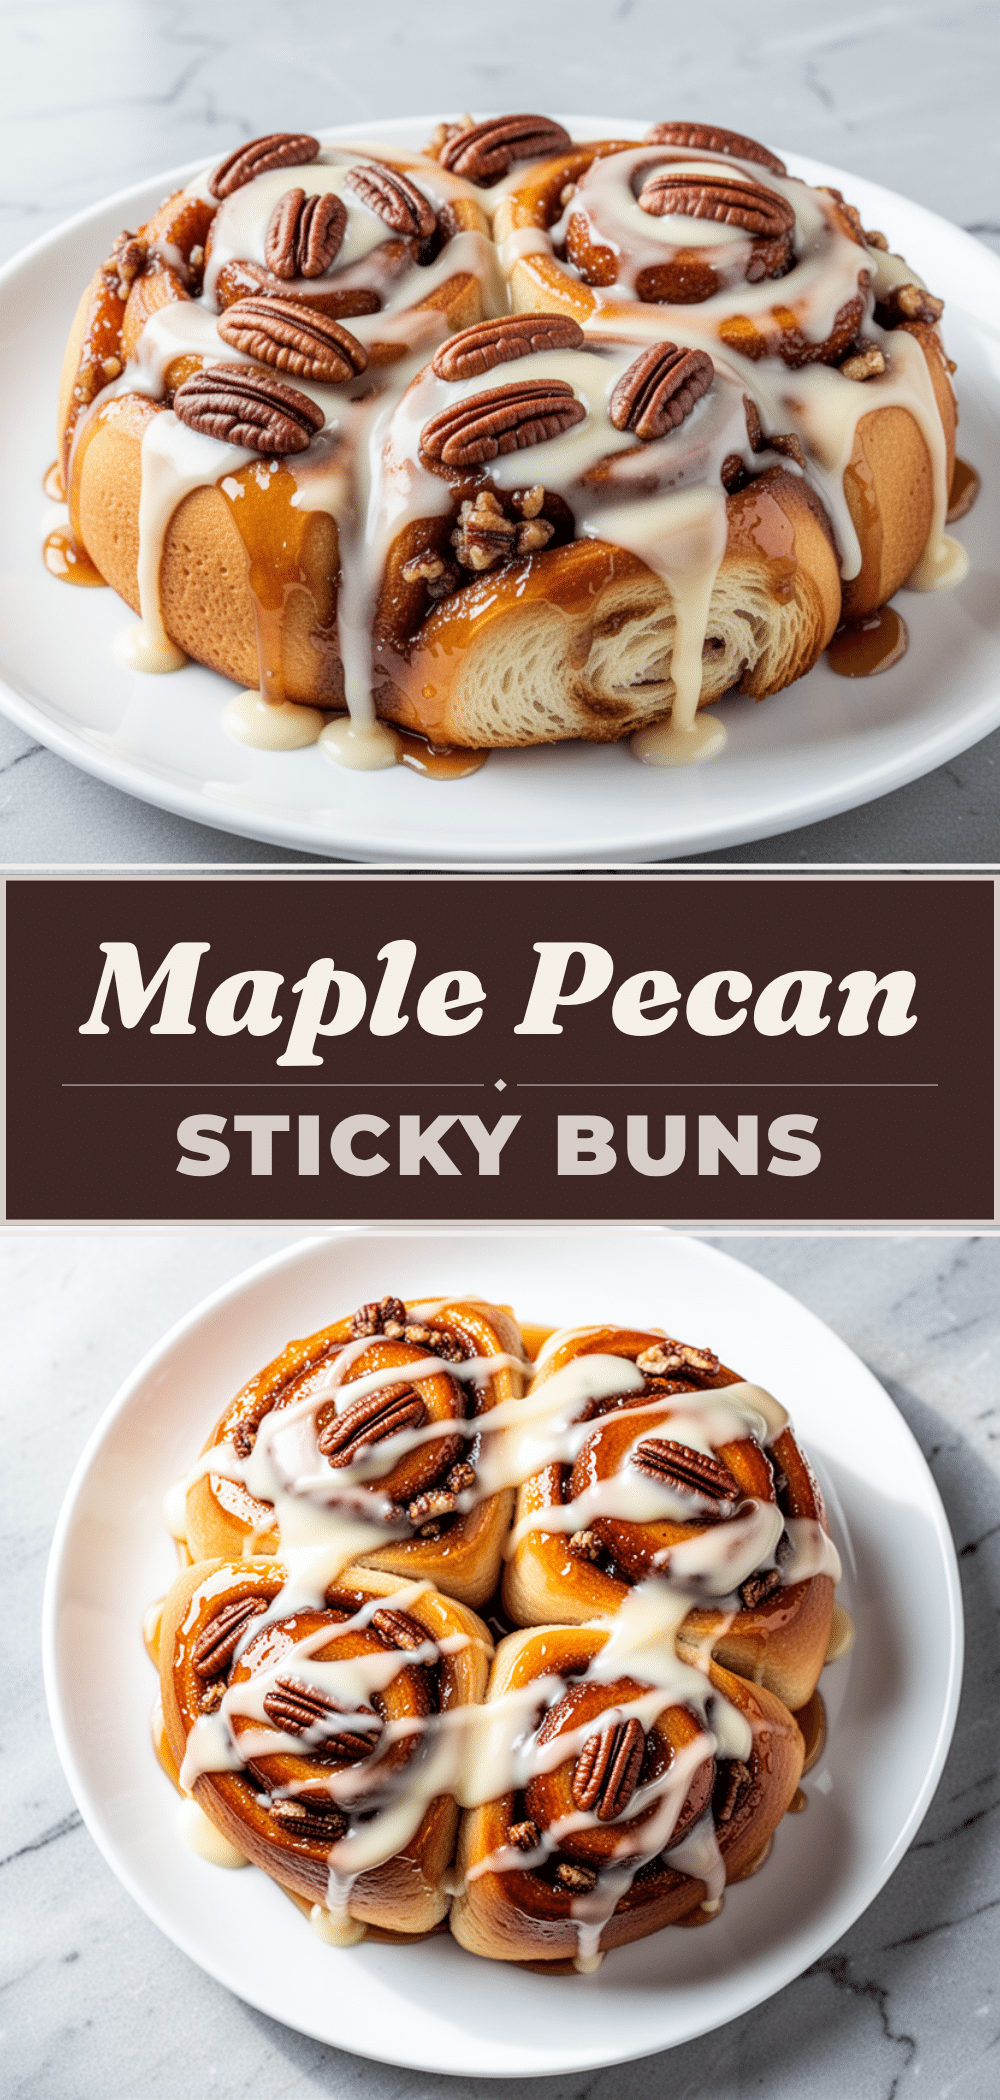
Pin This Recipe!
Fall Maple Pecan Sticky Buns
- Total Time: 2 hours 15 minutes
- Yield: 12 servings 1x
Description
Soft, cloud-like homemade sticky buns with a rich maple pecan syrup and tangy cream cheese glaze. These buns are tender, gooey, and perfect for weekend brunches.
Ingredients
- 1 cup warm milk (110°F/43°C)
- 2 teaspoons active dry yeast
- 1 teaspoon granulated sugar (for yeast)
- 3 ½ to 4 cups all-purpose flour
- ¼ cup granulated sugar (for dough)
- ¼ cup unsalted butter, melted
- 2 large eggs, room temperature
- 1 teaspoon salt
- ½ cup unsalted butter (for syrup)
- 1 cup dark brown sugar
- ½ cup real maple syrup
- 1 cup pecans, chopped and toasted
- 1 tablespoon cinnamon
- ½ teaspoon nutmeg
- 4 oz cream cheese, softened (for glaze)
- 1 cup powdered sugar (for glaze)
- 1–2 tablespoons milk or cream (for glaze)
- 1 teaspoon vanilla extract
Instructions
- Proof the yeast: Combine warm milk, yeast, and 1 tsp sugar in a mixer bowl. Let sit for 5-10 minutes until foamy.
- Make the dough: Add remaining sugar, melted butter, eggs, and salt to the yeast mixture. Mix on low. Add flour one cup at a time. Knead on medium-low with a dough hook for 5-7 minutes until soft and slightly sticky.
- First rise: Place dough in a greased bowl, cover, and let rise in a warm place for 1-1.5 hours until doubled in size.
- Make the syrup: While dough rises, melt ½ cup butter with brown sugar and maple syrup in a saucepan over medium heat. Stir until dissolved. Remove from heat and stir in toasted pecans, cinnamon, and nutmeg. Pour into a 9-inch round pan or cast iron skillet.
- Shape the buns: Punch down risen dough. Roll into a 12×18 inch rectangle. Spread with remaining softened butter and sprinkle with cinnamon/sugar. Roll tightly into a log and cut into 12 pieces using dental floss or a knife.
- Second rise: Place buns cut-side up in the prepared pan. Cover and let rise for 30-45 minutes until puffy.
- Bake: Preheat oven to 350°F (175°C). Bake buns for 25-30 minutes until golden brown. Cover with foil if tops get too dark.
- Glaze: Whisk cream cheese, powdered sugar, vanilla, and milk until smooth.
- Serve: Let buns cool in pan for 5-10 minutes. Invert onto a serving plate. Drizzle with cream cheese glaze and serve immediately.
Notes
Toast pecans in a dry skillet for 3-4 minutes for better flavor. Do not skip the second rise to ensure fluffy buns. If making ahead, you can refrigerate the shaped buns overnight and bake in the morning. Use real maple syrup, not pancake syrup.
- Prep Time: 45 minutes
- Cook Time: 30 minutes
- Category: Breakfast
- Cuisine: American
Nutrition
- Serving Size: 1 bun with glaze
- Calories: 380
- Sugar: 30
- Sodium: 350
- Fat: 18
- Saturated Fat: 8
- Carbohydrates: 48
- Fiber: 2
- Protein: 6
Keywords: sticky buns, maple pecan, cream cheese glaze, brunch, homemade buns, fall recipe, yeast dough


