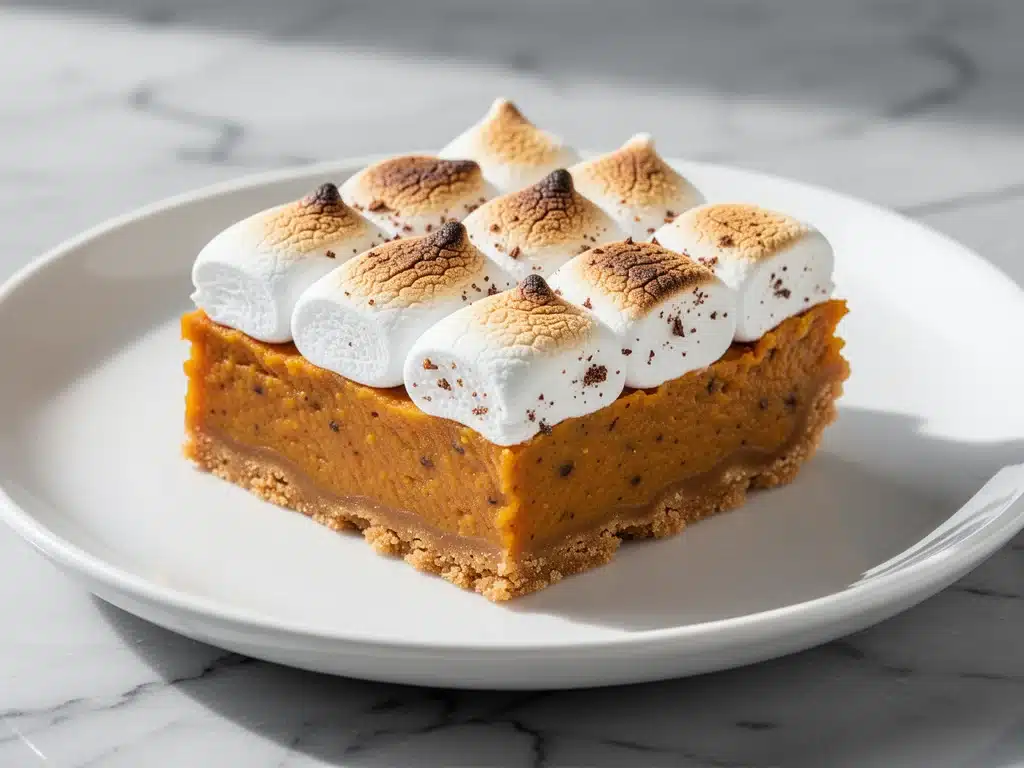
I’ll be honest with you. For years, I was terrified of pumpkin pie. Not because I didn’t like it—I absolutely loved that spiced, creamy goodness—but because making it was a high-stakes gamble. One wrong move with the crust, one wobble in the oven, and suddenly you’re ordering a backup pie from the grocery store at 5 PM on Thanksgiving. I’ve burned pie crusts. I’ve made custard that looks like scrambled eggs. I’ve stared at a cracked top and felt like a culinary failure.
Then, three years ago, I stumbled upon the concept of “bars” instead of pies. I was tired, I was hosting a small gathering, and I didn’t have the energy for a lattice-top masterclass. So I grabbed a can of sweet potato puree, some graham crackers, and a bag of marshmallows. I threw them into a baking dish, hit bake, and waited. When I pulled them out, the edges were crisp, the center was silky, and the top was golden and gooey. I took a bite and literally closed my eyes. It tasted like autumn in dessert form.
That was the birth of my obsession with these fall sweet potato pie bars. They are the best of both worlds: the comforting, nostalgic flavor of a classic holiday pie, but without the crust drama. They’re easier to make than spiced apple honey cider (which is also great, by the way), and they travel better than a whole pie. I’ve made these for Thanksgiving, Christmas, Hanukkah, and random Tuesday snack attacks. They’ve become my secret weapon for holiday entertaining because they look fancy but are stupidly simple.
If you’re looking for a dessert that brings the cozy vibes without the stress, this is it. These bars are rich, spiced, and topped with that irresistible toasted marshmallow layer that makes everyone ask for the recipe. I’ve tested this recipe dozens of times to get the balance of sweet potato to spice just right, and I’m finally sharing my foolproof method with you.
Why You’ll Love This Recipe
There are a hundred reasons I keep coming back to these bars, but here are the ones that actually matter when you’re planning holiday dinner:
Zero Crust Stress — Seriously. No rolling pins, no blind baking, no soggy bottoms. The crust is a simple, buttery graham cracker base that you just press into the pan. If you can press cookies into a tin, you can make this crust. It stays crisp even after sitting out for a few hours.
Make-Ahead Friendly — This is the ultimate party hack. These bars actually taste better the next day. The flavors meld together overnight, and they hold their shape perfectly. I usually make them the morning of the party, and they sit on the counter while I finish cooking the turkey. No refrigeration needed until serving time.
Crowd-Pleasing Flavor — I’ve served these to pie purists who swear only round pies count, and they were converted. The texture is closer to a cheesecake or a dense bar than a traditional pie, which feels more modern and indulgent. Plus, the toasted marshmallow topping adds a s’mores-like crunch that everyone goes crazy for.
Perfect for Leftovers — Unlike a pie that gets dry after a few days, these bars stay moist and fudgy in the center. I pack them in my lunchbox twice a week after Thanksgiving. They freeze beautifully too, so you can make a double batch and freeze half for December holidays.
Budget-Smart — You don’t need expensive ingredients. Sweet potato puree (or canned pumpkin) is cheap. Graham crackers are pantry staples. Marshmallows are inexpensive. You can feed 12-16 people for under $10 if you have the basics on hand.
Ingredients You’ll Need
Here’s the thing about sweet potato pie bars: the quality of your sweet potato matters more than you think. Let’s break down what you need and why I’m picky about certain items.
For the Crust:
Graham cracker crumbs (1 ½ cups / 150g) — Don’t skip making your own if you have time. Store-bought crumbs work fine, but fresh crumbs from full sheets have better texture. I use honey graham crackers for extra sweetness.
Unsalted butter (½ cup / 113g, melted) — This binds the crumbs. Use real butter, not margarine. It makes a huge difference in flavor.
Granulated sugar (2 tablespoons) — Just a touch to sweeten the crust. The filling is sweet enough.
Pinch of salt — Enhances the flavor of the butter and crackers.
For the Filling:
Canned sweet potato puree (15 oz / 425g) — I prefer canned over fresh for consistency. Fresh sweet potatoes vary wildly in moisture content. If you must use fresh, roast them until soft, peel, and mash until completely smooth. No lumps allowed.
Eggs (3 large) — These provide structure. Room temperature eggs mix more evenly, but cold ones work in a pinch.
Heavy cream (1 cup / 240ml) — This gives that rich, custard-like texture. Half-and-half works but makes it lighter. Whole milk makes it too thin. Trust the heavy cream.
Brown sugar (1 cup / 200g, packed) — Gives that deep, molasses-like flavor that pairs perfectly with pumpkin spice. Light brown is fine, but dark brown is better if you like a deeper flavor.
Granulated sugar (½ cup / 100g) — Balances the moisture from the brown sugar.
Pumpkin pie spice (2 teaspoons) — Or make your own mix: 1 tsp cinnamon, ½ tsp ginger, ¼ tsp nutmeg, ¼ tsp allspice. Cinnamon is the star here, so don’t skimp.
Vanilla extract (1 teaspoon) — Pure vanilla, not imitation. It adds warmth.
½ teaspoon salt — Cuts the sweetness.
For the Toasted Marshmallow Topping:
Mini marshmallows (4 cups / about 140g) — Mini marshmallows melt faster and more evenly than large ones. I use the standard brand, but any plain marshmallows work.
Optional: 1 cup chopped pecans or walnuts — I add nuts for crunch, but purists might skip them. Toast the nuts first for extra flavor.
Quick Tip: I always buy extra marshmallows. You’ll want a generous layer. If you run out, the bars still taste good, but you miss out on that gooey topping.
Equipment Needed
You don’t need fancy gear for this. Here’s what I actually use:
9×13 inch baking dish — Glass or ceramic works best for even heating. Metal works too but might brown the edges faster. I use a Pyrex dish because I can see the bottom browning.
Stand mixer or hand mixer — For whipping the eggs and sugar. You can do this by hand with a whisk, but it takes longer and you might not get it as smooth. I use my KitchenAid, but a sturdy whisk works.
Large mixing bowls — One for dry ingredients, one for wet.
Fork or pastry cutter — To mix the crust crumbs and butter.
Spatula — For spreading the filling evenly.
Broiler — For toasting the marshmallows. Keep a close eye on this; they burn fast.
Parchment paper — Not strictly necessary, but lining the pan makes cleanup way easier. I just grease the pan well if I’m lazy.
How to Make It: Step-by-Step
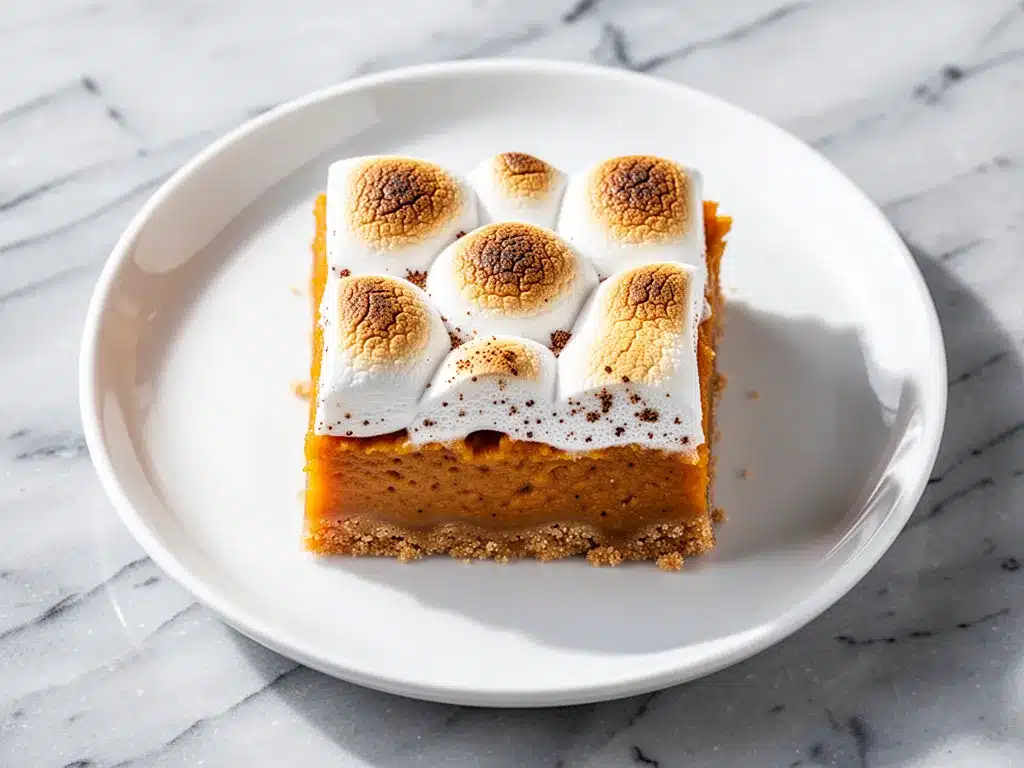
Alright, let’s make these bars! I’m walking you through exactly how I do it, including the little tricks I’ve picked up over the years.
Step 1: Prep Your Pan and Oven (5 minutes)
Preheat your oven to 350°F (175°C). Grease a 9×13 inch baking dish with butter or non-stick spray. If you’re feeling extra organized, line it with parchment paper leaving an overhang on the sides—this makes lifting the bars out later a breeze.
Step 2: Make the Crust (5 minutes)
In a medium bowl, mix the graham cracker crumbs, melted butter, sugar, and salt until it looks like wet sand. Press this mixture firmly and evenly into the bottom of your prepared pan. Use the bottom of a measuring cup to pack it down tight. You want a solid base, not a loose crumble.
Step 3: Mix the Filling (5 minutes)
In a large bowl, whisk the eggs until smooth. Add the brown sugar, granulated sugar, pumpkin pie spice, vanilla, and salt. Whisk vigorously for about a minute until the mixture is glossy and the sugar is mostly dissolved. Add the sweet potato puree and heavy cream. Mix until completely smooth. Important: Make sure there are no lumps of sweet potato. If you used fresh puree, strain it through a fine-mesh sieve to ensure silky smoothness.
Step 4: Assemble and Bake (45-50 minutes)
Pour the filling over the crust. Smooth the top with a spatula. Bake in the preheated oven for 45-50 minutes. The edges should be set and slightly pulling away from the sides, but the center should still have a slight jiggle. It will firm up as it cools. Do not overbake, or the bars will become dense and dry.
Step 5: Add the Marshmallows (2 minutes)
Remove the bars from the oven. Immediately sprinkle the mini marshmallows evenly over the hot surface. The heat from the bars will start to melt them. If you’re adding nuts, sprinkle them now too.
Step 6: Toast the Topping (1-3 minutes)
Switch your oven to broil. Place the bars under the broiler for 1-3 minutes. Watch them like a hawk! You want the marshmallows golden brown and puffy. They can go from perfect to charcoal in seconds. I usually do 30-second intervals, checking frequently.
Step 7: Cool Completely (2 hours)
This is the hardest part. You have to let the bars cool completely in the pan on a wire rack. This allows the filling to set so they cut cleanly. If you cut them warm, they’ll be a mess. I know it’s tempting, but patience pays off.
Step 8: Cut and Serve
Once cool, lift the bars out using the parchment overhang (if you used it) or cut directly in the pan. Cut into 12-16 squares. Serve at room temperature.
Expert Tips & Tricks
Here’s everything I’ve learned from making these dozens of times. These tips will save you from my mistakes.
Smooth Puree is Non-Negotiable
I cannot stress this enough. If your sweet potato puree is lumpy, your filling will be lumpy. I’ve used a hand blender to smooth out canned puree before. It takes 30 seconds and makes the texture restaurant-quality.
Don’t Skip the Cool Down
I’ve tried cutting them warm. I’ve tried cutting them after 30 minutes. It’s always a disaster. The bars need at least 2 hours to set. If you’re in a rush, refrigerate them for 1 hour after cooling to room temp. They’ll set faster.
Broiler Safety
When broiling, keep the oven door cracked slightly if your oven allows it. This prevents the marshmallows from burning on the bottom while toasting the top. Also, stand right there. Marshmallows burn fast.
Storage Hack
If you’re making these ahead, store them in the fridge covered with plastic wrap. They last up to 5 days. Bring them to room temperature before serving for the best texture. Cold marshmallows aren’t as gooey.
Customizing the Spice
Love ginger? Add an extra ½ teaspoon. Like nutmeg? Add a pinch more. This recipe is forgiving. Just don’t skip the cinnamon—that’s the soul of the flavor.
Variations & Substitutions
Once you’ve nailed the basic version, here’s how you can mix it up. I’ve tried all of these.
Pumpkin Variation
Swap sweet potato puree for canned pumpkin puree. The flavor will be more traditional “pumpkin pie” and slightly less earthy. Same measurements work perfectly.
Maple Pecan Bars
Add ½ cup chopped toasted pecans to the crust. In the filling, replace ¼ cup of brown sugar with pure maple syrup. Top with extra pecans under the marshmallows. This is my favorite variation for Thanksgiving.
White Chocolate Marshmallow
After toasting the marshmallows, sprinkle ½ cup white chocolate chips over the hot bars. Let them melt and drizzle. It’s like a s’mores bar meets pumpkin pie.
Gluten-Free
Use gluten-free graham crackers. Most major brands make GF versions. Everything else is naturally gluten-free. Check your pumpkin pie spice to ensure it’s certified GF if you have celiac disease.
Dairy-Free
Use coconut oil instead of butter in the crust. Substitute heavy cream with full-fat coconut cream. Use dairy-free marshmallows (many brands exist now). The flavor will be slightly coconutty, but still delicious.
Mini Bars
Double the recipe and bake in two 8×8 inch pans. Baking time will be slightly less, about 35-40 minutes. Check early.
Serving & Storage
How to Serve:
I usually serve these straight from the pan at the dinner table—it looks rustic and stays warm. But here are other ways I’ve enjoyed them:
Side Dishes:
- Whipped cream (obviously)
- Candied pecans for extra crunch
- A drizzle of caramel sauce
- Pair with a glass of spiced apple cider for a cozy autumn vibe
Toppings Bar:
When I have guests, I put out: extra toasted pecans, mini marshmallows, a bowl of whipped cream, and a bottle of bourbon caramel sauce. Everyone customizes their square.
Wine Pairing:
Not a wine expert, but my wine-snob friend says a sweet Riesling or a dessert wine like Moscato works great with this. It cuts through the richness.
Storage Instructions:
Refrigerator: Store in an airtight container for up to 5 days. They actually get better after day 2. The flavors meld and the texture firms up.
Freezing: Yes, these freeze well! Cut into squares, wrap individually in plastic wrap, then put in a freezer bag. They last up to 3 months. Thaw in the fridge overnight. The marshmallow topping might lose some puffiness but still tastes great.
Reheating: I don’t usually reheat these, but if you want warm bars, microwave a square for 15-20 seconds. The marshmallow will get gooey again.
Nutrition Information
I’m not a nutritionist, but here’s the breakdown if you’re tracking. Keep in mind this is an indulgent treat, so portions matter.
Per Serving (based on 16 bars):
– Calories: 280
– Protein: 4g
– Carbs: 42g
– Fiber: 1g
– Sugar: 28g
– Fat: 12g
– Saturated Fat: 7g
– Cholesterol: 55mg
– Sodium: 180mg
What’s Good:
- Sweet potatoes provide vitamin A
- Graham crackers offer some whole grains
- Easy to make lighter by reducing sugar
What to Know:
- High in sugar and saturated fat due to marshmallows and cream
- Contains dairy and gluten
- Not suitable for vegan diets without modifications
My Take:
Look, this is dessert. It’s sweet potato pie in bar form. It’s not a health food. But it’s way better than store-bought holiday treats, and you know exactly what’s in it. When I make these, I enjoy one square with my coffee and call it a day. Moderation is key, but joy is essential.
Final Thoughts
So that’s my go-to fall sweet potato pie bars with toasted marshmallow topping! I’ve probably talked your ear off at this point, but when you make a recipe this often, you have a lot to say about it.
This recipe has saved my holiday desserts more times than I can count. It’s my answer to “what’s for dessert” when I’m tired, don’t want to bake a whole pie, and still want something that tastes really good. My family loves it, my friends ask for it, and I love it because it’s stress-free.
Make it yours! Try different nuts, swap the spices, or add a layer of caramel. The best recipes are the ones you adapt to your family’s tastes. And if you make these, drop a comment and let me know what you think! I love hearing how recipes turn out in your kitchen. And if something doesn’t work, tell me that too—I’m here to help troubleshoot.
Happy baking! And I hope your kitchen smells half as good as mine does right now.
Frequently Asked Questions
Can I use fresh sweet potatoes instead of canned?
Yes, but you need to be careful with moisture. Roast 2-3 medium sweet potatoes until soft, peel, and mash until completely smooth. You might need to cook the mash down in a pan to remove excess water before using it. Canned is easier because it’s already pre-cooked and measured. If you use fresh, you might need slightly less than 15 oz.
Why did my bars crack on top?
Cracking usually means the oven was too hot or you overbaked them. Sweet potato custards can crack if they dry out. Make sure your oven is calibrated correctly, and pull the bars when the center still has a slight jiggle. They will firm up as they cool. Also, avoid opening the oven door too much during baking.
Can I make these ahead of time?
Absolutely. These bars are actually better the next day. You can make them 2-3 days ahead and store them in the fridge. Bring them to room temperature before serving for the best texture and flavor. They also freeze well for up to 3 months.
Can I use large marshmallows?
You can, but they take longer to melt and toast evenly. Mini marshmallows are my preference because they cover the surface more uniformly and melt faster. If you use large ones, chop them into smaller pieces first.
How do I cut clean bars?
Use a sharp knife. Wipe the blade clean between cuts. For the cleanest cuts, chill the bars in the fridge for 30 minutes before slicing. The cold firmness helps the knife glide through without squishing.
Can I freeze the marshmallow topping?
Yes, but the texture might change slightly. Marshmallows can become a bit chewy or lose some fluffiness after freezing and thawing. If you’re freezing the whole batch, it’s best to toast the marshmallows after thawing, if possible. But honestly, even frozen and thawed, they still taste good.
Can I make this in a springform pan?
Yes! A 9-inch springform pan works well. Just make sure to line the bottom with parchment paper to prevent sticking. The baking time might be slightly less, so check at 40 minutes.
Pin This Recipe!
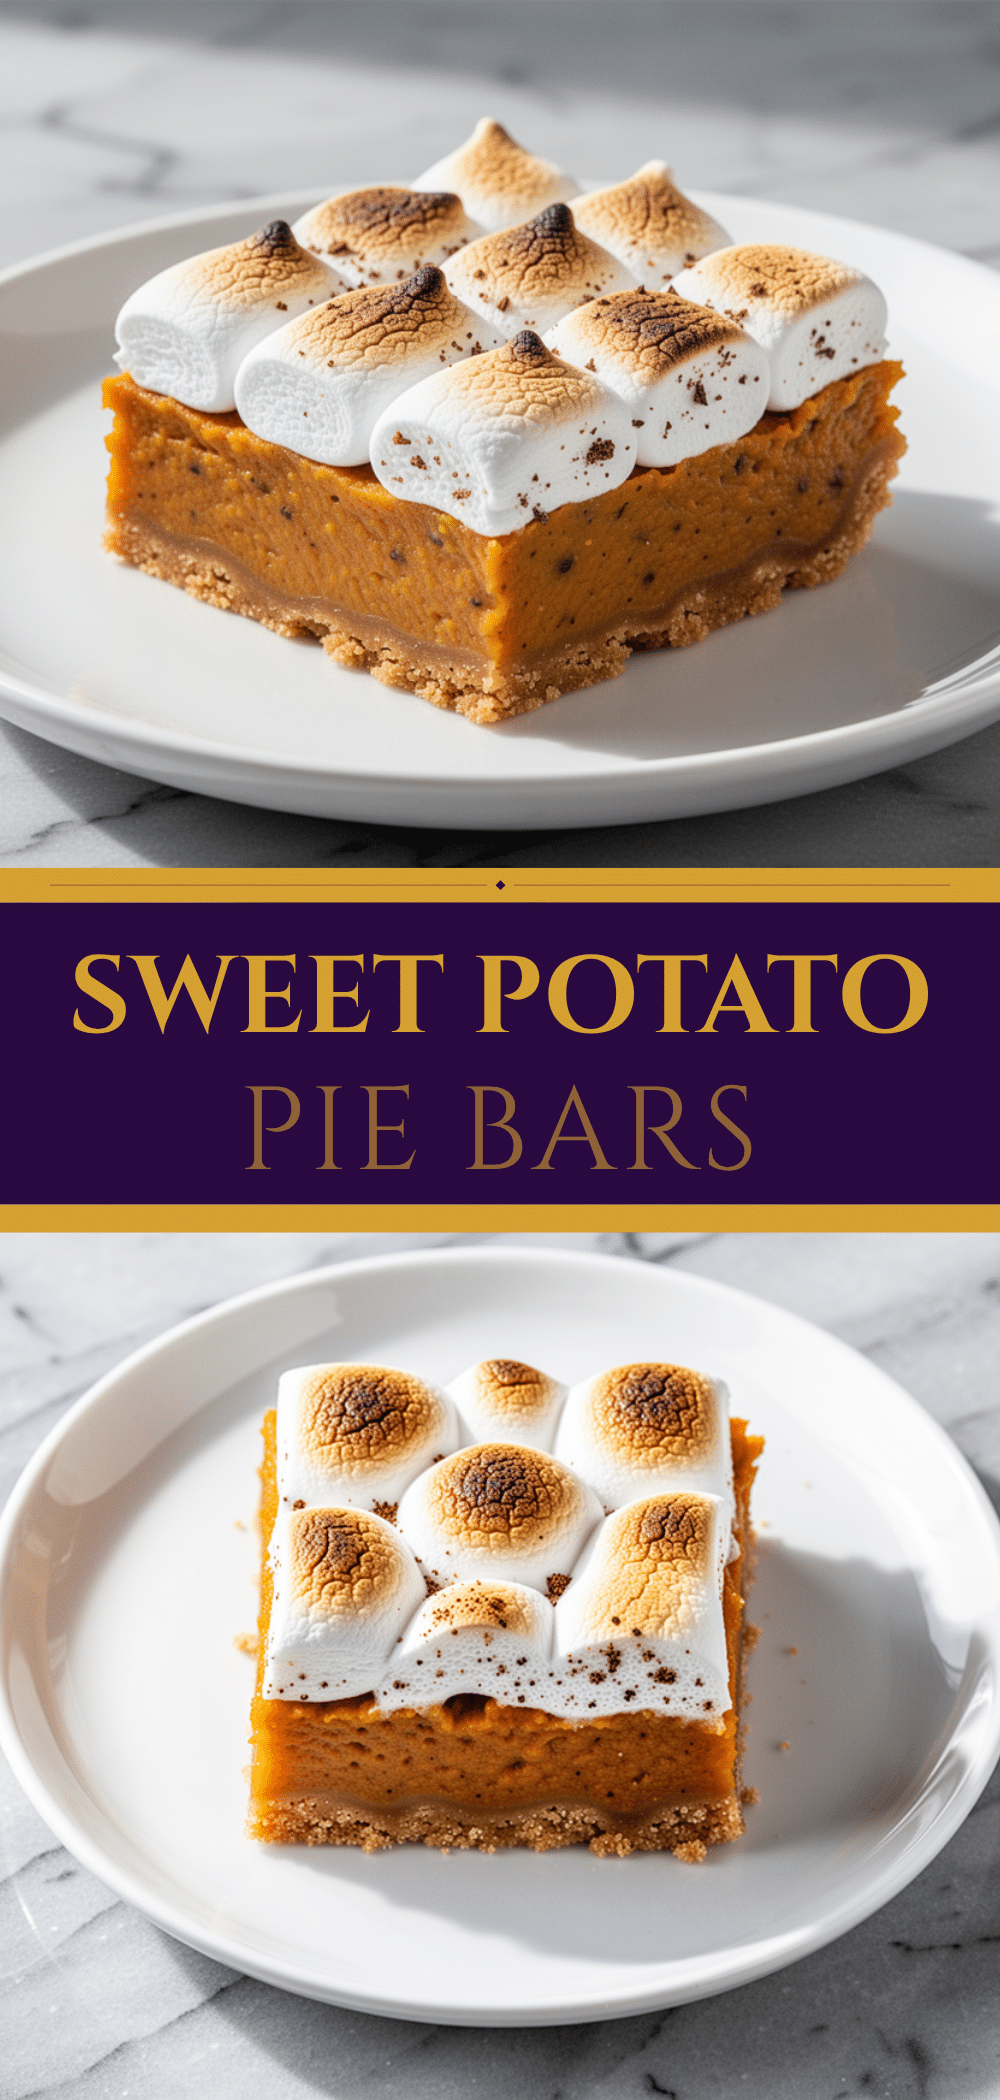
Fall Sweet Potato Pie Bars: Easy Holiday Toasted Marshmallow Treat
- Total Time: 2 hours 5 minutes
- Yield: 16 servings 1x
Description
These fall sweet potato pie bars offer the comforting, nostalgic flavor of a classic holiday pie without the stress of a crust. Featuring a buttery graham cracker base, a rich spiced sweet potato filling, and a gooey toasted marshmallow topping, they are make-ahead friendly and perfect for holiday entertaining.
Ingredients
- 1 ½ cups graham cracker crumbs
- ½ cup unsalted butter, melted
- 2 tablespoons granulated sugar
- Pinch of salt
- 15 oz canned sweet potato puree
- 3 large eggs
- 1 cup heavy cream
- 1 cup packed brown sugar
- ½ cup granulated sugar
- 2 teaspoons pumpkin pie spice
- 1 teaspoon vanilla extract
- ½ teaspoon salt
- 4 cups mini marshmallows
- 1 cup chopped pecans or walnuts (optional)
Instructions
- Preheat oven to 350°F (175°C). Grease a 9×13 inch baking dish and line with parchment paper if desired.
- In a medium bowl, mix graham cracker crumbs, melted butter, 2 tablespoons sugar, and a pinch of salt until resembling wet sand. Press firmly into the bottom of the prepared pan.
- In a large bowl, whisk eggs until smooth. Add brown sugar, ½ cup granulated sugar, pumpkin pie spice, vanilla, and ½ teaspoon salt. Whisk vigorously until glossy.
- Add sweet potato puree and heavy cream to the egg mixture. Mix until completely smooth, ensuring no lumps remain.
- Pour filling over the crust and smooth the top with a spatula.
- Bake for 45-50 minutes until edges are set and slightly pulling away, but the center still has a slight jiggle.
- Remove from oven and immediately sprinkle mini marshmallows (and optional nuts) evenly over the hot surface.
- Switch oven to broil. Toast marshmallows for 1-3 minutes, watching closely, until golden brown and puffy.
- Cool completely in the pan on a wire rack for at least 2 hours to allow filling to set.
- Lift out using parchment overhang or cut directly in pan. Cut into 12-16 squares and serve at room temperature.
Notes
Ensure sweet potato puree is completely smooth to avoid lumps in the filling. Do not overbake, as the bars will firm up as they cool. For clean cuts, chill bars in the fridge for 30 minutes before slicing. Marshmallows burn quickly under the broiler, so watch them closely.
- Prep Time: 15 minutes
- Cook Time: 50 minutes
- Category: Dessert
- Cuisine: American
Nutrition
- Serving Size: 1 bar
- Calories: 280
- Sugar: 28
- Sodium: 180
- Fat: 12
- Saturated Fat: 7
- Carbohydrates: 42
- Fiber: 1
- Protein: 4
Keywords: sweet potato pie bars, holiday dessert, toasted marshmallow, graham cracker crust, fall baking, easy dessert, make-ahead dessert


