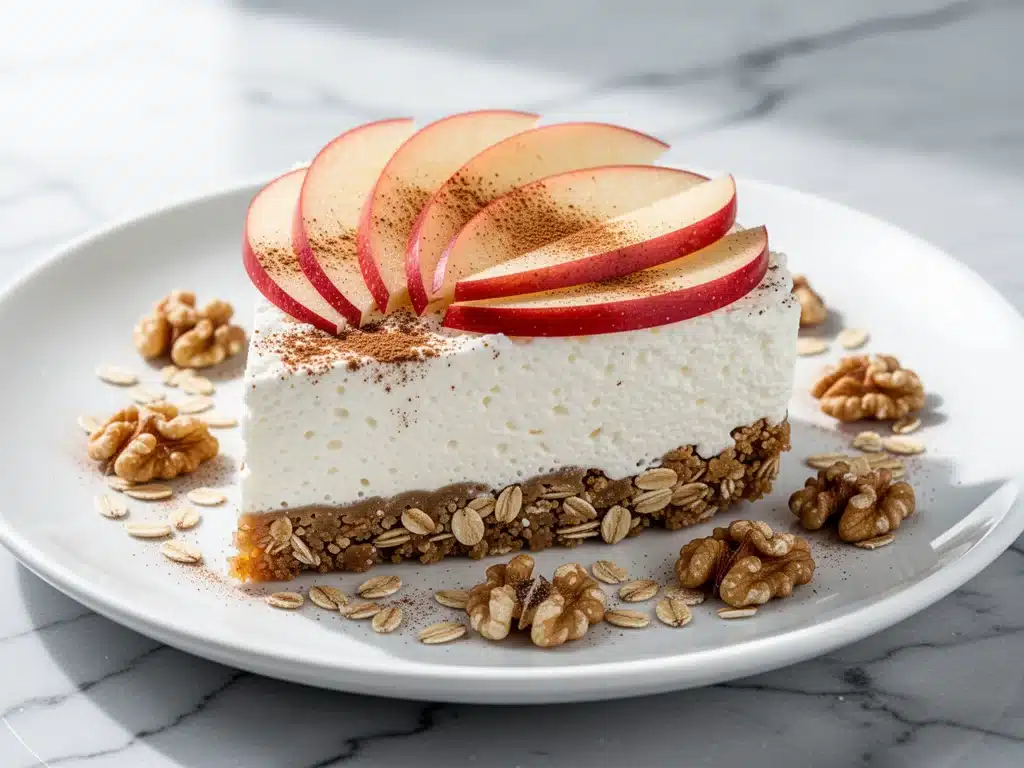
My husband has a theory about dessert. He says if you serve something that looks like it came from a high-end French patisserie, you have to actually deliver that level of flavor. Otherwise, it’s just disappointment with a pretty presentation. I’ve been testing this theory for years, and honestly? He’s usually right. That’s why I was terrified when I first made this fall apple cinnamon cottage cheese cheesecake with toasted oat crust. It didn’t look like a French patisserie creation. It looked… normal. Maybe even a little healthy. But the smell? That smell was pure autumn magic.
I was standing in my kitchen last October, staring at a tub of cottage cheese and a bag of oats, wondering if I was losing my mind. I wanted a dessert that felt indulgent enough for a dinner party but didn’t leave me feeling like a human weighted blanket by 8 PM. I’ve made plenty of pomegranate honey cheesecake bars for the holidays, and while they’re delicious, they’re also a bit of a production. This time, I wanted something lighter, fresher, and packed with those cozy fall flavors we all crave. I wanted apples, cinnamon, and that creamy, tangy richness of a traditional cheesecake, but without the heavy cream cheese and the baking anxiety.
So, I threw the cottage cheese in the blender. I toasted some oats with brown sugar until they smelled like cookie dough. I folded in spiced apples. I chilled it for six hours. And when my friends tasted it? Silence. Then, “Wait, is this cottage cheese?” That moment of confusion followed by pure delight is my favorite thing to witness. This no-bake fall apple cinnamon cottage cheese cheesecake with toasted oat crust has become my secret weapon. It’s creamy, it’s tangy, it’s got that crunch you didn’t know you needed, and it tastes like a hug from the season itself. I’ve made this at least a dozen times since that October night, and every single time, it disappears faster than my microwave mug brownie does (which is saying something).
Why You’ll Love This Recipe
There are about ten reasons I keep making this, but here are the big ones. This isn’t just a healthy swap; it’s a genuinely delicious dessert that happens to be easier on your body. If you’re tired of heavy, dense cheesecakes that sit in your stomach like a brick, this is your answer.
- Lighter Than Air Texture — Seriously, the cottage cheese blends into something so silky you’d never guess it. I’ve had people eat this blindfolded and swear it was a rich New York-style cheesecake. The protein makes it feel substantial, but the texture is light and mousse-like.
- No-Bake Convenience — You don’t need to preheat the oven, you don’t need a water bath, and you don’t need to worry about cracks forming on top. It’s just blend, press, chill, and eat. Perfect for when you’re hosting and want to spend time with guests, not staring at an oven.
- Crunchy, Toasted Oat Crust — Forget the boring graham cracker or standard graham cracker crust. Toasting the oats brings out a nutty, cereal-like flavor that pairs perfectly with the cinnamon. It adds a texture contrast that keeps every bite interesting.
- Gluten-Free Friendly — If you use certified gluten-free oats, this entire dessert is naturally gluten-free. No weird flour blends or xanthan gum needed. It’s just real, simple ingredients.
- Meal-Prep Friendly — This actually tastes better the next day. The flavors meld together overnight. I love making this on Sunday for a Tuesday night treat. It holds its shape well in the fridge for up to four days.
Real talk? This is my go-to when I want to impress people without stressing out. It looks elegant on a platter, but it’s humble at heart. It’s the kind of dessert that makes people ask for the recipe immediately, then feel good about eating a second slice.
Ingredients You’ll Need
Here’s the best part: you probably have most of this already. This recipe relies on simple, whole-food ingredients. I’m particular about two things here—the quality of the oats and the ripeness of the apples—and I’ll tell you exactly why.
For the Crust
Old-fashioned rolled oats (2 cups / 160g) — Do not use quick oats or steel-cut oats. Old-fashioned oats have the right texture to toast and crunch. I buy the store brand; there’s no need to pay for fancy oats here. Make sure they are certified gluten-free if you need it to be.
Almond flour (½ cup / 50g) — This binds the oats and adds a bit of richness. You can sub coconut flour, but you’ll need less (about ¼ cup). I prefer almond flour for the flavor.
Coconut oil (3 tablespoons / 45ml) — Melted. This is what holds the crust together. If you dislike coconut flavor, use unsalted butter, but coconut oil keeps it dairy-free and vegan-friendly. I keep a jar of melted coconut oil in my pantry for this exact reason.
Brown sugar (2 tablespoons / 25g) — Packed. Gives that molasses depth that pairs with the cinnamon. You can use coconut sugar for a lower-glycemic option, but brown sugar tastes more like traditional dessert.
Cinnamon (1 teaspoon) — Ground cinnamon. Fresh is better. If your jar has been sitting since last Christmas, toss it and get a new one. Old cinnamon tastes dusty.
Salt (¼ teaspoon) — Just a pinch to balance the sweetness.
For the Filling
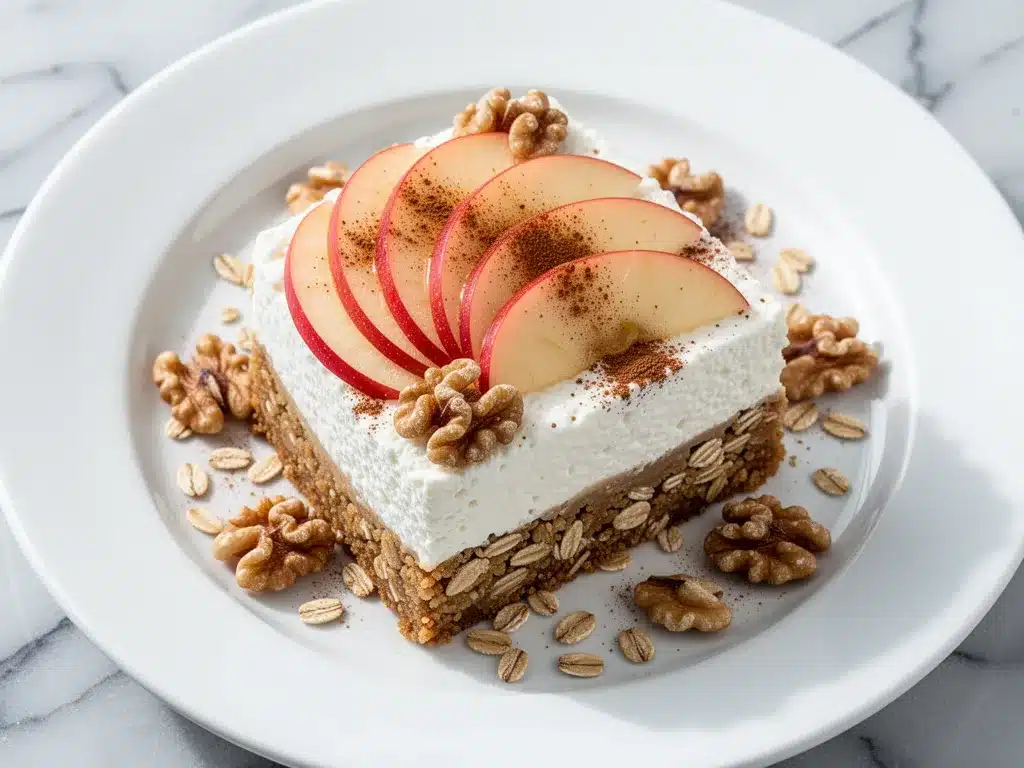
Cottage cheese (2 cups / 450g) — Full-fat is best for creaminess. Low-fat works but might be slightly less rich. I use the small-curd kind because it blends smoother, but large-curd works if you blend it longer. The key is that it must be smooth, not curdled.
Heavy cream or coconut cream (½ cup / 120ml) — For whipping. If you’re dairy-free, use full-fat canned coconut cream (chilled overnight). I prefer heavy cream for that classic cheesecake tang and stability.
Maple syrup (¼ cup / 60ml) — Pure maple syrup, not pancake syrup. It adds a floral sweetness that complements the apples. Honey works too, but maple is more “fall.”
Vanilla extract (1 teaspoon) — Real vanilla. I’m picky about this. I use Nielsen-Massey or McCormick pure extract. Artificial vanilla tastes chemical in no-bake desserts.
Lemon juice (1 tablespoon) — Freshly squeezed. This cuts through the richness and brightens the flavor. Don’t skip it.
Cornstarch (1 tablespoon) — This is the secret weapon. It helps the filling set in the fridge so it holds slices cleanly. You can sub arrowroot powder.
For the Topping
Apples (2 medium, diced) — I use Honeycrisp or Gala. They hold their shape when cooked and aren’t too tart. Granny Smith works if you want a sharper bite.
Butter (1 tablespoon) — For sautéing the apples.
Extra cinnamon (½ teaspoon) — For dusting the apples.
Optional: Toasted walnuts or pecans (¼ cup) — For extra crunch. I love adding nuts, but it’s not required.
Equipment Needed
You don’t need fancy equipment for this. Here’s what I actually use.
High-speed blender — This is crucial. A standard blender might leave bits of cottage cheese curd. I use a Vitamix, but a good Ninja or Blendtec works too. If you don’t have a high-speed blender, you can mash the cottage cheese with a fork first, then blend, but it takes longer.
9-inch springform pan — I love springform pans for cheesecakes because they make removal easy. If you don’t have one, you can use a 9-inch pie dish, but slicing will be trickier. Grease it lightly before pressing the crust.
Large skillet — For cooking the apple topping. Non-stick works best to prevent sticking.
Measuring cups and spoons — Standard stuff.
Parchment paper — For lining the bottom of the springform pan. Makes cleanup a breeze. I always line it, even if the pan is greased.
Whisk — For mixing the filling and the cornstarch.
How to Make It: Step-by-Step
Alright, let’s make this! I’m walking you through exactly how I do it, including the little tricks I’ve picked up.
Step 1: Toast the Oats (5 minutes)
Preheat your oven to 350°F (175°C). Spread the rolled oats on a baking sheet in a single layer. Toast them for 8-10 minutes, stirring halfway through, until they smell nutty and turn a light golden brown. Watch them closely—oats go from golden to burnt very quickly. Let them cool completely. This step is non-negotiable; it builds the flavor of the crust.
Step 2: Make the Crust (5 minutes)
In a medium bowl, combine the cooled toasted oats, almond flour, brown sugar, cinnamon, and salt. Stir in the melted coconut oil until the mixture looks like wet sand. Press this mixture firmly into the bottom of your prepared springform pan. Use the bottom of a measuring cup to pack it down tightly. If it’s loose, your slices will fall apart. Chill the crust in the fridge while you make the filling.
Step 3: Blend the Filling (3 minutes)
In your blender, combine the cottage cheese, maple syrup, vanilla extract, lemon juice, and cornstarch. Blend on high until completely smooth. This should take about 1-2 minutes. Scrape down the sides as needed. You want a silky, pudding-like consistency with zero visible curds. Taste it now—it should be sweet and tangy. If it needs more sweetness, add a teaspoon of maple syrup.
Step 4: Whip the Cream (2 minutes)
In a separate cold bowl, whip the heavy cream (or coconut cream) until stiff peaks form. This adds air and stability to the filling. If you’re using dairy-free coconut cream, make sure the can was chilled overnight, and scoop out only the solid part.
Step 5: Fold and Chill (3 minutes + 6 hours)
Gently fold the whipped cream into the cottage cheese mixture using a spatula. Do this in two additions to keep the air in. Pour the filling over the chilled crust and smooth the top. Cover with plastic wrap and refrigerate for at least 6 hours, preferably overnight. This is where the magic happens—the filling sets and flavors meld.
Step 6: Cook the Apple Topping (10 minutes)
While the cheesecake chills, melt the butter in a skillet over medium heat. Add the diced apples and cinnamon. Cook for 5-7 minutes until the apples are tender but still hold their shape. They should be golden and fragrant. Let them cool slightly. You can serve this warm or cold on top of the cheesecake.
Step 7: Serve
Remove the springform ring. Slice with a warm knife for clean cuts. Top with the spiced apples and a sprinkle of extra cinnamon or crushed nuts if you like. Serve immediately.
Expert Tips & Tricks
Here’s everything I’ve learned from making this dozens of times. These tips will save you from my mistakes.
Blend Until Silky
The biggest mistake people make is under-blending the cottage cheese. If you can feel any curds, keep blending. A high-speed blender is your friend here. If you don’t have one, let the blended mixture sit for 10 minutes to break down further, or use an immersion blender.
Don’t Skip the Cornstarch
I know it’s a thickener, but in a no-bake cheesecake, it’s what helps it set. Without it, the filling might stay too soft, especially if your kitchen is warm. It’s invisible in the final product, so don’t worry about the taste.
Toast the Oats Properly
I’ve tried skipping this step, and the crust tastes bland and raw. Toasting brings out the natural sugars in the oats. It’s worth the extra 5 minutes. Plus, the smell will make you happy.
Cool the Apples Before Topping
If you put hot apples on the cheesecake, they’ll melt the edges and make the crust soggy. Let them cool to room temperature, or even chill them for 15 minutes, before adding.
Whip the Cream Cold
Make sure your bowl and beaters are cold if you’re whipping cream. It whips faster and holds better. If it’s warm, it might turn to butter.
Variations & Substitutions
Once you’ve nailed the basic version, here’s how you can mix it up. I’ve tried all of these.
Pumpkin Spice Version
Skip the apples. Add 2 tablespoons of pumpkin puree and 1 teaspoon of pumpkin pie spice to the filling. Top with whipped cream and a drizzle of caramel. Perfect for November.
Maple Walnut Crunch
Add ½ cup chopped toasted walnuts to the crust. Top the cheesecake with a maple walnut brittle or just extra walnuts. This pairs beautifully with the cinnamon.
Berry Swirl
Skip the apples. Warm up 1 cup of mixed berries with a teaspoon of sugar and lemon juice. Swirl it into the filling before chilling. It creates beautiful marbled patterns.
Dairy-Free/Vegan
Use full-fat coconut cream instead of heavy cream, coconut oil in the crust, and maple syrup in the filling. The texture will be slightly denser but still creamy and delicious. My vegan friends love this version.
Gluten-Free
Simply use certified gluten-free oats. Everything else is naturally gluten-free. Check your almond flour and maple syrup labels to be sure.
Serving & Storage
How to Serve:
I usually serve this straight from the springform pan. It looks rustic and elegant. But here are other ways I’ve enjoyed it:
Side Dishes:
- Hot coffee or spiced chai tea (obviously)
- A side of fresh fruit salad for color
- Crushed gingersnap cookies on top for extra crunch
Storage Instructions:
Refrigerator: Store in an airtight container or covered with plastic wrap for up to 4 days. The crust might soften slightly after day 2, but it’s still good.
Freezing: This doesn’t freeze well. The cottage cheese texture can change when thawed, becoming grainy. It’s best fresh. If you must freeze, freeze the crust and filling separately, but I don’t recommend it.
Meal Prep: Make the crust and filling on Sunday. Cook the apples on Wednesday. Assemble just before serving. This keeps the textures optimal.
Nutrition Information
I’m not a nutritionist, but here’s the breakdown if you’re tracking. This is a lighter dessert, but it’s still rich.
Per Serving (based on 8 servings, without topping):
- Calories: 180
- Protein: 8g
- Carbs: 18g
- Fiber: 2g
- Sugar: 12g
- Fat: 10g
- Saturated Fat: 4g
What’s Good:
- High protein from cottage cheese
- Whole grain oats for fiber
- No refined flour in the crust
What to Know:
- Contains dairy (unless vegan subbed)
- Gluten-free if using GF oats
- Lower in sugar than traditional cheesecake
My Take:
Look, this is still a dessert with cream and sugar. It’s not a diet food. But it’s way better than a slice of honey apple cake because you feel lighter afterward. When I want to make it lighter, I reduce the maple syrup and add more cinnamon. But usually? I just enjoy a reasonable slice and savor the flavors.
Final Thoughts
So that’s my go-to fall apple cinnamon cottage cheese cheesecake with toasted oat crust! I’ve probably talked your ear off at this point, but when you make a recipe this often, you have a lot to say about it.
This has saved my dessert game more times than I can count. It’s my answer to “what’s for dessert?” when I want something festive but don’t want to spend hours in the kitchen. My family is happy, my guests are impressed, and I’m happy because I didn’t have to bake a thing.
Make it yours! Try different apples, swap the nuts, or add a drizzle of caramel. The best recipes are the ones you adapt to your family’s tastes. If you make this, drop a comment and let me know what you think! I love hearing how recipes turn out in your kitchen.
Happy cooking! And I hope your kitchen smells half as good as mine does right now.
Frequently Asked Questions
Can I use Greek yogurt instead of cottage cheese?
You can, but the texture will be different. Greek yogurt is tangier and less creamy. I recommend using a 50/50 mix of Greek yogurt and cottage cheese if you want to cut calories. But for that classic cheesecake texture, cottage cheese is superior. It blends smoother and has a milder flavor.
Why did my crust fall apart?
Usually, this means the crust wasn’t packed down firmly enough, or there wasn’t enough binder (coconut oil/almond flour). Press the crust down hard with the bottom of a measuring cup. Also, make sure the oats are fully cooled before mixing, or the oil will melt and make the crust greasy.
Can I make this ahead for a dinner party?
Absolutely! This is actually better made ahead. Make the crust and filling up to 2 days in advance. Cook the apples the day of or the day before. Assemble 1 hour before serving. This takes the stress off the day of the party.
Why did my filling turn out grainy?
This happens if the cottage cheese wasn’t blended long enough, or if the heavy cream wasn’t whipped properly. Blend the cottage cheese until completely smooth—no visible curds. Also, ensure your heavy cream is cold and whipped to stiff peaks before folding.
Can I use fresh apples instead of cooked apples?
You can, but fresh apples will release water and make the cheesecake soggy. Cooking the apples first concentrates the flavor and removes excess moisture. It also softens them so they’re pleasant to eat. I strongly recommend cooking them.
How do I store leftovers?
Store in an airtight container in the fridge for up to 4 days. The crust may soften slightly, but the filling will stay creamy. Do not freeze, as the texture will change.
Can I use steel-cut oats for the crust?
No. Steel-cut oats are too hard and won’t toast or bind properly. Old-fashioned rolled oats are the only choice for this crust. Quick oats will make the crust too dense and powdery.
Pin This Recipe!
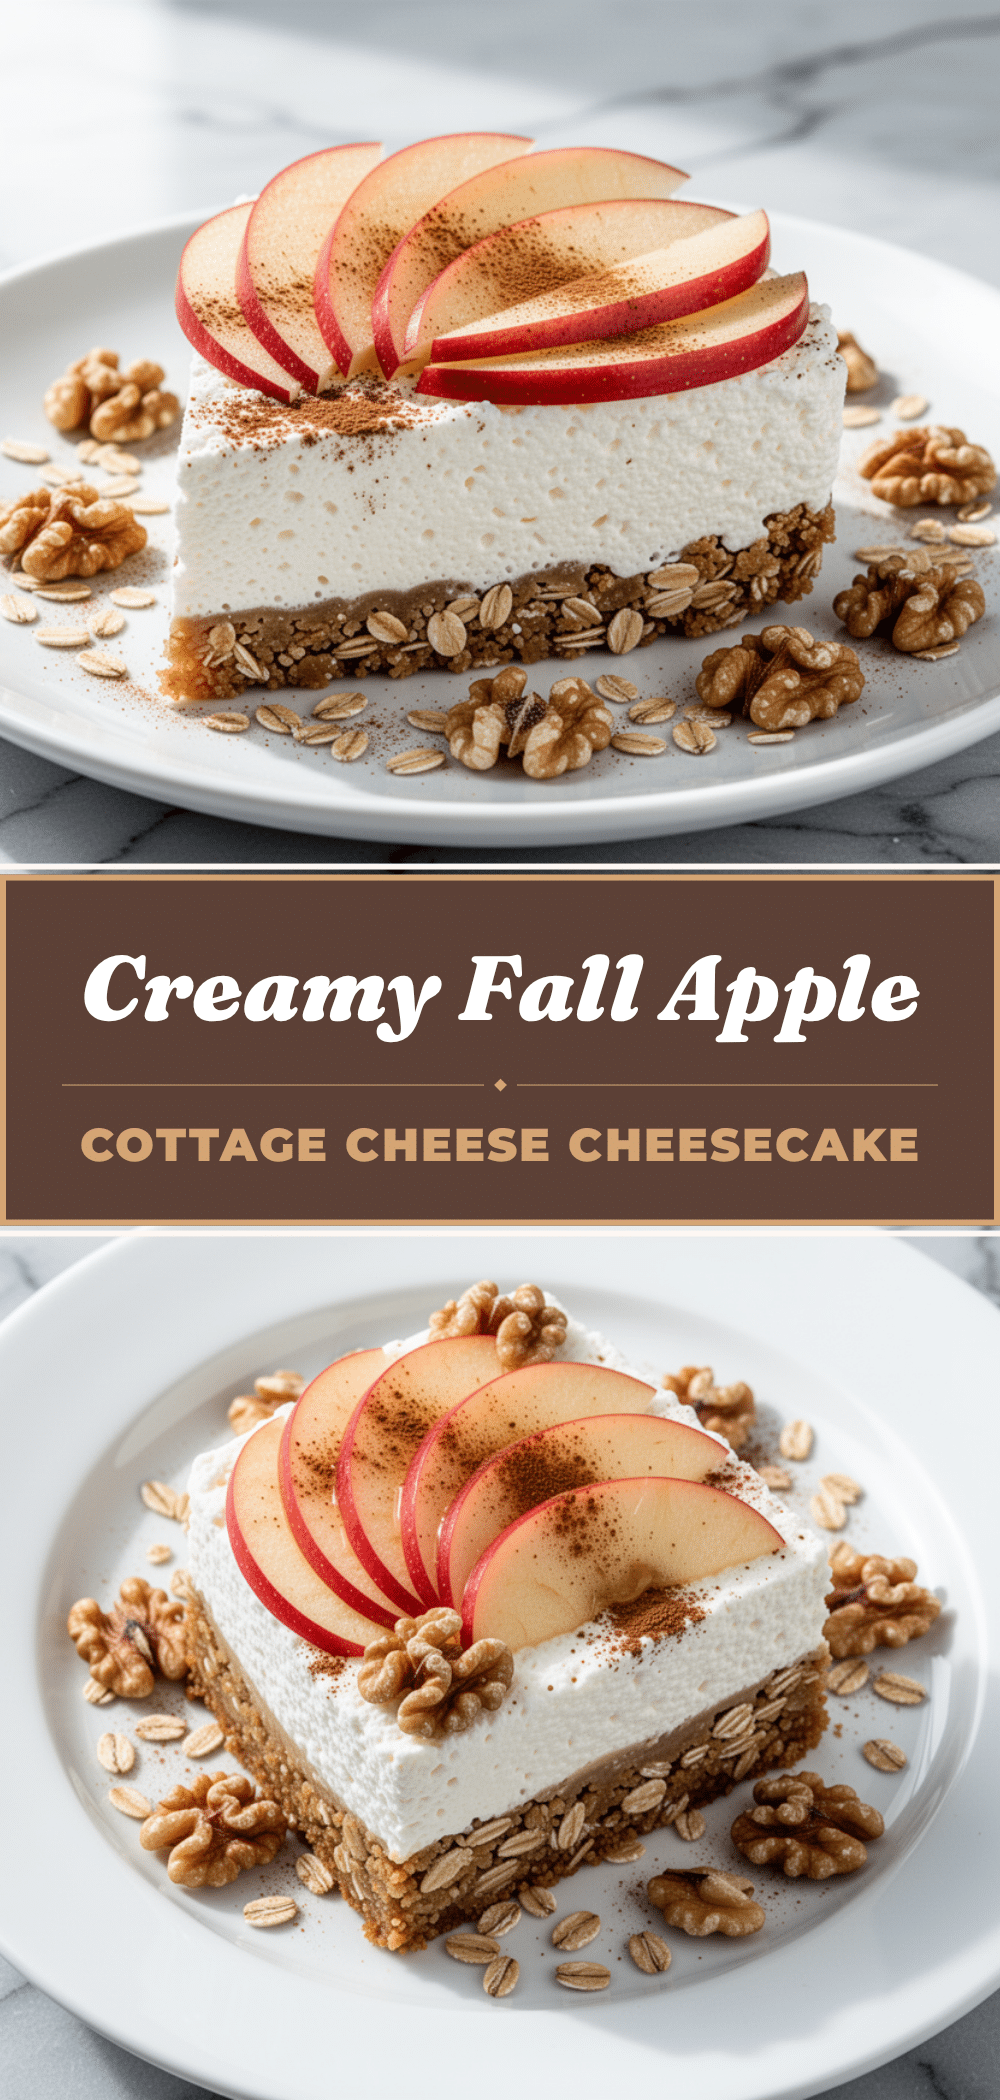
Fall Apple Cinnamon Cottage Cheese Cheesecake: Easy No-Bake Recipe
- Total Time: 6 hours 40 minutes
- Yield: 8 servings 1x
Description
A creamy, no-bake cheesecake made with cottage cheese and a toasted oat crust, topped with spiced apples. It offers the rich texture of a traditional cheesecake with a lighter, protein-packed twist.
Ingredients
- 2 cups old-fashioned rolled oats (160g)
- 1/2 cup almond flour (50g)
- 3 tablespoons coconut oil, melted (45ml)
- 2 tablespoons brown sugar, packed (25g)
- 1 teaspoon ground cinnamon
- 1/4 teaspoon salt
- 2 cups cottage cheese, small-curd (450g)
- 1/4 cup pure maple syrup (60ml)
- 1 teaspoon vanilla extract
- 1 tablespoon lemon juice
- 1 tablespoon cornstarch
- 1/2 cup heavy cream or chilled coconut cream (120ml)
- 2 medium apples, diced (Honeycrisp or Gala)
- 1 tablespoon butter
- 1/2 teaspoon extra cinnamon
- 1/4 cup toasted walnuts or pecans (optional)
Instructions
- Preheat oven to 350°F (175°C). Spread rolled oats on a baking sheet and toast for 8-10 minutes until golden and nutty. Let cool completely.
- In a medium bowl, combine cooled oats, almond flour, brown sugar, cinnamon, and salt. Stir in melted coconut oil until mixture resembles wet sand.
- Press the crust mixture firmly into the bottom of a 9-inch springform pan. Chill in the fridge.
- In a high-speed blender, blend cottage cheese, maple syrup, vanilla extract, lemon juice, and cornstarch until completely smooth and silky (1-2 minutes).
- In a separate cold bowl, whip heavy cream (or coconut cream) until stiff peaks form.
- Gently fold the whipped cream into the cottage cheese mixture in two additions.
- Pour filling over the chilled crust and smooth the top. Cover and refrigerate for at least 6 hours or overnight.
- While cheesecake chills, melt butter in a skillet over medium heat. Add diced apples and cinnamon, cooking for 5-7 minutes until tender. Let cool.
- Remove springform ring, slice with a warm knife, and top with spiced apples before serving.
Notes
Ensure cottage cheese is blended until completely smooth to avoid curds. Toasting the oats is essential for flavor. The cheesecake tastes better if made ahead and chilled overnight. Do not freeze as the texture may become grainy.
- Prep Time: 25 minutes
- Cook Time: 15 minutes
- Category: Dessert
- Cuisine: American
Nutrition
- Serving Size: 1 slice
- Calories: 180
- Sugar: 12
- Fat: 10
- Saturated Fat: 4
- Carbohydrates: 18
- Fiber: 2
- Protein: 8
Keywords: fall dessert, no-bake cheesecake, cottage cheese recipe, healthy cheesecake, apple cinnamon, gluten-free dessert, toasted oat crust


