I have a confession to make. For years, I was the person who bought the box mix. Not because I was lazy (okay, maybe a little), but because I genuinely couldn’t figure out how to get those professional-looking, crinkly tops on homemade brownies. Every time I tried a “fudgy” recipe, I ended up with something that looked more like a dense chocolate cake or, worse, a dry cookie. I’d cut into them, sigh, and scrape the crumbs into the trash can. It was depressing.
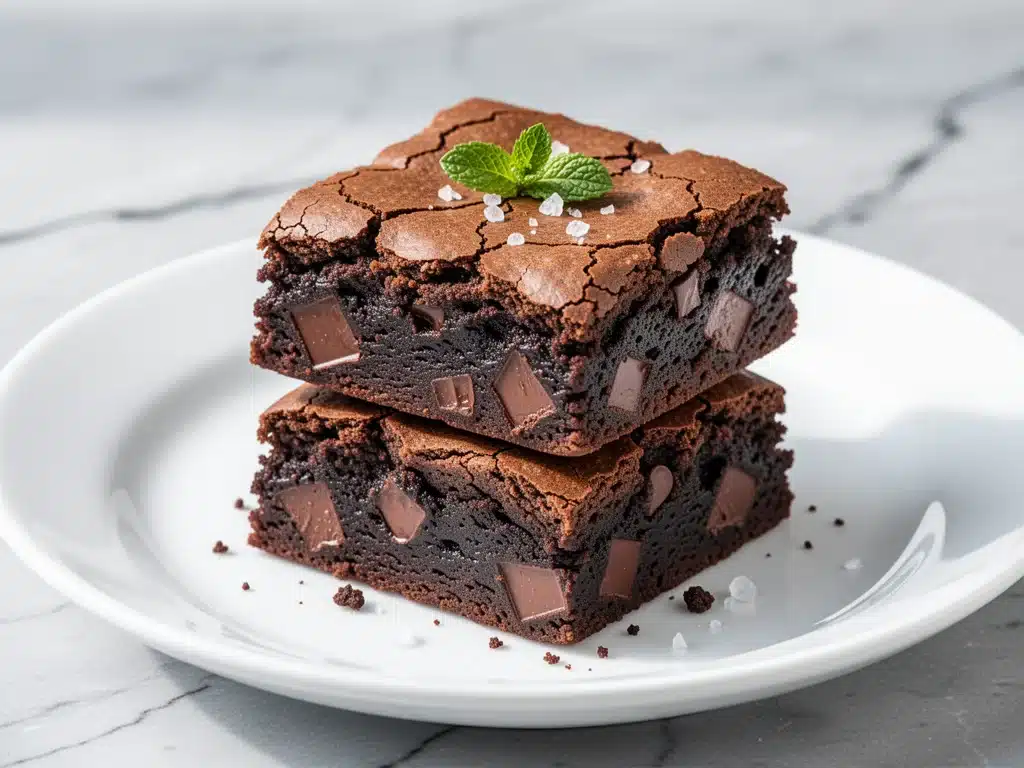
Then, a few years ago, I made a batch of these crackly-top fudgy brownies with espresso and dark chocolate chunks, and I literally stopped mid-chew. The top was this gorgeous, metallic-looking foil sheet that shattered when I broke the brownie in half. The inside was so fudgy I could barely pull my fork out. My husband, who usually prefers his desserts with a bit of chew, asked me what the hell I’d done differently. I hadn’t done much differently, except I finally understood the chemistry of the sugar and eggs.
Since that day, this recipe has become my go-to dessert for everything. Need to appease a picky eater? small batch fudgy brownies are the answer. Need to bring something to a potluck where you know you’ll be the only one getting credit? This is it. I’ve tested this recipe at least twenty times, tweaking the chocolate ratio and the baking time, and I can confidently say this is the best easy recipe with espresso you’ll ever need. The coffee doesn’t make them taste like coffee—it makes the chocolate taste like *chocolate*.
If you’ve ever struggled with the science of brownie baking, or if you just want to stop buying mixes, you’re in the right place. Let’s get into why these brownies are different, what ingredients you need, and exactly how to get that signature shiny crust every single time.
Why You’ll Love This Crackly-Top Fudgy Brownies Recipe
There are a hundred brownie recipes out there. So why this one? Here’s the real talk: most homemade brownies are either too cakey or too greasy. This recipe hits that perfect sweet spot in the middle—dense, moist, and fudgy, with a top that looks like it came from a high-end bakery.
- That Irresistible Crinkle Top — I’m not exaggerating when I say the texture of the top is what makes people beg for the recipe. It’s thin, crackly, and slightly crisp, contrasting perfectly with the soft interior. I’ve had friends tell me they’d rather have these than chocolate lava cake because the texture is just more satisfying.
- Deep, Complex Flavor — We’re using dark chocolate chunks, not just chips. And we’re adding espresso powder. You won’t taste a coffee flavor, I promise. The espresso acts as a flavor enhancer, deepening the cocoa notes so the brownies taste intensely chocolatey without being one-dimensional.
- Actually Fudgy, Not Cakey — The secret? Less flour, more fat (butter and chocolate), and a lot of whisking. These aren’t light and airy. They’re dense and rich. If you love a gooey center, this is your recipe.
- Simple Ingredients — You probably have most of this in your pantry. Butter, sugar, eggs, cocoa, flour, salt, dark chocolate, and coffee. No weird specialty items. Just good, honest baking.
- Great for Gifting — These travel well. I’ve wrapped these in foil and sent them to friends, and they stay moist for days. They’re also perfect for holiday gatherings, unlike lighter desserts that might get lost among the pies.
Real talk: once you make these, you’ll never go back to cakey brownies. It’s a one-way street to fudgy bliss.
Ingredients You’ll Need
Here’s the best part: you don’t need a trip to a specialty store. But you do need to pay attention to quality. Since there are only a few ingredients, each one matters.
The Base
Unsalted butter (1 cup / 226g) — You need full-fat butter. Margarine or light butter will ruin the texture. I use high-quality European-style butter if I’m feeling fancy, but regular salted butter works fine if you reduce the added salt in the recipe. Melted butter is key here for that fudgy texture.
Granulated sugar (1 ½ cups / 300g) — This isn’t just for sweetness. The sugar is what creates that shiny, crackly top. When you whisk the sugar with the eggs, you’re dissolving the sugar crystals partially, which helps create that foil-like crust. Don’t use brown sugar if you want that specific crackly top; it makes the brownies chewier and darker, which is delicious but different.
Eggs (3 large eggs + 1 egg yolk) — The extra yolk adds richness and fat, contributing to that fudgy, moist crumb. Room temperature eggs whisk up better and create a more uniform batter.
Vanilla extract (1 teaspoon) — Pure vanilla only. I know it’s tempting to use the cheap stuff, but vanilla pairs so well with dark chocolate. It adds a floral note that balances the bitterness.
The Chocolate & Coffee
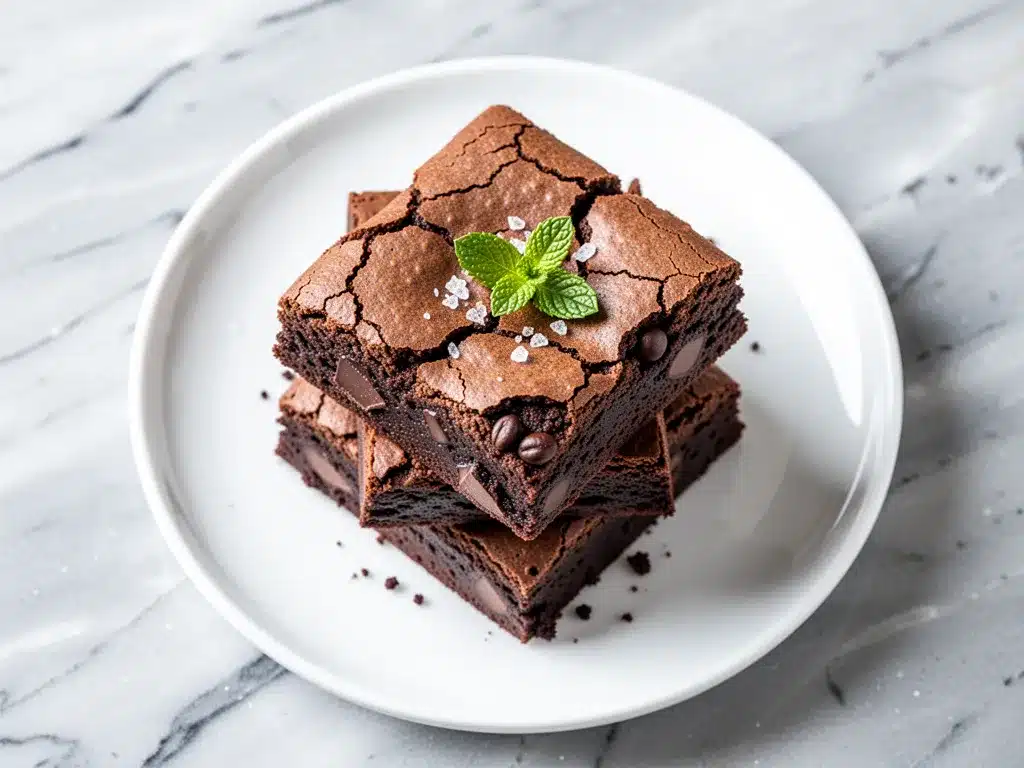
Unsweetened cocoa powder (¾ cup / 60g) — Use good quality cocoa. I prefer Dutch-processed cocoa because it’s darker and has a milder, smoother flavor. Natural cocoa is more acidic and can taste a bit fruity. Either works, but Dutch-processed gives that deep, dark brownie look.
Espresso powder (1 tablespoon) — Instant espresso powder or instant coffee granules. Do not use brewed coffee. You want the concentrated flavor boost. If you don’t have espresso powder, instant coffee granules work perfectly. Just grind them up a bit if they’re large.
The Dry Ingredients & Mix-Ins
All-purpose flour (¾ cup / 95g) — Don’t overmeasure this. Spoon it into the cup and level it off. Too much flour = cakey brownies. We want minimal flour for maximum fudginess.
Salt (½ teaspoon) — Essential. Salt enhances the chocolate flavor. If your butter is salted, reduce this to ¼ teaspoon.
Dark chocolate chunks (1 cup / 170g) — This is where you can have fun. I use a mix of semi-sweet and bittersweet chocolate chunks. Avoid chocolate chips, as they have stabilizers that keep them from melting smoothly. Look for chocolate bars from brands like Ghirardelli, Lindt, or Guittard, and chop them yourself. The irregular chunks create pockets of molten chocolate in every bite.
Optional: Sea salt flakes — For sprinkling on top before baking. This adds a beautiful contrast to the sweet, fudgy interior.
Equipment Needed
You don’t need fancy gadgets, but having the right tools makes a difference.
8×8 inch baking pan — This is the standard size for this recipe. If you want thicker brownies, use an 8×8. If you prefer thinner, more crispy-edged brownies, use a 9×9. Grease the pan thoroughly with butter and line it with parchment paper for easy removal.
Microwave-safe bowl or double boiler — For melting the butter and chocolate. A microwave is easier, but a double boiler gives you more control if you’re nervous about burning.
Whisk — A balloon whisk is best for aerating the eggs and sugar. This step is crucial for the crackly top.
Spatula — A heat-resistant silicone spatula for folding in the flour and chocolate chunks without overmixing.
Offset spatula or butter knife — For spreading the batter evenly in the pan.
Cooling rack — Letting the brownies cool completely is hard, but necessary for clean cuts.
How to Make It: Step-by-Step
Alright, let’s make these bad boys. I’m going to walk you through exactly how I do it, including the little tricks that separate good brownies from great ones.
Step 1: Prep Your Pan and Oven (5 minutes)
Preheat your oven to 350°F (175°C). Line an 8×8 inch baking pan with parchment paper, leaving an overhang on the sides. This acts as a sling so you can lift the brownies out easily later. Grease the parchment with butter. This prevents sticking and helps those edges get a little crisp.
Step 2: Melt the Butter and Chocolate (3-5 minutes)
In a microwave-safe bowl, combine the melted butter and the chopped dark chocolate chunks. Microwave in 30-second intervals, stirring in between, until smooth. Or, use a double boiler on the stove. The mixture should be glossy and smooth. Set it aside to cool slightly—it should be warm, not hot, so it doesn’t cook the eggs when we add them.
Step 3: Whisk the Eggs and Sugar (2-3 minutes)
This is the most important step for the crackly top. In a separate large bowl, whisk the eggs and egg yolk with the granulated sugar, vanilla extract, and espresso powder. Whisk vigorously for about 2-3 minutes. You’re looking for the mixture to become pale, thick, and slightly frothy. It should leave a ribbon trail when you lift the whisk. This incorporates air and dissolves the sugar, which is the secret to that shiny crust. I know it feels like extra work, but trust me. Skip this, and you get a flat, matte top.
Step 4: Combine Wet Ingredients (1 minute)
Pour the warm chocolate-butter mixture into the egg-sugar mixture. Whisk gently until combined. The batter will look glossy and rich. It might separate a little, which is fine. Don’t worry about it.
Step 5: Fold in the Dry Ingredients (2 minutes)
Sift the flour and salt over the wet mixture. Using a spatula, gently fold the flour into the batter. Stop as soon as you no longer see streaks of flour. Overmixing develops gluten, which leads to cakey brownies. We want tender, fudgy brownies. The batter should be thick and heavy.
Step 6: Add the Chocolate Chunks (1 minute)
Fold in the remaining dark chocolate chunks. Reserve a small handful to sprinkle on top later if you want extra chocolatey bites.
Step 7: Bake (25-30 minutes)
Pour the batter into the prepared pan and spread it evenly. Sprinkle the reserved chocolate chunks and a pinch of sea salt flakes on top. Bake for 25-30 minutes. Here’s the trick: you want the edges to be set and the center to still look slightly underbaked. A toothpick inserted into the center should come out with moist crumbs clinging to it, not wet batter. If you want a firmer brownie, bake for 30-32 minutes. For gooey centers, stick to 25 minutes.
Step 8: Cool Completely (1-2 hours)
This is the hardest part. Let the brownies cool in the pan on a wire rack for at least 1 hour. They will firm up as they cool. If you cut them while hot, they’ll be mushy and fall apart. Patience pays off. Once cool, lift them out using the parchment sling and slice into squares.
Expert Tips & Tricks
Here’s everything I’ve learned from making these dozens of times. These tips will save you from my mistakes.
- Don’t Skip the Whisking — I repeated this because it’s that important. Whisking the eggs and sugar vigorously is what creates the shiny, crackly top. If you just stir, you’ll get a matte, cakey top. Take the time to whisk until it’s pale and thick.
- Use Quality Chocolate — Cheap chocolate chips have stabilizers that prevent them from melting smoothly. Use real chocolate bars chopped into chunks. The texture difference is night and day.
- Underbake Slightly — Brownies continue to cook in the residual heat of the pan after you take them out of the oven. If you bake them until the center is fully set, they’ll be dry. Pull them out when the center still looks slightly underdone.
- Room Temperature Eggs — Cold eggs can cause the melted chocolate to seize up. Let your eggs sit out for 30 minutes before you start.
- Don’t Overmix the Flour — Once you add the flour, mix as little as possible. Just until it disappears. Overmixing = cakey brownies.
Common Mistakes (and how to avoid them)
Mistake: The top isn’t crackly.
Fix: You didn’t whisk the eggs and sugar enough. Or, your oven temperature was too low. Use an oven thermometer to check.
Mistake: The brownies are dry.
Fix: You overbaked them. Next time, take them out 2-3 minutes earlier.
Mistake: The brownies are too dense/gummy.
Fix: You didn’t bake them long enough. Or, you added too much flour. Measure carefully.
Variations & Substitutions
Once you’ve nailed the basic version, here’s how you can mix it up. I’ve tried all of these.
- Nutty Version — Add 1 cup of toasted walnuts or pecans. Toasting the nuts first enhances their flavor. This is great if you like a bit of crunch.
- Red Velvet Brownies — Replace 2 tablespoons of cocoa powder with red velvet cake mix. Add a few drops of red food coloring. Fun for holidays.
- Mint Chocolate — Add 1 teaspoon of peppermint extract to the batter. Sprinkle with crushed peppermint candies before baking. Perfect for Christmas.
- Gluten-Free — Use a 1:1 gluten-free flour blend. The texture will be slightly more delicate, but still delicious. I’ve used Bob’s Red Mill and it works well.
- Double Chocolate — Add ½ cup of white chocolate chips or butterscotch chips for a color contrast and sweetness balance.
Dietary Modifications
Dairy-Free — Use vegan butter and dairy-free chocolate chunks. The texture might be slightly less fudgy, but it’s still good.
Lower Sugar — Reduce the sugar to 1 cup. The brownies will be less sweet and have a more intense chocolate flavor. The crackly top might not be as pronounced.
Serving & Storage
These brownies are best served at room temperature, though I admit I’ve eaten them warm from the oven when no one was looking.
How to Serve
I usually serve these with a cup of coffee or a glass of cold milk. They pair beautifully with a simple vanilla ice cream or a dollop of whipped cream if you’re feeling indulgent. For a more sophisticated presentation, dust them with powdered sugar or serve with fresh raspberries to cut the richness.
If you’re looking for other dessert ideas for gatherings, these go well alongside apple challah bread pudding for a cozy autumn spread, or pomegranate honey cheesecake bars for a festive touch.
Storage Instructions
Room Temperature: Store in an airtight container for up to 4 days. They actually get fudgier after a day or two as the moisture redistributes.
Refrigerator: You can store them in the fridge for up to a week, but they’ll firm up. Bring them to room temperature before eating for the best texture.
Freezing: Yes, you can freeze them! Wrap individual squares in plastic wrap and then place them in a freezer bag. They’ll last for 3 months. Thaw at room temperature for 30 minutes.
Reheating
Want that fresh-out-of-the-oven taste? Microwave a square for 10-15 seconds. It’ll be gooey and warm. Be careful not to overheat, or the chocolate will melt out.
Nutrition Information
I’m not a nutritionist, but here’s the breakdown if you’re tracking. Keep in mind that these are rich, dense brownies, so portion control is key.
Per Serving (1 of 16 brownies):
- Calories: 180
- Protein: 3g
- Carbs: 22g
- Fiber: 1g
- Sugar: 16g
- Fat: 10g
- Saturated Fat: 6g
Look, this is a treat. It’s not a health food. But it’s homemade, so you know exactly what’s in it. No preservatives, no weird additives. Just real chocolate, butter, and eggs. Enjoy it as part of a balanced diet, and don’t feel guilty about having two squares.
Final Thoughts
So that’s my crackly-top fudgy brownies recipe! I’ve probably talked your ear off at this point, but when you make a recipe this often, you have a lot to say about it. These brownies have saved my dessert game more times than I can count. They’re my answer to “what can I bring to the party?” or “what can I make to cheer myself up?”
Make them yours! Try different chocolate bars, add nuts, or sprinkle sea salt on top. The best recipes are the ones you adapt to your tastes. If you make these, drop a comment and let me know how they turned out! I love hearing how recipes work in your kitchen. And if something doesn’t work, tell me that too—I’m here to help troubleshoot.
Happy baking! And I hope your kitchen smells half as good as mine does right now.
Frequently Asked Questions
Q: Can I use cocoa powder instead of chocolate chunks?
A: You can use cocoa powder for the base, but the chunks are essential for the fudgy pockets of chocolate. If you only have cocoa powder, you can increase it to 1 cup, but you’ll lose the chunky texture. For the best results, use both cocoa powder and chopped chocolate bars.
Q: Why did my brownies turn out cakey instead of fudgy?
A: This usually happens for three reasons: too much flour, overmixing the batter, or overbaking. Make sure you measure your flour correctly (spoon and level), fold the flour in gently, and pull the brownies out when the center is still slightly underdone.
Q: Can I make these in a 9×9 pan?
A: Yes, but they’ll be thinner. Adjust the baking time by reducing it by 5-7 minutes. Check them at 20 minutes. They’ll have more crispy edges, which some people prefer.
Q: Do I really need espresso powder?
A: No, you can skip it, but the chocolate flavor will be less intense. The espresso enhances the cocoa without making the brownies taste like coffee. If you don’t have it, instant coffee granules work just as well.
Q: How do I get that shiny top?
A: The shiny top comes from whisking the eggs and sugar vigorously until pale and thick. This dissolves the sugar and incorporates air. Don’t skip this step! Also, make sure your chocolate-butter mixture is warm but not hot when you add it to the eggs.
Q: Can I use milk chocolate instead of dark chocolate?
A: You can, but the brownies will be sweeter and less intense. Dark chocolate (60-70% cocoa) provides the best balance of sweetness and bitterness for fudgy brownies. If you use milk chocolate, reduce the granulated sugar by ¼ cup.
Q: Can I make these ahead of time?
A: Yes! These brownies actually taste better the next day. Make them 24 hours in advance and store them in an airtight container at room temperature. They’ll be fudgier and the flavors will have melded together.
Pin This Recipe!
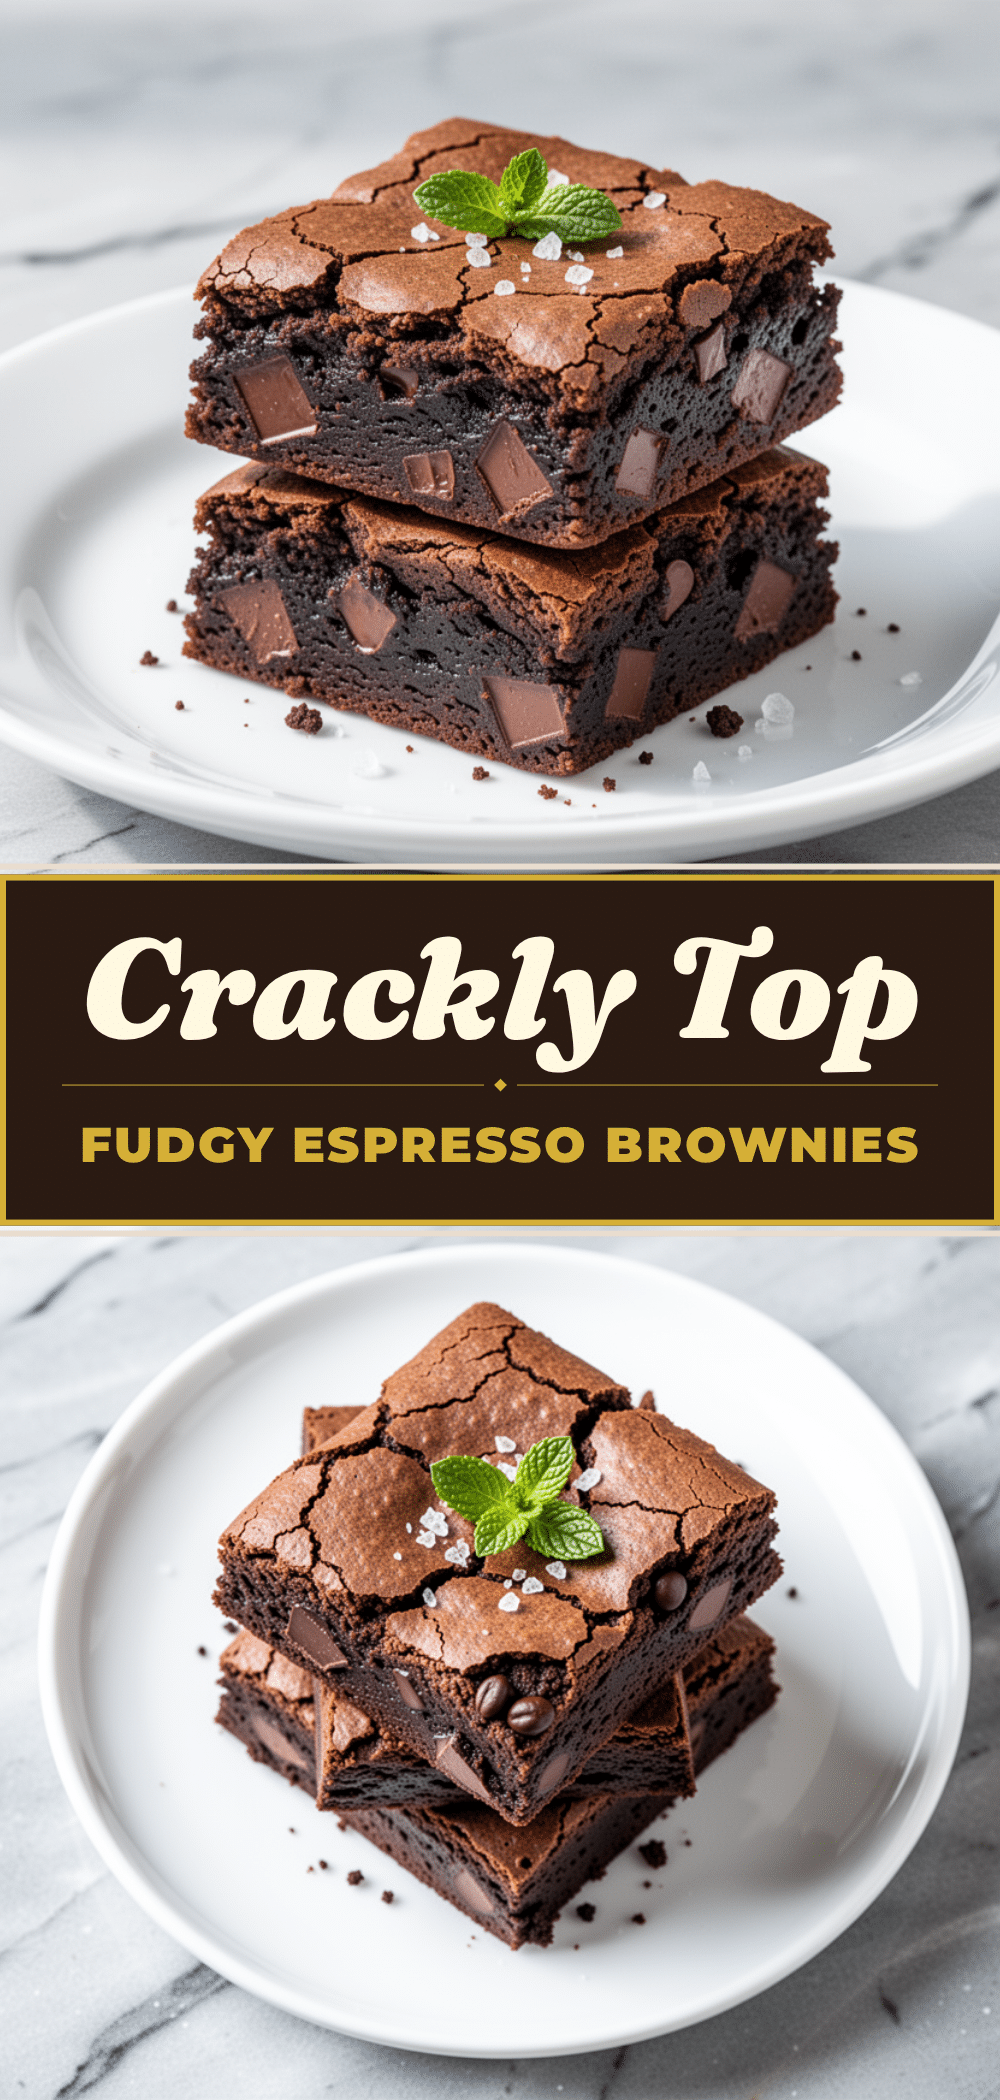
Crackly-Top Fudgy Brownies: Best Easy Recipe with Espresso
- Total Time: 40 minutes
- Yield: 16 servings 1x
Description
These homemade brownies feature a gorgeous, metallic-looking crackly top and a dense, fudgy interior. Enhanced with espresso powder to deepen the chocolate flavor, this recipe uses simple ingredients and specific techniques to achieve bakery-quality results.
Ingredients
- 1 cup (226g) unsalted butter, melted
- 1 ½ cups (300g) granulated sugar
- 3 large eggs + 1 egg yolk, room temperature
- 1 teaspoon vanilla extract
- ¾ cup (60g) unsweetened cocoa powder (Dutch-processed preferred)
- 1 tablespoon espresso powder or instant coffee granules
- ¾ cup (95g) all-purpose flour
- ½ teaspoon salt (reduce to ¼ tsp if using salted butter)
- 1 cup (170g) dark chocolate chunks (semi-sweet or bittersweet)
- Sea salt flakes (optional, for topping)
Instructions
- Preheat oven to 350°F (175°C). Line an 8×8 inch baking pan with parchment paper, leaving an overhang on the sides, and grease with butter.
- In a microwave-safe bowl or double boiler, melt the butter and dark chocolate chunks together in 30-second intervals, stirring until smooth. Set aside to cool slightly (should be warm, not hot).
- In a large bowl, vigorously whisk the eggs, egg yolk, granulated sugar, vanilla extract, and espresso powder for 2-3 minutes until the mixture is pale, thick, frothy, and leaves a ribbon trail.
- Pour the warm chocolate-butter mixture into the egg-sugar mixture and whisk gently until combined.
- Sift the flour and salt over the wet mixture. Gently fold in with a spatula until just combined and no streaks of flour remain. Do not overmix.
- Fold in the remaining dark chocolate chunks, reserving a small handful for topping.
- Pour batter into the prepared pan, spread evenly, and sprinkle with reserved chocolate chunks and sea salt flakes.
- Bake for 25-30 minutes. The edges should be set, but the center should look slightly underbaked. A toothpick inserted into the center should come out with moist crumbs, not wet batter.
- Cool completely in the pan on a wire rack for at least 1 hour before lifting out and slicing into squares.
Notes
For the best crackly top, whisk the eggs and sugar vigorously until pale and thick. Use real chocolate bars chopped into chunks rather than chips for better melting. Underbake slightly for a fudgy center, as brownies continue to cook in the residual heat of the pan. Store in an airtight container at room temperature for up to 4 days.
- Prep Time: 10 minutes
- Cook Time: 30 minutes
- Category: Dessert
- Cuisine: American
Nutrition
- Serving Size: 1 brownie square
- Calories: 180
- Sugar: 16
- Fat: 10
- Saturated Fat: 6
- Carbohydrates: 22
- Fiber: 1
- Protein: 3
Keywords: brownies, fudgy brownies, crackly top brownies, espresso brownies, dark chocolate brownies, easy dessert, homemade brownies


