There is a specific kind of guilt that comes with opening your refrigerator door and spotting that jar of sourdough starter sitting in the back corner. You know the one. It’s been there since last week’s bake, looking slightly separated with a layer of dark liquid on top, whispering that it needs to be fed or it will perish. I’ve been there. I’ve felt that panic. I’ve also felt the even deeper guilt of pouring perfectly good, bubbly, fermented goodness down the drain because I just didn’t have the energy to bake a loaf of bread on a Tuesday night.
But here’s the thing: throwing away sourdough discard is basically throwing away dessert potential. For years, I treated my discard like a problem to be solved. Then, about three years ago, I was exhausted after a long day at work, my kids were begging for something sweet, and I had exactly ten minutes before dinner needed to be on the table. I looked at that jar, looked at the chocolate chips in my pantry, and thought, why not?
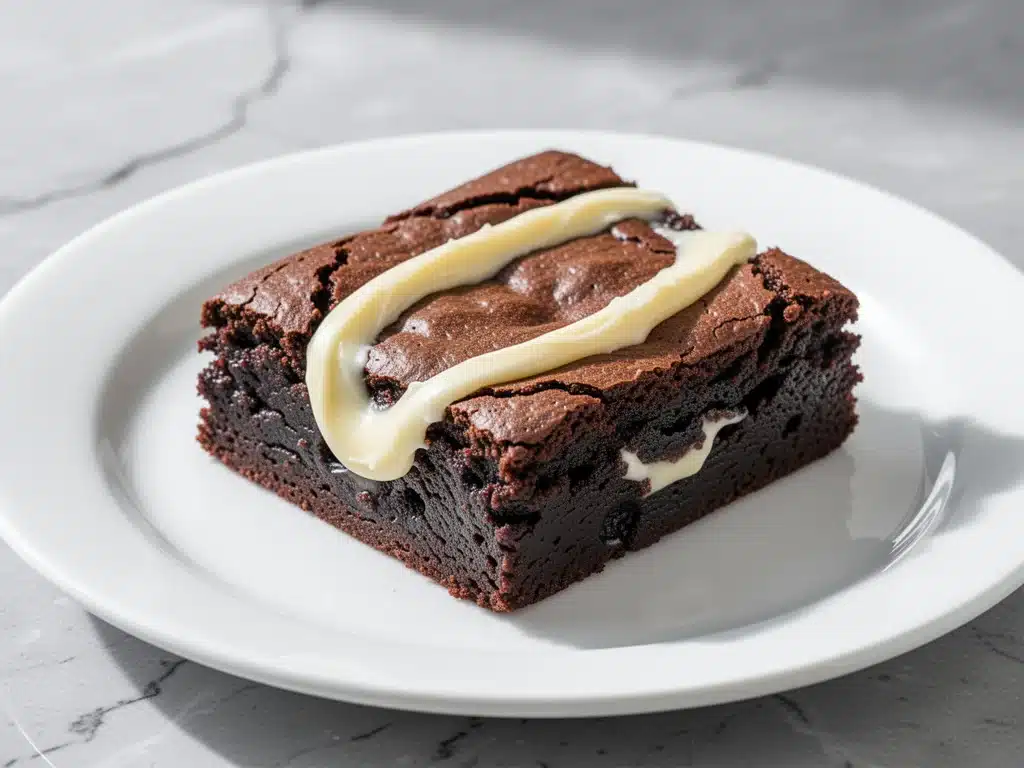
I mixed up a batch of what I now call Ultra-Fudgy Sourdough Discard Brownies. I expected a dense, tangy mess. Instead, I got the fudgiest, most chocolatey brownie I had ever tasted. The sourdough didn’t make them sour; it made them *fudgy*. The acidity tenderizes the gluten in the flour, creating a texture that’s almost like a dense chocolate truffle. My kids devoured them. My husband asked if I bought them from the bakery. And honestly? They’re easier than almost any other dessert I make, which is saying something because I’m not exactly a pastry chef.
This recipe is my secret weapon. It’s for the busy weeknights when you want to feel like a hero but don’t want to spend hours in the kitchen. It’s for the sourdough bakers who hate waste. It’s for anyone who loves chocolate. And the best part? It uses just five ingredients (plus the discard). Let me show you why this has completely changed how I view my starter jar.
Why You’ll Love This Sourdough Discard Brownie Recipe
I’ve tested this recipe dozens of times, tweaking ratios until the texture was absolutely perfect. It’s not just “good for discard brownies.” It’s just good brownies. Period. Here’s why this recipe has earned a permanent spot in my weekly rotation, right alongside my small batch fudgy brownies.
- Zero Waste, Maximum Flavor — This is the ultimate way to use up your discard. Instead of feeding it just to throw half away, you turn it into something delicious. It feels productive and eco-friendly, which is a nice bonus when you’re tired.
- Stupidly Simple — Seriously, if you can melt chocolate and stir, you can make these. There’s no creaming butter and sugar. No egg whites to separate. Just a single bowl. I make these while helping my daughter with her homework. It’s that easy.
- Lightning Fast — You’re looking at about 10 minutes of prep time and 25-30 minutes of baking. That’s it. You can have warm, gooey brownies on the table before the main course is even fully cooked. Perfect for those chaotic weeknights.
- Unexpectedly Fudgy — The sourdough discard adds moisture and acidity, which creates a denser, chewier crumb than standard brownie recipes. They aren’t cakey. They aren’t dry. They are rich, dense, and incredibly chocolatey.
- Freezer Friendly — I often double the batch because these freeze beautifully. I keep a batch in the freezer for “emergency dessert” nights. You just microwave a square for 20 seconds, and it’s like warm from the oven.
This isn’t just a way to use up ingredients. It’s a way to turn a chore (feeding your starter) into a treat. It’s my go-to when I need a win in the kitchen without the fuss.
Ingredients You’ll Need
Here’s the best part: you probably have most of this already. I’m not asking you to go to three different stores for fancy ingredients. This is pantry-friendly comfort food.
For the Chocolate Base:
Dark chocolate chips or chunks (1 cup / 175g) — I use semi-sweet, but dark chocolate works too. The higher the cocoa percentage, the less sweet they’ll be. I like a 60% cocoa bar chopped up for extra fudginess. Do not use chocolate chips that are meant for cookies; they have stabilizers that prevent melting. You want chocolate that melts into a sauce.
Unsalted butter (½ cup / 115g) — This adds richness and structure. I always use butter, not oil, for this recipe. It gives that classic brownie mouthfeel. Let it melt in the microwave or on the stove.
Sourdough discard (½ cup / 115g) — This is the star. It can be active or inactive, fed or unfed. Just take it straight from the jar. If it’s very thick, you might need to stir in a teaspoon of water to make it mixable, but usually, it’s fine as is. This provides the moisture and the tang (which balances the sweetness).
Granulated sugar (½ cup / 100g) — White sugar creates that crispy, shiny crackly top. Brown sugar adds chewiness. I use a mix sometimes, but for this specific ultra-fudgy version, white sugar is key for the texture. Don’t skimp on it; the sourdough’s tang needs the sweetness to balance.
Large eggs (2) — These bind everything together. Room temperature is best, but cold eggs work fine too. Just whisk them well.
All-purpose flour (½ cup / 65g) — Just standard flour. You don’t need cake flour or bread flour. In fact, all-purpose gives the right amount of structure without making them tough. Sift it if you’re being fancy, but honestly, a whisk works fine.
Cocoa powder (2 tablespoons / 10g) — This boosts the chocolate flavor. I use natural unsweetened cocoa powder. If you only have dutched (alkalized) cocoa, it will work, but the color might be darker and the flavor slightly less intense. A pinch of salt is non-negotiable here to make the chocolate pop.
Vanilla extract (1 teaspoon) — Pure vanilla, please. I know it’s easy to skip, but it adds a depth of flavor that makes these taste like they came from a high-end bakery. It’s worth the 30 cents.
Optional but recommended:
Flaky sea salt (for topping) — Sprinkling this on right after they come out of the oven is a game-changer. The salt crystals contrast with the sweet, fudgy interior. It’s fancy but effortless.
Equipment Needed
You don’t need fancy equipment for this. Here’s what I actually use.
9×9 inch baking pan — I line it with parchment paper, leaving an overhang on the sides. This is crucial for lifting the brownies out later. Without the overhang, you’ll be digging them out with a spoon, and nobody wants that. Grease the parchment lightly to be safe.
Microwave-safe bowl or small saucepan — For melting the chocolate and butter. I prefer the microwave in 30-second intervals, stirring in between, to avoid burning the chocolate. If you use a saucepan, keep the heat very low.
Medium mixing bowl — Any bowl that’s big enough to hold all the ingredients. I use a glass bowl because I can see how well it’s mixed.
Whisk — For combining the wet ingredients and folding in the dry. A silicone spatula works too, but a whisk helps incorporate air slightly for that crackly top.
Measuring cups and spoons — Standard stuff. Dollar store versions work fine.
Offset spatula or butter knife — For spreading the batter evenly in the pan. I’m not perfect, so I smooth it out to make sure they bake evenly.
How to Make It: Step-by-Step
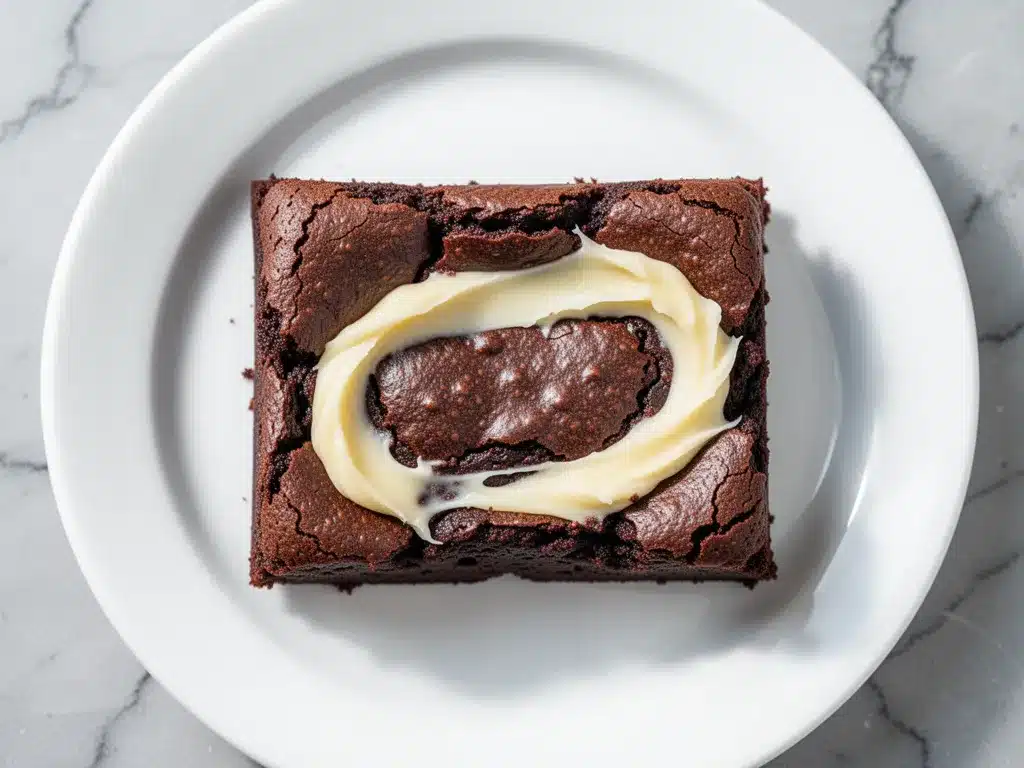
Alright, let’s make this! I’m walking you through exactly how I do it, including the little tricks I’ve picked up to ensure they turn out perfectly every time.
Step 1: Prep Your Pan and Oven (5 minutes)
Preheat your oven to 350°F (175°C). This is the most important step. If your oven isn’t ready, your brownies will spread too much or not set right. Line your 9×9 inch baking pan with parchment paper. I like to leave a few inches of overhang on two sides so you can create a “sling” to lift the brownies out later. Lightly grease the parchment with a little butter or cooking spray.
Step 2: Melt the Chocolate and Butter (3 minutes)
In a microwave-safe bowl, combine the chopped chocolate and the butter. Microwave on high for 30 seconds, then stir. If it’s not fully melted, do another 15-20 seconds. Stir until smooth and glossy. If you’re using a saucepan, melt them together over low heat, stirring constantly. Do not burn the chocolate. Set it aside to cool slightly for a minute.
Step 3: Whisk the Wet Ingredients (2 minutes)
To the warm chocolate mixture, add the sourdough discard, sugar, eggs, and vanilla extract. Whisk vigorously. You want the sugar to dissolve a bit into the warm chocolate, and the eggs to be fully incorporated. The mixture should look smooth and slightly glossy. This step takes about 60-90 seconds of whisking. Don’t rush it; good mixing helps create that shiny crust.
Step 4: Fold in the Dry Ingredients (2 minutes)
Sift the flour, cocoa powder, and salt over the wet mixture. Using a spatula, gently fold the dry ingredients into the wet. Stop as soon as you no longer see streaks of flour. Overmixing is the enemy of fudgy brownies. It develops gluten, which makes them cakey. We want tender. If you see a few tiny lumps, that’s okay. Leave them.
Step 5: Bake (25-30 minutes)
Pour the batter into your prepared pan and spread it out evenly. Bake in the preheated oven for 25-30 minutes. Here’s the tricky part: you want to pull them out when the center is still slightly underbaked. Insert a toothpick into the center; it should come out with a few moist crumbs clinging to it, not completely clean. If it’s clean, they’re done, but they’ll be drier. If it’s wet batter, give them 2 more minutes.
Pro Tip: The brownies will continue to cook slightly as they cool in the pan, which is how they set into that fudgy texture. If you wait until they are fully firm in the pan, they will be dry by the time they cool.
Step 6: Cool and Serve
Let the brownies cool in the pan for at least 15 minutes. This is the hardest part, I know. But if you cut them hot, they’ll be a mushy mess. Once they’ve cooled slightly, use the parchment sling to lift them out of the pan. Place them on a cutting board, sprinkle with flaky sea salt if using, and slice into squares. Serve warm with a glass of milk or a scoop of vanilla ice cream.
Expert Tips & Tricks for Fudgy Success
Here’s everything I’ve learned from making this dozens of times. These tips will save you from my mistakes.
Don’t Overbake
This is the #1 mistake people make. Brownies are meant to be fudgy, not cakey. The toothpick test is your friend, but trust your eyes more. The edges should be set, but the center should still jiggle slightly. They will firm up as they cool. If you bake them until the toothpick is clean, you’ll have dry brownies.
Use Good Chocolate
Since chocolate is the main flavor, don’t use the cheapest chips you can find. I love Ghirardelli or Guittard for baking. If you use a high-quality chocolate bar chopped up, the flavor is incomparably better. It melts more smoothly and tastes richer.
Room Temperature Eggs
While cold eggs work, room temperature eggs emulsify better into the chocolate mixture. If I forget, I just drop them in a bowl of warm water for 5 minutes. It makes the batter smoother.
The Sourdough Ratio
Make sure you measure your sourdough discard correctly. If your discard is very thick (stiff), you might need to thin it with a teaspoon of water or milk. If it’s very runny, you might need to reduce the sugar slightly or bake for an extra 2 minutes. Consistency matters.
Storage is Key
These brownies actually taste better the next day. The flavors meld together, and the texture becomes even denser and fudgier. Store them in an airtight container at room temperature for up to 3 days. They keep well because of the high fat content.
Variations & Substitutions
Once you’ve nailed the basic version, here’s how you can mix it up. I’ve tried all of these.
Chocolate Chip Boost
Add ½ cup of chocolate chips to the batter after folding in the dry ingredients. This creates pockets of melted chocolate that are pure bliss. My kids love this version.
Nutty Brownies
Fold in ½ cup of chopped walnuts or pecans. The crunch contrasts beautifully with the soft fudgy texture. Toast the nuts first for extra flavor.
Espresso Brownies
Add 1 teaspoon of instant espresso powder to the dry ingredients. It doesn’t make them taste like coffee; it just intensifies the chocolate flavor. This is how you get that bakery-style depth.
Gluten-Free
You can easily make these gluten-free by using a 1:1 gluten-free flour blend. I’ve used Bob’s Red Mill and King Arthur, and both work perfectly. The texture remains fudgy.
Dairy-Free
Swap the butter for coconut oil or a dairy-free butter alternative. The sourdough discard is already dairy-free, so this works well. The flavor might be slightly less rich, but still delicious.
Serving & Storage
How to Serve:
I usually serve these straight from the pan, cut into squares. They look rustic and homemade. But here are other ways I’ve enjoyed them:
- With Ice Cream: A scoop of vanilla bean ice cream is classic. The cold cream contrasts with the warm brownie.
- With Coffee: These are rich enough to pair with a strong black coffee or a latte.
- As a Dessert Bar: I cut them into smaller squares for potlucks or parties. They travel well and don’t get messy.
Storage Instructions:
Refrigerator:
Store in an airtight container for up to 4 days. The fridge can dry them out slightly, so I prefer room temperature. If you do refrigerate, let them come to room temperature before eating for the best texture.
Freezer:
These freeze beautifully! Wrap individual squares in plastic wrap, then place them in a freezer bag. They’ll last for up to 3 months. Thaw at room temperature for 30 minutes or microwave for 15 seconds. They taste almost fresh.
Reheating:
Microwave for 10-15 seconds to get that gooey, warm center. Do not overheat, or they’ll become tough.
Nutrition Information
I’m not a nutritionist, but here’s the breakdown if you’re tracking. Please remember these are estimates.
Per Serving (based on 16 brownies):
- Calories: 180
- Protein: 3g
- Carbs: 22g
- Fiber: 1g
- Sugar: 15g
- Fat: 10g
- Saturated Fat: 6g
- Cholesterol: 35mg
- Sodium: 45mg
What’s Good:
They’re relatively low in protein and fiber, which is typical for brownies. The sourdough discard adds a tiny bit of probiotic benefit, though it’s likely deactivated by the heat.
What to Know:
They are high in sugar and saturated fat, obviously. This is a treat, not a health food. Enjoy in moderation. If you want to lighten it up, you can reduce the sugar by 2 tablespoons, but they might be less fudgy.
Final Thoughts
So that’s my go-to Ultra-Fudgy Sourdough Discard Brownies recipe! I’ve probably talked your ear off at this point, but when you make a recipe this often, you have a lot to say about it.
This has saved weeknight desserts more times than I can count. It’s my answer to “what’s for dessert” when I’m tired, don’t want to order takeout, and still want something that tastes really good. My kids are happy, my husband’s happy, and I’m happy because I’m not stressed about cooking.
Make it yours! Try different add-ins, swap in your favorite chocolate, adjust the sugar. The best recipes are the ones you adapt to your family’s tastes. And if you have sourdough discard sitting in your fridge, don’t throw it away. Turn it into these brownies. Your taste buds will thank you.
If you make this, drop a comment and let me know what you think! I love hearing how recipes turn out in your kitchen. And if something doesn’t work, tell me that too—I’m here to help troubleshoot.
Happy baking! And I hope your kitchen smells half as good as mine does right now.
Frequently Asked Questions
Can I use active sourdough starter instead of discard?
Yes, but you need to adjust the recipe. If you use active starter, you’re adding yeast and bacteria that will try to rise in the oven. This might make the brownies cakey or cause them to rise and then fall. If you must use active starter, reduce the baking time by 5 minutes and expect a slightly lighter texture. Discard is preferred because it’s inactive, ensuring a dense, fudgy result.
Why did my brownies turn out cakey instead of fudgy?
This usually happens for two reasons: overmixing the batter or overbaking. If you mix the flour in too much, you develop gluten, which creates structure and chewiness (cakey). Also, if you bake them until the toothpick comes out clean, they will be dry. Pull them out when the toothpick has moist crumbs. Remember, they continue to cook in the hot pan.
Can I double this recipe?
Absolutely! Double everything and use a 9×13 inch baking pan. The baking time might increase by 5-10 minutes, so keep an eye on them. I often double this batch when I’m meal-prepping desserts for the week.
How long do these brownies last?
They stay fresh at room temperature in an airtight container for up to 3 days. After that, they might start to dry out. They freeze beautifully for up to 3 months, which is my preferred method for longer storage.
Can I use oil instead of butter?
You can, but the texture will be different. Oil makes brownies moister but less rich. Butter adds flavor and a specific crumb structure. If you use oil, use a neutral oil like vegetable or canola. The brownies will still be fudgy, but they won’t have that buttery depth.
Do I need to sift the flour and cocoa?
It’s not strictly necessary, but it helps remove lumps and ensures even distribution. If you’re in a hurry, you can just whisk it all together. The brownies will still turn out great, but sifting gives a slightly smoother texture.
Can I make these in a microwave mug?
Yes! You can halve the recipe and make a single serving in a mug. Microwave for 60-90 seconds. Keep an eye on it, as microwaves vary. This is a great option if you just want one brownie and don’t want to bake a whole pan. Check out my microwave mug brownie recipe for a similar quick treat.
Pin This Recipe!
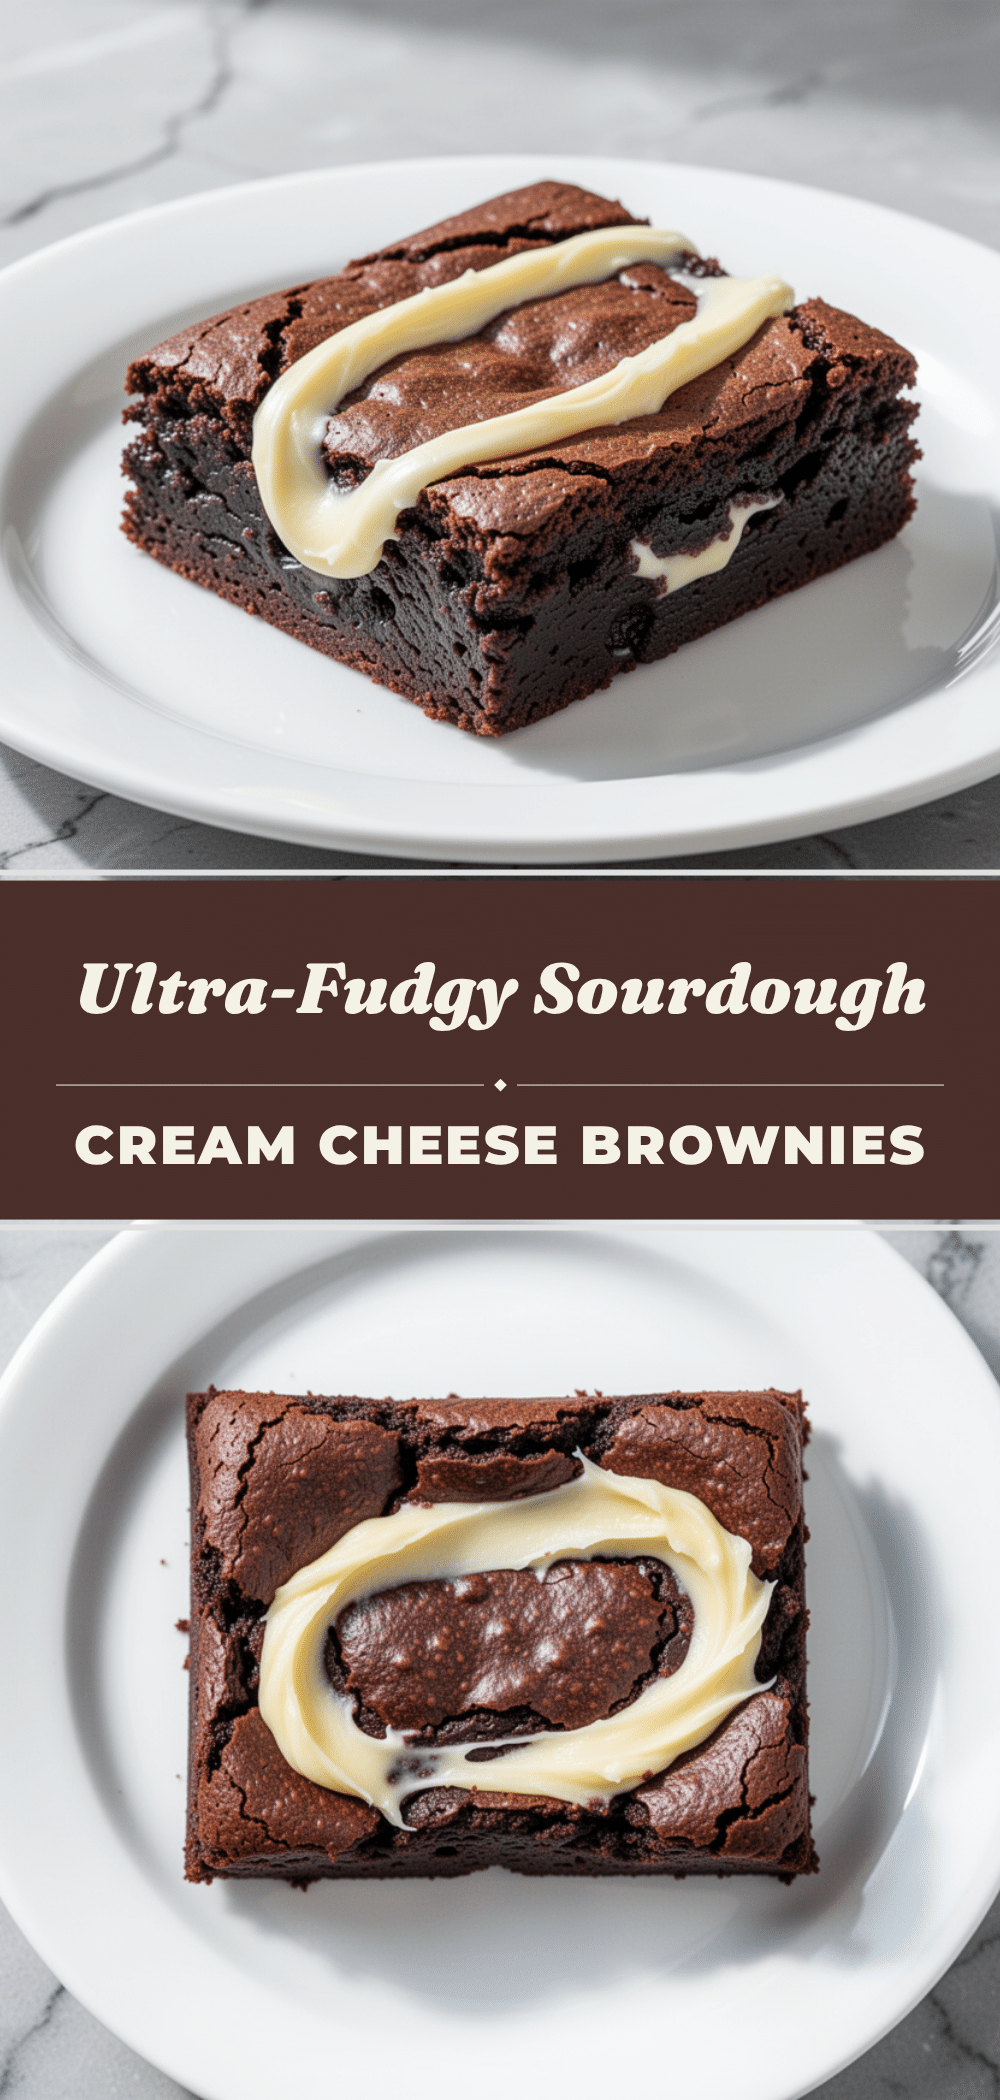
Ultra-Fudgy Sourdough Discard Brownies: 5-Ingredient Easy Recipe
- Total Time: 35-40 minutes
- Yield: 16 servings 1x
Description
These ultra-fudgy sourdough discard brownies are a zero-waste dessert that uses just five main ingredients plus discard. They are incredibly easy to make in a single bowl, resulting in a dense, chocolatey, truffle-like texture perfect for busy weeknights.
Ingredients
- 1 cup (175g) dark chocolate chips or chunks (semi-sweet or 60% cocoa)
- ½ cup (115g) unsalted butter
- ½ cup (115g) sourdough discard
- ½ cup (100g) granulated sugar
- 2 large eggs
- ½ cup (65g) all-purpose flour
- 2 tablespoons (10g) natural unsweetened cocoa powder
- 1 teaspoon vanilla extract
- Pinch of salt
- Flaky sea salt (optional, for topping)
Instructions
- Preheat oven to 350°F (175°C). Line a 9×9 inch baking pan with parchment paper, leaving an overhang on two sides, and lightly grease the parchment.
- In a microwave-safe bowl, combine the chocolate and butter. Microwave in 30-second intervals, stirring between each, until smooth and glossy. Alternatively, melt over low heat in a saucepan. Set aside to cool slightly.
- To the warm chocolate mixture, add the sourdough discard, sugar, eggs, and vanilla extract. Whisk vigorously for 60-90 seconds until the mixture is smooth, glossy, and the sugar is partially dissolved.
- Sift the flour, cocoa powder, and salt over the wet mixture. Gently fold in with a spatula until just combined and no streaks of flour remain. Do not overmix.
- Pour the batter into the prepared pan and spread evenly.
- Bake for 25-30 minutes. The brownies are done when a toothpick inserted into the center comes out with moist crumbs clinging to it, not completely clean.
- Let the brownies cool in the pan for at least 15 minutes to set. Lift out using the parchment sling, sprinkle with flaky sea salt if using, and slice into squares.
Notes
Do not overbake; the center should still jiggle slightly as they continue to cook in the hot pan. For best results, use high-quality chocolate that melts smoothly. Room temperature eggs emulsify better. These brownies taste even better the next day as flavors meld. They can be frozen for up to 3 months.
- Prep Time: 10 minutes
- Cook Time: 25-30 minutes
- Category: Dessert
- Cuisine: American
Nutrition
- Serving Size: 1 square
- Calories: 180
- Sugar: 15
- Sodium: 45
- Fat: 10
- Saturated Fat: 6
- Carbohydrates: 22
- Fiber: 1
- Protein: 3
Keywords: sourdough discard, brownies, fudgy brownies, easy dessert, zero waste, chocolate dessert, weeknight baking


