I have a confession to make. I used to be the person who bought banana cream pie from the grocery store. You know the one—the cardboard-thin crust, the gelatinous pudding that tasted like artificial banana extract, and the whipped topping that dissolved into a sad, watery mess by Tuesday afternoon. I did it for years because making a real banana cream pie from scratch felt like too much work. It was fussy. It was messy. And half the time, the bananas would turn brown before dinner was even over.
Then, about six months ago, I was hosting a small dinner party and ran out of dessert options. I was staring at a bunch of overripe bananas in my fruit bowl, wondering if I should make my one-bowl banana bread with chocolate chips for the third time that month. But then I saw a recipe for banana cream pie bars on a random food blog, and something clicked. Why not take all the flavors of banana cream pie and turn them into something that’s actually manageable? Something that doesn’t require a meringue torch or three separate bowls of whipping cream that might deflate if you look at them wrong?
So I tried it. And honestly? It changed my dessert game forever. These creamy banana cream pie bars are the perfect compromise between indulgence and convenience. They’re rich, they’re creamy, they’re packed with real banana flavor, and best of all, they are incredibly easy to make ahead. I’ve made these for potlucks, for last-minute guests, and just for myself on lazy Sunday afternoons. They’re my go-to when I want something that tastes like a fancy bakery dessert but requires zero stress.
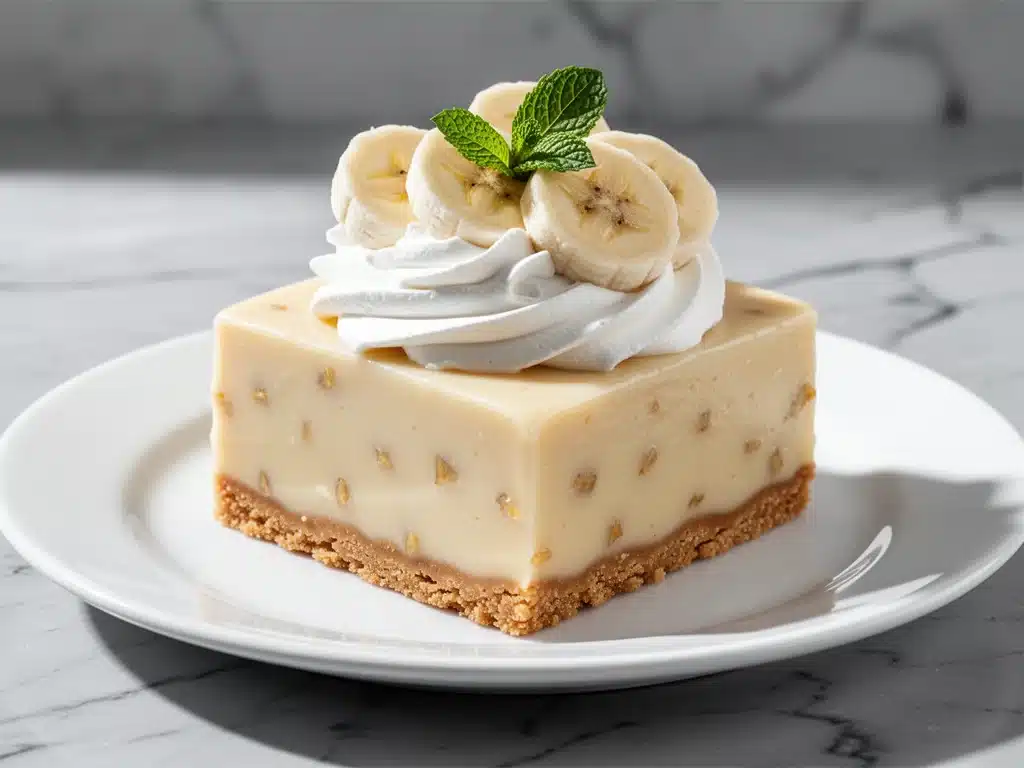
What makes these bars special isn’t just the taste—it’s the texture. You get that buttery, shortbread-like crust that holds up without getting soggy, a thick layer of vanilla pudding that’s silky smooth, chunks of fresh banana that add a natural sweetness, and a topping that’s light and airy without being cloying. It’s the whole pie experience in a portable, sliceable format. And because they’re bars, you don’t have to worry about the crust cracking or the filling sliding out. They’re sturdy, they travel well, and they taste even better the next day.
I’ve tested this recipe at least a dozen times, tweaking the ratio of pudding to cream, figuring out the best way to keep the bananas from browning, and perfecting the crust so it’s crisp on the edges but tender in the middle. The result is a dessert that’s foolproof, delicious, and surprisingly elegant. If you’re looking for a make-ahead dessert that will impress your friends without taking over your kitchen, these are it. Trust me, once you try them, you’ll never go back to store-bought pie again.
Why You’ll Love This Recipe
There are plenty of banana desserts out there, but these creamy banana cream pie bars stand out for a few specific reasons. I’ve made this recipe for everyone from my picky niece to my food-snobby coworkers, and the response is always the same: “Wait, you made this from scratch?” Here’s why this recipe has earned a permanent spot in my rotation.
- Stupid Simple Assembly — Seriously, if you can mix a box of pudding, mash a banana, and press dough into a pan, you can make this. I don’t use any fancy techniques here. No tempering chocolate, no whipping egg whites to stiff peaks, no complex layering. It’s straightforward, forgiving, and perfect for weeknight bakers or beginners.
- Lightning Fast Prep — While the baking time is necessary, the active prep time is under 20 minutes. I can have these in the oven before my coffee gets cold. The crust is pre-made (usually refrigerated pie dough, which is a total cheat code), and the filling comes together in one bowl. This is my answer to “what can I bake quickly?”
- Perfect for Meal Prep — These bars are the ultimate make-ahead dessert. You can assemble them a day or two in advance, and they actually improve as they sit. The flavors meld together, the crust sets up nicely, and the bananas soften just enough to integrate with the pudding. I often make these on Sunday to have for the week, or on Wednesday for a Thursday dinner party.
- Portable and Party-Friendly — Unlike a whole pie, which is awkward to carry and serve, bars are easy to transport. I’ve brought these to office potlucks, backyard barbecues, and holiday gatherings. They hold up well in the fridge and are easy to slice into uniform portions. No serving spatula required.
- Real Banana Flavor — A lot of banana desserts rely solely on extract, which can taste chemical and one-dimensional. These bars use actual ripe bananas, giving them a natural sweetness and depth that extract just can’t match. Plus, they’re a great way to use up those brown-spotted bananas that are about to go bad.
- Cost-Effective — Making a layered pie from scratch can get expensive with all the ingredients. These bars use simple, affordable ingredients like pie dough, instant pudding, milk, and bananas. You can feed a crowd for under $10, which is a steal compared to buying specialty desserts.
This is my go-to when I need a dessert that feels special but doesn’t require a lot of effort. It’s reliable, delicious, and always a crowd-pleaser. Whether you’re a banana lover or just someone who appreciates a good cream pie, these bars will become your new favorite.
Ingredients You’ll Need
One of the best things about this recipe is how few ingredients you need. Most of them are pantry staples or things you probably already have. I’m particular about a couple of key items, though, and I’ll tell you exactly why they matter.
For the Crust
Refrigerated pie dough (1 or 2 discs, depending on pan size) — I always use store-bought pie dough for this recipe. It’s a total game-changer. You get that flaky, buttery crust without the hassle of making it from scratch. I usually buy a two-pack and use one for the crust and save the other for another time. If you want to make it from scratch, a standard 9-inch pie crust recipe works, but it will take more time.
Sugar (1 tablespoon) — A little bit of sugar in the crust helps it brown nicely and adds a subtle sweetness that balances the tartness of the bananas. Don’t skip this.
For the Filling
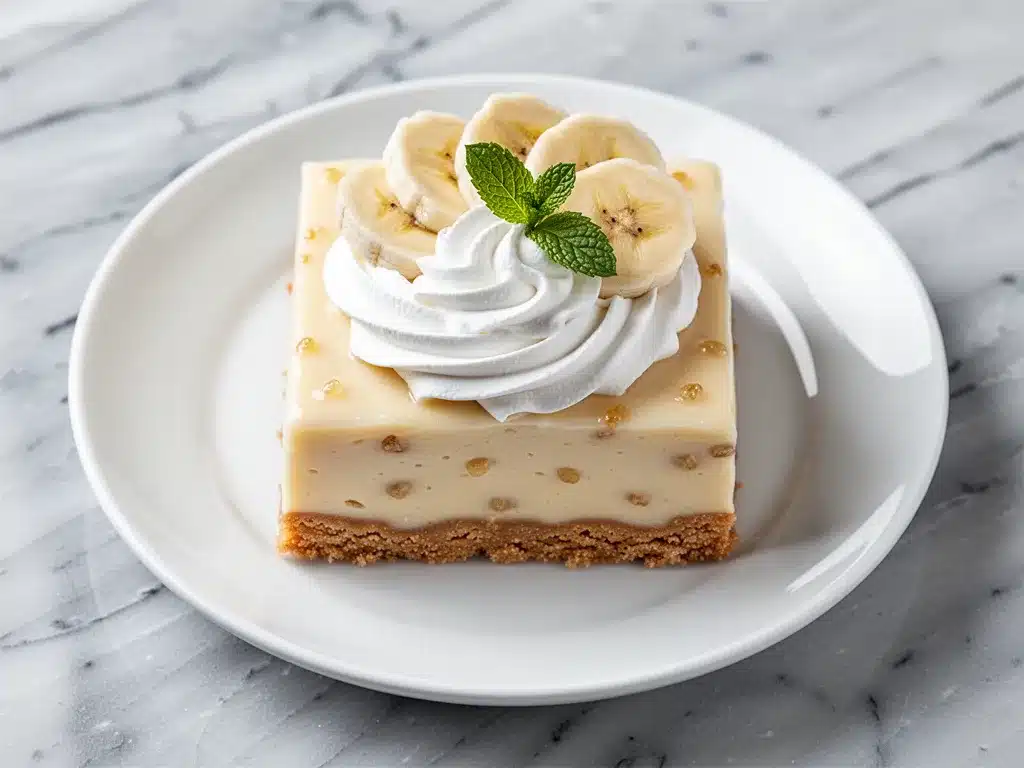
Instant vanilla pudding mix (2 boxes, about 5.1 oz each) — This is the secret weapon. Using instant pudding mix gives you that thick, creamy texture that takes hours to achieve with homemade pastry cream. I use Jell-O or a store-brand equivalent. Don’t use cook-and-serve pudding; it won’t set the same way.
Milk (4 cups, divided) — You’ll need 2 cups to mix with the pudding, and 2 cups to whip with the whipped topping. Use whole milk for the best flavor and texture. Skim milk will make the filling watery and less rich.
Heavy whipping cream (1 pint, or 2 cups) — This is for whipping up into a light, airy topping. You can also use Cool Whip if you’re in a pinch, but freshly whipped cream tastes infinitely better. If you use Cool Whip, you can skip the whipping cream step, but I recommend whipping it for the best texture.
Sugar (2 tablespoons) — Added to the whipped cream to sweeten it slightly. Adjust based on how sweet you like your dessert.
Vanilla extract (1 teaspoon) — Enhances the vanilla flavor in the pudding. Use pure vanilla extract, not imitation, for a richer taste.
For the Banana Layer
Ripe bananas (3-4 medium) — The riper, the better. Look for bananas with lots of brown spots. They’re sweeter and easier to mash. You’ll slice some for the layers and mash some for the pudding mixture.
Lemon juice (1 tablespoon) — A little bit of lemon juice helps prevent the bananas from browning and adds a bright note that cuts through the richness of the cream.
Optional Toppings
Crushed vanilla wafers — For added crunch and that classic banana cream pie vibe. I sprinkle them on top before serving.
Chocolate shavings — A nice contrast to the sweet cream. I use semi-sweet chocolate for a bit of bitterness.
Fresh mint leaves — For garnish. It looks pretty and adds a fresh aroma.
Equipment Needed
You don’t need a lot of fancy gadgets for this recipe. Here’s what I actually use:
9×13-inch baking dish — This is the standard size for bars. A glass or ceramic dish works best so you can see the bottom crust browning. If you don’t have one, a 9×13-inch metal pan works too, just watch the baking time closely.
Rolling pin — For rolling out the pie dough. If you don’t have one, a heavy bottle or can works in a pinch.
Fork — To prick the crust before baking. This prevents it from puffing up.
Mixing bowls — You’ll need a couple of medium bowls for mixing the pudding and whipping the cream.
Hand mixer or stand mixer — For whipping the cream. A hand mixer is easier for this amount, but a stand mixer with the whisk attachment works too.
Spatula — For folding in the bananas and spreading the layers.
Knife — For slicing the bananas and cutting the bars. A sharp knife makes clean cuts.
Parchment paper — Optional, but helpful for lining the pan if you want to lift the bars out easily.
How to Make It: Step-by-Step
Alright, let’s make these creamy banana cream pie bars! I’m walking you through exactly how I do it, including the little tricks I’ve picked up over time.
Step 1: Prepare the Crust (5 minutes)
Preheat your oven to 350°F (175°C). Take your refrigerated pie dough out of the fridge and let it sit for 10 minutes to soften slightly. Roll it out on a floured surface to fit your 9×13-inch baking dish. Press it into the bottom and up the sides of the dish. Prick the bottom all over with a fork. This step is crucial—it prevents the crust from bubbling up during baking.
Step 2: Blind Bake the Crust (10-12 minutes)
Line the crust with parchment paper or foil, and fill it with pie weights or dried beans. This is called blind baking, and it ensures the crust stays crisp and doesn’t get soggy when you add the wet filling. Bake for 10-12 minutes, or until the edges are lightly golden. Remove the weights and let the crust cool completely. This step takes some patience, but it’s worth it for the texture.
Step 3: Make the Pudding Layer (5 minutes)
While the crust cools, mix the instant vanilla pudding with 2 cups of cold milk according to the package directions. Stir constantly for about 2 minutes until it thickens. Don’t skip the stirring—it helps the pudding set properly. Once thick, spread it evenly over the cooled crust. This will be your creamy base layer.
Step 4: Prepare the Bananas (5 minutes)
Slice 2 of the bananas into thin rounds. Toss them with the lemon juice to prevent browning. Mash the remaining 1-2 bananas in a bowl. You want a chunky mash, not a smooth puree, so you get bits of banana in every bite.
Step 5: Whip the Cream (5 minutes)
In a large bowl, whip the heavy cream, sugar, and vanilla extract until stiff peaks form. This means when you lift the beater, the cream stands up straight. Don’t over-whip it, or it will become grainy. Fold in the mashed bananas gently. You want to keep the mixture light and airy.
Step 6: Assemble the Bars (10 minutes)
Spread the whipped banana cream evenly over the pudding layer. Arrange the banana slices on top in a neat pattern. If you’re using crushed vanilla wafers, sprinkle them over the top now. This is where you get creative with the presentation.
Step 7: Chill and Set (At least 2 hours)
Refrigerate the bars for at least 2 hours, or overnight. This allows the layers to set and the flavors to meld. If you cut into them too soon, they’ll be messy and won’t hold their shape. Patience is key here.
Step 8: Slice and Serve
Once set, remove from the fridge and slice into squares. Serve chilled. Garnish with extra banana slices, crushed wafers, or chocolate shavings if desired. Enjoy!
Total Time: About 45 minutes active, plus 2 hours chilling.
Expert Tips & Tricks
Here’s everything I’ve learned from making these bars dozens of times. These tips will save you from my mistakes.
Use Ripe Bananas
This is the #1 tip. Ripe bananas are sweeter and have a stronger flavor. If your bananas are green or just starting to yellow, they won’t taste like much. Look for bananas with lots of brown spots. If you’re in a hurry, you can bake green bananas in their peels at 300°F for 30 minutes to speed up the ripening process.
Don’t Skip the Lemon Juice
It might seem like a small detail, but the lemon juice prevents the bananas from turning brown and adds a bright flavor that balances the sweetness. It’s a small step that makes a big difference.
Whip the Cream Properly
If your cream doesn’t whip up, it’s probably too warm. Make sure your bowl and beaters are cold. You can put them in the freezer for 15 minutes before whipping. Also, don’t over-whip the cream, or it will separate.
Chill Thoroughly
I know it’s tempting to cut into these bars as soon as they’re assembled, but they need time to set. If you cut them too soon, they’ll be messy and won’t hold their shape. Chill them for at least 2 hours, but overnight is best.
Prevent Soggy Crust
Blind baking the crust is essential. Without it, the crust will be soft and soggy. If you forget to blind bake, your bars won’t have the right texture. Trust me on this one.
Common Mistakes (and how to avoid them):
- Mistake: Pudding is too thin — Fix: Make sure you’re using instant pudding, not cook-and-serve. Also, stir it vigorously for the full 2 minutes.
- Mistake: Bananas are brown — Fix: Toss them with lemon juice immediately after slicing.
- Mistake: Cream is runny — Fix: Make sure the cream is cold and whip it until stiff peaks form.
Pro Tricks I’ve Learned:
- For Extra Crunch — Add a layer of crushed vanilla wafers between the pudding and the cream. It adds a nice texture contrast.
- For Better Flavor — Add a teaspoon of banana extract to the pudding mixture. It intensifies the banana flavor without making it taste artificial.
- For Easier Slicing — Use a sharp knife and wipe it clean between cuts. This gives you clean, neat squares.
Variations & Substitutions
Once you’ve nailed the basic version, here’s how you can mix it up. I’ve tried all of these.
Chocolate Banana Version
Swap the vanilla pudding for chocolate pudding. Add chocolate chips to the whipped cream. This is a great option for chocolate lovers.
Caramel Banana Version
Drizzle caramel sauce over the pudding layer before adding the cream. Top with crushed toffee bits. This is my favorite variation for special occasions.
Coconut Banana Version
Use coconut milk instead of regular milk for the pudding. Add shredded coconut to the whipped cream. This gives it a tropical vibe.
Gluten-Free Version
Use a gluten-free pie dough or a crust made from crushed gluten-free cookies. Everything else is naturally gluten-free.
Dairy-Free Version
Use a dairy-free pie crust, dairy-free pudding mix, and coconut cream for the whipped topping. It’s not exactly the same, but it’s still delicious.
Lighter Version
Use low-fat milk for the pudding and light whipped topping. It’s not as rich, but it’s a bit lighter.
Serving & Storage
How to Serve:
I usually serve these bars straight from the fridge. They’re best cold, as the cream is firm and the flavors are concentrated. I often serve them with a cup of coffee or tea, but they’re also great with a glass of milk.
Side Dishes:
These bars are a dessert, so they don’t need sides. But if you’re serving them at a party, they go well with fruit platters or cheese boards.
Storage Instructions:
Refrigerator: Store in an airtight container for up to 4 days. The bars will keep their texture and flavor for several days.
Freezing: These bars don’t freeze well because the cream and pudding can separate when thawed. It’s best to make them fresh or store them in the fridge.
Meal Prep: These are perfect for meal prep. Assemble them on Sunday, and they’ll last all week. Just make sure to cover them tightly to prevent them from absorbing fridge odors.
Nutrition Information
I’m not a nutritionist, but here’s the breakdown if you’re tracking. Keep in mind that this is a dessert, so it’s high in sugar and fat.
Per Serving (based on 12 servings):
- Calories: 320
- Protein: 4g
- Carbs: 45g
- Fiber: 2g
- Sugar: 28g
- Fat: 14g
- Saturated Fat: 8g
- Cholesterol: 40mg
- Sodium: 250mg
What’s Good:
- Provides some potassium from the bananas
- Calcium from the milk and cream
What to Know:
- High in sugar and saturated fat
- Contains dairy and gluten
My Take:
Look, this is a dessert. It’s meant to be indulgent. It’s not a health food. But it’s made with real ingredients, and it’s a better option than buying processed desserts. When I make this, I enjoy a reasonable portion and savor it. It’s a treat, not a staple.
Final Thoughts
So that’s my creamy banana cream pie bars! I’ve talked your ear off at this point, but when you make a recipe this often, you have a lot to say about it. These bars have saved me from buying store-bought dessert so many times. They’re my answer to “what can I bring to the party?” or “what can I make for dessert tonight?” when I want something that tastes fancy but is easy to make.
My family loves them, my friends request them, and I make them for myself when I need a little comfort. They’re versatile, delicious, and always a hit. Make them your own! Try different toppings, swap in your favorite pudding flavor, or add different fruits. The best recipes are the ones you adapt to your tastes.
If you make this, drop a comment and let me know what you think! I love hearing how recipes turn out in your kitchen. And if something doesn’t work, tell me that too—I’m here to help troubleshoot. Happy baking! And I hope your kitchen smells as good as mine does right now.
Frequently Asked Questions
Can I use homemade pie dough?
Yes, you can! Homemade pie dough will give you a flakier, more buttery crust. Just make sure to blind bake it properly to prevent sogginess. If you’re using homemade dough, roll it out to fit your 9×13-inch dish and prick it with a fork before baking.
Why did my bars turn out watery?
This usually happens if the pudding wasn’t mixed properly or if the cream wasn’t whipped stiff enough. Make sure you stir the pudding vigorously for the full 2 minutes. Also, ensure your cream is cold and whip it until stiff peaks form. If the bars are still watery after chilling, they might need more time to set.
Can I make these ahead for a party?
Absolutely! These bars are perfect for make-ahead desserts. You can assemble them up to 2 days in advance. Just keep them covered in the fridge. They actually taste better after sitting for a few hours as the flavors meld together.
Can I freeze these bars?
I wouldn’t recommend freezing these bars. The cream and pudding can separate when thawed, leading to a grainy texture. It’s best to make them fresh or store them in the fridge for up to 4 days.
Can I use Cool Whip instead of whipped cream?
Yes, you can! Cool Whip is a convenient option if you’re short on time. Just thaw it according to the package directions and fold in the mashed bananas. It won’t be as light and airy as freshly whipped cream, but it’s still delicious.
How do I prevent the bananas from browning?
Toss the sliced bananas with lemon juice immediately after cutting. The acid in the lemon juice slows down the oxidation process that causes browning. You can also sprinkle a little sugar over them, but lemon juice is more effective.
Can I add other fruits to this recipe?
Yes! You can add sliced strawberries, blueberries, or raspberries. Just make sure they’re not too watery, or they’ll make the bars soggy. Fresh berries work best. You can also add a layer of jam or fruit preserves for extra flavor.
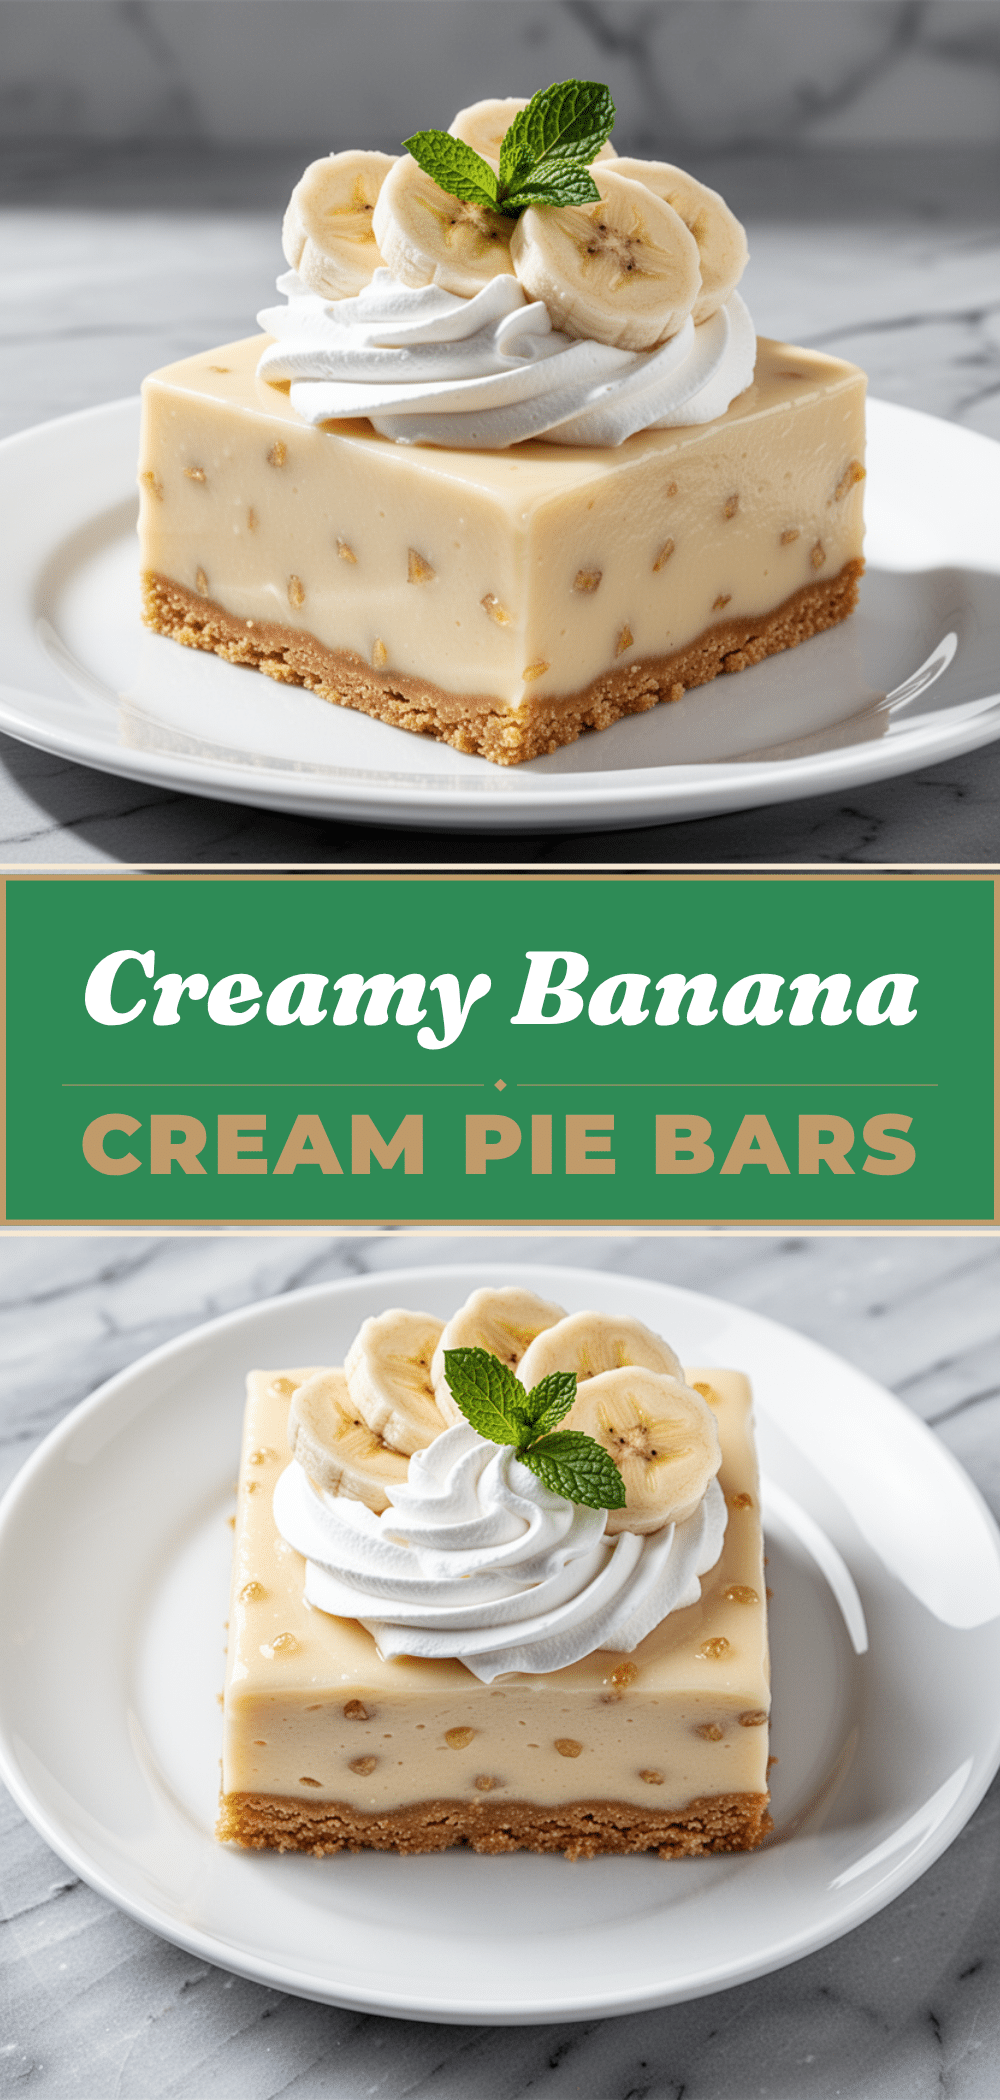
Pin This Recipe!
Creamy Banana Cream Pie Bars
- Total Time: 45 minutes active plus 2 hours chilling
- Yield: 12 servings 1x
Description
Rich, creamy banana cream pie bars with a buttery shortbread-like crust, silky vanilla pudding, fresh bananas, and a light whipped cream topping. These make-ahead dessert bars are easy to assemble, travel well, and taste better the next day.
Ingredients
- 1–2 discs refrigerated pie dough
- 1 tablespoon sugar (for crust)
- 2 boxes (approx. 5.1 oz each) instant vanilla pudding mix
- 4 cups whole milk, divided
- 1 pint (2 cups) heavy whipping cream
- 2 tablespoons sugar (for cream)
- 1 teaspoon pure vanilla extract
- 3–4 medium ripe bananas
- 1 tablespoon lemon juice
- Crushed vanilla wafers (optional)
- Chocolate shavings (optional)
- Fresh mint leaves (optional)
Instructions
- Preheat oven to 350°F (175°C). Roll out pie dough and press into a 9×13-inch baking dish. Prick the bottom with a fork.
- Line crust with parchment or foil and fill with pie weights. Blind bake for 10-12 minutes until edges are golden. Remove weights and let cool completely.
- While crust cools, whisk instant pudding mix with 2 cups of cold milk for 2 minutes until thick. Spread evenly over the cooled crust.
- Slice 2 bananas into rounds and toss with lemon juice. Mash the remaining 1-2 bananas.
- Whip heavy cream, 2 tablespoons sugar, and vanilla extract until stiff peaks form. Gently fold in the mashed bananas.
- Spread the whipped banana cream over the pudding layer. Arrange banana slices on top. Sprinkle with crushed vanilla wafers if desired.
- Refrigerate for at least 2 hours or overnight until set.
- Slice into squares and serve chilled.
Notes
Use ripe bananas with brown spots for best flavor. Toss sliced bananas with lemon juice to prevent browning. Blind baking the crust is essential to prevent sogginess. Bars do not freeze well as the cream and pudding may separate upon thawing. Store in an airtight container in the refrigerator for up to 4 days.
- Prep Time: 20 minutes
- Cook Time: 12 minutes
- Category: Dessert
- Cuisine: American
Nutrition
- Serving Size: 1 bar
- Calories: 320
- Sugar: 28
- Sodium: 250
- Fat: 14
- Saturated Fat: 8
- Carbohydrates: 45
- Fiber: 2
- Protein: 4
Keywords: banana cream pie bars, make ahead dessert, easy dessert, banana bars, cream pie bars, party dessert, quick dessert


