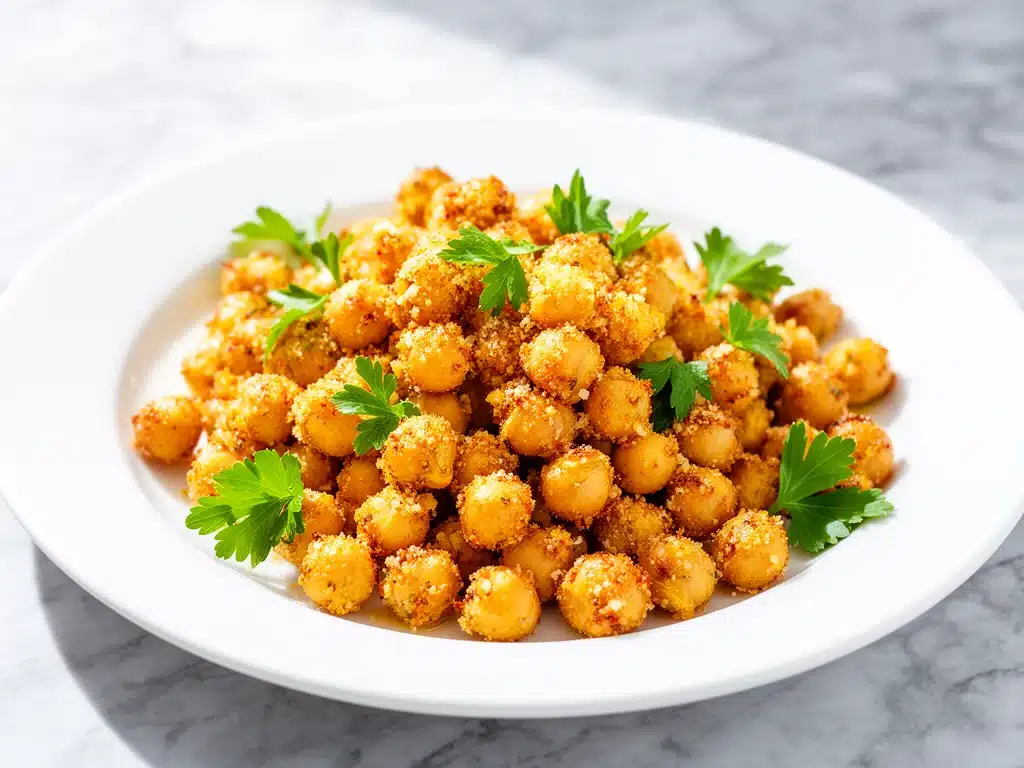
One late afternoon last month, I found myself staring at a nearly empty pantry, hoping for a quick snack that wouldn’t send me scrambling for chips or candy. I grabbed a can of chickpeas, something I usually reserve for salads or stews, and wondered if I could make something crunchy and satisfying with just a few simple ingredients. After a couple of experimental batches—some too soggy, others a bit bland—I finally landed on this crispy baked Parmesan garlic chickpeas recipe. It’s become my go-to snack when I want something healthy but crave that addictive crunch and savory punch.
Here’s the thing: this recipe isn’t complicated, and the ingredients are stuff you probably already have. Plus, it delivers that perfect crispy texture without deep frying or weird additives. I’ve made these chickpeas dozens of times, tweaking the garlic and cheese amounts, until they were just right. Trust me, once you try them, these little golden nuggets will steal your snack heart.
Why You’ll Love This Recipe
This crispy baked Parmesan garlic chickpeas recipe has totally changed my snacking game. There are a few reasons I keep coming back to it, and I’m pretty sure you will too.
- Crazy Crunchy Texture — I’ve tried roasting chickpeas a million ways, and this version nails that perfect crispy bite every time. No soggy chickpeas in sight.
- Simple Ingredients — Olive oil, garlic powder, Parmesan, a can of chickpeas—nothing fancy or hard to find. I love snacks that don’t require a special trip to the store.
- Healthy and Filling — High in protein and fiber, these chickpeas keep me full way longer than chips or crackers. Plus, they’re baked, not fried.
- Ready in Under 40 Minutes — From pantry to plate in about 35 minutes, mostly hands-off baking time. Perfect for when you want a homemade snack without the fuss.
- Kid and Adult Approved — My kids ask for these as a crunchy side, and my husband sneaks handfuls straight from the baking sheet.
Honestly, this recipe has saved me from so many snack emergencies. It’s that reliable, tasty, and guilt-free crunch I crave. Plus, it’s perfect for movie nights, road trips, or just when you need a little something between meals.
Ingredients You’ll Need
Here’s the great part: you probably have most of these ingredients chilling in your pantry or fridge right now. I’m picky about a couple of them, and I’ll tell you why as we go.
- Chickpeas (2 cans, 15 oz / 425g each, drained and rinsed) — The star of the show. Use canned chickpeas for convenience. Rinsing and drying thoroughly is key for crispiness.
- Olive oil (2 tablespoons / 30ml) — Use extra virgin for the best flavor. It helps the chickpeas crisp up and adds a subtle richness.
- Grated Parmesan cheese (1/2 cup / 50g) — Freshly grated is a must here. Pre-grated stuff won’t melt or stick well, and you’ll miss out on that savory depth.
- Garlic powder (1 teaspoon) — Fresh garlic is great but can burn easily when baked. Garlic powder gives even flavor without the risk.
- Onion powder (1/2 teaspoon) — Adds a subtle sweetness and depth without overpowering the garlic.
- Salt (1/2 teaspoon) — Balances the flavors and brings out that cheesy goodness.
- Black pepper (1/4 teaspoon) — Freshly ground if possible, for a mild kick.
- Optional: smoked paprika (1/4 teaspoon) — If you want a smoky edge, this is my secret weapon.
Pro tip: Drying the chickpeas is critical. After rinsing, spread them on paper towels and pat until mostly dry. This step makes all the difference in getting that perfect crunch.
Equipment Needed
You don’t need any fancy gadgets to make these crispy baked Parmesan garlic chickpeas. Here’s what I actually use:
- Baking sheet — A rimmed baking sheet works best to catch any oil drips. I use my trusty old aluminum one; no need for anything fancy.
- Parchment paper or silicone baking mat — Optional but helps prevent sticking and makes cleanup easier.
- Mixing bowl — Any medium-sized bowl to toss the chickpeas with oil and seasoning.
- Spatula or wooden spoon — For stirring everything together evenly.
- Measuring spoons and cups — Standard tools; no special measuring devices needed.
Quick note: If you don’t have parchment paper, just lightly grease the baking sheet. I’ve done it both ways with great results.
How to Make It: Step-by-Step
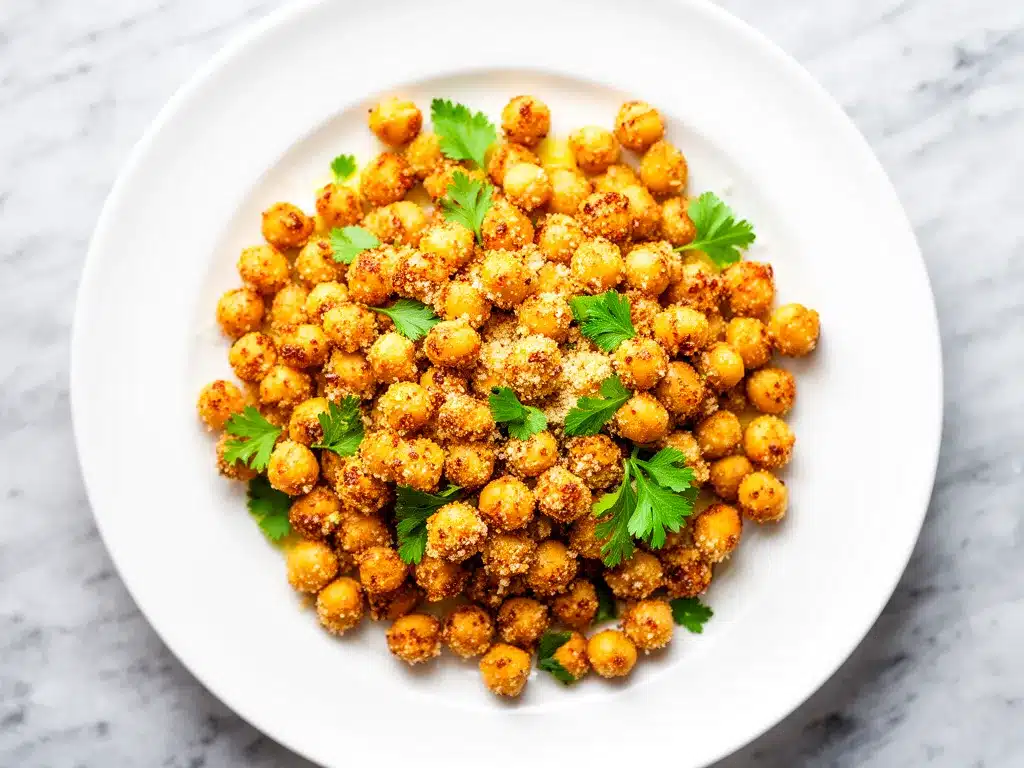
Alright, let’s get to the good stuff. I’m walking you through exactly how I make these crispy baked Parmesan garlic chickpeas, including the little tricks that guarantee success.
Step 1: Prep the Chickpeas (5 minutes)
Drain and rinse the canned chickpeas under cold water really well. Then spread them out on a layer of paper towels and pat dry as much as you can. The drier they are, the crispier they’ll get. Don’t skip this step—I’ve learned it the hard way when my chickpeas came out soggy.
Step 2: Season the Chickpeas (5 minutes)
Transfer the dried chickpeas to a large mixing bowl. Drizzle with olive oil and toss to coat evenly. Sprinkle in the garlic powder, onion powder, salt, black pepper, and smoked paprika if you’re using it. Toss again until every chickpea is well coated. Then add the grated Parmesan and gently fold it in. The cheese sticks to the oil and spices, creating that addictive savory crust.
Step 3: Arrange on the Baking Sheet (2 minutes)
Line your baking sheet with parchment paper or a silicone mat. Spread the seasoned chickpeas out in a single layer, making sure they’re not crowded. Crowding means steaming and soggy spots—so keep some breathing room.
Step 4: Bake (25-30 minutes)
Pop the baking sheet in the oven preheated to 400°F (200°C). Bake for about 25 to 30 minutes, shaking or stirring every 10 minutes. This helps them cook evenly and get crispy on all sides. Watch closely toward the end so they don’t burn—Parmesan can go from golden to bitter quickly.
Step 5: Cool and Serve (5 minutes)
Once they’re golden and crispy, take them out and let them cool for at least 5 minutes on the baking sheet. They’ll crisp up even more as they cool. Then dig in! These are best fresh but keep reading for storage tips.
Expert Tips & Tricks
- Patience is key: Don’t rush drying the chickpeas. I sometimes pat them twice to get that perfect dryness.
- Shake it up: Stirring or shaking the baking sheet every 10 minutes ensures even crispiness. I set a timer so I don’t forget.
- Use fresh Parmesan: It melts better and gives a richer flavor. Grating your own takes 2 minutes but is worth it.
- Avoid overcrowding: Give the chickpeas room to breathe on the baking sheet. If you have a lot, use two sheets instead of piling them on one.
- Flavor swaps: Try swapping garlic powder for onion powder or adding Italian seasoning for a herby twist. I’ve had success with both!
- Storage: Store leftovers in an airtight container at room temperature. They’ll stay crispy for about 2 days, but honestly, they rarely last that long in my house.
Variations & Substitutions
Once you’ve nailed the basic crispy baked Parmesan garlic chickpeas, here are some fun ways to switch things up:
- Spicy Kick: Add ½ teaspoon cayenne pepper or chili powder for heat lovers.
- Lemon Zest: Toss in 1 teaspoon freshly grated lemon zest after baking for a bright, fresh flavor.
- Herby Twist: Mix in 1 teaspoon dried Italian herbs or fresh chopped rosemary before baking.
- Vegan Version: Skip the Parmesan and add 2 tablespoons nutritional yeast for a cheesy flavor without dairy.
- Smoky BBQ: Swap garlic powder for smoked paprika and add 1 teaspoon brown sugar for a sweet smoky snack.
Serving & Storage
These crispy baked Parmesan garlic chickpeas are super versatile. I love serving them as a snack straight from the baking sheet with a cold drink. They also make a fantastic crunchy salad topping or a protein-packed addition to grain bowls.
Serving ideas:
- Sprinkle them over a fresh green salad for extra texture.
- Serve alongside crispy garlic chicken for a crunchy side.
- Add to a bowl with roasted veggies and quinoa for a quick lunch.
Storage tips: Let the chickpeas cool completely before storing in an airtight container at room temperature. They’ll keep their crispiness for 1-2 days. If they soften, pop them back in the oven at 350°F (175°C) for 5-7 minutes to revive that crunch.
Nutrition Information
I’m not a nutritionist, but here’s a rough breakdown per serving (recipe makes about 4 servings):
| Nutrient | Amount |
|---|---|
| Calories | 210 |
| Protein | 10g |
| Carbohydrates | 20g |
| Fiber | 6g |
| Fat | 9g |
| Saturated Fat | 3g |
| Sodium | 320mg |
These chickpeas are a great source of plant protein and fiber, making them filling and nutritious. The olive oil and Parmesan add some healthy fats and a rich flavor that satisfy snack cravings without guilt.
Final Thoughts
So that’s my easy, crispy baked Parmesan garlic chickpeas recipe! I’ve probably gone on a bit, but when you find a snack that’s this good, you get excited. These chickpeas have saved me from so many snack emergencies, and the fact they’re healthy and made with simple ingredients just makes me love them more.
Make them your own—add a little extra garlic if you’re like me, or try the variations for different flavor profiles. The best part? You can whip these up anytime with stuff you already have, no special trips to the store.
If you make this recipe, please drop a comment and tell me how it turned out! I love hearing your tweaks and stories. And if something doesn’t go as planned, I’m here to help troubleshoot.
Happy snacking! I hope your kitchen smells half as amazing as mine does right now.
Frequently Asked Questions
Q: Can I use dried chickpeas instead of canned?
A: Yes, but you’ll need to soak and cook them first, which takes several hours. After cooking, dry them thoroughly before roasting. Canned chickpeas are a shortcut and work perfectly for this recipe.
Q: Why did my chickpeas come out chewy instead of crispy?
A: Most likely, they weren’t dried well before baking or were overcrowded on the baking sheet. Make sure to pat them dry thoroughly and give them enough space to roast evenly. Also, baking long enough at 400°F (200°C) is key.
Q: Can I make these ahead of time?
A: You can prep and season the chickpeas ahead, but bake them fresh for best crispiness. If you bake them in advance, they’ll lose crunch over time but can be reheated in the oven to revive texture.
Q: Is Parmesan necessary or can I skip it?
A: Parmesan adds savory depth and helps with that crispy coating. If you want a dairy-free or vegan version, nutritional yeast is a great substitute, though the flavor and texture will be a bit different.
Q: Can I add fresh garlic instead of garlic powder?
A: Fresh garlic can burn in the oven and turn bitter. Garlic powder gives even flavor without the risk. If you want fresh garlic flavor, try roasting fresh garlic separately and mixing it in after baking.
Q: How do I store leftovers to keep them crispy?
A: Store completely cooled chickpeas in an airtight container at room temperature. Avoid refrigerating, which can make them soggy. If they soften, re-crisp them in a 350°F (175°C) oven for 5-7 minutes.
Q: Can I double the recipe?
A: Absolutely! Just make sure to spread the chickpeas out on two baking sheets to avoid overcrowding. The baking time stays about the same.
Pin This Recipe!
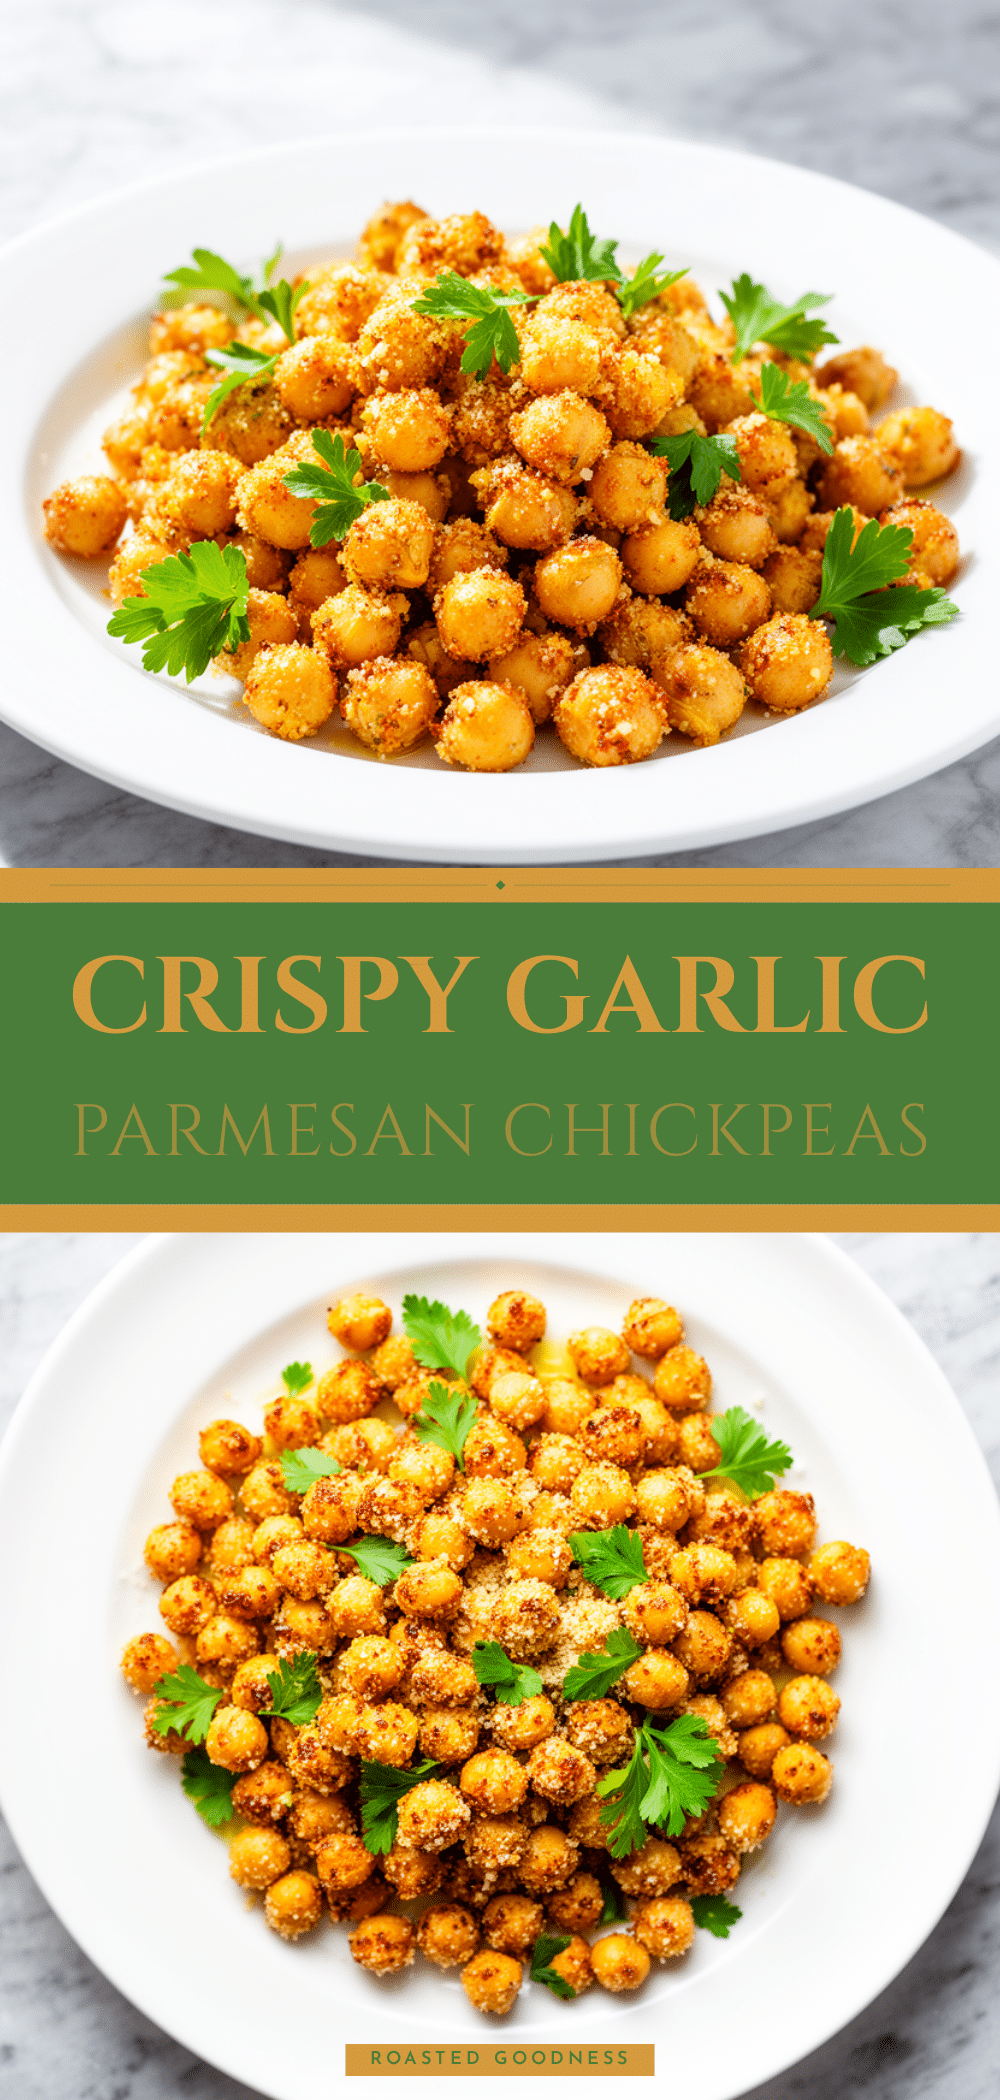
Crispy Baked Parmesan Garlic Chickpeas
- Total Time: 37-42 minutes
- Yield: 4 servings 1x
Description
A healthy, crunchy snack made with canned chickpeas, olive oil, Parmesan cheese, and garlic powder, baked to perfection for a savory and satisfying treat.
Ingredients
- 2 cans (15 oz / 425g each) chickpeas, drained and rinsed
- 2 tablespoons (30 ml) extra virgin olive oil
- 1/2 cup (50g) freshly grated Parmesan cheese
- 1 teaspoon garlic powder
- 1/2 teaspoon onion powder
- 1/2 teaspoon salt
- 1/4 teaspoon freshly ground black pepper
- Optional: 1/4 teaspoon smoked paprika
Instructions
- Drain and rinse the canned chickpeas under cold water thoroughly. Spread them on paper towels and pat dry as much as possible.
- Transfer the dried chickpeas to a large mixing bowl. Drizzle with olive oil and toss to coat evenly.
- Sprinkle in garlic powder, onion powder, salt, black pepper, and smoked paprika if using. Toss again until well coated.
- Add the grated Parmesan cheese and gently fold it in to coat the chickpeas.
- Line a rimmed baking sheet with parchment paper or a silicone baking mat. Spread the chickpeas out in a single layer without crowding.
- Preheat the oven to 400°F (200°C). Bake the chickpeas for 25 to 30 minutes, shaking or stirring every 10 minutes to ensure even crispiness.
- Watch closely toward the end to prevent burning. Once golden and crispy, remove from oven and let cool on the baking sheet for at least 5 minutes.
- Serve immediately or store cooled chickpeas in an airtight container at room temperature.
Notes
Drying the chickpeas thoroughly before baking is critical for crispiness. Stir or shake the chickpeas every 10 minutes during baking to ensure even cooking. Use freshly grated Parmesan for best flavor and texture. Avoid overcrowding the baking sheet to prevent soggy chickpeas. Store leftovers in an airtight container at room temperature and re-crisp in a 350°F oven for 5-7 minutes if needed.
- Prep Time: 12 minutes
- Cook Time: 25-30 minutes
- Category: Snack
- Cuisine: American
Nutrition
- Serving Size: About 1/4 of the rec
- Calories: 210
- Sodium: 320
- Fat: 9
- Saturated Fat: 3
- Carbohydrates: 20
- Fiber: 6
- Protein: 10
Keywords: crispy chickpeas, baked chickpeas, Parmesan chickpeas, garlic chickpeas, healthy snack, easy snack, vegetarian snack


