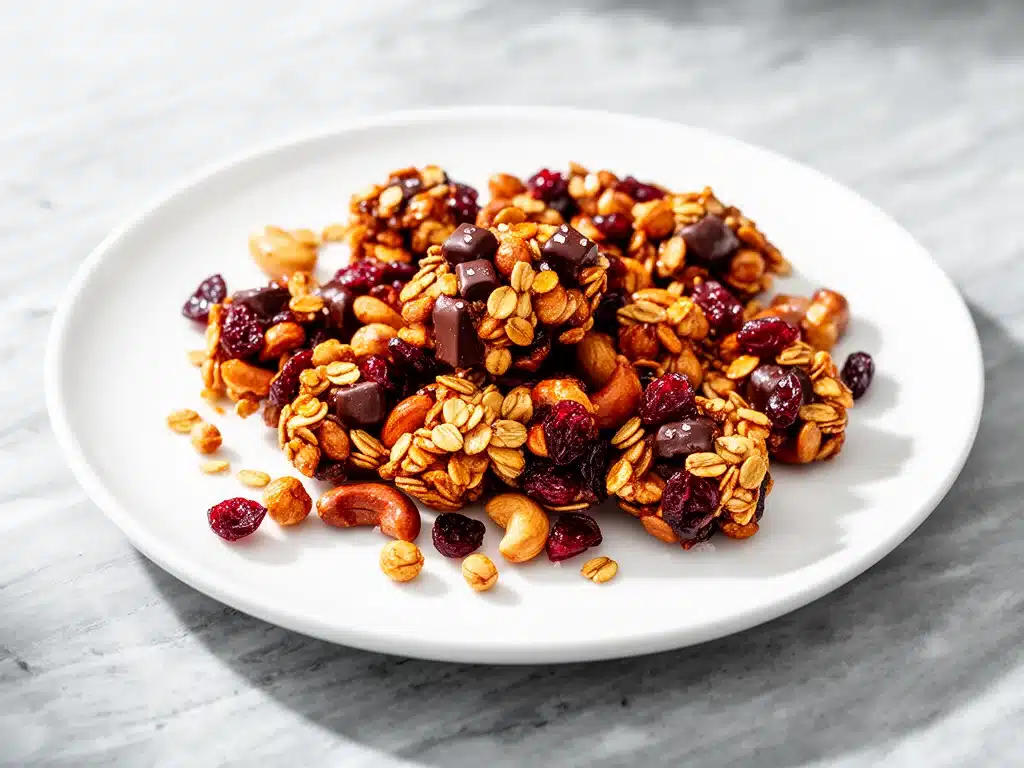
One rainy Saturday afternoon, I found myself staring down a pantry full of odds and ends—almonds, pretzels, dried cranberries, and some chocolate chips that had been lingering way too long. Instead of tossing them or mindlessly snacking, I decided to throw together a batch of what I now call my sweet and salty homemade trail mix clusters. It was supposed to be a quick snack fix, but it turned into an obsession. I’ve made these clusters more times than I can count, tweaking the balance until it hit that perfect note where sweet meets salty with a satisfying crunch.
What makes these trail mix clusters special isn’t just their flavor—it’s how simple they are. Just five ingredients, no weird stuff, and no baking needed. I love that I can whip them up while helping my kids with homework or on a lazy Sunday when I want something to munch on that’s both nourishing and indulgent. If you’ve ever been tempted by store-bought trail mix but found it either too sweet, too salty, or just boring, this homemade version is going to change your snack game.
After testing this recipe over a dozen times (because yes, quality control is serious business), I finally nailed the right ratio of crunchy nuts, salty pretzels, chewy dried fruit, and melty chocolate. Sweet and salty homemade trail mix clusters are now a staple in my kitchen, perfect for packing in lunches, hiking trips, or just keeping your snack drawer happy. Ready to make your pantry your best friend?
Why You’ll Love This Recipe
There are so many reasons I keep coming back to this sweet and salty homemade trail mix clusters recipe. Here are the big ones:
- Ridiculously Easy — Only five ingredients and no oven required. I literally mix, press, and chill. Perfect for busy days.
- Customizable — Love peanuts over almonds? Swap easily. Want to add pumpkin seeds or swap chocolate chips for butterscotch? Go for it.
- Satisfies Sweet and Salty Cravings — The balance in these clusters hits that crave-worthy spot every time. My kids and husband can’t stop eating them.
- Perfect Snack Size — These clusters are bite-sized and portable. I toss a few in my bag for quick energy on hikes or afternoon pick-me-ups.
- Long Shelf Life — Keep them in an airtight container, and they stay fresh for over a week. Great for making ahead.
Honestly, these clusters have saved me from vending machine disasters more times than I can count. They’re the kind of snack that makes you feel like you’re treating yourself but without any guilt or fuss. Plus, they’re a fun way to get a bit of protein, fiber, and healthy fats into your day. Can’t beat that.
Ingredients You’ll Need
Here’s the best part: you probably have most of these ingredients already, or you can easily find them at any grocery store. I’m pretty picky about a couple of things here, so I’ll tell you my go-tos.
- Almonds (1 cup / 140g) — Raw or roasted, whole almonds add crunch and healthy fats. I usually use raw for a cleaner taste, but roasted works if you want a nuttier flavor.
- Pretzels (1 cup / 60g, broken into pieces) — The salty crunch star of the show. I like mini pretzels because they mix well, but regular pretzels broken into chunks work just as well.
- Dried Cranberries (½ cup / 60g) — Sweet and chewy with a little tartness. You can swap for raisins or dried cherries if you prefer.
- Chocolate Chips (½ cup / 90g) — Semi-sweet or dark chocolate works best. Avoid milk chocolate unless you want it super sweet. I sometimes use mini chips for better distribution.
- Honey (¼ cup / 85g) — The glue that holds everything together and adds natural sweetness. Raw or regular honey both work.
Pro tip: If you want to add a little extra flair, a pinch of sea salt sprinkled on top after pressing the clusters adds a lovely pop of flavor. But that’s totally optional.
Equipment Needed
You don’t need fancy gadgets for this. Here’s what I actually use in my kitchen:
- Mixing bowl — A large one to combine everything comfortably. Nothing special, just sturdy.
- Baking sheet — To spread out the clusters for chilling. I line mine with parchment paper for easy cleanup.
- Spoon or spatula — For mixing and pressing the clusters down.
- Measuring cups and spoons — Pretty standard. I use a set from the dollar store that’s held up surprisingly well.
- Refrigerator or freezer — Needed to chill the clusters until they set.
Optional: A food processor can be handy if you want to chop the nuts or pretzels a bit smaller, but I like leaving them chunky for texture.
How to Make It: Step-by-Step
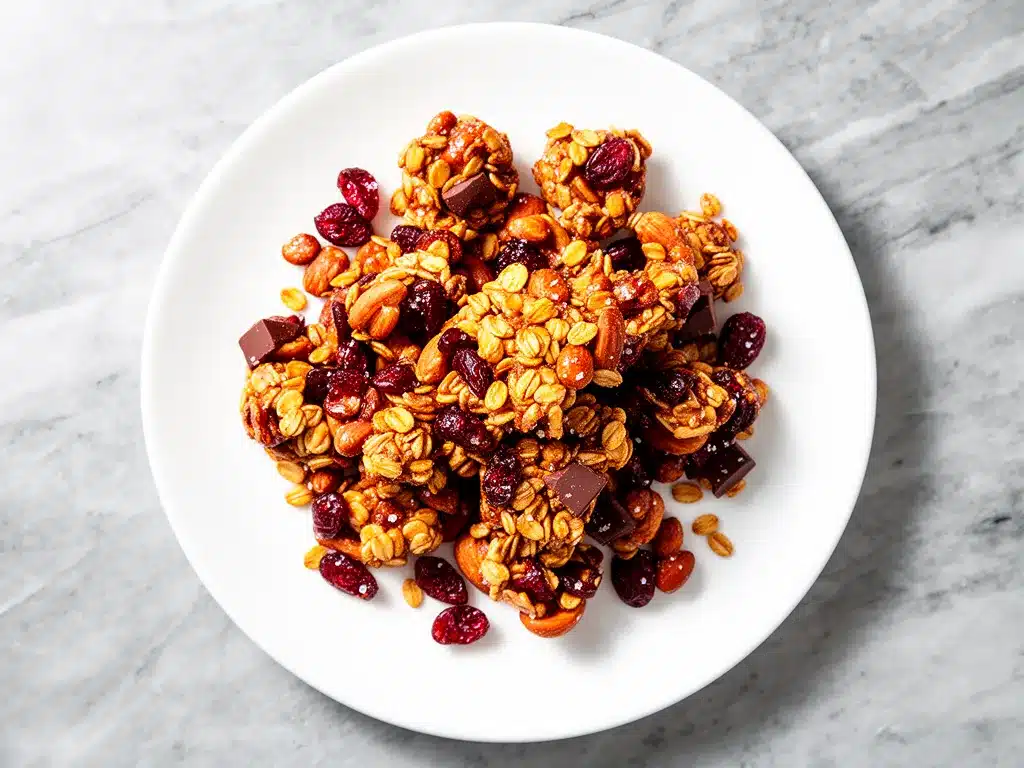
Alright, let’s make these sweet and salty homemade trail mix clusters! I’m walking you through exactly how I do it, including little tips that make all the difference.
Step 1: Prep Your Ingredients (5 minutes)
Start by breaking your pretzels into bite-sized pieces if they aren’t mini already. Roughly chop the almonds if you want smaller chunks — I like a mix of whole and chopped for texture. Measure out the cranberries, chocolate chips, and honey so everything’s ready to go.
Step 2: Mix the Dry Ingredients (2 minutes)
In your large mixing bowl, combine the almonds, pretzel pieces, dried cranberries, and chocolate chips. Give it a good stir so everything is evenly distributed.
Step 3: Add the Honey (1 minute)
Pour the honey over the dry mix. Using a spatula or spoon, stir everything together until the honey coats all the ingredients. It’ll look sticky but that’s exactly what you want. Make sure no big clumps of honey are left at the bottom.
Step 4: Press Into Clusters (3 minutes)
Line your baking sheet with parchment paper. Scoop spoonfuls of the mixture onto the sheet, then press each mound down firmly with the back of the spoon or your fingers. You want compact clusters that will hold together once chilled.
Step 5: Chill Until Set (20-30 minutes)
Pop the baking sheet into the fridge or freezer. The clusters need to firm up for about 20 minutes in the fridge, or 10 minutes in the freezer if you’re impatient like me. They should be solid enough to lift without falling apart.
Step 6: Store and Enjoy
Once chilled, transfer the clusters to an airtight container. They’re ready to snack on immediately, but they actually taste better after a few hours when the flavors meld.
Pro tip: If the clusters don’t stick well, add a tablespoon more honey next time. Weather and honey consistency can affect stickiness.
Expert Tips & Tricks
Here’s everything I’ve learned from making these clusters over and over. These tips will save you from my rookie mistakes:
- Honey consistency matters — If your honey is thick and crystallized, warm it slightly in the microwave for 10 seconds. It mixes better and makes clusters stickier.
- Don’t skip chilling — I once tried to eat these fresh off the mixing bowl. Big mistake. Chilling is what makes them hold together.
- Mix it up — Adding a dash of cinnamon or a pinch of cayenne can add unexpected depth.
- Use parchment paper — Prevents sticking and makes cleanup a breeze.
- Make mini or jumbo clusters — Adjust size based on how you want to snack. Mini clusters are great for lunchboxes; jumbo clusters are perfect for grazing.
- Store at room temperature — If your kitchen is cool, clusters can stay out in an airtight container for a few days. Otherwise, fridge is safer.
Variations & Substitutions
Once you’ve nailed the basic clusters, try mixing things up! I’ve tested these variations and they all work great:
- Nut swap: Use cashews, pecans, or walnuts instead of almonds.
- Seed boost: Add ¼ cup pumpkin seeds or sunflower seeds for extra crunch.
- Fruit twist: Swap cranberries for chopped dried apricots, raisins, or even freeze-dried strawberries.
- Chocolate alternatives: Try white chocolate chips, butterscotch, or even peanut butter chips.
- Spice it up: Add a pinch of chili powder or cinnamon for a flavor kick.
- Vegan option: Use maple syrup instead of honey. The clusters might be a touch less sticky, so press firmly.
Want to make it gluten-free? Just swap the pretzels for gluten-free pretzels or crunchy cereal pieces. Easy.
Serving & Storage
I usually keep a big jar of these sweet and salty homemade trail mix clusters on my kitchen counter for easy snacking. They’re fantastic on their own or tossed into yogurt or oatmeal for a little extra texture.
For serving ideas:
- Pack a handful in your kid’s lunchbox for a midday energy boost.
- Use as a crunchy topping on vanilla ice cream or frozen yogurt.
- Toss a few clusters in your hiking backpack for a quick fuel-up.
Storage: Store clusters in an airtight container at room temperature for up to 5 days, or in the fridge for up to 2 weeks. If you want to keep them longer, they freeze well—just thaw at room temperature before eating.
Reheating isn’t necessary, but if your chocolate feels firm, pop a cluster in your hand for a few seconds to soften before biting.
Nutrition Information
I’m not a nutritionist, but here’s a rough breakdown per serving (recipe makes about 12 clusters):
| Nutrient | Amount |
|---|---|
| Calories | 150 |
| Protein | 3g |
| Carbohydrates | 18g |
| Fiber | 2g |
| Sugar | 12g |
| Fat | 7g |
| Saturated Fat | 3g |
| Sodium | 120mg |
These clusters offer a nice mix of protein, fiber, and healthy fats thanks to the nuts and seeds, with sweetness from honey and dried fruit. They’re definitely a treat but a better-for-you one than most snack bars or chips.
Final Thoughts
So that’s my easy, sweet and salty homemade trail mix clusters recipe—simple ingredients, big flavor, and zero fuss. I’ve probably rattled on enough already, but this snack has genuinely made my kitchen a happier place. I keep a batch ready for whenever hunger strikes, and it always hits the spot.
This recipe is perfect for busy people who want something tasty and wholesome without complicated prep or long ingredient lists. Make it your own by swapping in your favorite nuts or dried fruits, or add a sprinkle of spice if you’re feeling adventurous.
If you give these clusters a try, drop a comment below and tell me how they turned out! If you ran into any trouble or tweaked the recipe with your own twist, I want to hear about that too. Happy snacking—and I hope your kitchen smells just as good as mine does right now.
Frequently Asked Questions
Q: Can I use maple syrup instead of honey?
A: Absolutely! Maple syrup works well if you want a vegan option. Just note that the clusters might be a little less sticky, so press them down firmly when forming. Some days I swap honey for maple syrup depending on what I have on hand, and it’s delicious both ways.
Q: My clusters didn’t stick together—what went wrong?
A: This usually happens if there wasn’t enough honey or the honey was too thick to coat ingredients properly. Try warming the honey slightly before mixing and add a tablespoon more if needed. Also, pressing the clusters firmly before chilling is key to holding them together.
Q: Can I make these ahead for a party?
A: Totally! Make the clusters a day or two in advance and store them in an airtight container in the fridge. They hold up beautifully and save you last-minute stress. Just bring them to room temp before serving so the chocolate isn’t too firm.
Q: Can I add other mix-ins like seeds or coconut?
A: Yes, for sure! Pumpkin seeds, sunflower seeds, shredded coconut, or even chopped dried apricots all work great. Just keep the total volume about the same so the honey binds everything properly.
Q: How should I store leftovers?
A: Store clusters in an airtight container at room temperature for up to 5 days or in the fridge for up to 2 weeks. If your kitchen is warm, refrigeration helps prevent melting and keeps the clusters fresh.
Q: Can I freeze these sweet and salty homemade trail mix clusters?
A: Yes! Freeze them in a sealed container or freezer bag for up to 3 months. Just thaw at room temperature for 15-20 minutes before enjoying.
Q: Is there a way to reduce the sugar in this recipe?
A: You can reduce the honey slightly or swap the dried cranberries for unsweetened dried fruit to cut down on sugar. Just remember that the honey also acts as the binder, so don’t cut it too much or the clusters may fall apart.
By the way, if you love snacks like this, you might enjoy my homemade granola bars or my favorite roasted spiced nuts—both are great for easy grab-and-go energy.
Pin This Recipe!
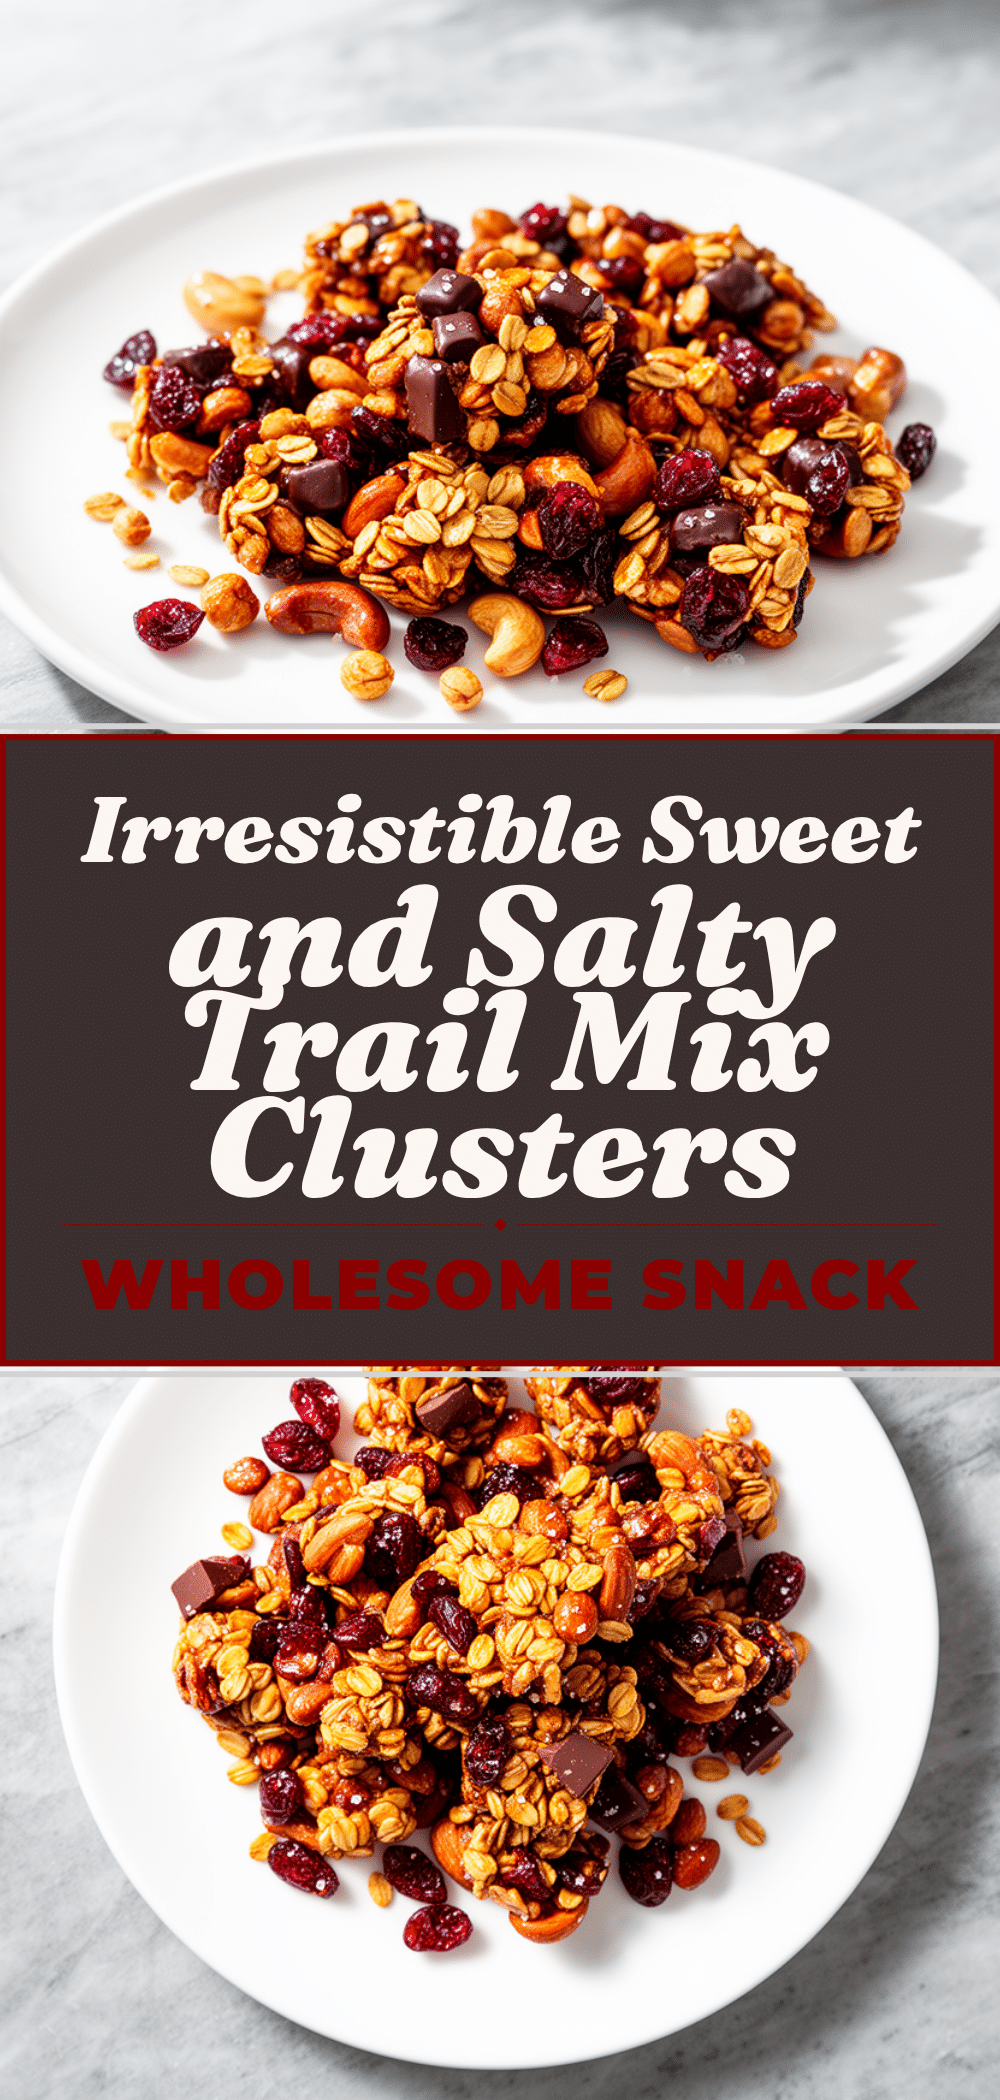
Sweet and Salty Homemade Trail Mix Clusters
- Total Time: 28-38 minutes
- Yield: 12 clusters 1x
Description
A quick and easy no-bake snack combining crunchy nuts, salty pretzels, chewy dried fruit, and melty chocolate for a perfect sweet and salty treat.
Ingredients
- 1 cup (140g) almonds, raw or roasted
- 1 cup (60g) pretzels, broken into pieces
- ½ cup (60g) dried cranberries
- ½ cup (90g) chocolate chips, semi-sweet or dark
- ¼ cup (85g) honey
Instructions
- Break pretzels into bite-sized pieces if not mini already. Roughly chop almonds if desired.
- In a large mixing bowl, combine almonds, pretzel pieces, dried cranberries, and chocolate chips. Stir to distribute evenly.
- Pour honey over the dry mix and stir until all ingredients are coated and sticky with no large honey clumps.
- Line a baking sheet with parchment paper. Scoop spoonfuls of the mixture onto the sheet and press each mound firmly to form compact clusters.
- Chill clusters in the refrigerator for about 20 minutes or in the freezer for 10 minutes until firm enough to lift without falling apart.
- Transfer clusters to an airtight container for storage. Enjoy immediately or after flavors meld for a few hours.
Notes
If clusters don’t stick well, add an extra tablespoon of honey. Warm thick or crystallized honey slightly before mixing for better coating. Use parchment paper to prevent sticking. Clusters can be customized with different nuts, seeds, dried fruits, or chocolate types. Store in airtight container at room temperature for up to 5 days or refrigerated for up to 2 weeks. Freeze for up to 3 months.
- Prep Time: 8 minutes
- Cook Time: 0 minutes
- Category: Snack
- Cuisine: American
Nutrition
- Serving Size: 1 cluster
- Calories: 150
- Sugar: 12
- Sodium: 120
- Fat: 7
- Saturated Fat: 3
- Carbohydrates: 18
- Fiber: 2
- Protein: 3
Keywords: trail mix, sweet and salty, no bake, snack, homemade, easy recipe, healthy snack, nuts, pretzels, chocolate clusters


