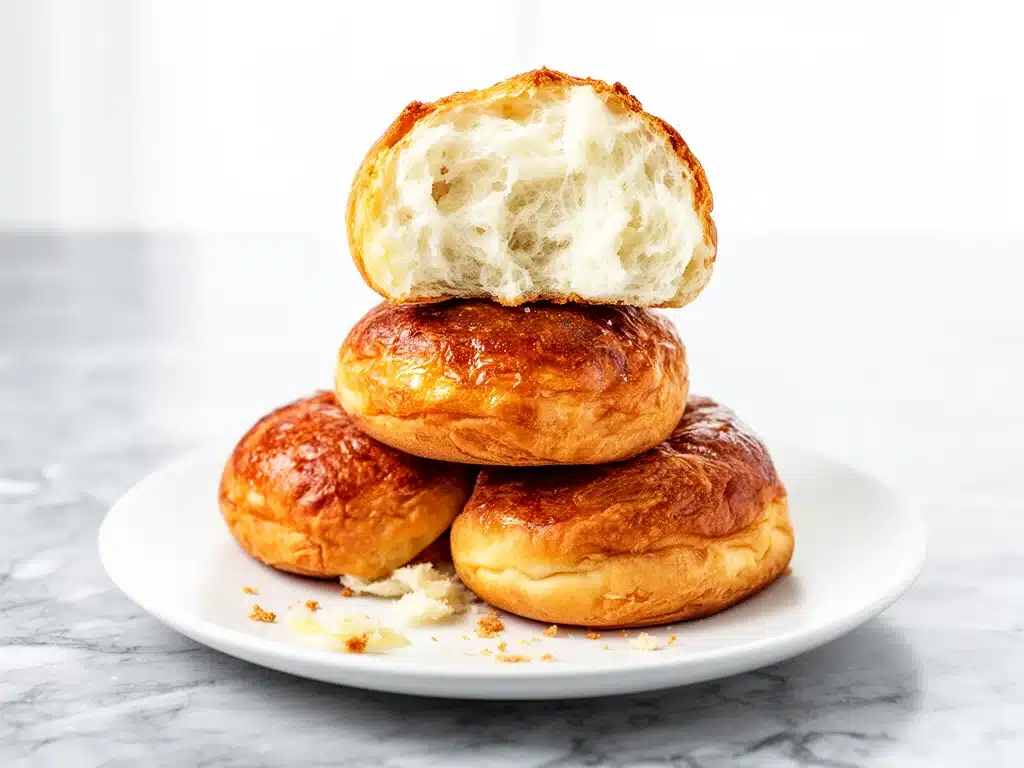
I still remember the first time I made brioche buns from scratch. It was a rainy Saturday in November, the kind where you’re stuck inside and either bake or lose your mind. I had just come back from a weekend in Paris, and I was obsessed with those pillowy, golden-brown buns from a tiny boulangerie near the Seine. They weren’t just bread; they were clouds. I wanted to recreate that experience at home, but every recipe I tried resulted in dense, brick-like disks that tasted more like disappointment than delight.
After three failed attempts (and one very confused husband who ate a “bun” and asked if I’d bought them at the gas station), I finally cracked the code. The secret isn’t in fancy ingredients—it’s in patience, temperature, and knowing when to stop adding flour. These soft homemade brioche buns are the result of that journey. They are rich, buttery, and so tender they practically melt on your tongue. Whether you’re using them for a Thanksgiving turkey sandwich, a juicy burger, or just slathering them with jam, these buns will impress every time.
I’ve made this recipe over twenty times now, tweaking the hydration and proofing times until it was foolproof. The smell alone is worth the effort. There’s something deeply comforting about baking with yeast, watching dough rise, and filling your kitchen with that warm, yeasty aroma. It’s a slow process, yes, but it’s a rewarding one. And trust me, once you taste a fresh, warm brioche bun, you’ll never go back to store-bought rolls again. It’s a game-changer for your dinner table.
Why You’ll Love This Brioche Bun Recipe
There are about a dozen reasons I keep making these buns, but here are the big ones that keep me coming back to the kitchen:
- Unbeatable Texture — These buns are incredibly soft and airy. I’ve tested them with my picky eater kids, and they actually asked for seconds. The crumb is fine and tender, not chewy or dense like a baguette.
- Rich, Buttery Flavor — The high butter content gives them a luxurious taste that feels like a treat. But because we’re making them at home, you control the sugar and salt levels, making them perfect for savory dishes too.
- Versatile — I use these for everything. Hamburger buns, dinner rolls, breakfast sandwiches, even stuffed with ham and cheese for a quick lunch. They hold up well to sauces and don’t get soggy immediately.
- Impressive but Approachable — They look like they came from a high-end bakery, but the technique is straightforward. If you can mix and knead, you can make these. I’ve walked my teenage daughter through the process, and she nailed it on the first try.
- Freezes Like a Dream — I often double the batch and freeze half. They reheat beautifully in the oven, becoming soft and warm again. It’s like having fresh buns on demand.
This is my go-to when I want to elevate a simple meal. No complicated techniques, no weird ingredients, just reliable, delicious food that makes everyone happy.
Ingredients You’ll Need
Here’s the best part: you probably have most of this already in your pantry. The key to great brioche is quality ingredients, especially the butter and yeast. I’m particular about a few things here, and I’ll tell you exactly why.
For the Dough
Warm Milk (1 cup / 240ml) — I use whole milk for richness. It needs to be warm to the touch, about 110°F (43°C). Too hot, and you’ll kill the yeast. Too cold, and it won’t activate. If you don’t have a thermometer, it should feel like a warm bath.
Instant Yeast (2 ¼ teaspoons / 1 packet) — I prefer instant yeast because you don’t need to proof it first. It gets mixed right into the flour. Active dry yeast works too, but you’ll need to dissolve it in the warm milk first and wait 5 minutes for it to bubble.
Granulated Sugar (¼ cup / 50g) — Feeds the yeast and adds a slight sweetness. You can use honey or maple syrup for a deeper flavor, but sugar is standard. I use a mix of white and brown sugar sometimes for complexity.
Salt (1 ½ teaspoons) — Essential for flavor and to control yeast growth. Use fine sea salt or table salt.
All-Purpose Flour (3 ½ to 4 cups / 420-480g) — I usually start with 3 ½ cups and add more as needed. Brioche is a soft dough, so it will be slightly sticky. Don’t add too much flour, or your buns will be dense. Bread flour can be used for a chewier texture, but AP flour gives that tender crumb.
Eggs (2 large, room temperature) — Room temperature eggs incorporate better into the dough. I crack them into a small bowl first to check for shells. Two eggs add structure and richness.
Softened Butter (½ cup / 115g) — This is the star. Use high-quality unsalted butter. It should be soft enough to press a finger into easily but not melted. If it’s melted, it will make the dough greasy. I take it out of the fridge about 30 minutes before starting.
For the Egg Wash

Heavy Cream or Milk (1 tablespoon) — Adds shine and color.
Yolk (1 egg yolk) — For that deep golden brown crust.
Salt (A tiny pinch)
Equipment Needed
You don’t need fancy equipment for this. Here’s what I actually use:
Mixer with Dough Hook — I use a stand mixer because it saves my arms. Kneading this dough by hand is possible but takes 10-15 minutes of serious effort. A stand mixer does it in 8 minutes.
Large Mixing Bowl — For the initial mix and first rise.
Baking Sheet — I use a half-sheet pan. Line it with parchment paper for easy cleanup.
Pastry Brush — For the egg wash. Silicone brushes are great because they don’t shed bristles.
Kitchen Thermometer — Optional but helpful for checking milk temperature. If you’re guessing, warm to the touch is fine.
Cooling Rack — Essential for cooling the buns so they don’t get soggy on the bottom.
How to Make It: Step-by-Step
Alright, let’s make this! I’m walking you through exactly how I do it, including the little tricks I’ve picked up over the years.
Step 1: Activate the Yeast (5 minutes)
In the bowl of your stand mixer, combine the warm milk, sugar, and yeast. Stir gently and let it sit for 5-10 minutes until it becomes foamy. If it doesn’t foam, your yeast might be dead, and you’ll need to start over. This step ensures your buns will rise properly.
Step 2: Mix the Dough (5 minutes)
Add the salt, eggs, and 3 ½ cups of flour to the yeast mixture. Mix on low speed with the dough hook until a shaggy dough forms. This usually takes about 2 minutes. The dough will look messy and sticky, which is normal.
Step 3: Knead the Dough (8 minutes)
Gradually add the softened butter, a tablespoon at a time, while the mixer is running on low. Once all the butter is incorporated, increase the speed to medium and knead for 6-8 minutes. The dough should become smooth, elastic, and slightly sticky. It should pass the “windowpane test”—tear off a small piece and stretch it thin. If it stretches without tearing, it’s ready. If it tears, keep kneading.
Step 4: First Rise (1-2 hours)
Transfer the dough to a lightly oiled bowl, turning to coat. Cover with plastic wrap or a damp towel. Let it rise in a warm, draft-free place until doubled in size. This takes about 1-2 hours, depending on your kitchen temperature. In winter, it might take longer. I often turn my oven on for 1 minute, turn it off, and place the bowl inside with the light on.
Step 5: Shape the Buns (15 minutes)
Punch down the dough gently to release air. Turn it out onto a lightly floured surface. Divide the dough into 8-10 equal pieces. Roll each piece into a smooth ball by tucking the edges underneath and rolling in a circular motion. Place them on the parchment-lined baking sheet, leaving about 2 inches between each bun so they can expand.
Step 6: Second Rise (45-60 minutes)
Cover the buns loosely with plastic wrap or a towel. Let them rise again until puffy and nearly doubled. They should jiggle slightly when you shake the pan. This step is crucial for that soft texture. Don’t skip it!
Step 7: Bake (18-22 minutes)
Preheat your oven to 375°F (190°C). Whisk together the egg yolk and heavy cream. Brush the tops of the buns generously with the egg wash. Bake for 18-22 minutes until they are golden brown and sound hollow when tapped on the bottom. If they’re browning too fast, cover them loosely with foil.
Step 8: Cool and Serve
Remove from the oven and brush with melted butter for extra softness. Let them cool on a wire rack for at least 15 minutes before slicing. They are extremely soft when hot, so be patient!
Expert Tips & Tricks
Here’s everything I’ve learned from making this dozens of times. These tips will save you from my mistakes.
The Butter Matters
Use real butter, not margarine. The flavor and texture are night and day. I use European-style butter like Plugrá or Kerrygold because it has a higher fat content and richer flavor. It makes a noticeable difference in the taste.
Don’t Over-Flour
Brioche dough should be slightly sticky. If you add too much flour, your buns will be dense and dry. Trust the recipe. If your hands are sticky, dust them lightly with flour, but don’t add more to the dough unless it’s truly unmanageable.
Temperature Control
Your kitchen temperature affects rising time. In summer, it might take 45 minutes. In winter, it might take 2 hours. Use your oven’s proofing setting or a warm spot to help. But don’t let it rise too fast, or the flavor won’t develop.
Egg Wash Technique
Don’t brush too heavily, or the egg wash will pool and create a hard crust. A light, even coat is best. For a shinier finish, add a pinch of sugar to the egg wash.
Common Mistakes (and how to avoid them)
Mistake: Buns are dense.
Fix: You probably over-kneaded or added too much flour. Or, the yeast was old. Always check your yeast expiration date.
Mistake: Buns are pale.
Fix: Your oven might be underheating. Use an oven thermometer to check. Also, make sure you’re baking for the full 18-22 minutes.
Mistake: Buns are too yeasty.
Fix: You might have let them rise too long. The second rise should be until puffy, not double. If they rise too much, the yeast flavor becomes overpowering.
Variations & Substitutions
Once you’ve nailed the basic version, here’s how you can mix it up. I’ve tried all of these.
Whole Wheat Brioche
Substitute half of the all-purpose flour with whole wheat flour. This adds a nuttier flavor and more fiber. The buns will be slightly denser but still soft.
Sweet Brioche
Increase the sugar to ½ cup. Add 1 teaspoon of vanilla extract or orange zest to the dough. These are perfect for French toast or breakfast sandwiches.
Herb Brioche
Add 1 tablespoon of dried rosemary or thyme to the flour. These are amazing with roast chicken or beef stew.
Dairy-Free Option
Use almond milk or oat milk instead of dairy milk. Replace butter with a neutral oil or dairy-free butter stick. The texture will be slightly different but still delicious.
Gluten-Free Option
Use a 1:1 gluten-free flour blend that includes xanthan gum. You may need to adjust the liquid slightly, as GF flour absorbs differently. I’ve used King Arthur’s blend with good results.
Serving & Storage
How to Serve:
I usually serve these warm, right out of the oven. They are perfect for burgers, pulled pork, or just slathered with salted butter. I also love them stuffed with ham and cheese, toasted in a panini press.
Side Dishes:
These pair beautifully with soups, stews, or a simple salad. They are also great alongside a fall maple pecan cold brew for a cozy breakfast.
Storage Instructions:
Room Temperature: Store in an airtight container or plastic bag for up to 2 days. They stay soft if kept sealed.
Refrigerator: Not recommended. The fridge dries out bread quickly. If you must refrigerate, wrap tightly in plastic and foil.
Freezer: These freeze beautifully. Wrap each bun individually in plastic wrap, then place in a freezer bag. They last for up to 3 months. To reheat, thaw at room temperature and warm in the oven at 350°F for 10 minutes, or microwave for 20 seconds.
Reheating: For the best texture, reheat in the oven. Sprinkle with a little water before baking to steam them back to softness.
Nutrition Information
I’m not a nutritionist, but here’s the breakdown if you’re tracking. This is based on 10 buns.
| Nutrient | Per Bun |
|---|---|
| Calories | 280 |
| Protein | 6g |
| Carbs | 32g |
| Fiber | 1g |
| Sugar | 4g |
| Fat | 14g |
| Saturated Fat | 8g |
| Cholesterol | 60mg |
| Sodium | 250mg |
Look, these are rich buns with butter and eggs. They’re not a diet food. But they’re way better than store-bought, and you know exactly what’s in them. When I want to make them lighter, I reduce the butter slightly and use whole wheat flour. But usually? I just enjoy them in moderation.
Final Thoughts
So that’s my go-to soft homemade brioche bun recipe! I’ve probably talked your ear off at this point, but when you make a recipe this often, you have a lot to say about it. These buns have saved dinner parties and made weeknight dinners feel special. They’re my answer to “what’s for dinner” when I want to treat myself and my family.
Make it yours! Try different shapes, add herbs, or make them smaller for sliders. The best recipes are the ones you adapt to your family’s tastes. If you make these, drop a comment and let me know what you think! I love hearing how recipes turn out in your kitchen. And if something doesn’t work, tell me that too—I’m here to help troubleshoot.
Happy baking! And I hope your kitchen smells half as good as mine does right now.
Frequently Asked Questions
Can I use active dry yeast instead of instant yeast?
Yes! Just dissolve it in the warm milk with the sugar and let it sit for 5-10 minutes until foamy before adding the flour. The rest of the process is the same.
Why did my buns turn out dense?
This usually happens if you added too much flour, didn’t knead enough, or used old yeast. Make sure your yeast is fresh and active. Also, don’t be afraid of the sticky dough—it should be soft, not dry.
Can I make these ahead of time?
Yes! You can shape the buns, let them rise, then cover and refrigerate overnight. In the morning, let them come to room temperature and rise until puffy before baking. This is great for planning ahead.
How do I know when the buns are done baking?
They should be golden brown on top and sound hollow when you tap the bottom. An internal temperature of 190°F (88°C) is also a good indicator. If they’re pale, they need more time.
Can I freeze the dough?
Yes! After the first rise, punch down the dough, divide it, and freeze the portions on a baking sheet. Once frozen, transfer to a bag. Thaw in the fridge overnight, then let them rise and bake as usual.
What’s the best way to store leftovers?
Store in an airtight container at room temperature for up to 2 days. For longer storage, freeze them. Don’t refrigerate, as it dries them out.
Pin This Recipe!
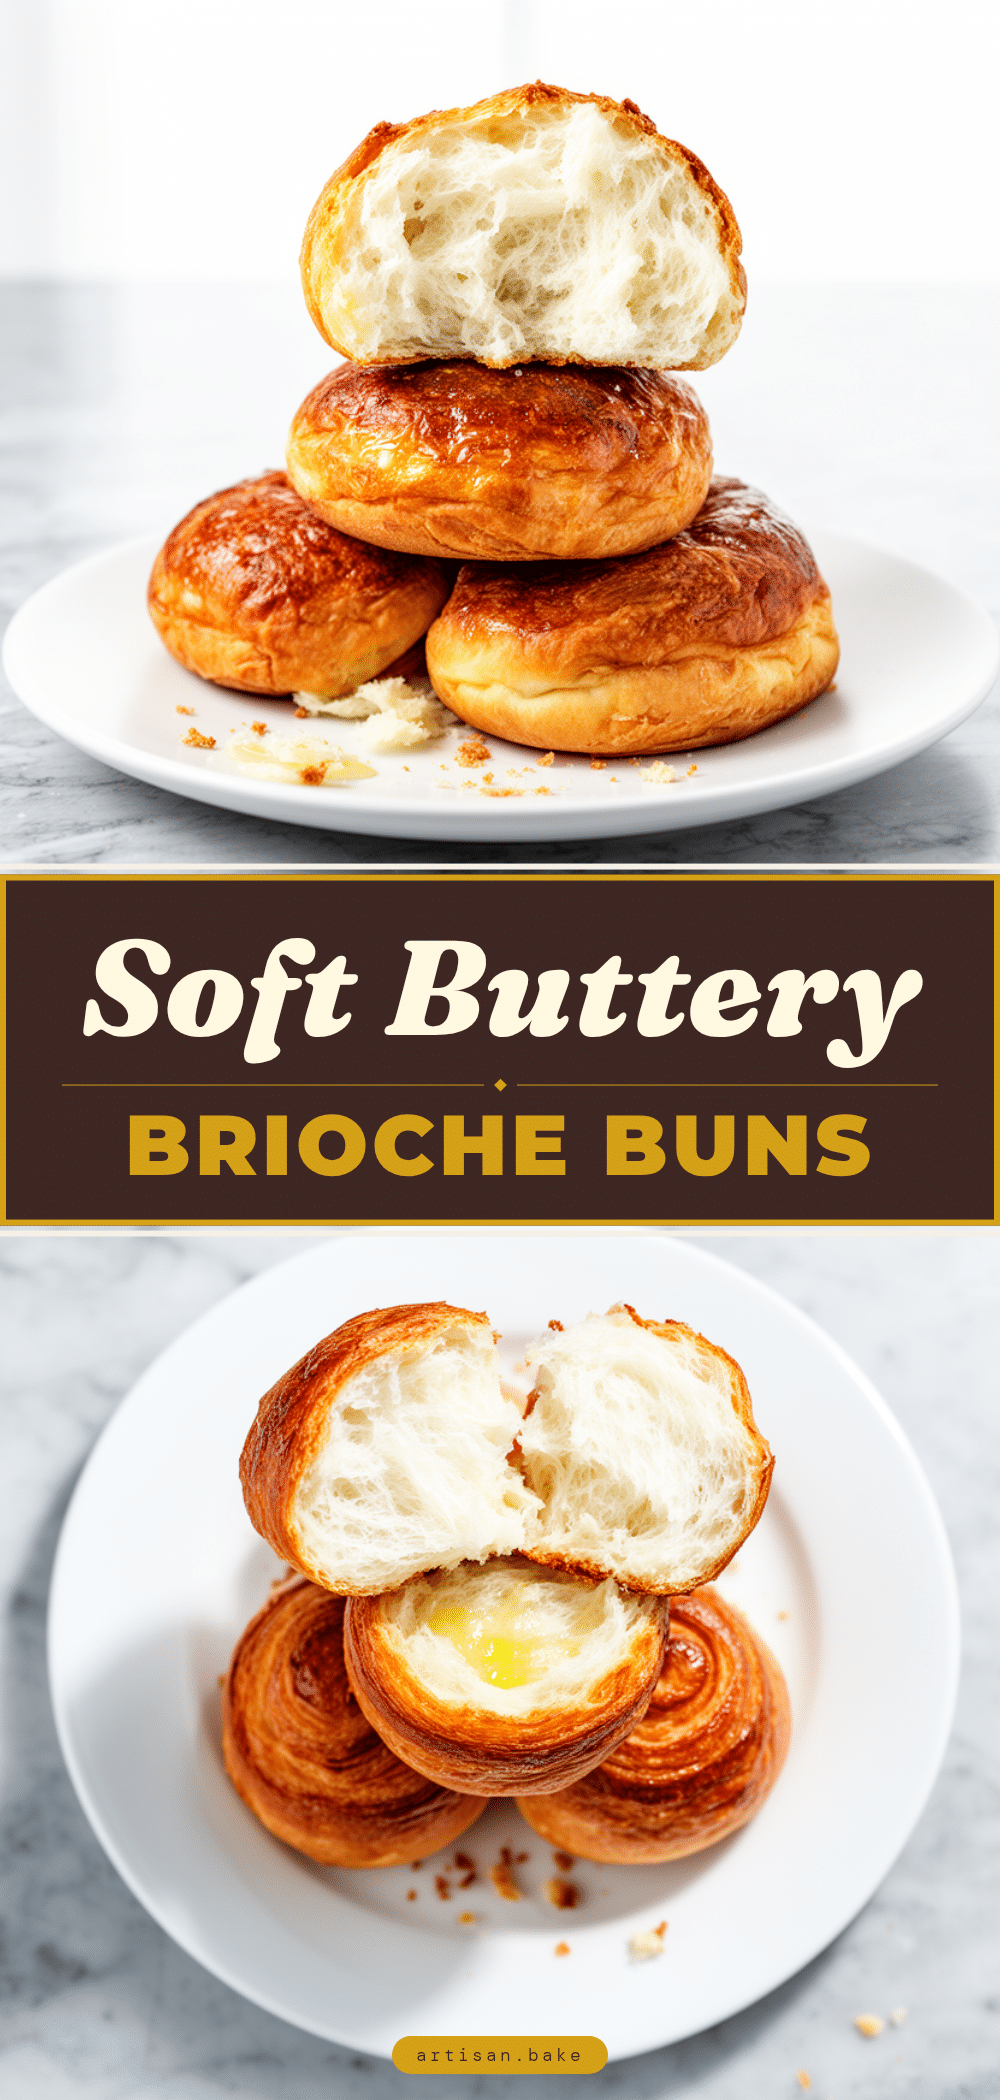

Soft Homemade Brioche Buns: Best Soft Dinner Rolls
- Total Time: 45 minutes
- Yield: 8-10 servings 1x
Description
Rich, buttery, and incredibly soft homemade brioche buns that are perfect for burgers, sandwiches, or dinner rolls. This foolproof recipe yields pillowy, golden-brown rolls with a tender crumb.
Ingredients
- 1 cup (240ml) warm whole milk (110°F/43°C)
- 2 ¼ teaspoons (1 packet) instant yeast
- ¼ cup (50g) granulated sugar
- 1 ½ teaspoons fine sea salt
- 3 ½ to 4 cups (420-480g) all-purpose flour
- 2 large eggs, room temperature
- ½ cup (115g) softened unsalted butter
- 1 tablespoon heavy cream or milk (for egg wash)
- 1 egg yolk (for egg wash)
- A tiny pinch of salt (for egg wash)
Instructions
- In the bowl of a stand mixer, combine warm milk, sugar, and yeast. Stir gently and let sit for 5-10 minutes until foamy.
- Add salt, eggs, and 3 ½ cups of flour to the yeast mixture. Mix on low speed with a dough hook until a shaggy dough forms (about 2 minutes).
- Gradually add softened butter, a tablespoon at a time, while mixing on low. Once incorporated, increase speed to medium and knead for 6-8 minutes until the dough is smooth, elastic, and passes the windowpane test.
- Transfer dough to a lightly oiled bowl, turning to coat. Cover with plastic wrap or a damp towel and let rise in a warm place until doubled in size (1-2 hours).
- Punch down the dough gently. Turn out onto a lightly floured surface and divide into 8-10 equal pieces. Roll each into a smooth ball and place on a parchment-lined baking sheet, leaving 2 inches between buns.
- Cover buns loosely and let rise again until puffy and nearly doubled (45-60 minutes).
- Preheat oven to 375°F (190°C). Whisk together egg yolk and heavy cream. Brush tops of buns generously with the egg wash.
- Bake for 18-22 minutes until golden brown and hollow when tapped. If browning too fast, cover loosely with foil.
- Remove from oven and brush with melted butter for extra softness. Cool on a wire rack for at least 15 minutes before serving.
Notes
Use high-quality unsalted butter for best flavor. Do not over-flour the dough; it should remain slightly sticky. Ensure yeast is fresh and active. For a shinier crust, add a pinch of sugar to the egg wash. These buns freeze well for up to 3 months.
- Prep Time: 30 minutes
- Cook Time: 22 minutes
- Category: Side Dish
- Cuisine: French
Nutrition
- Serving Size: 1 bun
- Calories: 280
- Sugar: 4
- Sodium: 250
- Fat: 14
- Saturated Fat: 8
- Carbohydrates: 32
- Fiber: 1
- Protein: 6
Keywords: brioche buns, homemade dinner rolls, soft bread, yeast rolls, burger buns, baking from scratch


