It’s 7:15 AM on a Tuesday in September. The house is a disaster zone of untied shoelaces, missing left shoes, and a half-eaten piece of toast on the counter. My kids are vibrating with that specific brand of pre-school anxiety, and I’m standing in the kitchen holding a Tupperware container that looks suspiciously sad. I know the look. It’s the “I want snacks, but I don’t want the boring sandwich” look. The look that says, “Mom, please, I beg you, make it interesting.”
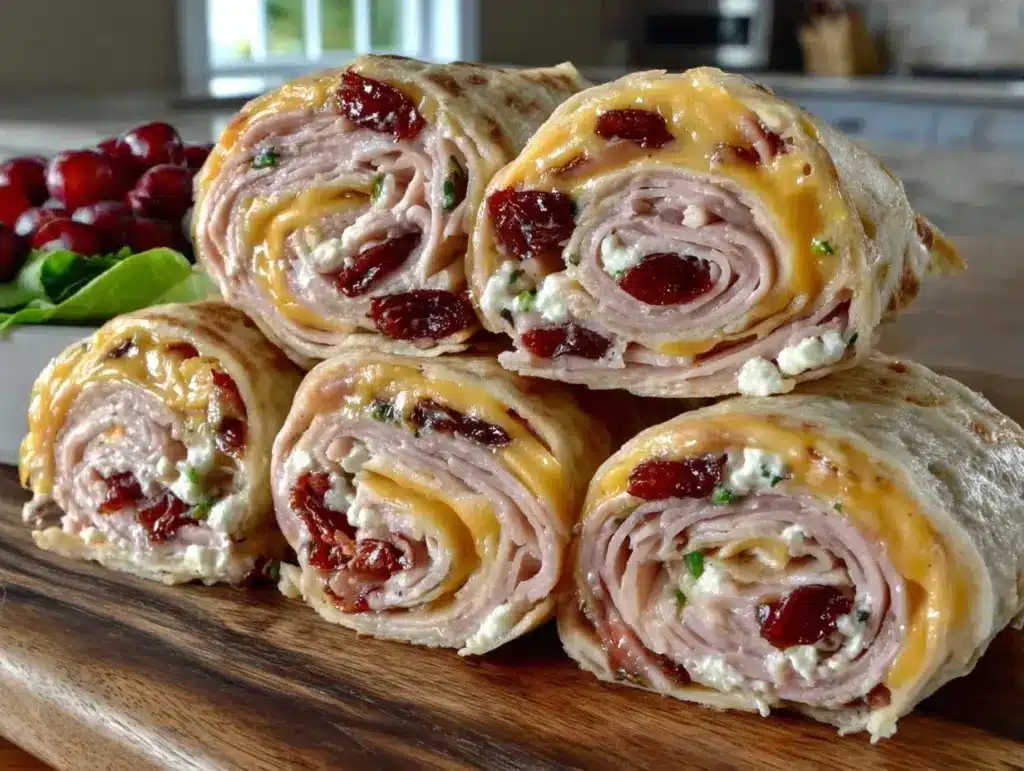
That was the moment I officially surrendered to the turkey pinwheel. Not the sad, flat, boring sandwich slices I used to pack, but the actual *pinwheels*. The ones that look like little spirals of delight when you cut them. The ones that make my daughter stop mid-stride, grab one, and say, “Wait, are these fancy?”
Here’s the thing about back-to-school mornings: they are chaotic. You don’t have time for complex assembly lines or waiting for crusts to set. You need something that can be prepped the night before, rolled tight, chilled until firm, and sliced into bite-sized magic right before the bus arrives. And it has to be good enough that the kids actually eat it, rather than trading it for a bag of chips by the time they reach the bus stop.
These Back to School Turkey Pinwheels have become my secret weapon. They’re not just a sandwich; they’re an experience. Creamy, herby, slightly crunchy from the cucumber, and wrapped in soft tortillas that hold everything together without falling apart. I’ve made these for school bake sales (they vanish in minutes), for the Friday afternoon football tailgate, and for lazy Sunday mornings when we’re pretending we have our act together. They are the perfect party appetizer for any occasion, but they are truly the MVP of the morning rush.
I’ve tested this recipe about a dozen times this summer alone. I’ve tried different cheeses, different spreads, even different types of tortillas. And while I’ve had a few flops (don’t get me started on the lettuce version that turned into a soggy mess), the current formula is solid. It’s creamy, it’s savory, it’s visually appealing, and it tastes like comfort food dressed up in a little party hat.
If you’re looking for a way to upgrade your kid’s lunchbox or impress your guest list at a weekend gathering, this is it. Let’s get rolling.
Why These Pinwheels Are Worth the Effort
Okay, real talk. Why bother with pinwheels when you could just make a regular sandwich? Because regular sandwiches are boring. And let’s be honest, we’re all adults here; we deserve fun food.
But beyond the “fun” factor, there are actual, practical reasons why I keep these in my rotation:
They’re a Textural Dream — There’s something so satisfying about that first bite. You get the softness of the tortilla, the creaminess of the spread, the snap of the cucumber, and the chew of the turkey. It’s not just mushy bread and meat. It’s an event. Every bite has a different texture, which keeps my kids (and me) interested.
They’re Mess-Free (Mostly) — One of the biggest struggles with packed lunches is the “crust problem.” Kids peel off the crusts, leaving a sad, crustless center that falls apart. With pinwheels, there are no crusts. The tortilla wraps around everything, holding it tight. It’s sturdy. It travels well. It doesn’t require a knife and fork (unless you want to be fancy).
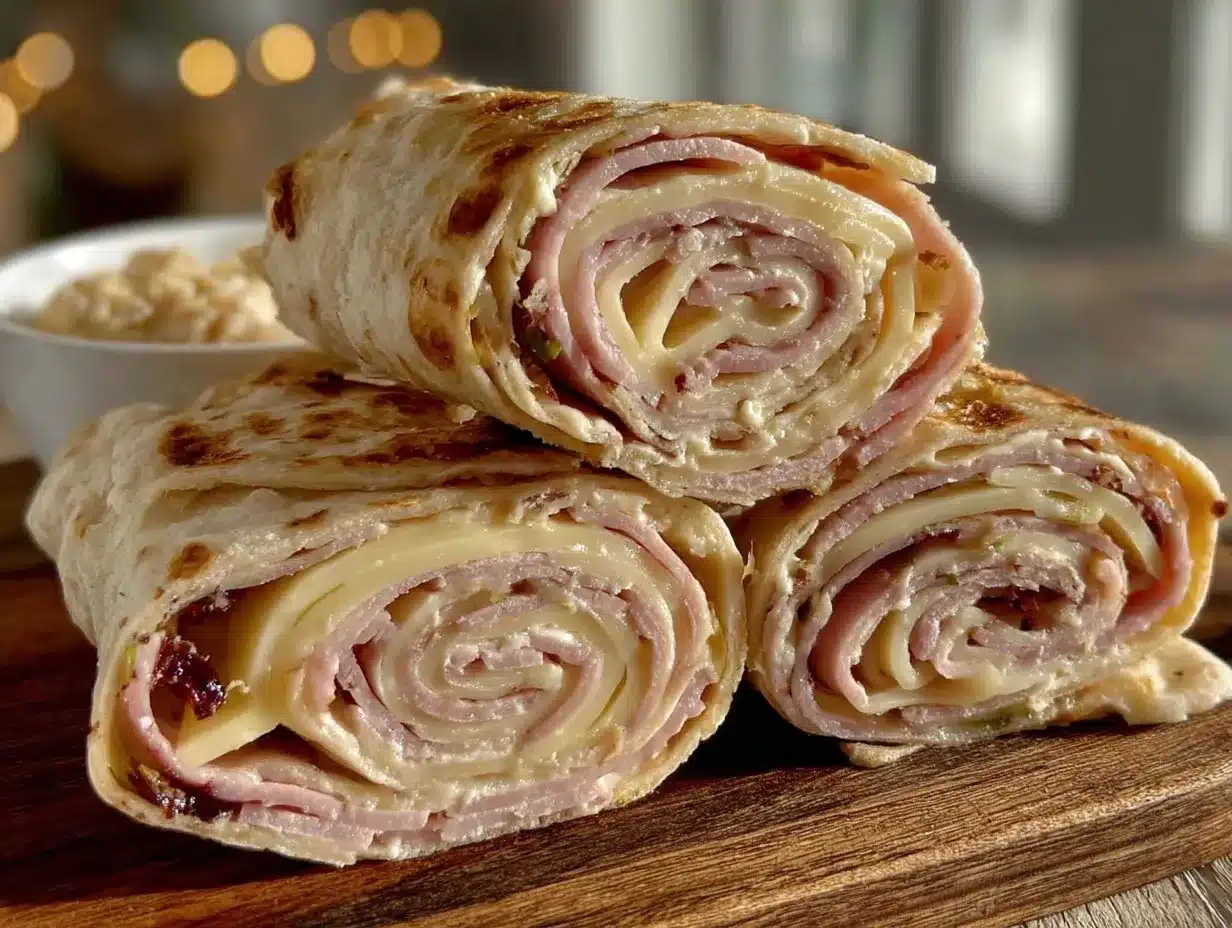
They Look Like You Tried — I don’t know about you, but when I pack a lunch, I want it to look like I care. These pinwheels look intentional. They look pretty. The spiral pattern is just inherently more pleasing than a square sandwich. Plus, the contrast of the green herbs and white cream cheese against the pink turkey is just gorgeous. It’s Instagram-worthy, even if the only audience is your third-grader.
They’re a Blank Canvas — This is my favorite part. You can customize these for any taste. Picky eater? Leave out the cucumber. Love spicy? Add jalapeños. Want to go vegetarian? Swap the turkey for hummus and roasted veggies. The base recipe is stable, but the variations are endless. I’ve made these for my gluten-free friends by swapping in low-carb wraps, and they were just as happy.
They’re Budget-Friendly — I know, I know, “appetizer” sounds expensive. But this is just turkey, cheese, and tortillas. You can buy these ingredients in bulk and freeze them. It’s way cheaper than buying pre-made party platters or ordering takeout. Feeds a crowd for pennies.
They’re Make-Ahead Friendly — This is the big one. You can make these the night before. You can even freeze them. I have made these on Saturday night, wrapped them tightly in plastic wrap, and sliced them Sunday morning for brunch. They hold up beautifully. No soggy bottoms, no falling-apart edges. Just perfect, ready-to-eat bites.
So basically, if you want to feel like a hosting hero without actually hosting, these are your ticket. They’re indulgent, they’re shareable, and they taste like you spent hours in the kitchen (even if you spent 15 minutes).
Ingredients You’ll Need
Here’s the best part: you probably have most of this already in your fridge. This isn’t a recipe that requires a trip to three different specialty stores. It’s pantry-friendly, fridge-clearing goodness.
For the Base
Flour tortillas (8-inch / 20cm, 8 large) — I use standard flour tortillas. They’re soft, pliable, and hold the filling well. Avoid the super thin ones; they tear. Avoid the super thick ones; they’re doughy. Look for the ones that bend without cracking. I like the ones from the refrigerated section, not the shelf-stable ones.
Cream cheese (8 ounces / 225g, softened) — This is the glue. It holds everything together. Make sure it’s softened to room temperature. Cold cream cheese is impossible to spread evenly and will tear the tortilla. I take it out of the fridge about 30 minutes before I start. If I forget, I microwave it for 10 seconds. Do not skip this step.
Mayo (2 tablespoons) — I add a little mayo to the cream cheese to make it lighter and tangier. It helps balance the richness. You can skip it if you want, but I think it adds a nice depth.
For the Flavor
Fresh dill (2 tablespoons, chopped) — This is the star. Dill and cream cheese is a classic combo for a reason. It’s fresh, it’s bright, it cuts through the richness. If you don’t like dill, you can use chives or green onions, but dill is my go-to. Fresh is best here. Dried dill doesn’t have the same pop.
Garlic powder (½ teaspoon) — Just a little bit. Don’t use fresh garlic; it can be too sharp and watery. Powder gives you that savory background note without altering the texture.
Smoked paprika (½ teaspoon) — This adds a subtle smokiness and a beautiful color. It’s optional, but I think it elevates the flavor profile. If you don’t have it, regular paprika works.
Black pepper (½ teaspoon, freshly cracked) — Always use freshly cracked. It just tastes better.
For the Filling
Sliced turkey breast (1 pound / 450g) — I use deli-sliced turkey. Look for the low-sodium kind if you can find it. I like the ones that are slightly pink, not the super pale ones. Layer them well; don’t just throw them in a pile. Overlap them to create a continuous sheet.
Cucumber (½ medium, thinly sliced) — This adds crunch. But you have to prep it right. Slice it thin, and pat it dry. Wet cucumber is the enemy of a good pinwheel. It makes the tortilla soggy. I use a mandoline for this, but a sharp knife works too.
Sprouts (½ cup, optional) — I like alfalfa or broccoli sprouts. They add a nice crunch and a fresh taste. If you don’t have them, you can use shredded lettuce, but sprouts are better because they’re smaller and don’t release as much water.
Sharp cheddar cheese (1 cup / 100g, shredded) — I shred my own. Pre-shredded cheese has anti-caking agents that make it not melt as well, but since we’re not cooking this, it’s more about texture. Shredded cheese gives little bits of flavor throughout. Sharp cheddar has more punch than mild.
Equipment Needed
You don’t need fancy gadgets for this. Here’s what I actually use:
Large mixing bowl — For mixing the cream cheese filling. Any bowl works, as long as it’s big enough to mix comfortably.
Whisk or fork — To beat the cream cheese until it’s smooth. A fork works fine. A whisk is faster.
Pastry brush or spatula — To spread the cream cheese mixture onto the tortillas. A small offset spatula is ideal, but a butter knife works.
Sharp knife — For slicing the cucumber and the pinwheels. A serrated knife works well for the pinwheels if they’re frozen, but a chef’s knife is best for fresh ones.
Plastic wrap — Essential for rolling and chilling. You’ll need a few sheets.
Rolling pin (optional) — I don’t use one, but some people like to gently roll the tortillas to soften them before spreading. It helps them roll tighter.
Chopping board — For prepping the veggies and turkey.
How to Make It: Step-by-Step
Alright, let’s make this! I’m walking you through exactly how I do it, including the little tricks I’ve picked up to ensure your pinwheels are perfect.
Step 1: Prep the Cream Cheese Filling (5 minutes)
In a medium bowl, combine the softened cream cheese, mayo, chopped dill, garlic powder, smoked paprika, and black pepper. Whisk or beat with a fork until it’s completely smooth and creamy. There should be no lumps of cream cheese. Taste it! This is your chance to adjust the seasoning. Want more dill? Add it. Want more salt? Add a pinch. The filling is the flavor base, so get it right.
Step 2: Lay Out the Tortillas (2 minutes)
Place your tortillas on a clean surface. I like to work on a large cutting board or just the counter. If your tortillas are stiff, you can microwave them for 5-10 seconds to soften them. This makes them much easier to roll later. Lay them out in a row, overlapping slightly if you need to, but ideally, you want one tortilla per pinwheel.
Step 3: Spread the Filling (5 minutes)
Take about 3 tablespoons of the cream cheese mixture and spread it evenly over each tortilla, leaving a ½-inch border around the edges. The border is important; it’s what seals the roll. Make sure the layer is thin and even. If you pile it on too thick, the pinwheel will be bulky and hard to slice.
Step 4: Layer the Turkey (3 minutes)
Take your sliced turkey breast. Lay the slices flat on the tortilla, overlapping them slightly to create a solid layer. You want to cover the entire surface of the tortilla. Don’t leave gaps. If you have thin slices, you might need two layers. If you have thick slices, one might be enough. The goal is a continuous sheet of meat.
Step 5: Add the Veggies (3 minutes)
This is where the texture comes in. Lay your thinly sliced cucumber strips over the turkey. Arrange them lengthwise, parallel to the long edge of the tortilla. Sprinkle the sprouts and shredded cheddar cheese over the top. Be gentle; you don’t want to dislodge the turkey.
Step 6: Roll It Up (5 minutes)
Starting from the long edge closest to you, tightly roll the tortilla up. Use your fingers to tuck in the filling as you roll. Keep it tight. A loose roll will fall apart. Once you’ve rolled it all the way up, use the plastic wrap to help you tighten it. Place the roll in the plastic wrap, and gently roll it back and forth on the counter to compact it. Then, twist the ends of the plastic wrap like a candy wrapper to seal it.
Step 7: Chill (At least 1 hour)
This is the non-negotiable step. You must chill the rolls. This firms up the cream cheese and makes the tortilla less sticky, so it slices cleanly. I usually chill them for at least 2 hours, but overnight is best. Place them in the fridge, unwrapped, for the first 30 minutes to let the plastic wrap imprint, then remove the plastic and re-wrap them in foil or fresh plastic. This helps them keep their shape.
Step 8: Slice and Serve (5 minutes)
Once chilled, take the rolls out. Use a sharp knife to slice them into 1-inch pinwheels. Wipe the knife between cuts if it gets sticky. The sharper the knife, the cleaner the cut. Arrange them on a platter, spiral side up. They should look like little flowers. Garnish with a sprinkle of paprika or fresh dill if you want to be fancy.
Expert Tips & Tricks
Here’s everything I’ve learned from making these dozens of times. These tips will save you from my mistakes.
Pat Your Cucumber Dry — I cannot stress this enough. Wet cucumber = soggy pinwheel. After slicing, lay the cucumber strips on paper towels and pat them dry. Remove any seeds if they’re watery. This step takes 2 minutes but makes a huge difference in texture.
Softened Cream Cheese is Key — If your cream cheese is cold, it will crack the tortilla. Let it sit out for 30 minutes. If you’re in a hurry, microwave it in 5-second bursts. It should be spreadable, not runny.
Roll It Tight — A loose roll is a falling-aproll. Roll it tightly, and use the plastic wrap to help. The plastic wrap acts as a mold. Twist it tight.
Chill Longer Than You Think — 1 hour is the minimum. 2 hours is better. Overnight is best. If you slice them too soon, they’ll be messy. Patience pays off.
Use a Sharp Knife — A dull knife will crush the pinwheel. Use a sharp chef’s knife or a serrated knife. If you’re slicing frozen pinwheels, a serrated knife is a must.
Don’t Overfill — Less is more. If you pile on too much filling, the tortilla will tear. Keep the layers thin and even.
Variations & Substitutions
Once you’ve nailed the basic version, here’s how you can mix it up. I’ve tried all of these.
Spinach & Feta — Swap the turkey for spinach and feta cheese. Add a little lemon zest to the cream cheese. This is a great vegetarian option.
Smoked Salmon & Caper — Swap the turkey for smoked salmon. Add capers and red onion to the filling. This is a bit more upscale, perfect for brunch.
Chicken Salad — Swap the turkey for shredded chicken mixed with mayo and celery. Add grapes for sweetness. This is a classic picnic flavor.
Spicy Jalapeño — Add diced jalapeños to the cream cheese and use pepper jack cheese. This is for the heat lovers.
Gluten-Free — Use gluten-free tortillas. They can be more fragile, so handle them gently. Rice-based tortillas work well.
Low-Carb — Use large lettuce leaves or low-carb wraps. The lettuce leaf version is called “lettuce wraps” and is delicious.
Serving & Storage
How to Serve: — I usually serve these on a large platter, arranged in a spiral pattern. They look beautiful. Garnish with fresh dill or paprika. Serve with a side of extra cream cheese dip if you want to be generous.
Side Dishes: — These go well with anything. A simple green salad, some chips, or even just fruit. They’re versatile.
Storage: — Store in an airtight container in the fridge for up to 3 days. They hold up well. If they start to look dry, cover them with a damp paper towel.
Freezing: — You can freeze these! Roll them in plastic wrap, then foil. Freeze for up to 1 month. Thaw in the fridge overnight before slicing. They might be slightly softer, but they still taste great.
Nutrition Information
I’m not a nutritionist, but here’s the breakdown if you’re tracking. This is per pinwheel (makes about 32 pinwheels).
Per Pinwheel:
Calories: 65
Protein: 4g
Carbs: 6g
Fat: 3g
Sodium: 150mg
Look, this is a snack, not a meal. It’s light, it’s tasty, and it’s a great way to get some protein into your kids’ day. If you’re watching calories, you can use light cream cheese, but the regular stuff is worth the few extra calories.
Final Thoughts
So that’s my go-to Back to School Turkey Pinwheels! I’ve probably talked your ear off at this point, but when you make a recipe this often, you have a lot to say about it. These have saved my sanity more times than I can count. They’re my answer to “what’s for lunch?” when I’m tired, don’t want to cook, and still want something that tastes really good.
My kids are happy, my husband’s happy, and I’m happy because I’m not stressed about cooking. Make it yours! Try different add-ins, swap in your favorite vegetables, adjust the garlic. The best recipes are the ones you adapt to your family’s tastes.
If you make this, drop a comment and let me know what you think! I love hearing how recipes turn out in your kitchen. And if something doesn’t work, tell me that too—I’m here to help troubleshoot. Happy cooking! And I hope your kitchen smells half as good as mine does right now.
Frequently Asked Questions
Can I use a different type of cheese?
Yes! I’ve used cream cheese with goat cheese, or with brie. It changes the flavor profile, but it’s still good. Just make sure the cheese is soft and spreadable.
Why did my pinwheels fall apart?
Usually, this means the roll wasn’t tight enough, or the tortilla was too dry. Make sure you roll it tightly, and use plastic wrap to help. Also, ensure your cream cheese is soft, not cold.
Can I make these ahead of time?
Yes! This is the best part. Make them the night before. They hold up well in the fridge for up to 3 days. You can also freeze them for up to 1 month.
Can I use a different type of meat?
Absolutely. Ham, roast beef, or even chicken salad work well. Just make sure the meat is sliced thin and overlaps well.
Do I have to use dill?
No. You can use chives, green onions, or even just garlic powder. Dill is my favorite, but it’s not mandatory.
Can I freeze the pinwheels after slicing?
I don’t recommend slicing before freezing. The slices will get mushy when thawed. Freeze them whole, then slice after thawing.
What if I don’t have a mandoline?
Use a sharp knife. Just slice the cucumber as thin as you can. It takes a bit more time, but it works.
Pin This Recipe!
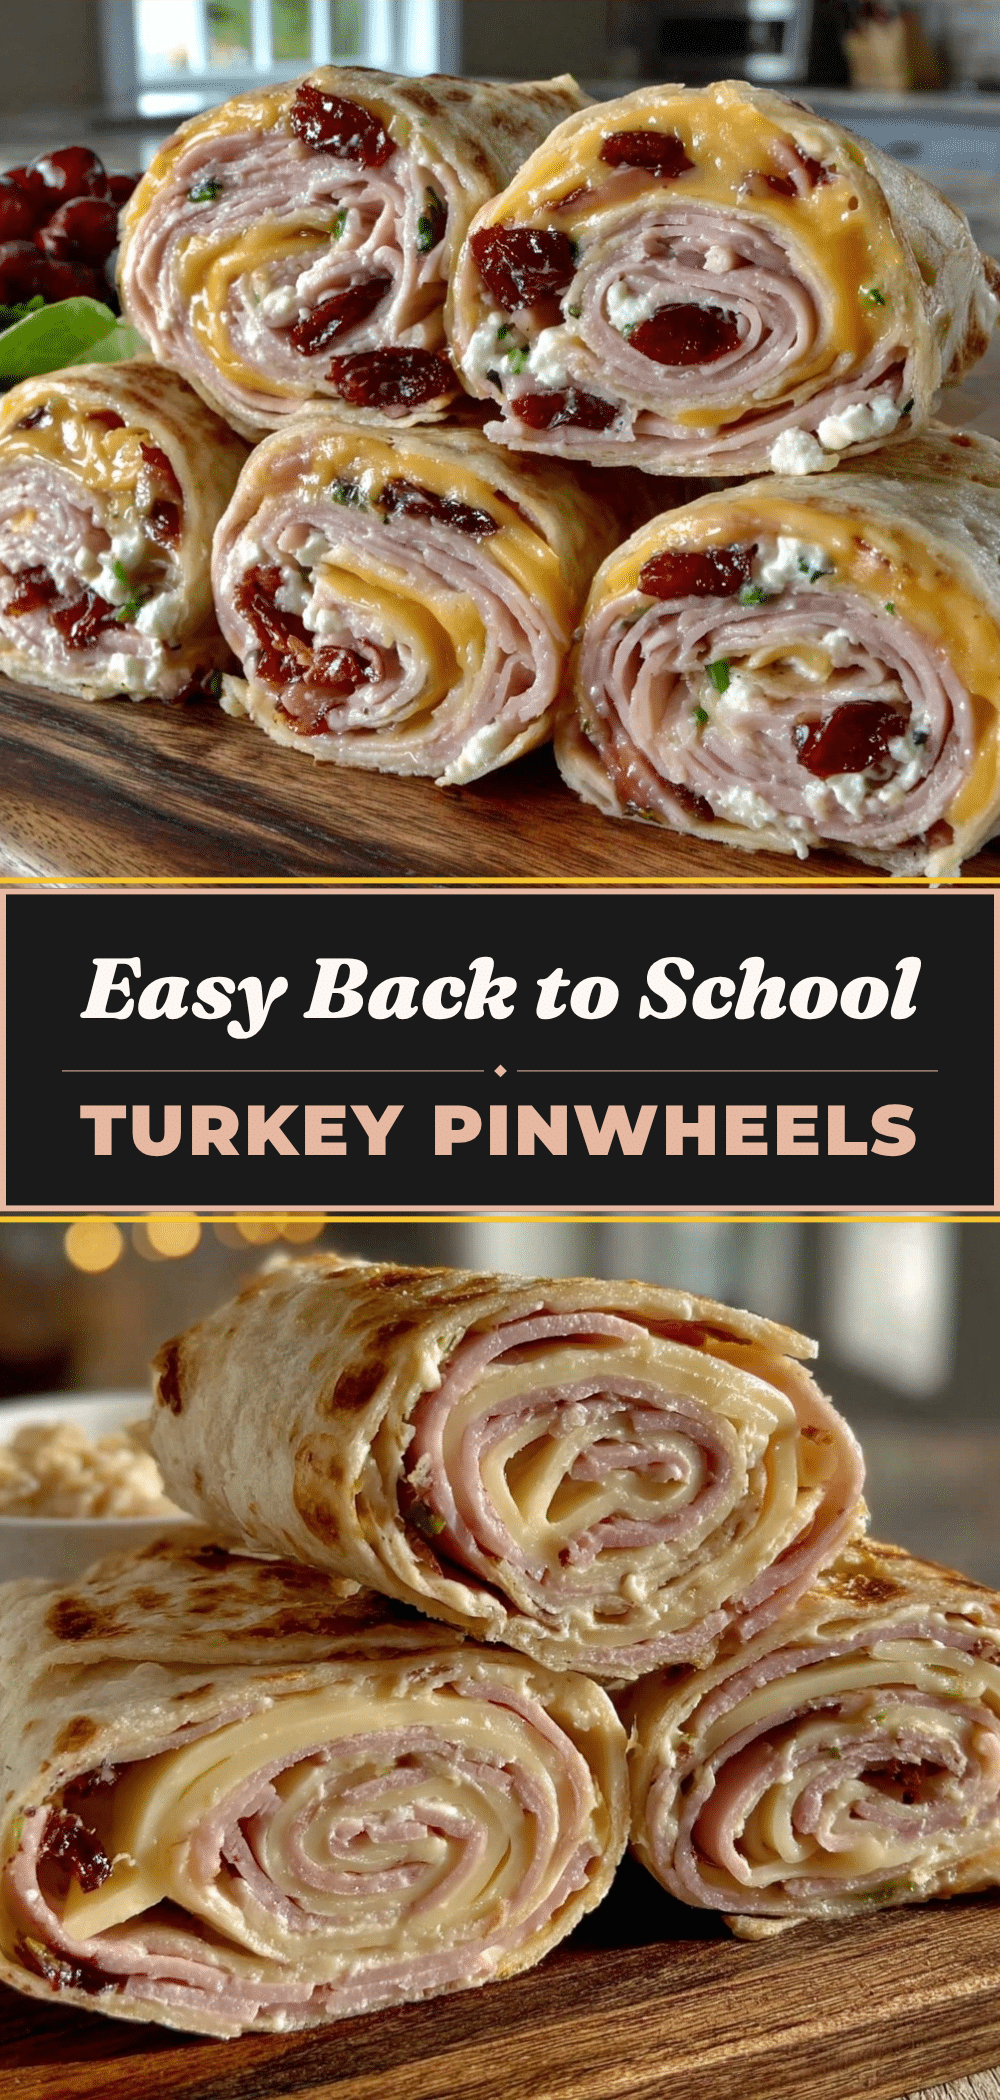

Back to School Turkey Pinwheels: The Perfect Party Appetizer
- Total Time: 1 hour 15 minutes
- Yield: 32 pinwheels 1x
Description
These creamy, herby turkey pinwheels are the perfect make-ahead appetizer or lunchbox upgrade. Featuring soft tortillas filled with a dill cream cheese spread, sliced turkey, cucumber, and cheddar, they are easy to roll, chill, and slice for a mess-free, visually appealing snack.
Ingredients
- 8 large 8-inch flour tortillas
- 8 ounces (225g) cream cheese, softened to room temperature
- 2 tablespoons mayonnaise
- 2 tablespoons fresh dill, chopped
- 1/2 teaspoon garlic powder
- 1/2 teaspoon smoked paprika
- 1/2 teaspoon freshly cracked black pepper
- 1 pound (450g) sliced turkey breast
- 1/2 medium cucumber, thinly sliced and patted dry
- 1/2 cup alfalfa or broccoli sprouts (optional)
- 1 cup (100g) sharp cheddar cheese, shredded
Instructions
- In a medium bowl, combine the softened cream cheese, mayonnaise, chopped dill, garlic powder, smoked paprika, and black pepper. Whisk or beat with a fork until completely smooth and creamy.
- Lay the tortillas out on a clean surface. If they are stiff, microwave them for 5-10 seconds to soften them.
- Spread about 3 tablespoons of the cream cheese mixture evenly over each tortilla, leaving a 1/2-inch border around the edges.
- Layer the sliced turkey breast over the cream cheese, overlapping slices to create a continuous sheet covering the entire surface.
- Arrange the thinly sliced cucumber strips lengthwise over the turkey. Sprinkle with sprouts and shredded cheddar cheese.
- Starting from the long edge closest to you, tightly roll the tortilla up, tucking in the filling as you go.
- Place the roll in plastic wrap, roll it back and forth on the counter to compact it, and twist the ends of the plastic wrap to seal it like a candy wrapper.
- Chill the rolls in the refrigerator for at least 1 hour (2 hours or overnight is best) to firm up the cream cheese.
- Once chilled, remove the plastic wrap and use a sharp knife to slice the rolls into 1-inch pinwheels. Wipe the knife between cuts if needed.
- Arrange on a platter spiral side up and garnish with extra paprika or fresh dill if desired.
Notes
Pat the cucumber dry thoroughly to prevent soggy pinwheels. Ensure the cream cheese is softened to room temperature to avoid tearing the tortillas. Roll the pinwheels tightly and use plastic wrap to help maintain their shape during chilling. For best results, chill for at least 2 hours or overnight before slicing.
- Prep Time: 15 minutes
- Cook Time: 0 minutes
- Category: Appetizer
- Cuisine: American
Nutrition
- Serving Size: 1 pinwheel
- Calories: 65
- Sugar: 1
- Sodium: 150
- Fat: 3
- Saturated Fat: 2
- Carbohydrates: 6
- Protein: 4
Keywords: turkey pinwheels, back to school lunch, party appetizer, make ahead snacks, tortilla wraps, kid friendly food, easy appetizer


