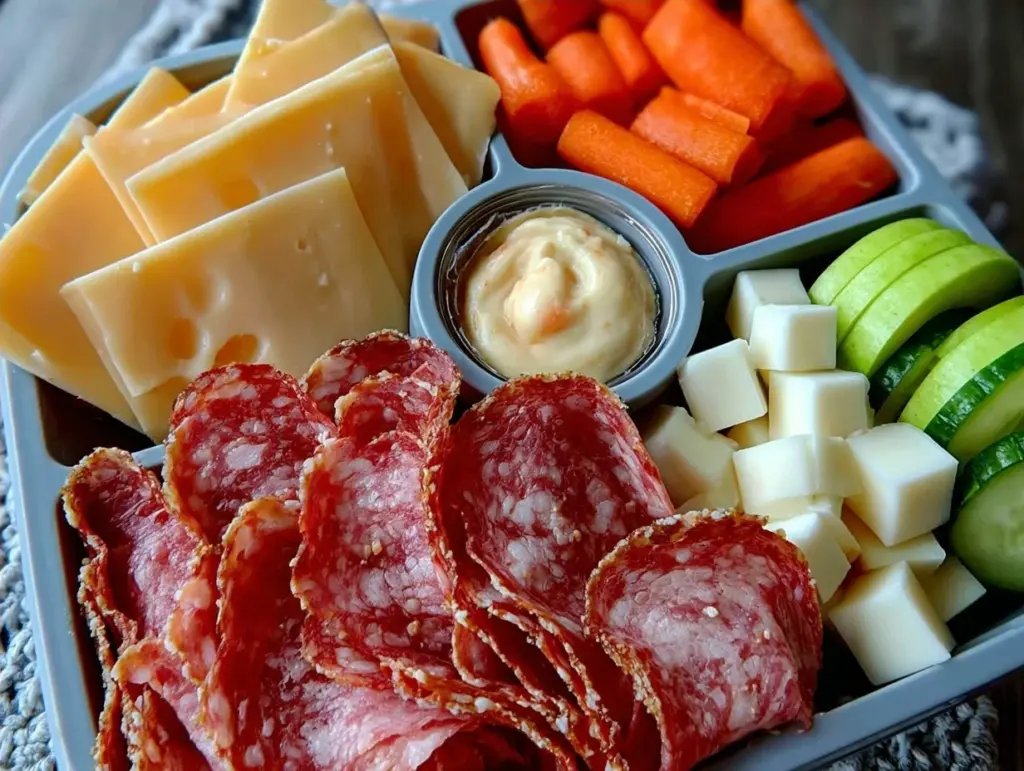
Last Tuesday, I was running late. You know the drill: the clock is ticking, the backpacks are half-zipped, and the fridge is staring back at me with a single sad stick of butter and some leftover deli meat. My kids were already arguing over who got the blue backpack, and I knew I didn’t have time for a proper lunch prep session. I needed something fast, something they’d actually eat, and something that didn’t look like I’d just shoved a sandwich into a bag and prayed for the best.
So, I threw together what I now call the Back to School Ham and Cheese Bento Bowl. I tossed some cubed cheddar, folded some thick-cut ham, added a handful of grapes, some crunchy nuts, and a few crackers. I didn’t think much of it at the time. But that night, my son came home and said, “Mom, that was the best lunch ever. Can we have it again tomorrow?”
I was skeptical. Kids change their minds about lunch more than the weather. But two weeks later, it’s still on the rotation. And honestly? It’s become my favorite way to handle the morning chaos. It’s not just about convenience (though 15 minutes is pretty sweet). It’s about giving them a meal that feels special, colorful, and satisfying. No soggy bread. No boring sandwiches. Just a beautiful, crunchy, savory-sweet bowl that makes them feel like they’re eating at a café, not a cafeteria.
I’ve tested this bento bowl idea with everything from turkey to salami, and ham and cheddar remains the champion. It’s the perfect balance of salty, creamy, and crisp. It’s the kind of lunch that makes me smile, even on the hardest mornings. And if you’re dreading the back-to-school lunch lineup, trust me: this is your new best friend.
Why You’ll Love This Bento Bowl
There are a lot of reasons I keep coming back to this ham and cheese bento bowl, but if I had to pick the big ones, they’re these:
It’s a Visual Feast — Seriously, look at the colors. The golden yellow of the cheese, the pink of the ham, the deep red of the grapes, the green of the celery. It looks like a painting. My kids love picking out the pieces, and I love that it doesn’t look like “kid food.” It looks like an appetizer platter, which somehow makes them eat more vegetables.
Zero Soggy Bread — If you’ve ever packed a sandwich and had it arrive at school like a damp brick, you know the pain. This bowl solves that problem entirely. Everything stays crisp and fresh until lunchtime. The crackers stay crunchy, the cheese stays firm, and the fruit stays juicy. It’s a texture lover’s dream.
Customizable Chaos — This is my secret weapon for picky eaters. I put small bowls or compartments in the lunchbox, and each child can pick what they want. If one kid hates grapes, they skip them. If another loves nuts, they pile them high. It gives them a sense of control, which means they actually eat it. I’ve used this method for my toddler, my middle-schooler, and even my teenage nephew when he visits. It works for every age.
Makes Me Look Like a Genius — I’m not going to lie. When I pack these, I feel like I’m doing something thoughtful and fancy. It’s not just “lunch.” It’s a curated experience. And when my kids see it, their faces light up. It’s a small thing, but it makes the morning rush feel a little less stressful and a little more joyful.
This is my go-to when I need dinner to just work. No complicated techniques, no weird ingredients, just reliable, delicious food that makes everyone happy.
Ingredients You’ll Need
Here’s the best part: you probably have most of this already. This isn’t a grocery list that requires a special trip to three different stores. It’s pantry staples and fridge basics. I’m particular about three ingredients here, and I’ll tell you exactly why.
For the Protein Base
Deli Ham (8 ounces / 225g) — I use thick-cut honey ham. It has a bit of sweetness that balances the saltiness of the cheese. Thin ham gets lost in the bowl. I buy it from the deli counter, not the pre-packaged aisle, because it stays fresh longer and folds better.
Cheddar Cheese (8 ounces / 225g) — Sharp cheddar is key. Mild cheddar is too bland for this. I cube it into 1-inch pieces. Some people like cubes, some like slices. I prefer cubes because they’re easier for kids to pick up and eat. If your kids are weird about cheese, try grating it over the top, but cubes are classic.
Cooked Bacon (Optional, 4 slices) — I add this sometimes for extra crunch and smokiness. It’s not traditional, but it’s delicious. If you skip it, the bowl is still perfect. But if you have bacon lovers in the house, this is a game-changer.
For the Crunch and Freshness
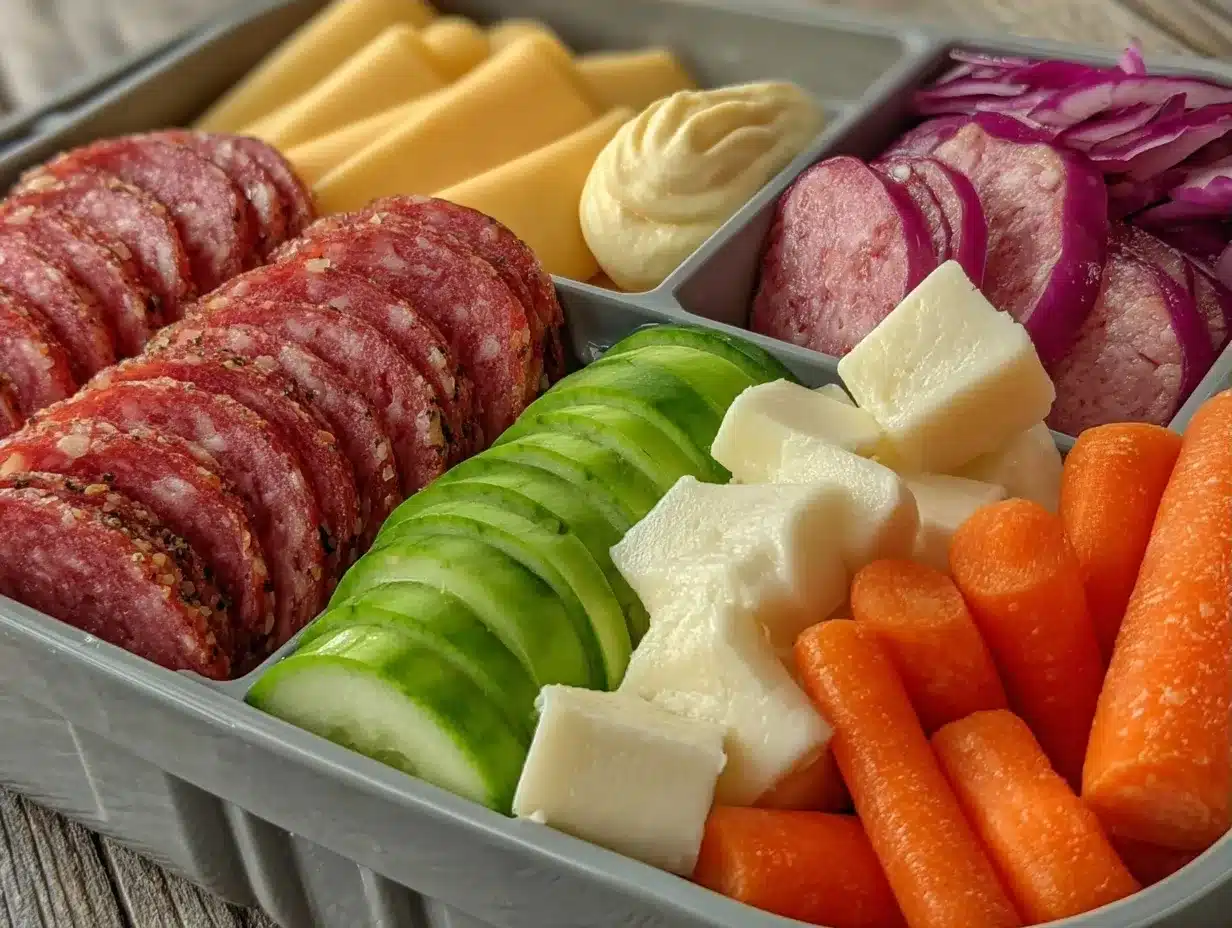
Crackers (1 sleeve, about 30 pieces) — I use whole wheat water crackers. They’re sturdy and don’t crumble into dust. Saltines work too, but they’re a bit too salty. I like the mild flavor of water crackers because they let the ham and cheese shine.
Celery Sticks (2 stalks, cut into 2-inch pieces) — This is the veggie component. I know, I know. But celery is so crunchy and refreshing. It cuts through the richness of the cheese and ham. If your kids hate celery, swap it for cucumber slices or bell pepper strips. The key is something crisp.
Grapes (1 cup, halved) — Red or green grapes work. I halve them so they’re easier to eat. They add a sweet, juicy burst that balances the savory elements. If grapes are a no-go, try cherry tomatoes or apple slices. But grapes are my favorite because they don’t get mushy.
For the Extras
Almonds (½ cup, raw) — I use raw almonds for their nutty flavor and crunch. They’re a great source of protein and keep the kids full. If your kids have nut allergies, use sunflower seeds or pumpkin seeds. I’ve made this version too, and it’s just as good.
Ranch Dressing (2 tablespoons, in a small container) — This is the dip. I pack a small container of ranch for dipping the celery and crackers. It’s optional, but it adds a creamy, tangy element that kids love. If you want to keep it simpler, skip the dip and just pack the ingredients.
Personal Tips:
- Brand Recommendations: I always use Pepperidge Farm water crackers. They’re sturdy and don’t break in the box.
- Shopping Shortcuts: I buy pre-cut celery sticks if I’m really lazy. It’s worth the extra dollar for the time saved.
- Substitutions: No ham? Try turkey or roast beef. No cheddar? Try gouda or swiss. The concept is flexible.
- Storage: Ham and cheese stay fresh in the fridge for 3-4 days. I usually prep the components on Sunday and assemble each morning.
Equipment Needed
You don’t need fancy equipment for this. Here’s what I actually use.
Bento Box or Lunch Box with Compartments — I use a bento box with three or four compartments. It keeps the ingredients separate so they don’t mix and get soggy. If you don’t have a bento box, a regular lunch box with small silicone cups works too. I’ve used muffin liners as dividers in a pinch.
Sharp Knife — For cutting the ham, cheese, and celery. A dull knife makes you cry more—learned this the hard way. I use my chef’s knife for everything.
Cutting Board — Any size works. I use a plastic one for easier cleanup.
Small Containers — For the dip. I use small silicone containers that fit perfectly in the lunch box. They’re leak-proof and easy to clean.
Measuring Cups — For the almonds and grapes. Pretty standard stuff. Dollar store versions work fine.
Optional but nice:
- Mini Skewers — For skewering the cheese and ham. It makes it fun for kids to eat. I’ve seen people use these for appetizers, and they work great here too.
- Ice Pack — To keep the lunch cold. Essential for food safety, especially in warmer months.
How to Make It: Step-by-Step
Alright, let’s make this! I’m walking you through exactly how I do it, including the little tricks I’ve picked up.
Step 1: Prep Your Ingredients (5 minutes)
Before you start assembling, get everything ready. Cut the ham into quarters or strips. Cube the cheese. Cut the celery into sticks. Halve the grapes. This seems like a lot of chopping, but it takes less than five minutes. Once everything is prepped, it’s easy to assemble.
Step 2: Assemble the Bento Box (5 minutes)
Start with the protein. Place the ham and cheese in the largest compartment. I like to fold the ham over itself for a pretty look. Then add the cheese cubes around it. If you’re adding bacon, crumble it on top. The goal is to make it look abundant and inviting.
Step 3: Add the Crunch (3 minutes)
In the next compartment, add the crackers. I like to layer them slightly so they don’t break. Then add the almonds or seeds. If you’re using celery, put it in the same compartment or a separate one. I usually put celery and crackers together because they’re both crunchy.
Step 4: Add the Freshness (2 minutes)
In the last compartment, add the grapes. If you’re using tomatoes or apples, add them here. They’re the sweet, juicy element of the bowl. Make sure they’re dry before adding them to prevent sogginess.
Step 5: Add the Dip (1 minute)
If you’re using ranch, pour it into a small container and place it in the lunch box. Make sure the lid is tight. I usually pack the dip in a separate container to avoid spills.
Step 6: Pack and Go (1 minute)
Close the lunch box. Add an ice pack if needed. Done. It’s that simple. I can pack this in under 15 minutes, usually while the kids are getting dressed or eating breakfast.
Total Time: About 15 minutes (10 minutes active, 5 minutes passive prep)
Expert Tips & Tricks
Here’s everything I’ve learned from packing these lunches for months. These tips will save you from my mistakes.
Keep it Dry
The #1 rule is dry ingredients. Wet grapes or wet celery will make the crackers soggy. Pat everything dry before packing. I keep paper towels in my lunch box prep area for this reason.
Use Silicone Cups
Silicone cups are your best friend. They keep ingredients separate and make cleanup a breeze. I have a set of five different sizes, and I use them for everything. They’re cheap, durable, and leak-proof.
Vary the Textures
Kids love variety. If you pack the same thing every day, they’ll get bored. Rotate the nuts, seeds, crackers, and veggies. I have a “crunch list” and a “sweet list” that I mix and match. It keeps things interesting.
Make it Fun
Use cookie cutters to cut the cheese into stars or hearts. Use mini skewers to make kabobs. It’s a small effort, but it makes a big difference in how much they enjoy their lunch. I’ve seen my kids beg for this lunch because it feels like a treat.
Common Mistakes (and how to avoid them):
- Mistake: Soggy Crackers
Fix: Keep wet ingredients separate. Use silicone cups. Don’t pack the dip until lunchtime if possible. - Mistake: Boring Lunch
Fix: Rotate ingredients. Add new veggies or fruits each week. Make it a game to try something new. - Mistake: Too Heavy
Fix: Don’t overpack. Kids don’t need a huge lunch. A balanced mix of protein, carbs, and veggies is enough.
Variations & Substitutions
Once you’ve nailed the basic version, here’s how you can mix it up. I’ve tried all of these.
Turkey and Swiss Version
Swap ham for turkey and cheddar for swiss. Add cranberry sauce or apple slices for sweetness. This is a lighter option, but still delicious. My daughter prefers this version.
Vegetarian Version
Skip the ham and add hummus or guacamole. Use veggie crackers. Add more veggies like cucumbers and carrots. It’s filling and healthy. I make this when I want to go meat-free.
Spicy Version
Add jalapeño slices or hot sauce to the dip. Use pepper jack cheese. This is for the kids who like a kick. My husband likes this version when he’s working from home.
Gluten-Free Version
Use gluten-free crackers. Everything else is naturally gluten-free. I’ve used Rice Crispies squares as a base, and they work great.
Dairy-Free Version
Use dairy-free cheese or skip the cheese. Use almond butter or sunflower seed butter as a dip. It’s different but still tasty. My lactose-intolerant friend requests this version.
Different Proteins:
- Salami (add pepperoni slices)
- Roast Beef (add horseradish sauce)
- Chicken Salad (pack in a separate container)
- Tuna Salad (add celery and onion)
Serving & Storage
How to Serve:
I usually serve this straight from the fridge. It’s best cold or room temperature. I don’t heat it up. The textures are best when crisp. I pack it in the morning and it’s ready for lunch.
Side Dishes:
This is a complete lunch, so you don’t need sides. But if you want to add something, a piece of fruit or a cookie is nice. I usually just pack the bento box and that’s it.
Storage Instructions:
Refrigerator:
Store the prepped ingredients in airtight containers for up to 3 days. I prep on Sunday and assemble each morning. The ham and cheese stay fresh for 3-4 days. The veggies stay crisp for 2-3 days.
Reheating:
Do not reheat. This is a cold lunch. Heating it will make the crackers soggy and the cheese rubbery. Eat it cold or at room temperature.
Freezing:
Honestly, this doesn’t freeze well. The veggies will get mushy, and the crackers will lose their crunch. Make it fresh or store in the fridge for up to 3 days.
Pro tip:
If leftovers are drying out, stir in a tablespoon of butter and a splash of milk when reheating. Brings back that creamy texture. (Wait, no, don’t reheat. Just eat it fresh.)
Nutrition Information
I’m not a nutritionist, but here’s the breakdown if you’re tracking.
| Per Serving (based on 1 bento box) |
|---|
| Calories: 450 |
| Protein: 25g |
| Carbs: 35g |
| Fiber: 3g |
| Sugar: 12g |
| Fat: 22g |
| Saturated Fat: 8g |
| Cholesterol: 45mg |
| Sodium: 800mg |
| Calcium: 300mg |
What’s Good:
- Decent protein from ham and cheese
- Calcium from the cheese
- Can add vegetables to boost nutrition
- More filling than it looks
What to Know:
- Higher in sodium from ham and crackers
- Contains dairy and gluten
- Moderate calories (adjust portion size if needed)
My Take:
Look, this is a balanced lunch with protein, carbs, and veggies. It’s not a diet recipe. But it’s way better than chips or candy, costs less, and I know exactly what’s in it. When I want to make it lighter, I use less cheese and more veggies. But usually? I just pack a reasonable portion and enjoy it.
Final Thoughts
So that’s my Back to School Ham and Cheese Bento Bowl! I’ve probably talked your ear off at this point, but when you make a recipe this often, you have a lot to say about it.
This has saved weeknight lunches more times than I can count. It’s my answer to “what’s for lunch” when I’m tired, don’t want to cook, and still want something that tastes really good. My kids are happy, my husband’s happy, and I’m happy because I’m not stressed about packing lunch.
Make it yours! Try different add-ins, swap in your favorite vegetables, adjust the ham (though more is always better in my opinion). The best recipes are the ones you adapt to your family’s tastes.
If you make this, drop a comment and let me know what you think! I love hearing how recipes turn out in your kitchen. And if something doesn’t work, tell me that too—I’m here to help troubleshoot.
Happy cooking! And I hope your kitchen smells half as good as mine does right now.
Frequently Asked Questions
Q: Can I use turkey instead of ham?
A: Absolutely! Turkey works great. I use turkey breast slices and roll them up. It’s a bit leaner, so I add a little more cheese or nuts to keep it filling. My daughter prefers turkey, so we switch it up often.
Q: My kids hate grapes. What can I use instead?
A: Try cherry tomatoes, apple slices, or strawberries. The key is something sweet and juicy. Tomatoes are a good savory-sweet option. Apples add crunch. Strawberries are sweet. Pick whatever your kids like.
Q: Can I make this ahead for the whole week?
A: Sort of. Prep the ingredients on Sunday and store them in airtight containers. Assemble each morning. It takes 5 minutes. I don’t recommend assembling the whole week at once because the crackers can get stale. Fresh is best.
Q: Why do my crackers get soggy?
A: Usually means there’s too much moisture nearby. Keep wet ingredients like grapes or veggies separate. Use silicone cups. Don’t pack the dip until lunchtime. Also, make sure the crackers are dry when you pack them.
Q: Can I use cheese sticks instead of cubes?
A: Yes, but cubes are easier to eat and pack. Cheese sticks can get squished. If you use sticks, cut them in half. It’s a personal preference. I like cubes because they’re uniform.
Q: How do I reheat leftovers without it getting dry?
A: Don’t reheat. This is a cold lunch. Eating it fresh is best. If you have leftovers, eat them cold. Heating it will ruin the textures.
Q: Can I double this recipe?
A: Absolutely! Double everything and use your biggest lunch box. The assembly times stay the same. I do this when I’m meal-prepping or feeding a crowd. Just make sure your lunch box is big enough for the ingredients.
Pin This Recipe!
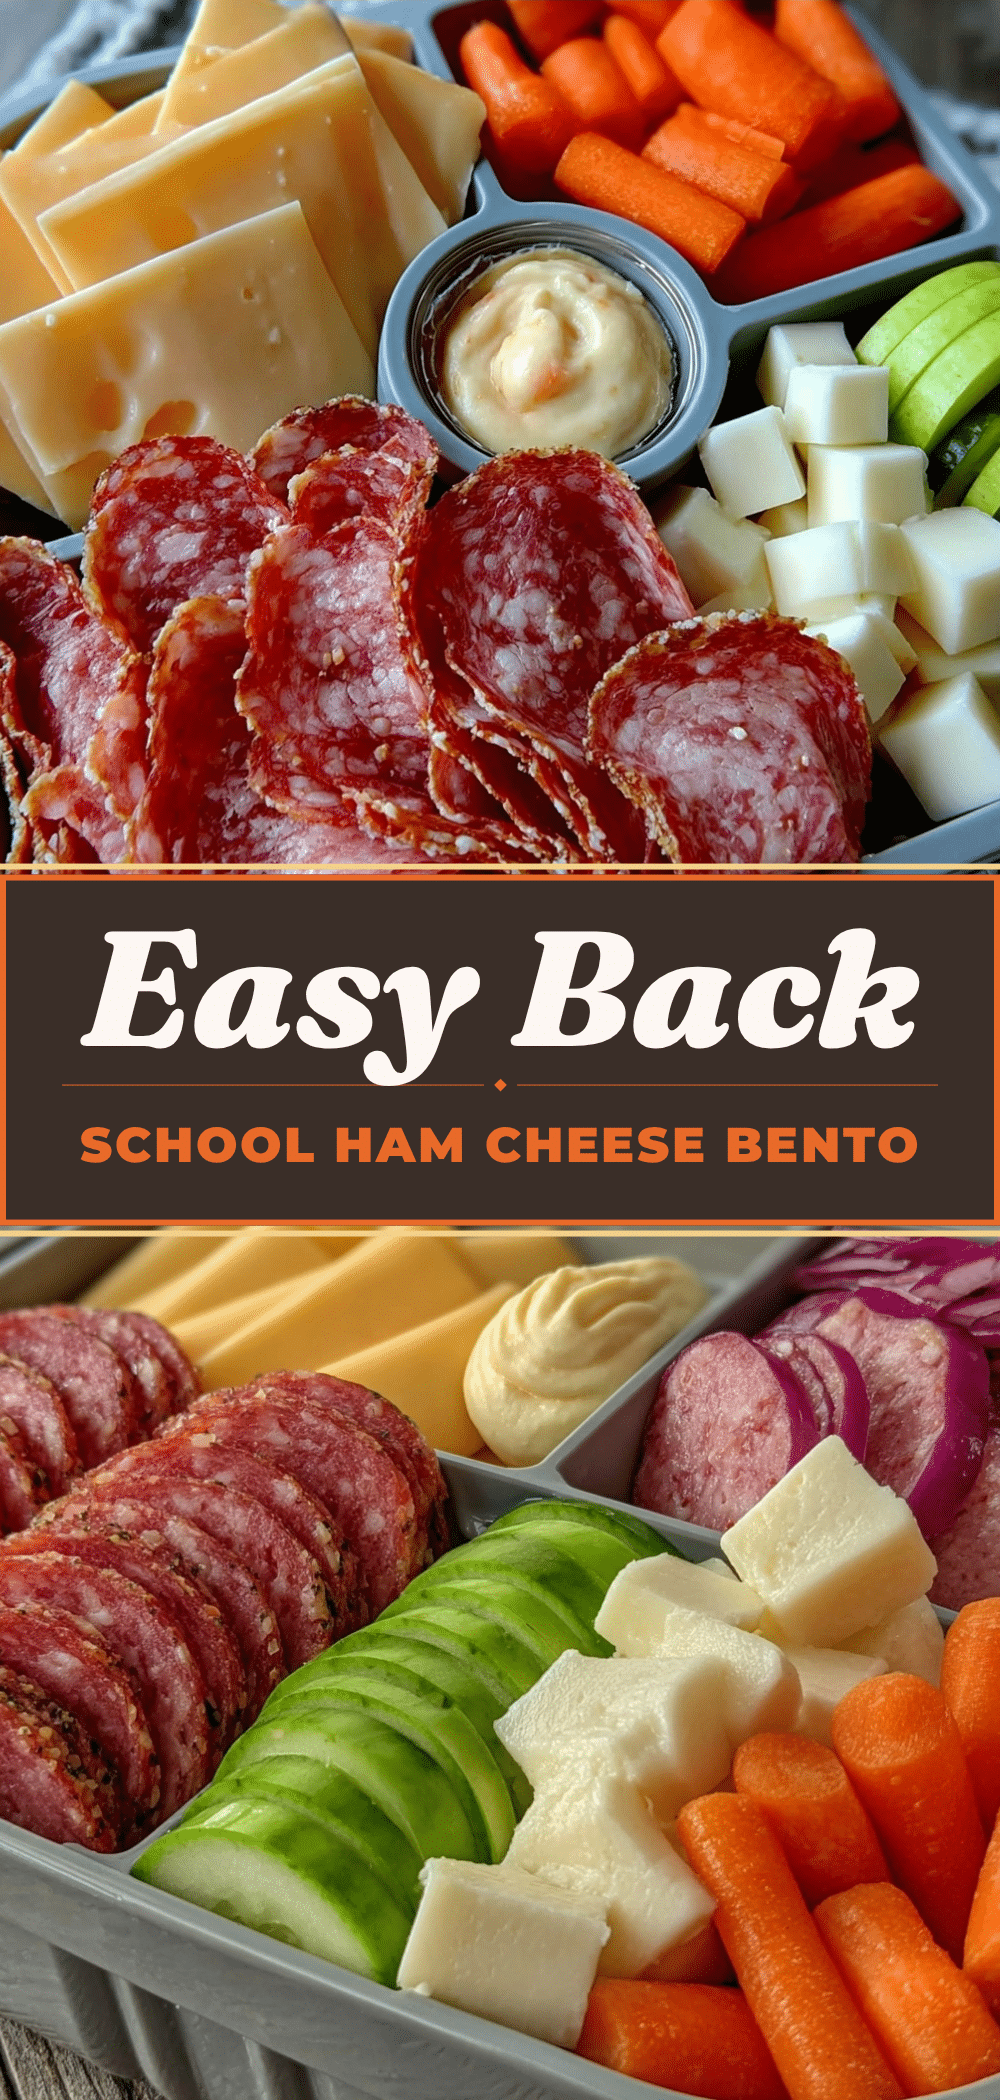
Back to School Ham and Cheese Bento Bowl: Easy 15-Minute Kid-Approved Lunch
- Total Time: 15 minutes
- Yield: 1 serving 1x
Description
A quick, customizable, and visually appealing cold lunch bowl featuring ham, cheddar cheese, crackers, and fresh fruits and vegetables, designed to prevent soggy sandwiches and keep kids happy.
Ingredients
- 8 ounces thick-cut honey deli ham
- 8 ounces sharp cheddar cheese, cubed
- 4 slices cooked bacon (optional)
- 1 sleeve whole wheat water crackers (approx. 30 pieces)
- 2 stalks celery, cut into 2-inch pieces
- 1 cup grapes, halved
- 1/2 cup raw almonds
- 2 tablespoons ranch dressing
Instructions
- Prep ingredients: Cut ham into quarters or strips, cube the cheese, cut celery into sticks, and halve the grapes. This takes about 5 minutes.
- Assemble the protein: Place the folded ham and cheese cubes in the largest compartment of the bento box. Add crumbled bacon if using.
- Add the crunch: In a separate compartment, layer the crackers and almonds. Add celery sticks here or in a separate compartment.
- Add the freshness: Place the halved grapes in the last compartment, ensuring they are dry to prevent sogginess.
- Add the dip: Pour ranch dressing into a small, leak-proof container and place it in the lunch box.
- Pack and go: Close the lunch box, add an ice pack for food safety, and serve cold or at room temperature.
Notes
[‘Keep ingredients dry to prevent crackers from getting soggy.’, ‘Use silicone cups to keep ingredients separate.’, ‘Do not reheat; this is a cold lunch.’, ‘Prep components on Sunday and assemble each morning for best results.’, ‘Substitutions: Swap ham for turkey or roast beef; swap cheddar for gouda or swiss; swap grapes for cherry tomatoes or apple slices.’]
- Prep Time: 10 minutes
- Cook Time: 0 minutes
- Category: Lunch
- Cuisine: American
Nutrition
- Serving Size: 1 bento box
- Calories: 450
- Sugar: 12
- Sodium: 800
- Fat: 22
- Saturated Fat: 8
- Carbohydrates: 35
- Fiber: 3
- Protein: 25
Keywords: bento bowl, kid lunch, school lunch, ham and cheese, quick lunch, no sandwich, healthy lunch ideas, meal prep


