It’s 7:15 AM on a Tuesday in September. The house is a controlled chaos of missing shoes, spilled juice boxes, and the frantic search for the permission slip that is definitely, definitely in the backpack (it was on the kitchen counter). I’m standing over the coffee maker, trying to remember if I signed the form, when my seven-year-old, Leo, shuffles in. He looks at the fridge. He looks at me. He looks at the half-eaten granola bar I just shoved into his hand.
“Mom,” he says, with the weary tone of a man who has already lived three lifetimes before breakfast. “Do I have to eat this?”
I wanted to say no. I wanted to say, “Eat whatever you want, we’re going to In-N-Out.” But I didn’t. Instead, I had this flash of memory from my own childhood—the lunchbox that actually made my stomach growl by 10 AM, not just because of the sugar crash, but because the food was boring. Gray cheese. Soggy crackers. I knew I needed a solution. Something that looked like a party, tasted like a treat, and actually had vegetables in it. Something that would make my kids fight over the last one.
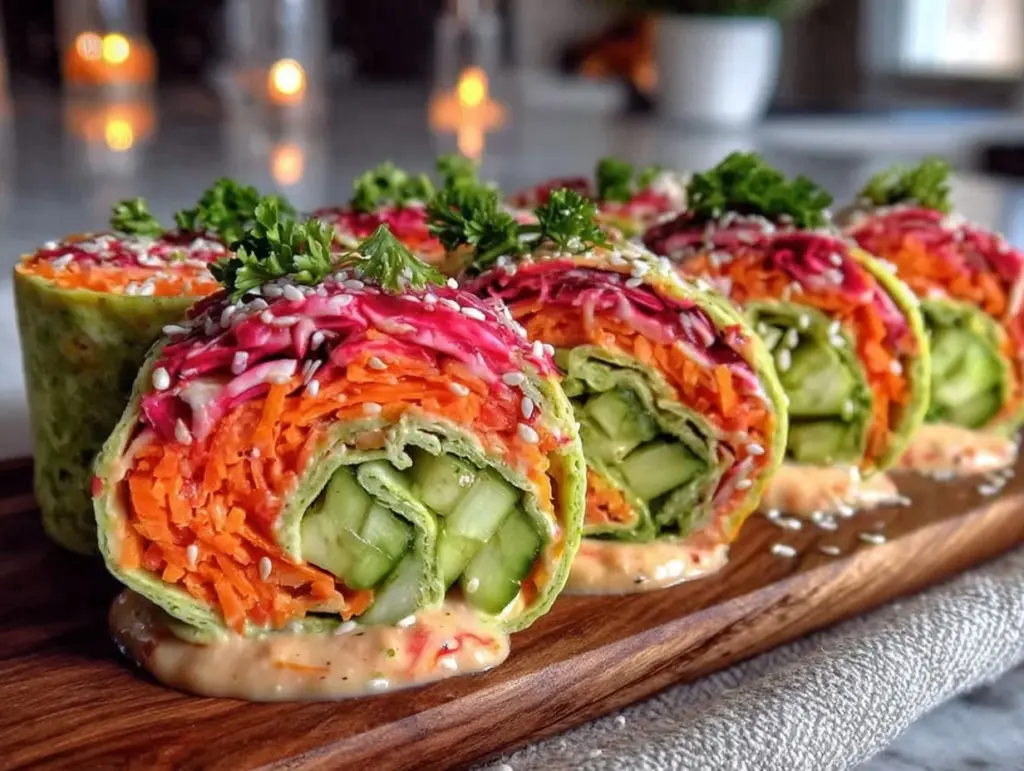
That morning, I threw together what I now call the Back to School Rainbow Veggie Wraps with Hummus. I didn’t plan it. I just grabbed the tortillas, the hummus, and whatever colorful veggies were rotting in the crisper drawer. I rolled it up, sliced it into pinwheels, and handed it to Leo. He took one bite, stopped mid-sentence, and said, “This is actually good.”
That was two months ago. We’ve made these wraps at least twenty times. They’ve survived carpool lines, soccer practice, and the occasional “I don’t want lunch” rebellion. But here’s the secret: they aren’t just a lunchbox hack. They are a masterpiece of color and flavor that feels indulgent, even though they’re packed with veggies. And honestly? I make them for myself, too. Because sometimes, eating a rainbow doesn’t feel like a chore. It feels like a treat.
Why You’ll Love These Rainbow Veggie Wraps
Let’s be real. Packing a school lunch is one of the most underappreciated jobs in parenting. You’re basically a chef, a stylist, and a negotiator all before 8 AM. These wraps have completely changed our routine. Here’s why they’ve earned a permanent spot in our weekly rotation.
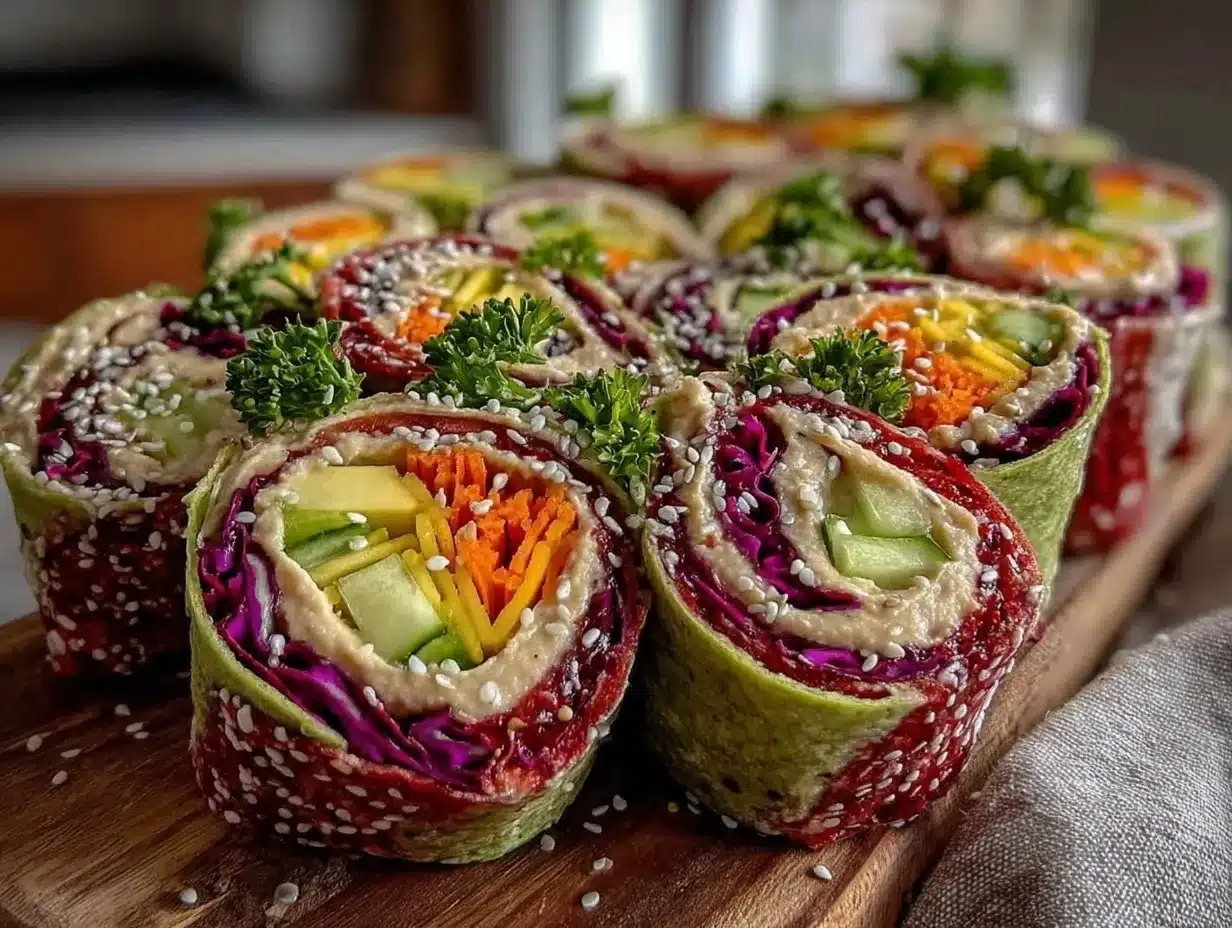
They’re a Visual Stunt — Seriously. When you slice a wrap filled with bright green spinach, orange carrots, red peppers, and yellow corn into pinwheels, it looks like a bouquet of edible flowers. My kids think they’re getting a “fancy” lunch. In reality, they’re getting a balanced meal. But that visual appeal? It does half the work. They pick at the red bits first, then the green. It’s like playing with their food, but with nutrition.
Zero Cooking Required — This is the holy grail. There is no sautéing. No boiling. No baking. Just assembly. I can make these in five minutes while my coffee brews. If you’re running on zero sleep (and let’s be honest, who isn’t during back-to-school season?), this recipe is your best friend. It’s lazy cooking at its finest, but it tastes like you spent hours in the kitchen.
Customizable to the Extreme — Picky eater in the house? They can omit the mushrooms. Vegan household? The hummus makes it naturally plant-based. Gluten-free? Use corn tortillas or gluten-free wraps. I’ve made these for my neighbor’s allergic-to-nut friend, and for my meat-loving husband who just wants a quick bite before a meeting. They adapt to whatever life throws at you.
They Stay Fresh (Not Soggy) — The biggest enemy of a lunch wrap is sogginess. But because we’re using hummus as the glue (which is thicker than mayo) and layering the veggies strategically, these wraps hold up beautifully for hours. I’ve packed them at 7 AM and they’re still perfect at noon. No sad, wet tortillas. Just fresh, crisp, flavorful bites.
This is my go-to when I need lunch to just work. No complicated techniques, no weird ingredients, just reliable, delicious food that makes everyone happy. And honestly? It makes me feel like a good mom, even when I’m running late.
Ingredients You’ll Need
Here’s the best part: you probably have most of this already. I’m particular about three ingredients here, and I’ll tell you exactly why. The rest is just whatever colorful goodness you can find.
Large Flour Tortillas (8-inch / 20cm, 4 count) — You want large, soft tortillas. The kind that bend without cracking. I use store-brand large flour tortillas because they’re cheap and flexible. If you use small tortillas, you’ll end up with three wraps instead of two, and nobody wants that math. For gluten-free needs, corn tortillas work, but they’re stiffer, so warm them slightly in the microwave for 10 seconds before rolling.
Hummus (1 cup / 240g) — This is the star of the show. It’s the glue, the flavor, and the protein. I always use classic chickpea hummus. Garlic hummus works too if your kids are brave, but classic is safer for picky palates. Avoid the “roasted red pepper” varieties for the base layer—they’re too wet and can make the wrap soggy. If you’re making this for a party, use a fancy artisan hummus. For school lunches, stick to the reliable stuff.
Shredded Carrots (1 cup / 100g) — Raw carrots add a crucial crunch. I buy pre-shredded bags because I’m lazy, but if you have time, shred your own. It’s fresher and less salty. Avoid the coleslaw mix unless you want cabbage flavor. We want sweet, crisp orange.
Sliced Bell Peppers (1 large, red or yellow / about 150g) — Red and yellow peppers are sweeter than green, which kids prefer. Slice them into thin strips. If you’re chopping them, make them thin so they roll easily. Thick chunks will make the wrap bulge and burst. I love the color contrast of red and yellow together.
Spinach Leaves (2 cups / 60g) — Fresh baby spinach is key. It’s tender and mild. Older spinach is tough and bitter. If you don’t have spinach, arugula works if you’re feeling fancy, but it’s peppery. Lettuce is too watery—skip it. Spinach wilts slightly from the humidity in the wrap, becoming tender and sweet.
Grated Mozzarella or Cheddar (½ cup / 50g) — Optional, but highly recommended. It adds creaminess and salt. I use mozzarella because it’s mild and melts slightly if the wrap gets warm in the lunchbox. Cheddar adds more flavor but can be strong. If you’re dairy-free, skip this or use a vegan cheese shred.
Optional Add-ins for Extra Flavor:
- Sliced Cucumber (½ cup / 50g) — Adds crunch. Remove seeds first to prevent sogginess.
- Sliced Avocado (1 medium / 150g) — Adds healthy fats and creaminess. Add right before packing to prevent browning.
- Thinly Sliced Red Onion (2 tablespoons / 15g) — For a bit of bite. Soak in cold water for 5 minutes to mellow the flavor.
- Black Beans (½ cup / 80g, rinsed and drained) — Adds protein and a nice texture contrast.
Personal Tip: I keep a “wrap station” in my fridge. All the veggies are prepped in containers, and the hummus is in a squeeze bottle (yes, I squeeze it). This makes assembly take literally two minutes. If you’re prepping for the week, wash and chop everything on Sunday. Store veggies in paper towels to absorb moisture. This keeps them crisp for days.
Equipment Needed
You don’t need fancy equipment for this. Here’s what I actually use.
Sharp Knife — For slicing peppers and onions. A dull knife will crush the veggies and make a mess. I use a standard chef’s knife. It’s reliable and easy to clean.
Cutting Board — Any size works. I use a large plastic board because it’s easy to sanitize. If you’re slicing multiple ingredients, use separate boards or wash in between to avoid cross-contamination (especially if using raw meat later, though we’re not here).
Spatula or Butter Knife — For spreading the hummus. A silicone spatula works best because it gets into the corners. A butter knife is fine if you’re in a rush, but you’ll get more coverage with a spatula.
Cling Wrap or Parchment Paper — Essential for rolling. I use cling wrap because it’s tight and secure. Parchment paper works too, but it’s less secure. For school lunches, cling wrap is better because it’s less bulky in the lunchbox.
Serrated Bread Knife — For slicing the rolled wrap into pinwheels. This is crucial. A regular knife will squish the wrap. A serrated knife saws through cleanly without crushing the layers. If you don’t have one, a sharp chef’s knife works if you use a gentle sawing motion.
Lunchboxes — Any compartmentalized lunchbox works. I like the ones with separate sections for the wrap and a small side (like fruit or crackers). This keeps things organized and prevents the wrap from getting crushed.
Tool Tip: Don’t have a serrated knife? Just slice the wrap in half first, then slice each half into quarters. It’s less pretty but works. Or, freeze the wrap for 10 minutes before slicing—it firms up and makes cutting easier. I’ve done this when I was running late, and it worked perfectly.
How to Make It: Step-by-Step
Alright, let’s make this! I’m walking you through exactly how I do it, including the little tricks I’ve picked up. It’s simple, but the details matter.
Step 1: Prep Your Veggies (5 minutes)
Wash and dry all your vegetables. Moisture is the enemy of a good wrap. If the veggies are wet, the tortilla will get soggy. Pat them dry with a paper towel. Slice the bell peppers into thin strips. Grate the carrots. If using cucumber, slice it thin and remove the seeds. Set everything aside in separate bowls or containers. This makes assembly faster and prevents cross-contamination.
Step 2: Lay Out the Tortillas (1 minute)
Place your tortillas on a clean surface. If they’re stiff from the fridge, microwave them for 10-15 seconds to make them pliable. Lay them out side by side, leaving a little space between them. If you’re making a large batch, use a baking sheet lined with parchment paper. This keeps everything organized.
Step 3: Spread the Hummus (2 minutes)
Take ¼ cup of hummus for each tortilla. Spread it evenly, leaving a 1-inch border at the edges. This border is crucial—it’s the seal that keeps the veggies inside. If you spread too close to the edge, the wrap will burst. Use a spatula to get it into the corners. You want a thin, even layer. Too much hummus makes it messy; too little makes it dry.
Step 4: Layer the Veggies (3 minutes)
This is where the magic happens. Start with the spinach leaves. Lay them flat over the hummus. Then add the shredded carrots. Next, add the bell pepper strips. If using cheese, sprinkle it now. If using avocado, add it last (it browns quickly). Layer the veggies evenly, but don’t overstuff. You want a neat roll, not a bursting burrito. Think of it as a sandwich, not a taco.
Step 5: Roll It Tight (2 minutes)
Using your hands, start rolling from the bottom edge. Roll tightly but gently. As you roll, tuck the veggies in with your fingers to keep them compact. Once you’re halfway rolled, lift the parchment paper or cling wrap to help guide the roll. Finish rolling until the edge is sealed. If it’s not sticking, add a tiny bit more hummus to the edge. The tortilla should be snug, not loose.
Step 6: Slice into Pinwheels (2 minutes)
Let the roll rest for 2 minutes. This helps it set. Then, using a serrated knife, slice the wrap into 1-inch pinwheels. Wipe the knife between cuts if it’s getting messy. You should get about 8-10 pinwheels per wrap. The colors should be visible in each slice—red, green, orange, yellow. If the slices are falling apart, your roll was too loose or your knife was dull. Try again with a sharper knife and a tighter roll.
Step 7: Pack and Serve
Place the pinwheels in a lunchbox or serving platter. If packing for school, place them in a container with a lid. If serving for a party, arrange them on a platter with extra hummus for dipping. They’re best eaten fresh, but they’ll hold up for a few hours. If making ahead, store in the fridge and slice just before serving to prevent sogginess.
Total Time: About 15 minutes (mostly active assembly). It’s fast, but the result feels like you spent hours.
Built-in Troubleshooting:
- Wrap bursting: You overfilled it. Use less veggies or larger tortillas.
- Soggy wrap: Veggies were wet. Dry them thoroughly before assembling.
- Pinwheels falling apart: Roll too loose. Tighten the roll and let it rest before slicing.
- Too dry: Not enough hummus. Add a bit more to the tortilla.
Expert Tips & Tricks
Here’s everything I’ve learned from making these dozens of times. These tips will save you from my mistakes.
Use Cling Wrap for Rolling
This is the #1 tip. Rolling the wrap in cling wrap makes it tight and secure. It’s like a chef’s trick. Place the tortilla on cling wrap, add ingredients, then roll the wrap tightly in the plastic. Chill for 10 minutes, then slice. The pinwheels will hold their shape perfectly. I learned this from a professional caterer, and it’s a game-changer.
Don’t Skip the Resting Time
After rolling, let the wrap rest for 5-10 minutes. This allows the tortilla to hydrate slightly and the layers to set. If you slice immediately, the veggies might shift. Resting ensures clean cuts and neat pinwheels. I usually roll them while the coffee brews, then slice when I’m ready to pack.
Choose the Right Hummus
Not all hummus is created equal. Some are too thick, some too thin. Look for a smooth, creamy hummus that spreads easily. Avoid chunky varieties—they’re hard to spread evenly. If your hummus is thick, add a teaspoon of water to thin it out. This ensures a smooth layer that doesn’t tear the tortilla.
Keep Veggies Dry
Moisture is the enemy. Wash veggies ahead of time and dry them thoroughly. Use a salad spinner if you have one. If using cucumber, remove the seeds. If using tomatoes, slice them thin and pat dry. Dry veggies mean a crisp wrap that doesn’t get soggy.
Prep Ahead for Speed
On Sunday, wash and chop all veggies. Store them in airtight containers with paper towels to absorb moisture. This makes weekday assembly take 2 minutes. I prep my veggies while listening to a podcast, and it’s a great way to get ahead.
Common Mistakes (and how to avoid them):
- Mistake: Wrap is too loose Fix: Roll tighter. Use cling wrap to help. Let it rest before slicing.
- Mistake: Veggies are too chunky Fix: Slice veggies thin. Uniform pieces roll better.
- Mistake: Hummus is too thick Fix: Thin it with water. Or use a thinner spread like cream cheese.
Variations & Substitutions
Once you’ve nailed the basic version, here’s how you can mix it up. I’ve tried all of these, and they’re all winners.
Turkey and Cheese Version
Add sliced turkey breast and cheddar cheese. This is my husband’s favorite. It’s more filling and feels like a deli sandwich. Great for older kids or adults.
Mediterranean Version
Use falafel hummus, add sliced olives, feta cheese, and cucumber. This is fancy and flavorful. Perfect for a dinner party appetizer. Serve with extra hummus for dipping.
Asian-Inspired Version
Use rice paper wrappers instead of tortillas. Fill with shredded chicken, carrots, cucumber, and peanut sauce. Roll tightly and slice. This is lighter and refreshing. Great for summer.
Vegetarian Protein Boost
Add black beans or chickpeas to the filling. This adds protein and fiber. Great for vegetarians or anyone looking to add more plant-based protein. Mix beans with the hummus for extra creaminess.
Dietary Modifications:
- Gluten-Free: Use corn tortillas or gluten-free wraps. Check labels for cross-contamination.
- Dairy-Free: Skip the cheese or use vegan cheese. Hummus is naturally dairy-free.
- Vegan: Use hummus, veggies, and vegan cheese. Ensure tortillas are vegan (some contain dairy).
- Low-Carb: Use lettuce leaves instead of tortillas. Wrap tightly and slice. This is keto-friendly.
Pro Trick: For a party, make a large batch and arrange pinwheels on a platter. Label each type with toothpicks. It’s easy to eat and looks impressive. I’ve served these at brunches and parties, and they’re always the first to go.
Serving & Storage
How to Serve:
I usually serve these straight from the fridge. They’re best cold or room temperature. For a party, arrange them on a platter with extra hummus for dipping. Add a garnish of fresh herbs or sesame seeds for visual appeal. For school lunches, pack them in a container with a lid. Add a small side of fruit or crackers for balance.
Side Dishes:
– Fresh fruit salad (apples, berries, grapes)
– Crackers or rice cakes
– Yogurt cups
– Cheese sticks (if not dairy-free)
– Veggies with ranch dip
Storage Instructions:
Refrigerator: Store in an airtight container for up to 2 days. The wrap will stay fresh, but the veggies may soften slightly. Best eaten within 24 hours for optimal crunch.
Freezing: Not recommended. The tortilla becomes soggy and the veggies lose texture. Make fresh for best results.
Meal Prep: Prep veggies on Sunday. Assemble wraps on Monday-Friday. This saves time and ensures freshness. Store prepped veggies in the fridge and assemble as needed.
Pro Tip: If leftovers are drying out, add a splash of water to the container before sealing. This adds moisture back to the tortilla. Or, serve with extra hummus for dipping.
Nutrition Information
I’m not a nutritionist, but here’s the breakdown if you’re tracking. This is per wrap (makes 4 wraps, 8-10 pinwheels each).
Per Wrap (approximate):
- Calories: 250
- Protein: 8g
- Carbs: 35g
- Fiber: 4g
- Sugar: 6g
- Fat: 10g
- Sodium: 350mg
What’s Good:
– High in fiber from veggies and whole wheat tortillas
– Good source of protein from hummus
– Low in saturated fat
– Rich in vitamins from colorful veggies
What to Know:
– Sodium can vary based on hummus brand
– Sugar comes from veggies and tortillas
– Can be adjusted for dietary needs (see variations)
My Take:
Look, this is a healthy, balanced lunch. It’s not a diet recipe, but it’s nutritious and satisfying. When I want to make it lighter, I use whole wheat tortillas and skip the cheese. But usually? I just enjoy it as a delicious, colorful meal. It’s better than takeout, costs less, and I know exactly what’s in it.
Final Thoughts
So that’s my Back to School Rainbow Veggie Wraps with Hummus! I’ve probably talked your ear off at this point, but when you make a recipe this often, you have a lot to say about it.
This has saved school mornings more times than I can count. It’s my answer to “what’s for lunch?” when I’m tired, don’t want takeout, and still want something that tastes really good. My kids are happy, my husband’s happy, and I’m happy because I’m not stressed about cooking.
Make it yours! Try different add-ins, swap in your favorite vegetables, adjust the hummus (though classic is best in my opinion). The best recipes are the ones you adapt to your family’s tastes.
If you make this, drop a comment and let me know what you think! I love hearing how recipes turn out in your kitchen. And if something doesn’t work, tell me that too—I’m here to help troubleshoot.
Happy cooking! And I hope your kitchen smells half as good as mine does right now.
Frequently Asked Questions
Can I use gluten-free tortillas?
Yes! Corn tortillas or gluten-free flour tortillas work great. They’re stiffer, so warm them slightly before rolling. If they crack, let them rest for a minute. The result is still delicious, just slightly different in texture.
Why did my wrap burst?
Usually means you overfilled it or didn’t leave a border. Leave a 1-inch border at the edges. Roll tightly but gently. If it bursts, it’s still edible—just not pretty. Next time, use less filling.
Can I make these ahead?
Yes, but best within 24 hours. Assemble wraps the night before and store in the fridge. Slice just before serving to prevent sogginess. If packing for school, assemble in the morning for best texture.
Can I freeze these?
No. The tortilla becomes soggy and the veggies lose crunch. Make fresh for best results. If you have leftovers, eat them within 2 days.
What’s the best hummus for this?
Classic chickpea hummus is best. It’s smooth and spreads easily. Avoid chunky or roasted red pepper varieties—they’re too wet. If your hummus is thick, thin it with water.
Can I add meat?
Yes! Sliced turkey, chicken, or ham works well. Add it between the veggies for extra protein. This is great for older kids or adults who want a heartier lunch.
How do I prevent sogginess?
Use dry veggies. Pat them dry after washing. Use hummus as a barrier between tortilla and veggies. Don’t add wet ingredients like tomatoes or avocado until just before serving.
Pin This Recipe!
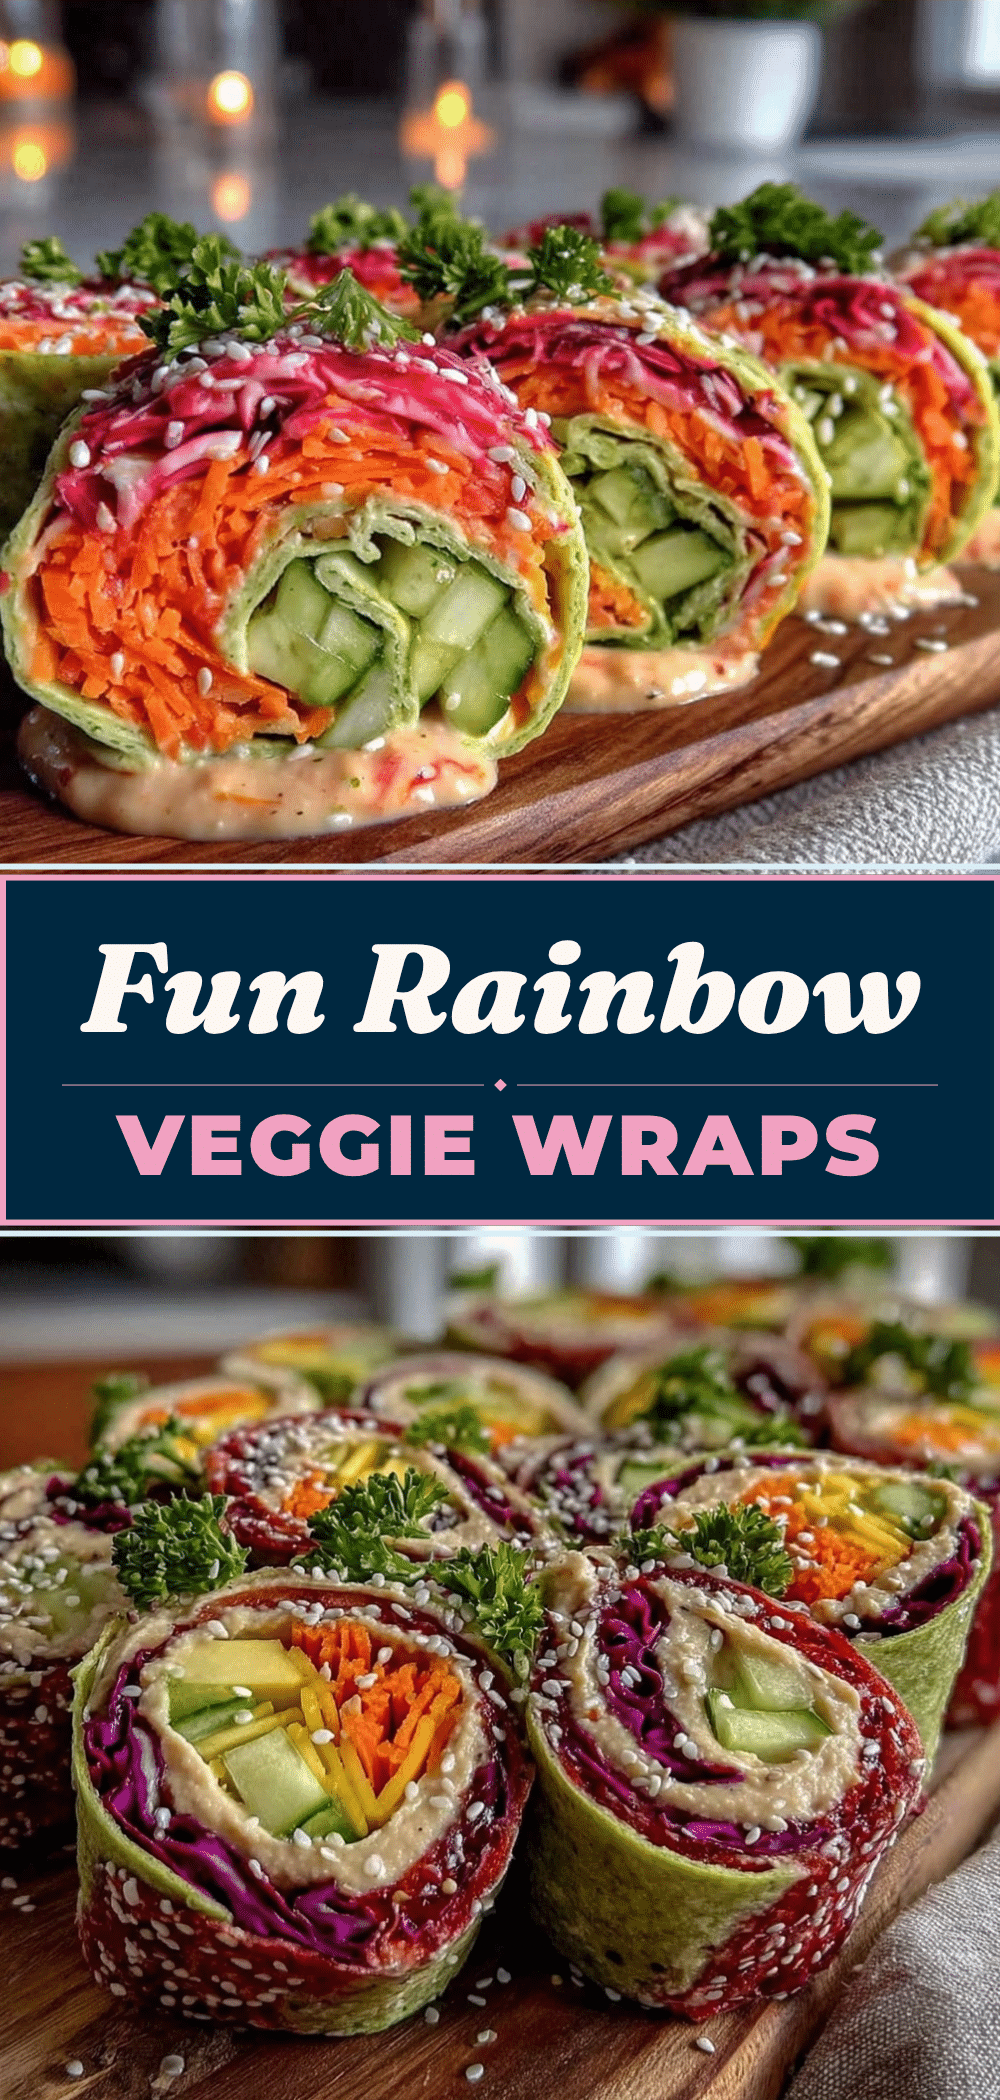

Rainbow Veggie Wraps: Best Easy 5-Ingredient Kids Lunch
- Total Time: 15 minutes
- Yield: 4 servings (8-10 pinwheels per wrap) 1x
Description
A quick, no-cook lunch solution featuring colorful vegetables and hummus rolled in tortillas and sliced into pinwheels. Perfect for picky eaters and busy mornings.
Ingredients
- 4 large flour tortillas (8-inch / 20cm)
- 1 cup (240g) classic hummus
- 1 cup (100g) shredded carrots
- 1 large red or yellow bell pepper, sliced into thin strips
- 2 cups (60g) fresh baby spinach leaves
- ½ cup (50g) grated mozzarella or cheddar cheese (optional)
- Optional add-ins: ½ cup sliced cucumber, 1 medium avocado, 2 tablespoons thinly sliced red onion, ½ cup black beans
Instructions
- Wash and thoroughly dry all vegetables to prevent sogginess. Slice bell peppers into thin strips, grate carrots, and remove seeds from cucumber if using.
- Lay tortillas on a clean surface. If stiff, microwave for 10-15 seconds to make them pliable.
- Spread ¼ cup of hummus evenly over each tortilla, leaving a 1-inch border at the edges.
- Layer spinach leaves, shredded carrots, bell pepper strips, and cheese (if using) evenly over the hummus. Do not overstuff.
- Roll the tortillas tightly from the bottom edge, tucking in veggies as you go. Use cling wrap to help guide a tight roll.
- Let the rolls rest for 2-5 minutes to set.
- Using a serrated knife, slice each roll into 1-inch pinwheels.
- Pack in lunchboxes or serve on a platter with extra hummus for dipping.
Notes
Ensure vegetables are completely dry before assembling to prevent soggy wraps. Let the rolled wraps rest for a few minutes before slicing to help them hold their shape. For gluten-free needs, use corn tortillas warmed slightly in the microwave. For dairy-free, omit cheese or use vegan alternatives.
- Prep Time: 15 minutes
- Cook Time: 0 minutes
- Category: Lunch
- Cuisine: American
Nutrition
- Serving Size: 1 wrap (approx. 8-10
- Calories: 250
- Sugar: 6
- Sodium: 350
- Fat: 10
- Saturated Fat: 2
- Carbohydrates: 35
- Fiber: 4
- Protein: 8
Keywords: kids lunch, school lunch, veggie wraps, hummus wraps, easy lunch, gluten-free option, vegan option, no cook recipe, pinwheels


