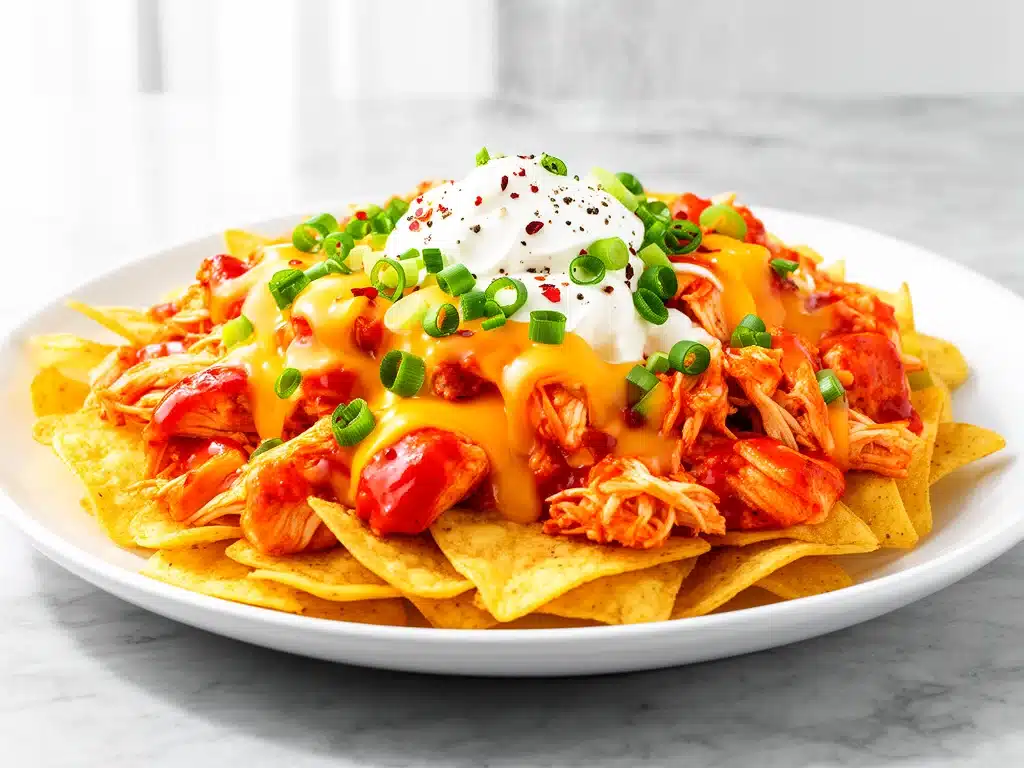
Last Friday night, I was staring at the clock, my stomach growling loud enough to wake the neighbors. It was 9:30 PM, I was exhausted from work, and the only thing on my mind was crispy, spicy, cheesy comfort food. I had two choices: order takeout from that expensive place down the street (which always arrives lukewarm and soggy) or actually cook something. I chose to cook, mostly because I was tired of overpaying for mediocre food.
I pulled out some tortilla chips, a rotisserie chicken, and a bottle of hot sauce I’d been meaning to use up. I didn’t have a complicated plan. I just threw things together, expecting a mediocre snack. What I got was so good that my husband stopped mid-bite, pointed at the plate, and said, “Okay, we are never ordering takeout again.”
That’s how these Loaded Buffalo Chicken Nachos were born. Not from a fancy culinary school, but from a lazy, hungry Tuesday night. And honestly? They’re better than anything I’ve ordered from a restaurant. The secret isn’t a complicated sauce or hours of prep. It’s about layering flavors smartly and using ingredients you probably already have. This recipe is my new answer to “what’s for dinner?” or “what’s for game day?” or just “I need comfort food right now.”
I’ve tested this at least a dozen times, tweaking the spice levels and cheese ratios, and I’ve finally nailed it. It’s crispy, it’s creamy, it’s spicy, and it’s ready in the time it takes to watch one episode of your favorite show. Let me show you how to make nachos that actually taste homemade.
Why You’ll Love This Recipe
There are a hundred nacho recipes out there, but this one sticks around in my kitchen for a reason. It’s not just about the taste—it’s about how easy it is to pull off when you’re tired. Here’s why this Loaded Buffalo Chicken Nachos better than takeout version has taken over our weeknights:
- Stupid Simple — Seriously, if you can shred chicken and pour cheese, you can make this. I’ve walked my teenage son through it over FaceTime, and he didn’t burn the house down. It’s foolproof.
- Lightning Fast — From fridge to table in about 20 minutes. I make this on weeknights when I get home at 7pm and need dinner to just work. No chopping veggies, no simmering sauces.
- Pantry-Friendly — You probably have 80% of these ingredients already. I keep tortilla chips, hot sauce, and shredded cheese stocked just so I can make this on a whim.
- Crowd-Pleaser — I’ve served this to my vegetarian sister (who just eats the chips and cheese), my gluten-free neighbor (using GF chips), and my I-only-eat-chicken dad. Everyone loved it.
- Makes Amazing Leftovers — Actually tastes better the next day, straight from the fridge. I deliberately make extra for lunch throughout the week. Cold nachos are a delicacy in my house.
- Budget-Smart — Feeds 4-6 people for under $15. That’s less than one meal at a fast-food place, and way healthier.
This is my go-to when I need dinner to just work. No complicated techniques, no weird ingredients, just reliable, delicious food that makes everyone happy. And if you’re looking for a drink to pair with it, I usually grab a cold brew or maybe a spiced chai latte to cool down the heat.
Ingredients You’ll Need
Here’s the best part: you probably have most of this already. I’m particular about three ingredients here, and I’ll tell you exactly why. For the rest, keep it simple. You don’t need fancy stuff.
For the Base:
Tortilla Chips (1 large bag / about 12-14 oz) — I use sturdy, thick-cut chips. The kind that don’t break when you pick them up. I always buy the restaurant-style bags from the ethnic aisle—they’re cheaper and hold up better. Brands like Mission or Sabritas work great.
Rotisserie Chicken (2 cups, shredded / about 300g) — Yes, store-bought is fine. In fact, it’s better for this recipe. You want quick, tender meat. If you have leftover roast chicken, use that. Just pull the meat off the bone and shred it with two forks.
Cheddar Cheese (2 cups, shredded / about 200g) — Buy the block and grate it yourself. Pre-shredded cheese has anti-caking agents that make it grainy and prevent it from melting smoothly. It takes 3 minutes to grate, and it makes a huge difference. I use a mix of sharp cheddar for flavor.
For the Flavor:
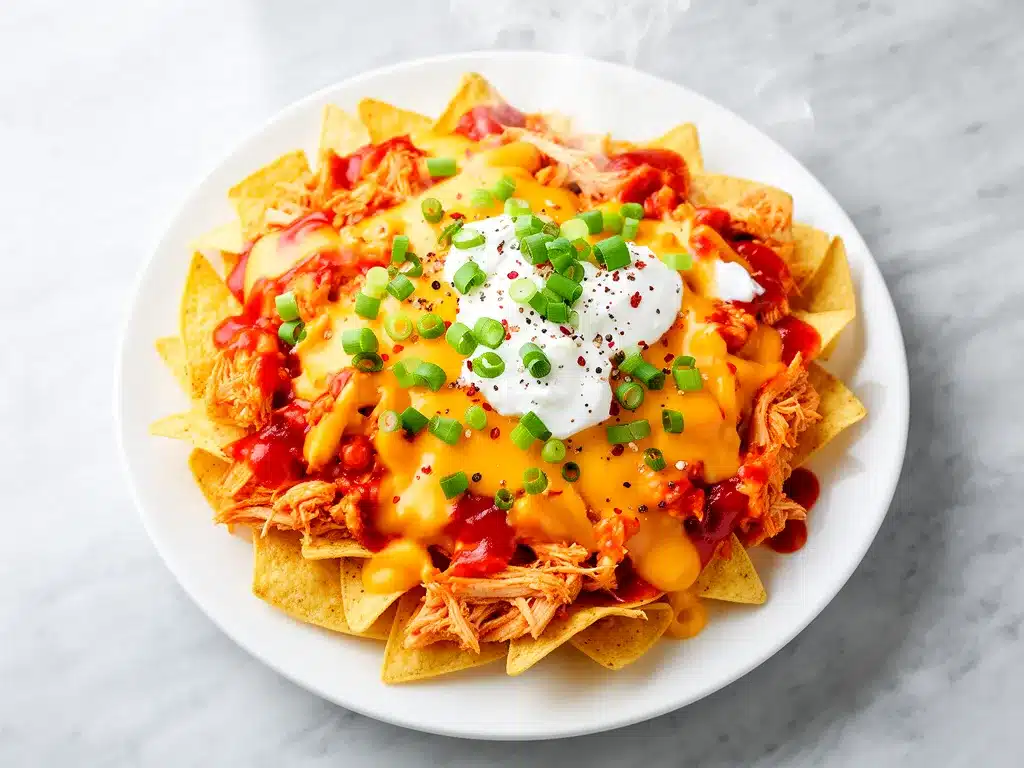
Buffalo Sauce (½ cup / 120ml) — Frank’s RedHot is the classic choice, but any good buffalo sauce works. If you want it spicier, add a dash of cayenne. If you want it milder, mix it with a little ranch or blue cheese dressing later.
Butter (2 tablespoons) — This sounds weird, but it’s the secret. Melting butter with the hot sauce helps the sauce cling to the chips and chicken better than sauce alone. It adds richness and prevents the spice from tasting sharp.
Garlic Powder (1 teaspoon) — Not fresh garlic, which can burn. Just a sprinkle of garlic powder adds that savory depth without any extra work.
For the Toppings (The “Loaded” Part):
Blue Cheese Dressing (½ cup) — Optional but highly recommended. I drizzle it on after baking. If you hate blue cheese, ranch or a creamy cilantro lime sauce works too.
Green Onions (2-3, sliced) — For crunch and color. You can’t see the nachos without green onions.
Monterey Jack or Pepper Jack Cheese (1 cup, shredded) — I add this layer on top of the cheddar for extra meltiness. Pepper Jack adds a little kick if you’re feeling adventurous.
Optional Add-ins:
Jalapeños (fresh or pickled) — For extra heat.
Black Beans (½ cup, drained) — For some fiber and bulk.
Cilantro (handful, chopped) — Freshness cuts through the richness.
Pro Tip: I always keep a bag of frozen jalapeños in the freezer. If I’m craving that extra snap, I just grab a handful. It saves me a trip to the store.
Equipment Needed
You don’t need fancy equipment for this. Here’s what I actually use.
Large Baking Sheet or Sheet Pan — I use a standard half-sheet pan. It needs to be big enough to hold a single layer of chips. If your pan is too small, the nachos will be too thick and the chips won’t crisp up. I prefer rimmed baking sheets so cheese doesn’t drip onto the oven floor.
Medium Skillet — Just a small frying pan to melt the butter and mix it with the hot sauce. Any skillet works.
Grater — Box grater or microplane. Or food processor if you’re grating lots of cheese. I use my box grater because it’s quick and easy to clean.
Fork — For shredding the chicken. Two forks work best.
Spatula — For spreading the chips and lifting the nachos out of the oven. A thin metal spatula works best for getting under the crispy chips.
Optional but nice:
Oven-safe skillet — If you have a cast iron skillet, you can make this in it. It looks rustic and goes straight to the table. But a baking sheet is easier for even coverage.
How to Make It: Step-by-Step
Alright, let’s make this! I’m walking you through exactly how I do it, including the little tricks I’ve picked up.
Step 1: Prep Your Chicken and Cheese (5 minutes)
Before you start cooking, shred your chicken. If you’re using a rotisserie chicken, just pull the meat off the bones and shred it with two forks. It should be in bite-sized pieces, not huge chunks. Grate your cheddar and Monterey Jack cheeses. I know it’s tempting to buy pre-shredded, but I promise it’s worth the extra two minutes. Freshly grated cheese melts into a smooth, gooey blanket.
Step 2: Mix the Buffalo Sauce (2 minutes)
In a small skillet over low heat, melt the butter. Once melted, stir in the buffalo sauce and garlic powder. Whisk it together until it’s smooth and combined. This mixture is your flavor base. It’s thinner than you might expect, but that’s good—it will soak into the chips and chicken.
Step 3: Layer the Chips (2 minutes)
Preheat your oven to 400°F (200°C). Line a large baking sheet with parchment paper or foil for easy cleanup. Spread the tortilla chips in a single layer across the pan. Don’t overlap them too much—you want them crisp. If your pan is small, do two batches. Crowding the pan leads to soggy chips.
Step 4: Add the Chicken and Sauce (2 minutes)
Scatter the shredded chicken evenly over the chips. Then, drizzle the buffalo butter sauce over everything. Use your hands or a spoon to toss the chips and chicken gently, ensuring every piece gets coated. You want the chips to be moist but not swimming in sauce. If you have too much sauce, save it for drizzling later.
Step 5: Cheese It Up (1 minute)
Sprinkle the shredded cheddar and Monterey Jack cheeses evenly over the top. Don’t be shy with the cheese—it’s the glue that holds everything together. Make sure you cover the edges of the chips too, so they don’t burn.
Step 6: Bake Until Golden (8-10 minutes)
Place the baking sheet in the preheated oven. Bake for 8-10 minutes, or until the cheese is bubbly and slightly browned in spots. Keep an eye on it after 7 minutes because ovens vary. You want the chips to be crisp and the cheese to be melted, not burnt.
Step 7: Top and Serve (2 minutes)
Remove from the oven. Immediately drizzle with blue cheese dressing (if using), and sprinkle with sliced green onions and fresh cilantro. Slice jalapeños on top if you like extra heat. Serve immediately while hot and crispy.
Total Time: About 20 minutes (5 minutes prep, 10 minutes cooking, 5 minutes topping).
Troubleshooting:
Cheese didn’t melt? Your oven might be underheating. Check the temperature with an oven thermometer, or bake for 2 more minutes.
Chips got soggy? You layered them too thickly. Use a larger pan or do two batches.
Sauce was too thin? That’s okay. It soaks into the chips. If it’s too much, just don’t drizzle it all.
Expert Tips & Tricks
Here’s everything I’ve learned from making this dozens of times. These tips will save you from my mistakes.
Use a Single Layer
This is the #1 tip. If you pile the chips too high, the bottom layer steams instead of baking. It gets soggy. Spread them out. I know it looks sparse, but they’ll shrink as the cheese melts. Trust the process.
Melt Butter First
Don’t just pour hot sauce on the chips. The butter helps the sauce adhere and adds richness. It prevents the spice from tasting flat. I learned this by accident when I ran out of butter and used sauce alone—it tasted sharp and separated.
Grate Your Own Cheese
Pre-shredded cheese has cellulose, which stops it from melting smoothly. You get clumps instead of a gooey blanket. Grating takes 2 minutes and makes a huge difference. My husband can tell when I’ve been lazy and used pre-shredded.
Don’t Skip the Blue Cheese
I know some people hate blue cheese, but it’s the classic pairing for buffalo chicken. The cool, tangy flavor balances the heat perfectly. If you’re not a fan, use ranch or a creamy avocado sauce.
Room Temperature Cheese
Take your cheese out of the fridge 15 minutes before cooking. Cold cheese can take longer to melt and might not integrate as well. If I forget, I just let it sit on the counter while I prep the chicken.
Common Mistakes (and how to avoid them):
- Mistake: Chips are burnt Fix: Lower the oven temperature to 375°F and bake for 12 minutes. Cheese burns faster than chips crisp up.
- Mistake: Nachos are dry Fix: You didn’t use enough sauce. Drizzle a little extra buffalo sauce or melted butter over the top before serving.
- Mistake: Cheese is grainy Fix: You used pre-shredded cheese or the heat was too high. Stick to freshly grated cheese and moderate heat.
Pro Tricks I’ve Learned:
- For Restaurant-Quality Finish Broil for the last 1-2 minutes to get those golden brown spots on the cheese. Watch it closely—it goes from perfect to burnt in seconds.
- For Extra Flavor Add a pinch of smoked paprika to the buffalo sauce. It adds a subtle smokiness that mimics grilled chicken.
- For Better Texture Toss the chicken in the buffalo sauce before putting it on the chips. This ensures every bite has flavor, not just the chips.
Variations & Substitutions
Once you’ve nailed the basic version, here’s how you can mix it up. I’ve tried all of these.
Taco Style Buffalo
Swap the blue cheese for sour cream and add black beans and corn. Sprinkle with cumin and chili powder. It’s a fusion twist that’s surprisingly good.
Spicy Shrimp Version
Replace chicken with cooked shrimp. Toss the shrimp in the buffalo sauce and bake for 5 minutes. Shrimp cooks faster, so add it after the cheese melts.
Veggie-Loaded
Toss in 1 cup halved cherry tomatoes and ½ cup sliced mushrooms. Bake them with the chips. The tomatoes burst and add juiciness. This is how I get my kids to eat vegetables.
Lighter Version
Use reduced-fat cheese and Greek yogurt instead of blue cheese. It’s thinner but still good. I make this when I’m trying to be “healthy.”
Mushroom Lover’s
Sauté 8oz sliced mushrooms with a little butter until golden. Add them to the nachos before baking. Adds earthiness and makes it feel fancier.
Lemon Garlic
Add zest of 1 lemon and 2 tablespoons lemon juice to the buffalo sauce. Brightens everything up. Great for summer.
Dietary Modifications:
- Gluten-Free Use gluten-free tortilla chips. Everything else is naturally gluten-free. I’ve used Siete brand and it works great.
- Dairy-Free Replace cheese with dairy-free shreds (Violife or Daiya work well). Replace blue cheese with a vegan ranch. It’s different but still tasty.
- Lower-Carb Use pork rinds instead of chips. Reduce sauce ingredients by half. I won’t lie—it’s not the same, but it works if you’re watching carbs.
- Vegan Use vegan chicken strips, vegan cheese, and vegan blue cheese. Add cashew cream for richness.
Serving & Storage
I usually serve this straight from the baking sheet at the dinner table—it looks rustic and stays warm. But here are other ways I’ve enjoyed it:
Side Dishes:
- Simple green salad with balsamic vinaigrette
- Roasted broccoli or green beans
- Caesar salad (when I’m feeling fancy)
- Maybe a crispy air fryer chicken wing appetizer if you want extra protein
Toppings Bar:
When I have guests, I put out: extra blue cheese, hot sauce, fresh cilantro, lemon wedges, crispy bacon bits. Everyone customizes their bowl.
Storage Instructions:
Refrigerator: Store leftovers in an airtight container for up to 3 days. The chips will soften, but they’re still good cold or reheated.
Reheating: Best method: Spread on a baking sheet and bake at 350°F for 5-7 minutes to crisp up. Microwave sort of works but tends to make chips soggy. If you do microwave, heat in 30-second intervals.
Freezing: Honestly, this doesn’t freeze well. The chips get soggy and the cheese separates. Make it fresh or store in the fridge for up to 3 days.
Pro tip: If leftovers are drying out, stir in a tablespoon of butter and a splash of hot sauce when reheating. Brings back that flavor.
Nutrition Information
I’m not a nutritionist, but here’s the breakdown if you’re tracking.
| Per Serving (based on 6 servings) | Amount |
|---|---|
| Calories | 380 |
| Protein | 18g |
| Carbs | 32g |
| Fiber | 2g |
| Sugar | 1g |
| Fat | 20g |
| Sodium | 650mg |
What’s Good:
– Decent protein from chicken and cheese
– Calcium from the cheese
– Can add vegetables to boost nutrition
What to Know:
– Higher in calories from cheese and chips
– Contains dairy and gluten
– Moderate sodium (use low-sodium chips to reduce)
Look, this is comfort food with cheese and chips. It’s not a diet recipe. But it’s way better than takeout, costs less, and I know exactly what’s in it. When I want to make it lighter, I use less cheese and load up on vegetables. But usually? I just eat a reasonable portion and enjoy it.
Final Thoughts
So that’s my go-to Loaded Buffalo Chicken Nachos! I’ve probably talked your ear off at this point, but when you make a recipe this often, you have a lot to say about it.
This has saved weeknight dinners more times than I can count. It’s my answer to “what’s for dinner” when I’m tired, don’t want takeout, and still want something that tastes really good. My kids are happy, my husband’s happy, and I’m happy because I’m not stressed about cooking.
Make it yours! Try different add-ins, swap in your favorite vegetables, adjust the garlic (though more is always better in my opinion). The best recipes are the ones you adapt to your family’s tastes.
If you make this, drop a comment and let me know what you think! I love hearing how recipes turn out in your kitchen. And if something doesn’t work, tell me that too—I’m here to help troubleshoot.
Happy cooking! And I hope your kitchen smells half as good as mine does right now.
Frequently Asked Questions
Can I use milk instead of buffalo sauce?
You can, but the sauce will be much thinner and less rich. If you want to try it, use whole milk (not skim) and add 2 tablespoons of flour to thicken it. Whisk the flour into the milk before adding to the pan. I’ve done this when I ran out of sauce—it works okay, just not as good as the real thing. Buffalo sauce is key for that tangy heat.
My nachos came out soggy—what happened?
Usually means you layered them too thickly, or you added too much sauce. Spread the chips in a single layer. If the sauce is too wet, toss the chicken and chips in it first, then spread them out. Let the cheese melt and the chips crisp up. Soggy chips are the enemy of good nachos.
Can I make this ahead for a dinner party?
Sort of. Prep the chicken and grate the cheese up to 2 days ahead. Assemble the nachos right before serving (takes 5 minutes). Bake and serve immediately. It won’t be quite as good as fresh, but it’s close and saves you stress during the party. I do this all the time.
Why did my cheese get grainy?
The heat was too high, or you used pre-shredded cheese. Pre-shredded has anti-caking agents that prevent smooth melting. Always use freshly grated cheese. If it’s already grainy, try whisking in a splash of warm milk—it might help smooth it out.
Can I use jarred chicken?
You can, but fresh or rotisserie tastes so much better. Jarred chicken can be dry or have a weird texture. If you must use it, shred it finely and toss it in the sauce to add moisture. But honestly, buying a rotisserie chicken takes like 5 minutes. Buy it pre-cooked if you want to save time.
How do I reheat leftovers without them getting dry?
Add a splash of milk or cream to a skillet, add your leftover nachos, and heat gently over low heat, stirring frequently. The extra liquid brings back the creamy texture. Microwave sort of works but tends to dry it out. If you do microwave, definitely add a splash of milk first and heat in short bursts, stirring between.
Can I double this recipe?
Absolutely! Double everything and use your biggest baking sheet. The cooking times stay the same. I do this when I’m meal-prepping or feeding a crowd. Just make sure your sheet pan is big enough for a single layer—you might need to use two pans. Don’t crowd them!
Pin This Recipe!
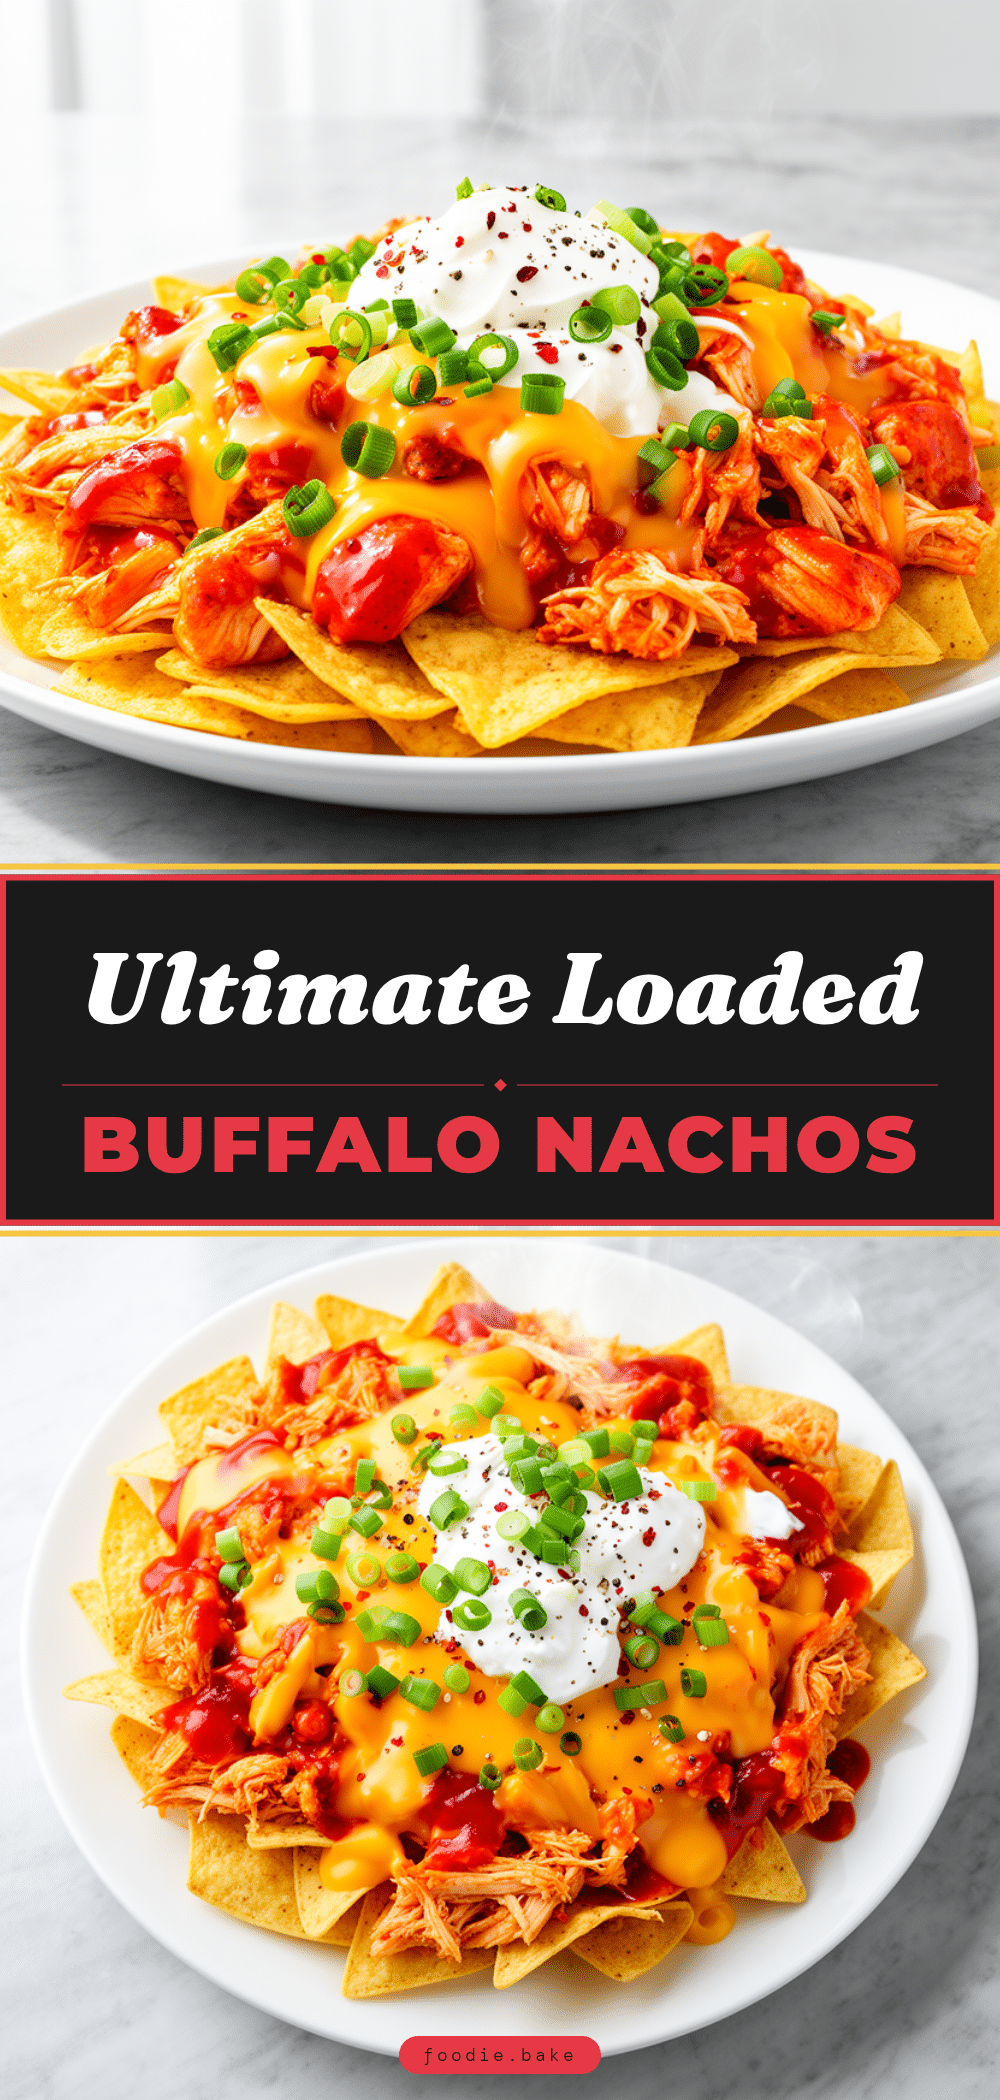

Loaded Buffalo Chicken Nachos: Easy 3-Ingredient Recipe
- Total Time: 20 minutes
- Yield: 4-6 servings 1x
Description
A quick, crispy, and spicy weeknight dinner made with rotisserie chicken, cheddar cheese, and buffalo sauce. Ready in 20 minutes and better than takeout.
Ingredients
- 1 large bag (12–14 oz) sturdy tortilla chips
- 2 cups (300g) shredded rotisserie chicken
- 2 cups (200g) shredded sharp cheddar cheese
- 1 cup (shredded) Monterey Jack or Pepper Jack cheese
- ½ cup (120ml) buffalo sauce (e.g., Frank’s RedHot)
- 2 tablespoons butter
- 1 teaspoon garlic powder
- ½ cup blue cheese dressing (optional)
- 2–3 green onions, sliced
- Optional: Fresh or pickled jalapeños, ½ cup black beans, fresh cilantro
Instructions
- Preheat oven to 400°F (200°C). Line a large baking sheet with parchment paper or foil.
- Shred the rotisserie chicken and grate the cheddar and Monterey Jack cheeses.
- In a medium skillet over low heat, melt the butter. Stir in the buffalo sauce and garlic powder until smooth.
- Spread tortilla chips in a single layer on the prepared baking sheet.
- Scatter the shredded chicken evenly over the chips.
- Drizzle the buffalo butter sauce over the chips and chicken, tossing gently to coat.
- Sprinkle the shredded cheddar and Monterey Jack cheeses evenly over the top.
- Bake for 8-10 minutes until the cheese is bubbly and slightly browned.
- Remove from oven and immediately drizzle with blue cheese dressing (if using).
- Top with sliced green onions and optional add-ins like jalapeños or cilantro. Serve immediately.
Notes
Use a single layer of chips to ensure they crisp up rather than steam. Grate your own cheese for better melting; pre-shredded cheese contains anti-caking agents. If your oven runs hot, check nachos at 7 minutes. For leftovers, reheat in the oven at 350°F to restore crispiness.
- Prep Time: 5 minutes
- Cook Time: 10 minutes
- Category: Main Course
- Cuisine: American
Nutrition
- Serving Size: 1 serving (approx. 1
- Calories: 380
- Sugar: 1
- Sodium: 650
- Fat: 20
- Saturated Fat: 10
- Carbohydrates: 32
- Fiber: 2
- Protein: 18
Keywords: buffalo chicken nachos, easy dinner, weeknight meals, rotisserie chicken recipes, spicy nachos, comfort food, game day food


