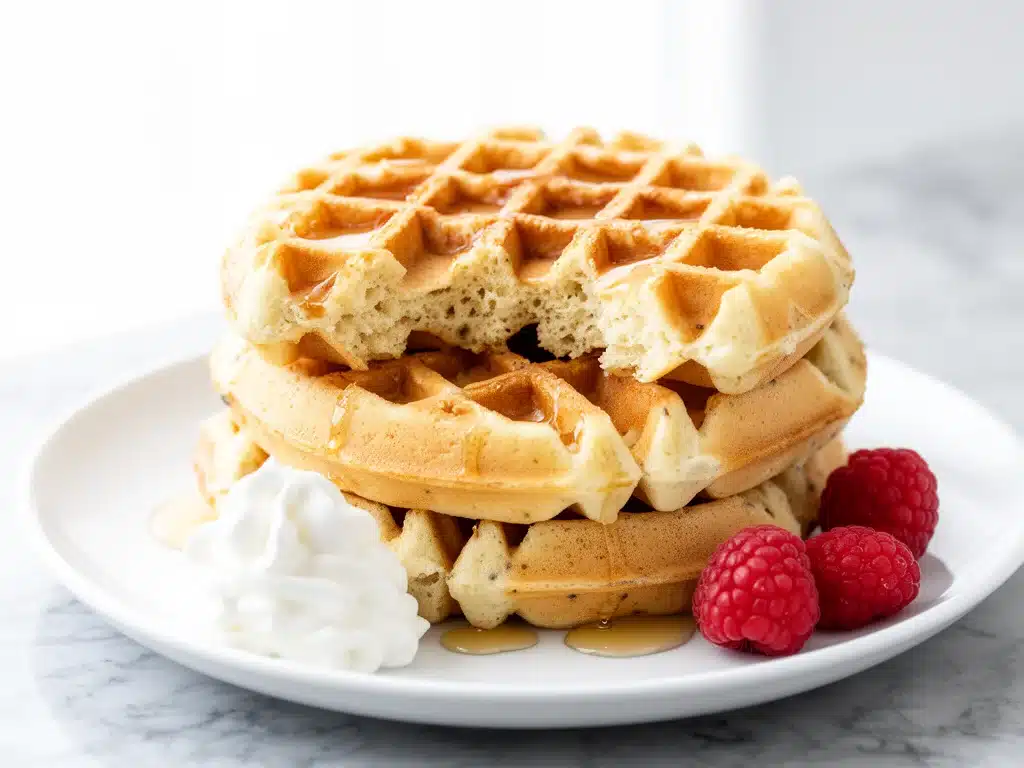
There is a specific kind of disappointment that comes with biting into a waffle that looks perfect from the outside but turns out soggy and dense on the inside. I’ve been there. I’ve stood over my waffle iron, knife in hand, ready to declare war on breakfast cooking, after yet another batch came out rubbery or fell apart on the plate. For years, I thought “waffle iron” meant “complicated chemistry project.” I thought I needed to weigh ingredients to the gram, let batter rest for exactly 45 minutes, or use some fancy technique I learned from a pastry chef who definitely doesn’t cook for a family of four.
But here’s the thing: the best fluffy vanilla buttermilk waffles don’t require a degree in food science. They require patience, the right fat, and a little bit of respect for the batter. I discovered this recipe about three years ago, right in the middle of a particularly chaotic winter weekend. My kids were begging for something special, something that felt like a hotel breakfast but could be made in my slightly battered, non-stick waffle maker. I tried a standard recipe, it failed. I tried a pancake-adjacent recipe, it was flat. Then I swapped all-purpose flour for a mix that included cake flour, swapped milk for buttermilk, and added a splash of vanilla extract. The result? A waffle that stood up straight, had edges crisp enough to snap, and a center so airy it felt like eating a cloud.
Since then, this has become my go-to best easy recipe for weekend brunches, lazy Sunday mornings, and even Tuesday nights when I want comfort food. I’ve tested this fluffy vanilla buttermilk waffles recipe at least twenty times. I’ve tweaked the sugar, the butter, and the resting time. I’ve learned which waffle iron settings work best and how to keep them warm without steaming them out of crispiness. If you’ve ever struggled with waffles that are bland, soggy, or just… meh, this is the one. It’s simple, it’s reliable, and it tastes like Saturday morning should taste. Let’s get into why this specific combination of ingredients makes all the difference.
Why You’ll Love This Recipe
I know there are a million waffle recipes out there. Some are fancy with brioche dough. Some are low-carb and taste like cardboard. But this fluffy vanilla buttermilk waffles recipe hits that sweet spot—literally and figuratively. It’s the kind of recipe that makes people ask, “Did you order from a diner?” when you serve it. Here’s why I keep coming back to this one, and why I think you will too.
- Actually Crispy Edges — This is the holy grail. Most home waffles are soft all the way through. By using melted butter in the batter and letting it rest, I get edges that are golden and crisp, while the center stays tender. It’s the contrast that makes them addictive.
- Buttermilk Magic — The acidity in buttermilk reacts with the baking soda to create lift. It’s not just for flavor; it’s for texture. These waffles are significantly taller and airier than those made with regular milk. Plus, that slight tang balances the sweetness perfectly.
- Vanilla Bean Intensity — I don’t skimp on the vanilla. Using a good vanilla extract (or scraping a pod if you’re feeling fancy) gives these waffles a deep, aromatic flavor that screams “breakfast treat.” It smells incredible while they cook, filling the house with that warm, comforting scent.
- Make-Ahead Friendly — You can mix the batter the night before. Yes, really. Store it in the fridge, and in the morning, you just stir it and cook. It’s a lifesaver when you have guests or just want to sleep in. The texture holds up surprisingly well.
- Simple Ingredients — No weird flours or hard-to-find pantry items. You likely have most of this already. Flour, sugar, baking powder, baking soda, salt, eggs, butter, milk, vanilla. That’s it. No fancy equipment needed beyond the waffle iron itself.
- Freezes Like a Dream — I make double batches on weekends and freeze the extras. They reheat beautifully in a toaster, coming out just as crispy as fresh. It’s my secret weapon for busy mornings when I don’t have time to cook.
This isn’t just a waffle; it’s a mood. It’s the kind of breakfast that starts your day with a smile. Whether you’re topping it with fresh berries, a drizzle of maple syrup, or even a scoop of ice cream for dessert, these waffles are versatile enough to handle whatever your heart desires.
Ingredients You’ll Need
One of the reasons I love this fluffy vanilla buttermilk waffles recipe is that it doesn’t ask for much. But the quality of what you use matters more than you might think. Here’s exactly what I grab from the pantry and fridge, along with some tips on how to choose the best versions.
For the Dry Mix
All-purpose flour (2 cups / 250g) — This is your base. I don’t recommend cake flour here because it might make the waffles too delicate. All-purpose gives that perfect balance of structure and tenderness. Sift it if you want to be fancy, but a good whisk works too.
Sugar (3 tablespoons / 37g) — Not too sweet. You want the vanilla and toppings to shine. If you like them sweeter, bump it up to 4 tablespoons, but I find 3 is the perfect balance.
Baking powder (2 teaspoons) — This is your primary leavening agent. Make sure it’s not expired! I keep a fresh can in the back of my pantry. Old baking powder means flat waffles.
Baking soda (½ teaspoon) — This reacts with the buttermilk to create lift. It’s crucial for that fluffy texture. Don’t skip it.
Salt (½ teaspoon) — Essential for flavor. It balances the sweetness and enhances the vanilla. Use kosher salt if you have it; just adjust if using fine table salt.
For the Wet Mix
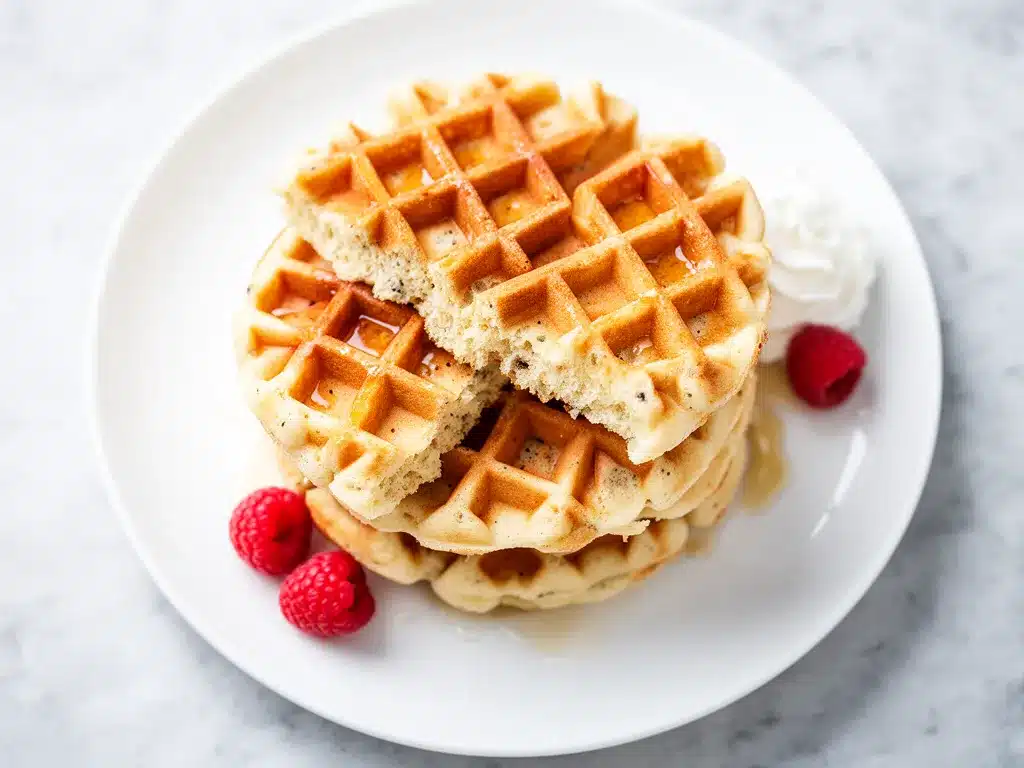
Buttermilk (1 ½ cups / 360ml) — The star of the show. If you don’t have buttermilk, you can make a substitute: add 1 tablespoon of lemon juice or white vinegar to 1 ½ cups of milk and let it sit for 10 minutes. It’ll curdle slightly, which is exactly what you want.
Eggs (2 large) — Room temperature eggs mix better into the batter. I usually take them out of the fridge when I start prepping the dry ingredients. Separate them if you want extra fluffy waffles (whip the whites and fold them in), but for this easy recipe, whole eggs work great.
Melted butter (½ cup / 115g) — Unsalted butter is best so you control the salt. Let it cool slightly before adding so it doesn’t cook the eggs. This fat is key for crispiness.
Vanilla extract (2 teaspoons) — Use pure vanilla extract, not imitation. The flavor difference is night and day. If you have vanilla bean paste, use 1 tablespoon for an even deeper flavor and those pretty black specks.
Optional Add-Ins
Blueberries or Chocolate Chips — I love adding a handful of fresh blueberries or semi-sweet chocolate chips right before cooking. Just be gentle folding them in so you don’t break the batter.
Maple Syrup — For serving. Real maple syrup, not pancake syrup. It’s worth the extra few dollars.
Equipment Needed
You don’t need a fancy kitchen to make these. Here’s what I actually use, and what you can swap if needed.
Waffle Iron — I use a standard square Belgian waffle iron. It’s deep enough to hold the fluffy batter. If you have a round one, the recipe works too, just adjust cooking time slightly. Make sure it’s clean and lightly greased before starting.
Large Mixing Bowl — For the dry ingredients. I prefer glass or ceramic so I can see everything clearly.
Medium Mixing Bowl — For the wet ingredients. Separate bowls prevent overmixing.
Whisk — Essential for combining dry ingredients and breaking up lumps. A balloon whisk works best.
Spatula — For folding the batter gently. A silicone spatula is great because it scrapes the bowl clean.
Measuring Cups and Spoons — Level off your dry ingredients. Don’t pack the flour down. I use the scoop-and-level method for accuracy.
Wire Rack — To keep waffles warm and crispy while you cook the rest. This is crucial. Stack them on a rack in a low oven (200°F / 90°C) instead of a plate, which traps steam and makes them soggy.
Toaster — For reheating leftovers. Regular toaster works perfectly for frozen waffles.
How to Make It: Step-by-Step
Alright, let’s make these fluffy vanilla buttermilk waffles. I’m walking you through exactly how I do it, including the little tricks I’ve picked up over the years. It’s simpler than you think.
Step 1: Prep Your Dry Ingredients (5 minutes)
In a large bowl, whisk together the flour, sugar, baking powder, baking soda, and salt. Make sure there are no lumps. This ensures even rising. Set this aside. It’s easy to forget this step and rush into mixing, but having your dry mix ready makes the whole process smoother.
Step 2: Mix the Wet Ingredients (5 minutes)
In a separate medium bowl, whisk the buttermilk, eggs, melted butter, and vanilla extract until well combined. The mixture might look a bit separated—that’s normal. The butter will solidify slightly in the cold buttermilk, but it will melt again in the hot waffle iron.
Step 3: Combine Gently (2 minutes)
Pour the wet ingredients into the dry ingredients. Use your spatula to gently fold them together. STOP when you see just a few streaks of flour. Do not overmix! Overmixing develops gluten, which makes waffles tough and chewy instead of fluffy. A lumpy batter is a good batter. Seriously, leave those lumps.
Step 4: Let the Batter Rest (10-15 minutes)
This is the secret step. Let the batter sit on the counter for 10-15 minutes. This allows the flour to hydrate and the baking powder to start working. You’ll see small bubbles forming on the surface. Don’t skip this! It makes a huge difference in the final texture.
Step 5: Preheat and Grease the Waffle Iron (5 minutes)
While the batter rests, preheat your waffle iron. Most have a light that indicates when it’s ready. Lightly grease the plates with cooking spray or a paper towel dipped in oil. Even if it’s non-stick, a little grease helps with release and crispiness.
Step 6: Cook the Waffles (3-5 minutes each)
Pour about ½ to ¾ cup of batter onto the center of the waffle iron, depending on the size of your iron. Close the lid. Cook for 3-5 minutes, or until the steam stops coming out and the waffles are golden brown. Don’t peek too early! Opening the lid releases heat and can cause uneven cooking. Wait until the steam stops—that’s your cue.
Step 7: Keep Warm
Transfer the cooked waffle to a wire rack in a 200°F (90°C) oven. This keeps them warm and crisp while you cook the rest. Do not stack them on a plate; they will get soggy from the steam. Repeat with remaining batter.
Expert Tips & Tricks
Here’s everything I’ve learned from making these dozens of times. These tips will save you from my mistakes.
- Don’t Overmix — I can’t stress this enough. Lumpy batter = fluffy waffles. Smooth batter = dense waffles. Fold until just combined.
- Use Room Temperature Eggs — Cold eggs can seize the melted butter. Let them sit out for 15 minutes before starting.
- Rest the Batter — 10 minutes is perfect. If you’re short on time, 5 minutes still helps. If you have time, up to 30 minutes is fine, but don’t go over an hour or the leavening might lose its power.
- Grease Between Batches — If your waffle iron doesn’t have a non-stick coating, or if you’re adding mix-ins like fruit, grease the plates lightly between each waffle. It prevents sticking and ensures even browning.
- Watch the Steam — Steam is your timer. When the steam stops, the waffle is done. This usually takes 3-5 minutes, but every iron is different. Learn your iron’s rhythm.
- Double the Batch — These freeze so well. Make a double batch, cool them completely, and store in a freezer bag. They last up to 3 months.
Variations & Substitutions
Once you’ve nailed the basic fluffy vanilla buttermilk waffles, here’s how you can mix it up. I’ve tried all of these.
- Berry Waffles — Add 1 cup of fresh or frozen blueberries, raspberries, or blackberries to the batter right before cooking. Toss them in a little flour first to prevent sinking.
- Chocolate Chip Waffles — Fold in ½ cup of semi-sweet chocolate chips. They melt into pockets of goodness.
- Lemon Poppy Seed — Add the zest of one lemon and 1 tablespoon of poppy seeds to the dry mix. Swap vanilla for lemon extract. Bright and fresh.
- Gluten-Free — Use a 1:1 gluten-free flour blend. The texture might be slightly different, but it still works well. Add a teaspoon of xanthan gum if your blend doesn’t have it.
- Dairy-Free — Use oat milk or almond milk with 1 tablespoon of lemon juice to make “buttermilk.” Use coconut oil or vegan butter instead of dairy butter.
- Whole Wheat — Swap half the all-purpose flour for whole wheat flour. It adds nuttiness and fiber, but might make them slightly denser.
Serving & Storage
How to serve these fluffy vanilla buttermilk waffles depends on your mood. Here’s how I usually do it.
How to Serve
I usually serve them warm, straight from the waffle iron. Classic toppings include a pat of butter, a drizzle of pure maple syrup, and fresh berries. For a fancy touch, add a dollop of whipped cream and a dusting of powdered sugar. For dessert, serve with ice cream and chocolate sauce.
Storage Instructions
Refrigerator: Store leftover waffles in an airtight container for up to 3 days. Freezer: Cool completely, then store in a freezer bag for up to 3 months. Reheating: Toast them in a toaster or bake at 350°F (175°C) for 5-10 minutes. Do not microwave; they’ll get chewy.
Meal Prep
I make a big batch on Sunday, freeze them, and toast them on weekday mornings. It’s the ultimate time-saver. Pair with my fall maple pecan cold brew for a complete, cozy morning experience.
Nutrition Information
I’m not a nutritionist, but here’s the breakdown if you’re tracking. Per waffle (based on 8 waffles):
- Calories: 280
- Protein: 6g
- Carbs: 35g
- Fiber: 1g
- Sugar: 6g
- Fat: 12g
Look, this is comfort food with butter and sugar. It’s not a diet recipe. But it’s way better than takeout, costs less, and I know exactly what’s in it. When I want to make it lighter, I reduce the sugar and use less butter. But usually? I just eat a reasonable portion and enjoy it.
Final Thoughts
So that’s my go-to fluffy vanilla buttermilk waffles! I’ve probably talked your ear off at this point, but when you make a recipe this often, you have a lot to say about it. This has saved weekend mornings more times than I can count. It’s my answer to “what’s for breakfast?” when I want something special but don’t want to spend hours in the kitchen. My kids are happy, my husband’s happy, and I’m happy because I’m not stressed about cooking.
Make it yours! Try different toppings, swap in your favorite fruits, or add a pinch of cinnamon. The best recipes are the ones you adapt to your family’s tastes. If you make this, drop a comment and let me know what you think! I love hearing how recipes turn out in your kitchen. And if something doesn’t work, tell me that too—I’m here to help troubleshoot.
Happy cooking! And I hope your kitchen smells half as good as mine does right now.
Frequently Asked Questions
Can I use regular milk instead of buttermilk?
You can, but the waffles won’t be as fluffy or tangy. If you use regular milk, add 1 tablespoon of lemon juice or vinegar to the milk and let it sit for 10 minutes to curdle. This creates a buttermilk substitute that works well in this fluffy vanilla buttermilk waffles recipe.
Why are my waffles dense?
Most likely, you overmixed the batter. Once you add the wet ingredients to the dry, mix only until combined. Lumps are okay. Also, check your baking powder. If it’s old, it won’t create the lift needed for fluffy waffles.
Can I make the batter ahead of time?
Yes! Store the batter in the fridge overnight. Stir it gently in the morning before cooking. The leavening might lose a little power, so you might need to cook them a minute longer, but it’s a great time-saver.
How do I keep waffles crispy?
Never stack them on a plate. Place them on a wire rack in a 200°F (90°C) oven. This allows air to circulate and prevents steam from making them soggy. If you’re reheating leftovers, use a toaster or oven, not a microwave.
Can I freeze these waffles?
Absolutely. Let them cool completely, then store in a freezer-safe bag for up to 3 months. Reheat in a toaster for the best texture. They thaw and toast up just like fresh.
Why did my waffles stick to the iron?
Your iron probably needed more grease. Even non-stick irons benefit from a light coat of cooking spray or oil between batches. Also, make sure the iron is fully preheated before adding batter.
Can I add mix-ins like chocolate chips?
Yes, but add them right before cooking, not to the batter. Sprinkle them on the batter after you pour it into the iron, then gently press them in. This prevents them from sinking to the bottom.
Pin This Recipe!
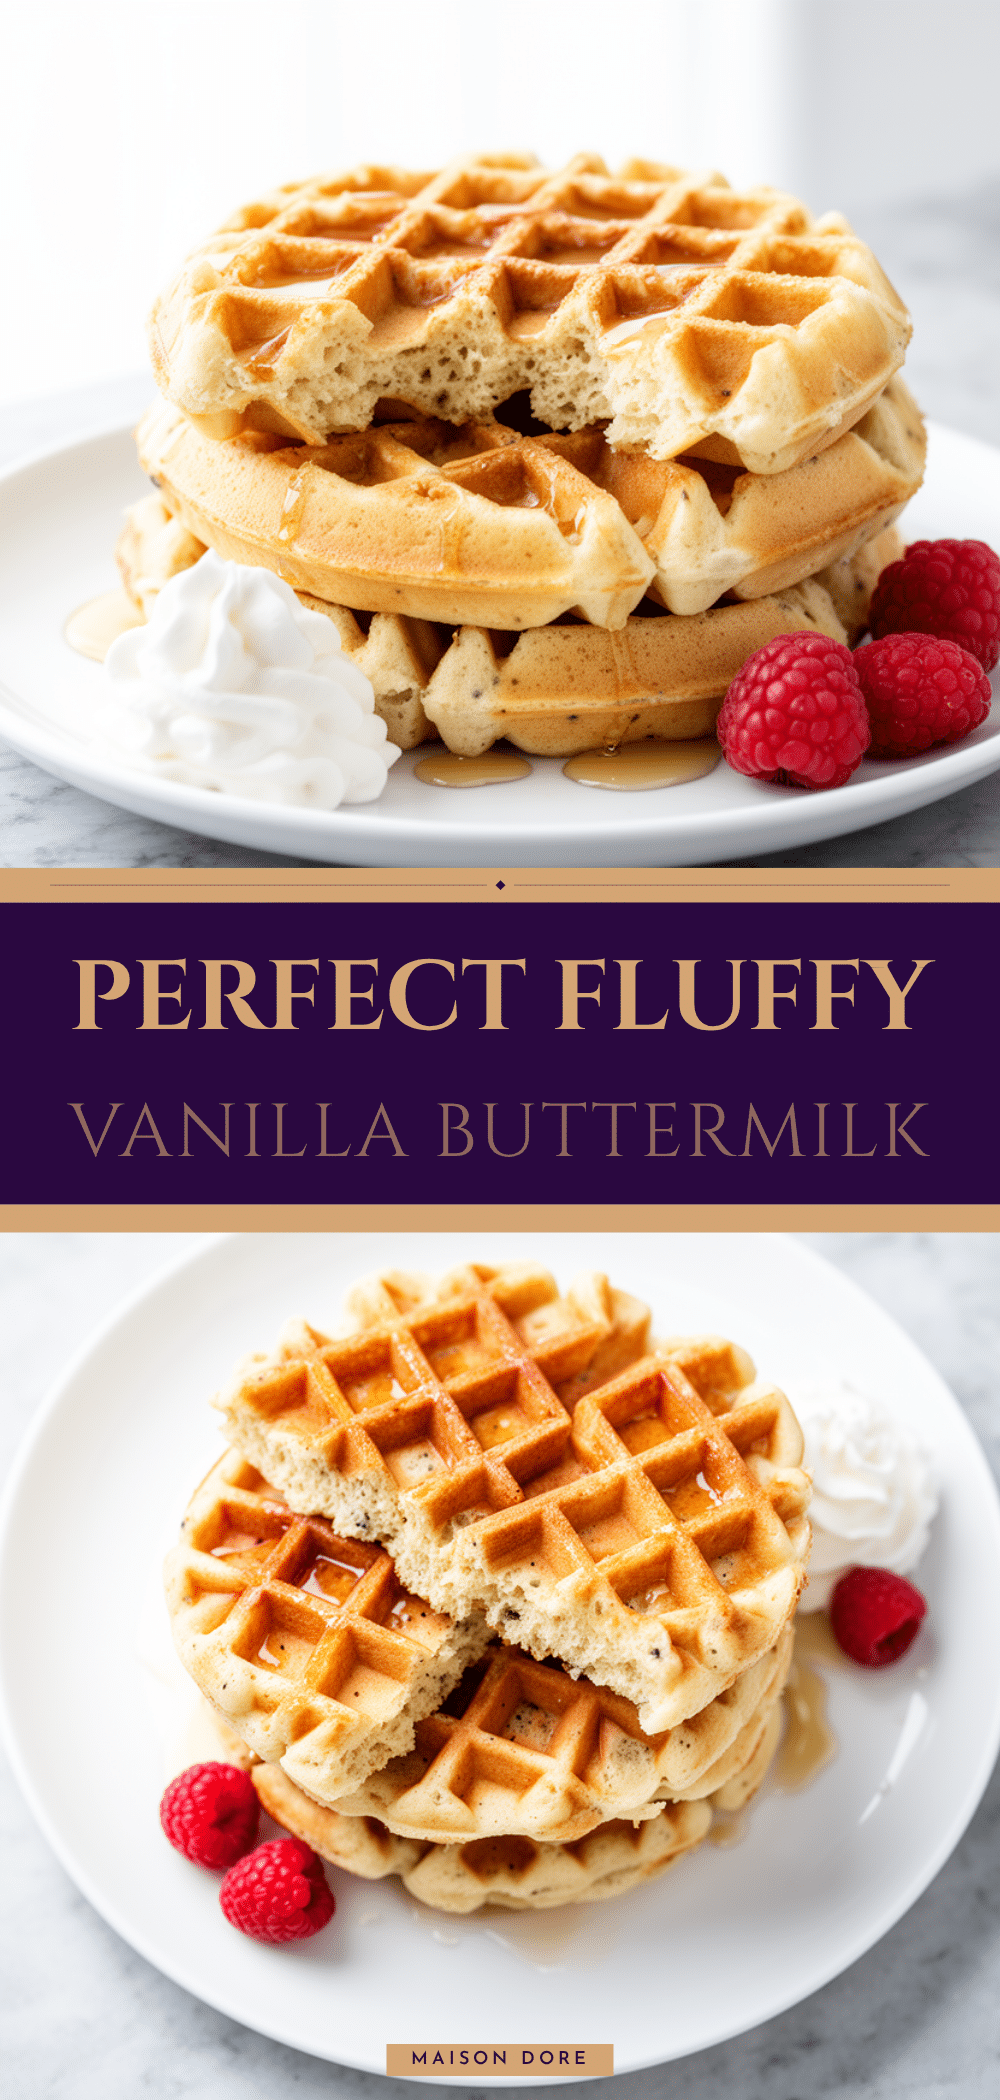
Fluffy Vanilla Buttermilk Waffles: Best Easy Recipe
- Total Time: 45 minutes
- Yield: 8 servings 1x
Description
These fluffy vanilla buttermilk waffles feature crispy edges and a tender, airy center. Made with simple ingredients like buttermilk and vanilla, this easy recipe yields perfect weekend brunch waffles that freeze well and reheat beautifully.
Ingredients
- 2 cups (250g) all-purpose flour
- 3 tablespoons (37g) sugar
- 2 teaspoons baking powder
- ½ teaspoon baking soda
- ½ teaspoon salt
- 1 ½ cups (360ml) buttermilk
- 2 large eggs, room temperature
- ½ cup (115g) unsalted butter, melted and slightly cooled
- 2 teaspoons pure vanilla extract
- Optional: 1 cup fresh blueberries or ½ cup semi-sweet chocolate chips
Instructions
- In a large bowl, whisk together the flour, sugar, baking powder, baking soda, and salt until no lumps remain.
- In a separate medium bowl, whisk the buttermilk, eggs, melted butter, and vanilla extract until well combined.
- Pour the wet ingredients into the dry ingredients. Gently fold them together with a spatula until just combined; stop when a few streaks of flour remain. Do not overmix.
- Let the batter rest on the counter for 10-15 minutes to allow the flour to hydrate.
- Preheat your waffle iron and lightly grease the plates with cooking spray or oil.
- Pour about ½ to ¾ cup of batter onto the center of the waffle iron. Close the lid and cook for 3-5 minutes, or until steam stops coming out and the waffles are golden brown.
- Transfer cooked waffles to a wire rack placed in a 200°F (90°C) oven to keep warm and crisp while you cook the remaining batter.
Notes
Do not overmix the batter; lumps are okay and ensure fluffy waffles. Let the batter rest for 10-15 minutes for best texture. Keep cooked waffles warm on a wire rack in a low oven rather than stacking them on a plate to prevent sogginess. These waffles freeze well for up to 3 months and reheat beautifully in a toaster.
- Prep Time: 15 minutes
- Cook Time: 30 minutes
- Category: Breakfast
- Cuisine: American
Nutrition
- Serving Size: 1 waffle
- Calories: 280
- Sugar: 6
- Sodium: 350
- Fat: 12
- Saturated Fat: 7
- Carbohydrates: 35
- Fiber: 1
- Protein: 6
Keywords: fluffy waffles, buttermilk waffles, vanilla waffles, easy waffle recipe, weekend brunch, make-ahead waffles, crispy waffles


