There is a specific kind of chaos that only exists in September. It’s the sound of three different backpacks hitting the floor at 6:45 AM, the frantic search for a missing left shoe, and the realization that you have exactly twelve minutes to get four people out the door before the bus comes. Last week, I was staring at the clock while my youngest was trying to tie his sneakers with one hand and eat a banana with the other, and I knew I needed a solution. Not just any breakfast, but something that could survive the rush, travel well in a backpack, and actually make my kids feel like they were getting a treat instead of a chore.
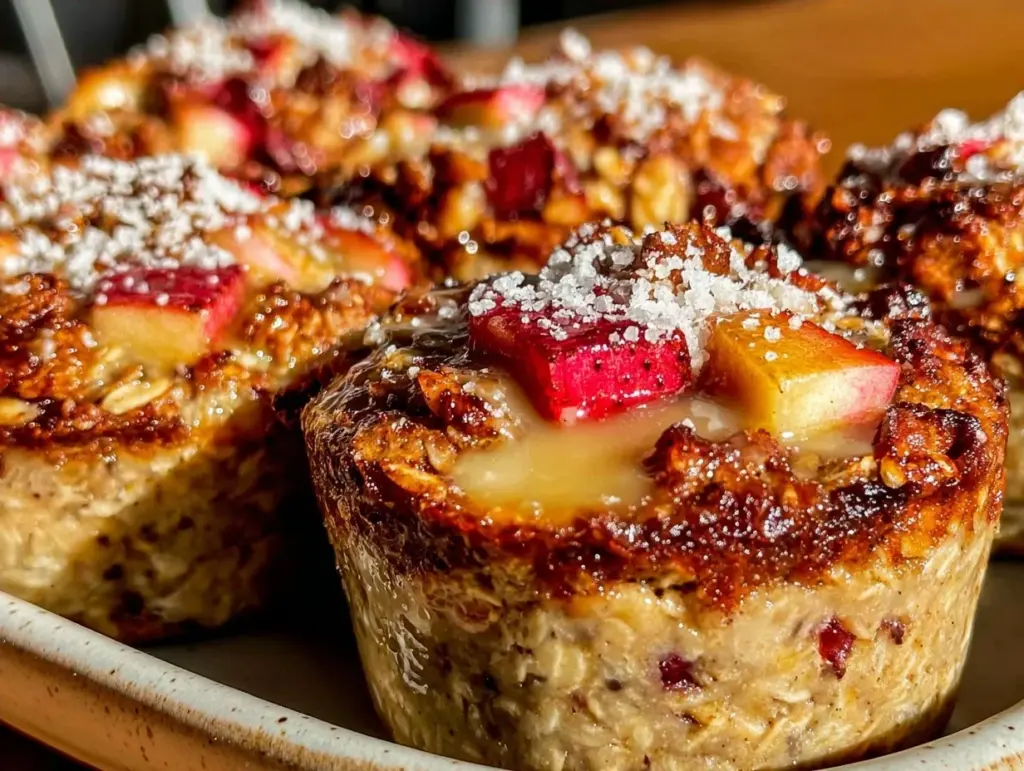
That’s when I pulled these baked apple cinnamon oatmeal cups out of the oven. They are my secret weapon for back-to-school mornings. They look like muffins, but they’re packed with fiber and warm spices. They hold together perfectly in a lunchbox (no soggy bottoms here), and they taste like a cozy autumn morning. I’ve made these dozens of times now, tweaking the ratio of oats to liquid until I got that perfect chewy-but-firm texture. My kids grab two on their way out, and I don’t have to worry about them starving by second period. It’s the kind of breakfast that saves your sanity and keeps their energy steady. If you’re drowning in morning routines, trust me, you need this in your life.
Why You’ll Love These Baked Apple Cinnamon Oatmeal Cups
Let’s be real: morning cooking should be minimal. These cups are the holy grail of meal prep because they do everything for you. I keep a batch of these in the fridge or freezer, and they are the difference between a stressful scramble and a peaceful start to the day. Here is why they have earned a permanent spot in my weekly rotation:
Make-Ahead Magic — Seriously, this is the best part. I bake a dozen on Sunday night, and they last all week. You can eat them cold, warm them up in the microwave for thirty seconds, or even eat them straight from the fridge. No reheating required. This means my mornings are quiet. I’m not standing over a stove; I’m just grabbing a cup and going.
Backpack Friendly — Most oatmeal dishes turn into mush or leak in a lunchbox. These? They are sturdy. They hold their shape. My son actually told me last week that these are the only breakfast he’s willing to eat on the bus. They don’t crumble, they don’t drip, and they don’t get weirdly squished in a crumpled napkin.
Simple, Wholesome Ingredients — You don’t need fancy superfoods or expensive supplements. Just rolled oats, apples, cinnamon, eggs, and a little bit of sweetener. It’s clean eating that doesn’t taste like cardboard. I use honey or maple syrup, so it’s not overly processed, but it still has that sweet cinnamon roll vibe my kids crave.
Customizable for Picky Eaters — My daughter hates chunks of apple, so I grate hers into the batter. My son loves crunch, so I add walnuts to his. These cups are a blank canvas. You can adjust the texture and add-ins based on what your family actually likes. It’s like making muffins, but healthier and way easier to customize.
This recipe has completely changed our weekday mornings. It’s reliable, it’s tasty, and it makes me feel like a hero mom for having breakfast ready to go. Plus, the smell of baking cinnamon and apples fills the house, which is a nice way to wake up everyone gently before the chaos starts.
Ingredients You’ll Need for Simple Oatmeal Cups
One of the reasons I love this recipe is that the ingredient list is short enough to fit on a sticky note. You probably have most of this in your pantry already. I’m particular about a few things here—not because they’re fancy, but because they make a huge difference in texture and flavor.
Old-Fashioned Rolled Oats (2 cups / 160g) — Do not use instant oats. They turn into paste. Do not use steel-cut oats. They stay too hard. You want the flat, chewy kind. I use Quaker or Bob’s Red Mill, but any brand works. These provide the structure and the fiber.
Granny Smith Apples (2 medium, about 300g) — I prefer Granny Smith because they hold their shape when baked and have a nice tartness that balances the sweetness. You can use Fuji or Gala if you like sweeter apples, but they might get a bit mushy. Peel them? I usually leave the skin on for extra fiber, but if your kids are picky, peel them first.
Ground Cinnamon (1.5 teaspoons) — This is the star flavor. Use a good quality cinnamon. If yours is old and dusty, it won’t have that punch. I keep a fresh jar specifically for baking. It smells amazing.
Eggs (2 large) — These act as the binder. They hold everything together so the cups don’t fall apart in your lunchbox. Room temperature eggs mix better, but cold ones work fine if you’re rushing.
Unsweetened Applesauce (½ cup / 120g) — This adds moisture and sweetness without adding extra oil or butter. It keeps the cups tender. I buy the squeeze pouches for convenience, but a small container works too. Make sure it’s unsweetened; we’re adding sugar separately.
Honey or Maple Syrup (¼ cup / 60ml) — I use raw honey for its floral notes, but pure maple syrup is great too. Adjust this based on how sweet your apples are. Taste the applesauce first if you’re unsure.
Vanilla Extract (1 teaspoon) — Just a splash to round out the flavors. Don’t skip it; it makes the cinnamon taste deeper.
Optional Add-ins:
Chopped Walnuts or Pecans (¼ cup) — For crunch and healthy fats. My husband adds these to his batch.
Chia Seeds (1 tablespoon) — I throw these in for extra omega-3s and thickening power. They swell up and make the oats even chewier.
Dark Chocolate Chips (2 tablespoons) — Because sometimes you just want a little treat. I add these to my morning cup, but keep them away from the kids’ lunchboxes if school is strict on nuts.
Pro Tip: If you’re using frozen apples, thaw them first and squeeze out excess liquid. Too much water makes the cups soggy. I learned this the hard way one Tuesday morning when my breakfast turned into apple soup.
Equipment Needed
You don’t need anything fancy for this. Just basic kitchen tools. Here is what I actually use:
Muffin Tin — A standard 12-cup muffin tin. I use my non-stick one, but a metal tin works fine too. If you want mini cups for smaller portions, use a mini muffin tin and reduce the baking time by 5 minutes.
Grater or Food Processor — I use a box grater to shred the apples. It’s quick and gives you that fine texture that blends into the batter. A food processor works too, but don’t puree it; you still want tiny bits of apple.
Mixing Bowls — One large bowl is all you need. I like glass bowls so I can see what’s happening.
Measuring Cups and Spoons — Standard stuff. I keep a set on my counter because I’m always reaching for them.
Silicone Spatula — For scraping the bowl and mixing. Silicone is better than metal because it doesn’t scratch non-stick pans.
Parchment Paper Liners — I use these because cleanup is easier. But if you’re trying to reduce waste, just grease the pan well with butter or oil. It works, but liners are less messy.
Microwave-Safe Mugs — If you’re reheating, these work great. Or just a microwave-safe plate.
How to Make Baked Apple Cinnamon Oatmeal Cups
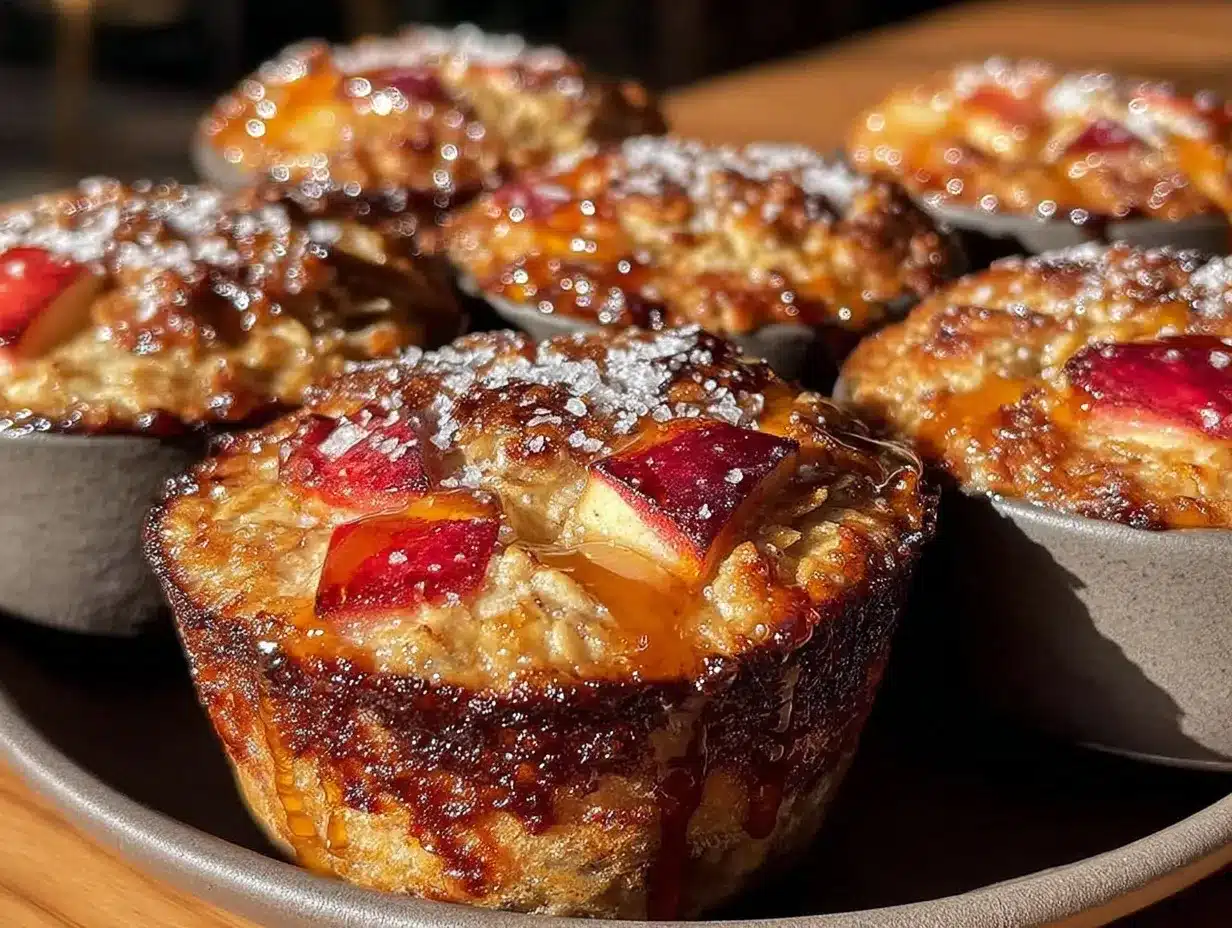
Alright, let’s get baking! This is incredibly simple. I’m walking you through exactly how I do it, including the little tricks I’ve picked up to ensure perfect texture every time.
Step 1: Prep Your Oven and Pan (2 minutes)
Preheat your oven to 350°F (175°C). This is crucial. If the oven isn’t hot enough, the oats won’t set properly. Line your muffin tin with parchment liners or grease them well. I usually spray them with cooking spray just to be safe.
Step 2: Grate the Apples (5 minutes)
Wash your apples and core them. You don’t need to peel them unless you prefer a smoother texture. Use the large holes of a box grater to shred the apples. You want fine shreds, not chunks. If you’re using a food processor, pulse until you have small bits. Place the grated apples in a bowl. If they’re very juicy, squeeze out a little excess liquid with your hands. You want moist apples, not wet ones.
Step 3: Mix the Wet Ingredients (3 minutes)
In a large bowl, whisk together the eggs, applesauce, honey (or maple syrup), and vanilla extract. Whisk until it’s smooth and combined. The mixture should look glossy and uniform. This ensures the sweetness is distributed evenly.
Step 4: Combine Everything (3 minutes)
Add the grated apples to the wet mixture. Then, add the rolled oats, cinnamon, and any optional add-ins like nuts or chia seeds. Stir everything together with your spatula. You want to make sure all the oats are coated in the liquid. Let it sit for 5 minutes. This is the most important step. The oats need time to absorb the liquid. If you skip this, your cups might be dry or crumbly.
Step 5: Fill the Muffin Tin (2 minutes)
Divide the mixture evenly among the 12 muffin cups. Use your spoon to press it down slightly. You want them packed in, not loose. Level the tops so they bake evenly. If you have extra mixture, you can make a few extra small ones or just eat it raw (don’t judge me).
Step 6: Bake Until Set (20-25 minutes)
Place the tin in the center of the oven. Bake for 20-25 minutes. You’ll know they’re done when the tops are golden brown and a toothpick inserted into the center comes out clean. If you poke it and it feels jiggly, give it another 5 minutes. The edges should pull away slightly from the pan.
Step 7: Cool Completely (15 minutes)
Let them cool in the pan for 5 minutes, then transfer them to a wire rack to cool completely. This is tricky because they smell amazing, but if you try to move them while hot, they’ll fall apart. Letting them cool sets the structure. Once cool, you can store them in an airtight container.
Total Time: About 45 minutes (10 minutes active, 35 minutes hands-off). But the prep is minimal, so it’s very low effort.
Expert Tips & Tricks for Perfect Texture
Here’s everything I’ve learned from making these dozens of times. These tips will save you from my mistakes and ensure your cups are perfect.
Soak the Oats
I can’t stress this enough. Letting the mixture sit for 5-10 minutes before baking allows the oats to hydrate. This prevents that dry, chalky texture. If you’re in a huge rush, you can skip it, but the texture will be slightly different. I always take the time.
Don’t Overmix
Once you add the oats, stir just until combined. Overmixing can make the texture dense. You want them light and tender. A few lumps of oats are fine.
Apple Choice Matters
Granny Smith apples are my go-to because they don’t turn into applesauce. If you use very sweet apples like Fuji, reduce the honey by a tablespoon. Taste your apples if you can. Tart apples need more sweetener; sweet apples need less.
Storage is Key
Let them cool completely before storing. If you seal them while warm, steam will build up and make them soggy. This is a common mistake. I always wait until they’re room temp before putting the lid on.
Freezing Works Wonders
These freeze beautifully. I bake a double batch and freeze half. They thaw perfectly in the toaster oven or microwave. I keep them in a freezer bag, and they last for up to 3 months. It’s like having fresh breakfast on demand.
Variations & Substitutions
Once you’ve nailed the basic version, here’s how you can mix it up. I’ve tried all of these, and they all work.
Gluten-Free Version
Use certified gluten-free rolled oats. The rest of the ingredients are naturally gluten-free. I’ve used Bob’s Red Mill GF oats, and they work perfectly. Just check your oats label to be sure.
Dairy-Free Option
This recipe is already dairy-free! Applesauce replaces the butter/oil usually found in muffins. Just make sure your honey or maple syrup is vegan-friendly if you’re strict about that.
Lower Sugar Version
Reduce the honey to 2 tablespoons and use unsweetened applesauce. The natural sweetness from the apples is usually enough. I do this for my daughter’s lunchbox to keep sugar low.
Protein Boost
Add a scoop of vanilla protein powder. You might need to add an extra tablespoon of liquid (milk or water) because protein powder absorbs moisture. I use whey or plant-based powder, and it works well. Just mix it in with the dry ingredients.
Flavor Variations
Pumpkin Spice
Swap the apples for ½ cup pumpkin puree and add pumpkin pie spice instead of cinnamon. Add a pinch of nutmeg and ginger. Perfect for fall.
Banana Walnut
Replace apples with 1 mashed banana and add chopped walnuts. Add a dash of cardamom. It tastes like a banana bread muffin.
Blueberry Lemon
Skip the apples and fold in ½ cup fresh blueberries and the zest of one lemon. Add a teaspoon of lemon juice to the wet ingredients. Bright and fresh.
Serving & Storage
How do I enjoy these? They’re versatile. Here’s how I serve them:
On the Go
I pack 2-3 cups in a reusable container for my kids’ lunches. They eat them cold. It’s their favorite part of the lunchbox. I also grab one for myself while I’m getting ready. No fork needed.
Warm and Cozy
On weekends, I warm them up in the toaster oven for 3-4 minutes. They get crispy on the edges and soft in the middle. I serve them with a dollop of Greek yogurt and a drizzle of honey. It feels like a special brunch.
With Coffee
I pair them with my morning coffee. The cinnamon complements the coffee flavor beautifully. It’s my favorite combo.
Refrigerator Storage
Store in an airtight container for up to 5 days. They stay moist if sealed well. I keep them on the middle shelf so they don’t absorb other fridge smells.
Freezing Instructions
Freeze in a single layer on a baking sheet first, then transfer to a freezer bag. This prevents them from sticking together. They last for 3 months. Thaw at room temperature or microwave for 30 seconds.
Pro Tip: If they seem dry after storing, sprinkle a teaspoon of water on them before microwaving. The steam will rehydrate them. I do this all the time.
Nutrition Information
I’m not a nutritionist, but here’s the breakdown if you’re tracking. This is per cup (based on 12 servings).
| Nutrient | Amount |
|---|---|
| Calories | 145 |
| Protein | 4g |
| Carbs | 26g |
| Fiber | 3g |
| Sugar | 12g |
| Fat | 3g |
| Saturated Fat | 0.5g |
| Cholesterol | 25mg |
| Sodium | 15mg |
What’s Good: High in fiber from oats and apples. Good source of complex carbs for sustained energy. Low in fat. No refined flour.
What to Know: Sugar content comes from natural sources (apples and honey/maple syrup). You can reduce this by using unsweetened applesauce and less sweetener.
My Take: These are a healthy breakfast option. They’re not a candy bar, but they’re sweet enough to satisfy a craving. I use them as a balanced start to the day.
Final Thoughts
So that’s my go-to baked apple cinnamon oatmeal cups! I’ve talked your ear off at this point, but when you make a recipe this often, you have a lot to say about it. These cups have saved our mornings. They’re my answer to “what’s for breakfast” when I’m tired, don’t want to cook, and still want something nutritious. My kids are happy, I’m happy, and we’re all out the door on time.
Make it yours! Try different add-ins, swap in your favorite spices, or adjust the sweetness. The best recipes are the ones you adapt to your family’s tastes. If you make this, drop a comment and let me know what you think! I love hearing how recipes turn out in your kitchen. And if something doesn’t work, tell me that too—I’m here to help troubleshoot.
Happy baking! And I hope your mornings feel half as cozy as mine do right now.
Frequently Asked Questions
Can I use instant oats instead of rolled oats?
No, I don’t recommend it. Instant oats are pre-cooked and thin, so they’ll turn into a mushy paste when baked. Rolled oats have the right texture to hold the cup together. If you must, use quick oats, but rolled is best.
How do I keep the apples from making the cups soggy?
Squeeze out excess liquid from the grated apples before mixing. Also, let the mixture sit for 5-10 minutes before baking so the oats absorb the moisture. And make sure you bake them until the toothpick comes out clean.
Can I make these ahead for the week?
Yes! That’s the whole point. Bake them on Sunday, store in the fridge, and grab them throughout the week. They last 5 days in the fridge. You can also freeze them for longer storage.
Why did my oatmeal cups fall apart?
This usually happens if they weren’t cooled completely before handling, or if the mixture wasn’t packed tightly enough into the cups. Also, if the oven wasn’t hot enough, they might not have set. Make sure you preheat and cool fully.
Can I add protein powder?
Yes, but you may need to add a little extra liquid. Protein powder absorbs moisture, so start with an extra tablespoon of milk or water and adjust from there. I use vanilla protein powder for extra flavor.
Are these safe for school lunchboxes?
Generally, yes. They are sturdy and don’t leak. However, check your school’s nut policy if you add walnuts or pecans. If nuts are banned, skip them or use sunflower seeds instead.
Can I freeze these without baking?
No, I recommend baking them first. Freezing the raw batter can change the texture of the oats and apples. Baking them first ensures they stay moist and hold their shape when thawed.
Pin This Recipe!
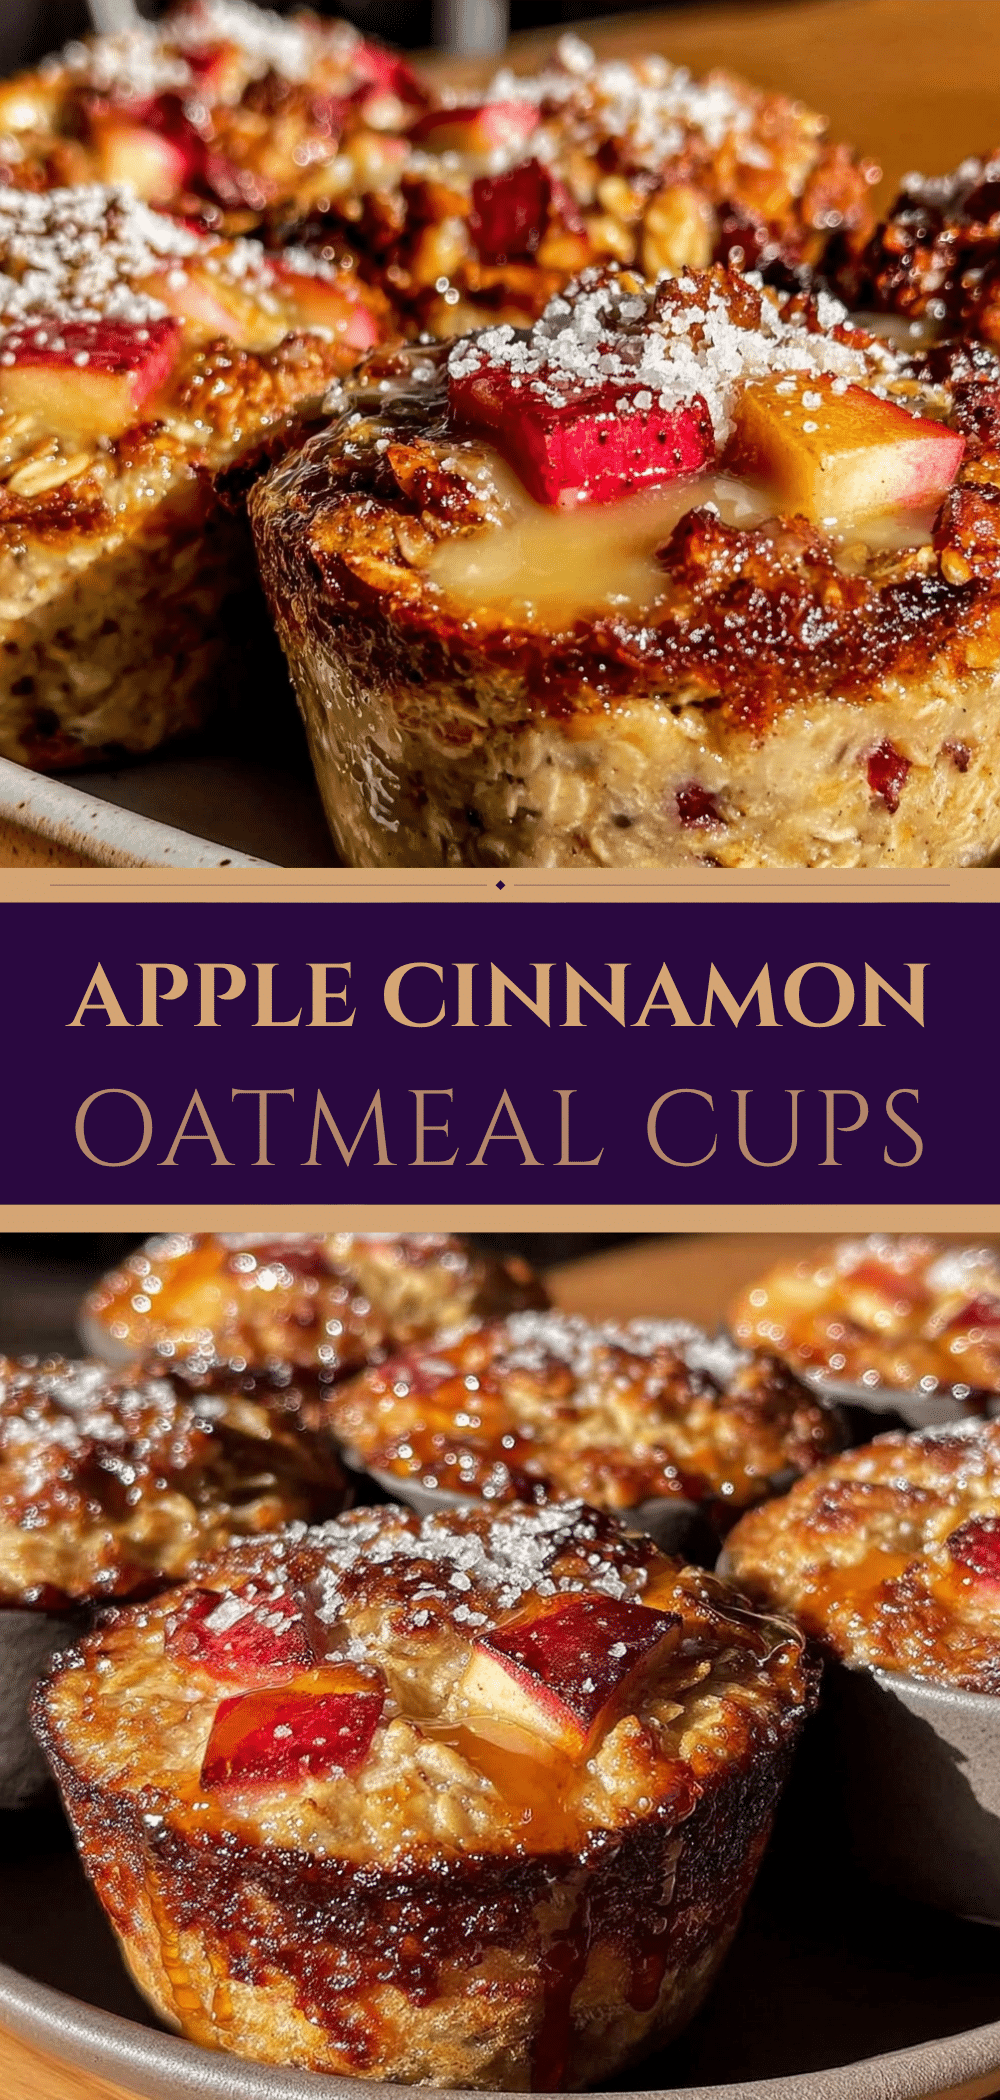

Baked Apple Cinnamon Oatmeal Cups
- Total Time: 45 minutes
- Yield: 12 servings 1x
Description
These baked apple cinnamon oatmeal cups are a make-ahead breakfast solution that is backpack-friendly, fiber-rich, and customizable. They hold their shape in lunchboxes and offer a cozy autumn flavor perfect for busy school mornings.
Ingredients
- 2 cups old-fashioned rolled oats
- 2 medium Granny Smith apples (grated)
- 1.5 teaspoons ground cinnamon
- 2 large eggs
- 1/2 cup unsweetened applesauce
- 1/4 cup honey or maple syrup
- 1 teaspoon vanilla extract
- Optional: 1/4 cup chopped walnuts or pecans
- Optional: 1 tablespoon chia seeds
- Optional: 2 tablespoons dark chocolate chips
Instructions
- Preheat oven to 350°F (175°C) and line a 12-cup muffin tin with parchment liners or grease well.
- Wash, core, and grate the apples using a box grater or food processor. Squeeze out excess liquid if the apples are very juicy.
- In a large bowl, whisk together the eggs, applesauce, honey (or maple syrup), and vanilla extract until smooth.
- Add the grated apples, rolled oats, cinnamon, and any optional add-ins to the wet mixture. Stir to combine.
- Let the mixture sit for 5 minutes to allow the oats to absorb the liquid.
- Divide the mixture evenly among the 12 muffin cups, pressing down slightly to pack them in.
- Bake for 20-25 minutes until the tops are golden brown and a toothpick inserted into the center comes out clean.
- Let the cups cool in the pan for 5 minutes, then transfer to a wire rack to cool completely before storing.
Notes
Do not use instant or steel-cut oats; old-fashioned rolled oats are required for the correct texture. Let the mixture sit for 5 minutes before baking to hydrate the oats. Ensure cups cool completely before handling to prevent crumbling. They can be stored in the fridge for up to 5 days or frozen for up to 3 months.
- Prep Time: 10 minutes
- Cook Time: 25 minutes
- Category: Breakfast
- Cuisine: American
Nutrition
- Serving Size: 1 cup
- Calories: 145
- Sugar: 12
- Sodium: 15
- Fat: 3
- Saturated Fat: 0.5
- Carbohydrates: 26
- Fiber: 3
- Protein: 4
Keywords: oatmeal cups, baked oatmeal, breakfast muffins, make-ahead breakfast, school lunch, healthy breakfast, apple cinnamon, gluten-free option


