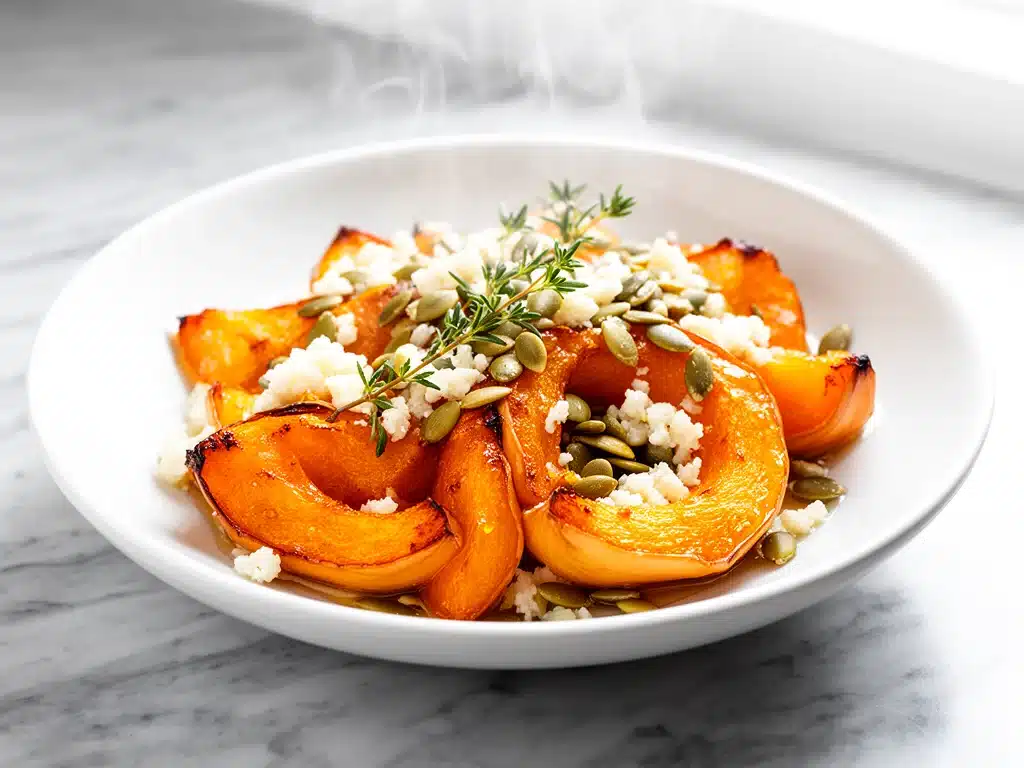
Last November, I was standing in my kitchen at 7:30 PM, staring into the oven with the kind of desperation that only comes from realizing you forgot to prep dinner. My husband was home in ten minutes. My toddler was already demanding snacks. And I had exactly one butternut squash sitting on the counter, looking hard and uninviting. I didn’t have time for a complex recipe. I didn’t want to order takeout (and I definitely didn’t have the energy to wash dishes for takeout). So I did what any exhausted adult does: I threw the squash in a bowl, drizzled it with butter, honey, and salt, and shoved it into the oven.
When the timer went off, the smell that hit me wasn’t just “roasted vegetables.” It was nutty, sweet, warm, and incredibly comforting. It smelled like a proper meal. It smelled like I had my life together. I served it on a plate with zero garnish, just the roasted squash cubes glistening with that caramelized honey-butter glaze. My husband took one bite, paused, and asked, “Did you make this?”
“Yeah,” I said. “It’s just squash.”
“No,” he corrected. “This is good. This is actually really good.”
That was three months ago. Since then, I’ve made this brown butter honey roasted squash at least eight times. It has become the anchor of my weeknight dinners. It’s the side dish I make when I’m tired, when I’m hosting friends, and when I just need something warm and easy to eat with a spoon. It’s simple, it’s only four ingredients, and it tastes like you spent hours planning it. If you’re looking for a side dish that works on repeat without the stress, this is it. I promise you’ll want to make this every time squash is in season.
Why You’ll Love This Recipe
There are a million ways to cook squash. You can mash it, puree it, roast it with sage, or boil it. But this method? It’s different. It’s the one that wins over picky eaters and impresses guests who don’t know anything about cooking. Here’s why this brown butter honey roasted squash has permanently replaced my other side dishes.
- Four Ingredients, Maximum Flavor — Seriously. Butter, honey, squash, salt. That’s it. You don’t need a pantry full of exotic spices or a trip to three different stores. The magic happens in how those four simple things interact. The brown butter adds a nutty depth that regular butter can’t touch, and the honey caramelizes in the oven to create little crispy, sweet edges.
- Stupid Simple Technique — You don’t need to peel the squash if you’re using kabocha or delicata. You just chop, toss, and roast. If you’re using butternut, yeah, you have to peel it, but that’s it. There’s no chopping onions, no sautéing garlic, no stirring a sauce. You put it in the oven and walk away. I’ve made this while helping my kid with homework. I’ve made it while on the phone. It doesn’t require your full attention.
- It’s Sweet and Savory Perfectly Balanced — This isn’t a dessert. I know people worry that honey and squash will turn into something cloying. It’s not. The brown butter adds a savory, toasted note that cuts right through the sweetness. It’s the perfect balance. It tastes sophisticated, like something from a high-end restaurant, but it’s basically just butter and honey.
- Meal Prep Friendly — This keeps really well in the fridge. I love making a big batch on Sunday and reheating it during the week. It tastes almost as good cold as it does hot (though I prefer it warm). It’s great over a salad, next to a piece of grilled chicken, or just by itself.
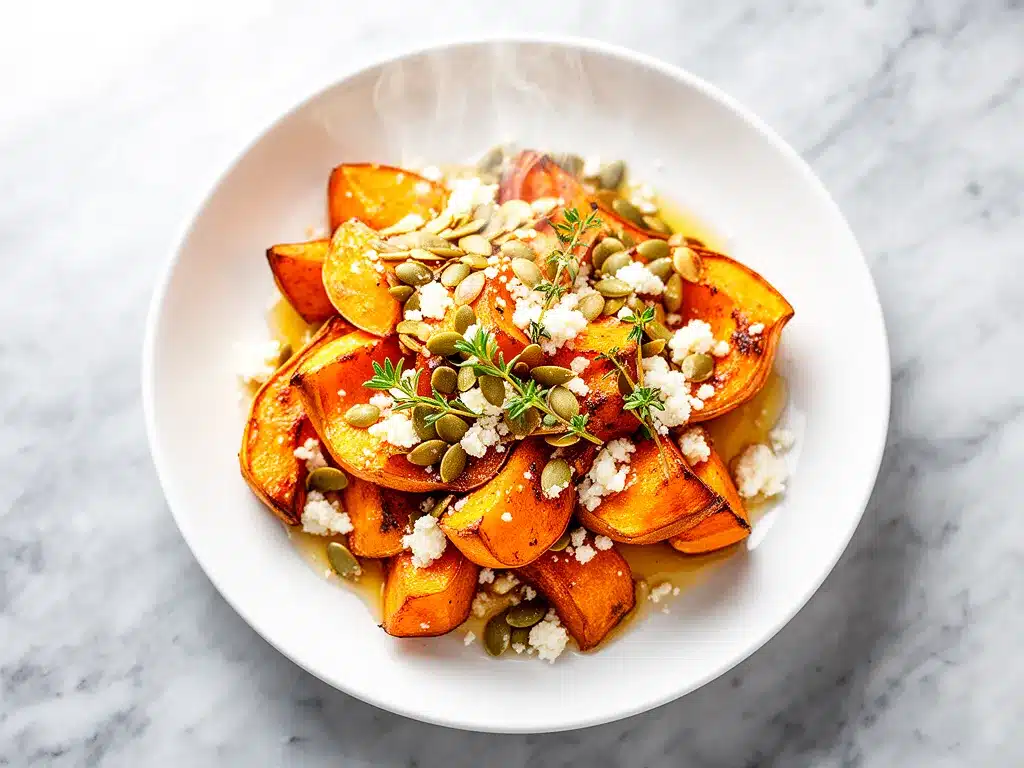
- Visually Stunning Without Effort — If you’re posting food on Pinterest or Instagram (or just want your family to eat more veggies), this looks amazing. The golden-brown edges, the glossy honey glaze, the vibrant orange flesh—it’s photogenic by accident. You don’t need to garnish it with herbs or drizzle it with balsamic. The squash looks complete on its own.
This recipe has saved me more times than I can count. It’s my go-to when I need dinner to just work. No complicated techniques, no weird ingredients, just reliable, delicious food that makes everyone happy.
Ingredients You’ll Need
Here’s the best part: you probably have most of this already. I’m particular about three ingredients here, and I’ll tell you exactly why. Don’t skip the quality checks, because with only four ingredients, every single one has a starring role.
For the Squash
Butternut squash (1 large, peeled and cubed / about 2 pounds / 900g) — This is my go-to for this recipe because it’s sweet and holds its shape well. You can use kabocha squash or delicata squash too (just skip the peeling for delicata). Make sure your cubes are roughly 1-inch pieces. If they’re too small, they’ll burn. If they’re too big, they’ll stay raw in the middle. Uniformity is key for even roasting.
Unsalted butter (4 tablespoons / 60g) — I use unsalted so I can control the saltiness. You need real butter here, not margarine or butter substitute. The milk solids in the butter are what turn brown and create that nutty flavor. If you’re lactose intolerant, you can use ghee (clarified butter), which browns beautifully and has a similar flavor profile.
Honey (3 tablespoons / 45ml) — Use real honey. Not corn syrup blends. Real honey caramelizes in the oven and creates that sticky, delicious glaze. Clover honey is mild and sweet, which works great. Maple syrup is a decent substitute if you’re out of honey, but it’s thinner and won’t get as sticky. I’ve tried both, and honey wins every time.
Kosher salt (1 teaspoon / plus more to taste) — I use kosher salt because it’s easier to sprinkle evenly. Table salt is finer and can make the dish too salty if you’re not careful. If you only have table salt, use half the amount. Taste your squash after roasting and add more salt if needed. It needs that salty contrast to the sweet honey.
Optional Add-ins
Black pepper (½ teaspoon) — Freshly cracked black pepper adds a nice kick. I always add this because it balances the sweetness.
Red pepper flakes (¼ teaspoon) — If you like a little heat, sprinkle these on before roasting. It’s amazing with the honey.
Fresh thyme or sage (1 tablespoon, chopped) — Herbs are optional, but I love the earthy flavor. Add them in the last 5 minutes of roasting so they don’t burn. Sage is classic with squash, but thyme is milder and more approachable for kids.
Shopping Tips
Buying Squash — Pick a squash that feels heavy for its size. That means it’s dense and full of moisture. The skin should be hard and matte, not shiny. If it’s shiny, it might be older and drier. I always buy one big squash instead of pre-cut cubes because they stay fresh longer in the fridge.
Storing Ingredients — Honey keeps forever in the pantry. Butter should be used fresh. Squash cubes can be pre-cut and stored in an airtight container in the fridge for up to 3 days. I do this on weekends to save time during the week.
Equipment Needed
You don’t need fancy equipment for this. Here’s what I actually use.
Baking sheet — I use a standard half-sheet pan. Make sure it’s big enough to hold all the squash in a single layer. If you crowd the pan, the squash will steam instead of roast, and you won’t get those nice caramelized edges. I use a rimmed baking sheet because it keeps the honey from dripping off and burning on the bottom of the oven.
Parchment paper — I line my baking sheet with parchment paper. It makes cleanup a breeze. The honey can stick and burn if you don’t use it, and scrubbing a pan is the last thing I want to do after cooking. I keep a roll of parchment paper in every kitchen drawer.
Sharp knife — For cutting the squash. If you’re using butternut, you’ll need a sturdy knife. Butternut squash is hard, so a dull knife will slip and hurt you. Learn to use a sharp knife—it’s safer and easier. I use my chef’s knife for this.
Small saucepan — For browning the butter. Any small pan works. I use a 6-inch saucepan because it concentrates the butter and makes it easier to watch for browning. If you don’t have one, a small skillet works too.
Whisk — For stirring the butter while it browns. You need to keep it moving so it doesn’t burn. A whisk is better than a spoon because it reaches the corners of the pan.
Tongs or spoon — For tossing the squash with the brown butter and honey. I use tongs to toss the squash on the baking sheet. It’s faster than using a spoon.
Measuring cups and spoons — For the honey and butter. I use liquid measuring cups for the honey because it flows easily. For the butter, I use tablespoons.
Optional but nice:
- Vegetable peeler — If you’re using butternut, a vegetable peeler is easier than a knife for peeling. It takes less effort and gives you smoother results.
- Pastry brush — For brushing the squash with the brown butter mixture. It gives you more control than pouring it on.
How to Make It: Step-by-Step
Alright, let’s make this! I’m walking you through exactly how I do it, including the little tricks I’ve picked up. This brown butter honey roasted squash is simple, but there are a few key steps that make the difference between “okay” and “amazing.”
Step 1: Prep Your Squash (10 minutes)
Start by peeling the squash. If you’re using butternut, use a vegetable peeler or a sharp knife to remove the skin. Cut it in half lengthwise, scoop out the seeds with a spoon, and then cut it into 1-inch cubes. Try to keep the cubes uniform so they cook evenly. If you’re using kabocha or delicata, you can skip the peeling. Just wash them well and cut them into cubes. Place the cubes in a large bowl. Don’t worry about drying them perfectly—just get the bulk of the moisture off with a paper towel.
Step 2: Brown the Butter (5 minutes)
This is the most important step. Melt the butter in a small saucepan over medium heat. Let it melt and start to foam. As it foams, you’ll see little milk solids sinking to the bottom. Keep stirring with a whisk. The butter will go from yellow to a deeper golden color. Listen closely—you’ll hear the sizzling change from a loud hiss to a quieter pop. That’s the milk solids browning. Smell it too—it should smell nutty, like toasted almonds or hazelnuts. This usually takes 3-5 minutes. Don’t walk away! It can go from brown to burnt in seconds. Once it’s a deep golden brown, remove it from the heat immediately.
Step 3: Toss the Squash (2 minutes)
Pour the hot brown butter over the squash cubes in the bowl. Add the honey and salt. Toss everything together until the squash is evenly coated. The honey will mix with the brown butter to create a glossy glaze. Taste a cube (careful, it’s hot!) and adjust the salt if needed. If you’re adding pepper or herbs, add them now.
Step 4: Roast the Squash (25-30 minutes)
Preheat your oven to 400°F (200°C). Line a baking sheet with parchment paper. Spread the squash cubes in a single layer on the sheet. Don’t crowd them! If they’re touching, they’ll steam. Give them space. Roast for 25-30 minutes, flipping halfway through. You want the edges to be caramelized and slightly crispy, and the centers to be tender. A fork should slide in easily. If you want them extra crispy, broil for the last 1-2 minutes, but watch them closely so they don’t burn.
Step 5: Serve and Enjoy
Remove from the oven and serve immediately. The squash will continue to soften as it cools, so it’s best eaten hot. Garnish with fresh herbs if you’re feeling fancy. This brown butter honey roasted squash is ready in about 40 minutes total, with only 15 minutes of active work.
Expert Tips & Tricks
Here’s everything I’ve learned from making this dozens of times. These tips will save you from my mistakes.
Don’t Rush the Brown Butter
This is the #1 tip. If you don’t brown the butter, you’re just making roasted squash with regular butter. The nutty flavor is what makes this recipe special. Take your time. Watch the color, listen for the sound change, and smell the aroma. It’s worth the extra minute. If it burns, start over. Burnt butter tastes bitter and ruins the whole dish.
Don’t Crowd the Pan
I know it’s tempting to fit everything on one pan, but if the squash cubes are touching, they’ll steam instead of roast. You want dry heat to caramelize the edges. If you have a lot of squash, use two baking sheets. Or roast it in batches. The difference in texture is huge.
Use Real Honey
Not all honey is created equal. Cheap honey blends are mostly corn syrup and don’t caramelize well. Use a good quality honey. It makes a noticeable difference in the flavor and texture of the glaze.
Flip Halfway Through
For even browning, flip the squash halfway through roasting. This ensures all sides get caramelized. I use tongs to flip them quickly. It takes about 30 seconds and makes a big difference.
Common Mistakes (and how to avoid them)
- Mistake: Squash is mushy — Fix: You roasted it too long or at too low a temperature. Make sure your oven is preheated to 400°F. Check the squash at 25 minutes. It should be tender but still hold its shape.
- Mistake: Butter is burnt — Fix: You left it on the heat too long. Burnt butter is bitter. If this happens, start over. It’s better to waste a little butter than ruin the whole dish.
- Mistake: Squash is bland — Fix: You didn’t add enough salt. Squash needs salt to bring out its sweetness. Taste it after roasting and add more if needed.
Pro Tricks I’ve Learned
- For Extra Crispy Edges — Broil for the last 1-2 minutes. Watch them like a hawk so they don’t burn. The sugar in the honey burns fast.
- For Better Flavor — Add a pinch of cinnamon or nutmeg to the brown butter. It adds warmth and complexity. I love this for fall dinners.
- For Meal Prep — Roast a big batch on Sunday and store in the fridge. Reheat in the oven or microwave. It tastes great cold too, on salads.
Variations & Substitutions
Once you’ve nailed the basic version, here’s how you can mix it up. I’ve tried all of these.
Different Squash Types
Kabocha Squash — Sweet and nutty, with a firm texture. Skip the peeling. Roast for 30-35 minutes. This is my favorite type for this recipe.
Delicata Squash — Thin skin, so no peeling needed. Sweet and mild. Roast for 25-30 minutes. Cut into half-moon slices instead of cubes.
Sugar Pumpkin — Sweeter and softer. Roast for 20-25 minutes. It will get very tender, so don’t overcook it.
Dietary Modifications
Gluten-Free — This recipe is naturally gluten-free. Just make sure your honey and butter are certified gluten-free if you’re strict.
Dairy-Free — Replace butter with coconut oil or ghee. Coconut oil adds a slight coconut flavor, which is nice with honey. Ghee is closer to butter in flavor.
Vegan — Use coconut oil instead of butter and maple syrup instead of honey. It’s not the same, but it’s still delicious.
Flavor Variations
Spicy — Add red pepper flakes or cayenne pepper. I love a little heat with the sweet honey.
Herby — Add fresh thyme, sage, or rosemary. Toss the herbs with the squash before roasting.
Smoky — Add a pinch of smoked paprika. It adds a nice depth of flavor.
Serving & Storage
How to Serve
I usually serve this straight from the baking sheet at the dinner table—it looks rustic and stays warm. But here are other ways I’ve enjoyed it:
Side Dishes
- Grilled chicken or salmon
- Roasted pork chops
- Quinoa or rice pilaf
- Green salad with vinaigrette
Toppings Bar
When I have guests, I put out: extra honey, sea salt, fresh herbs, toasted pecans, crispy bacon bits. Everyone customizes their bowl.
Wine Pairing
Not a wine expert, but my wine-snob friend says Pinot Grigio or Chardonnay works great with this. A light red like Pinot Noir is also good.
Storage Instructions
Refrigerator: Store in an airtight container for up to 4 days. The squash will soften in the fridge—totally normal.
Reheating: Best method: Add to a skillet with a splash of water or broth over low heat. Stir until heated through. Microwave method: Heat in 30-second intervals, stirring between. It works, but the texture changes.
Freezing: Honestly, this doesn’t freeze well because the squash gets mushy when thawed. Make it fresh or store in the fridge for up to 4 days.
Pro tip:
If leftovers are drying out, stir in a tablespoon of butter when reheating. Brings back that creamy texture.
Nutrition Information
I’m not a nutritionist, but here’s the breakdown if you’re tracking.
Per Serving (based on 6 servings):
- Calories: 180
- Protein: 2g
- Carbs: 22g
- Fiber: 3g
- Sugar: 12g
- Fat: 10g
- Saturated Fat: 6g
- Cholesterol: 25mg
- Sodium: 350mg
- Calcium: 60mg
What’s Good:
- High in Vitamin A and C
- Good source of fiber
- Low in calories
What to Know:
- Higher in sugar from honey
- Contains dairy
- Low in protein
My Take:
Look, this is a side dish with butter and honey. It’s not a diet recipe. But it’s way better than takeout, costs less, and I know exactly what’s in it. When I want to make it lighter, I use less honey and add more herbs. But usually? I just eat a reasonable portion and enjoy it.
Final Thoughts
So that’s my go-to brown butter honey roasted squash! I’ve probably talked your ear off at this point, but when you make a recipe this often, you have a lot to say about it.
This has saved weeknight dinners more times than I can count. It’s my answer to “what’s for dinner” when I’m tired, don’t want takeout, and still want something that tastes really good. My kids are happy, my husband’s happy, and I’m happy because I’m not stressed about cooking.
Make it yours! Try different squash types, swap in your favorite herbs, adjust the honey (though more is always better in my opinion). The best recipes are the ones you adapt to your family’s tastes.
If you make this, drop a comment and let me know what you think! I love hearing how recipes turn out in your kitchen. And if something doesn’t work, tell me that too—I’m here to help troubleshoot.
Happy cooking! And I hope your kitchen smells half as good as mine does right now.
Frequently Asked Questions
Can I use maple syrup instead of honey?
You can, but the texture will be different. Honey is thicker and caramelizes better. Maple syrup is thinner and won’t get as sticky. If you use maple syrup, roast for a few minutes less so it doesn’t burn. I’ve tried both, and honey wins for this recipe.
Why did my squash turn out mushy?
Usually means you roasted it too long or at too low a temperature. Make sure your oven is preheated to 400°F. Check the squash at 25 minutes. It should be tender but still hold its shape. If you’re using sugar pumpkin, it cooks faster than butternut.
Can I make this ahead for a dinner party?
Sort of. Prep the squash cubes and brown the butter up to 2 days ahead and store in the fridge. Roast the squash fresh right before serving (takes 30 minutes). It won’t be quite as good as fresh, but it’s close and saves you stress during the party. I do this all the time.
Why did my butter burn?
The heat was too high. Brown butter needs medium heat. Watch it closely. It can go from brown to burnt in seconds. If it burns, start over. Burnt butter tastes bitter and ruins the dish.
Can I use pre-cut squash?
You can, but it’s often more expensive and may not be as fresh. I prefer buying whole squash and cutting it myself. It’s cheaper and you control the size of the cubes. If you use pre-cut, check the size and adjust roasting time.
How do I reheat leftovers without it getting dry?
Add a splash of water or broth to a skillet, add your leftover squash, and heat gently over low heat, stirring frequently. The extra liquid brings back the creamy texture. Microwave sort of works but tends to dry it out. If you do microwave, definitely add a splash of water first and heat in short bursts, stirring between.
Can I double this recipe?
Absolutely! Double everything and use two baking sheets. The cooking times stay the same. I do this when I’m meal-prepping or feeding a crowd. Just make sure your oven has room for two sheets.
Pin This Recipe!
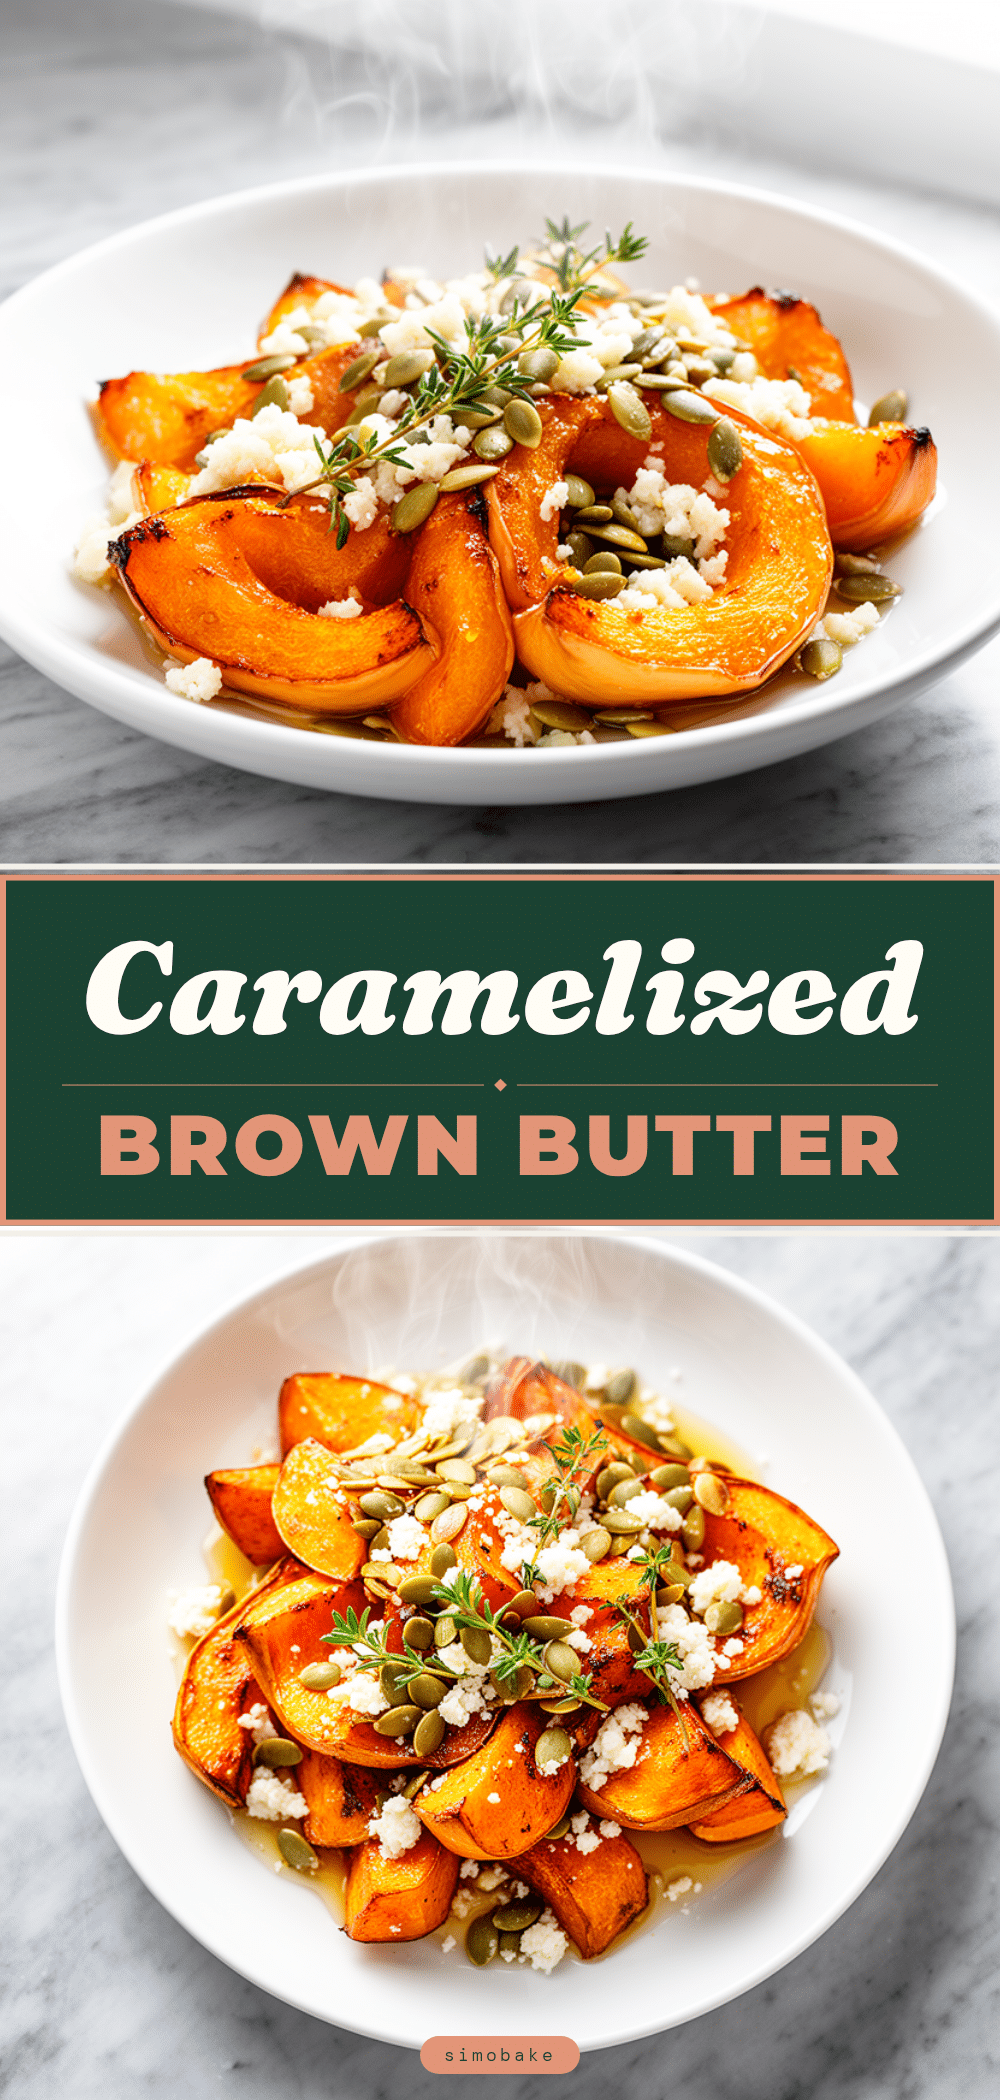

Brown Butter Honey Roasted Squash: Easy 4-Ingredient Side
- Total Time: 40 minutes
- Yield: 6 servings 1x
Description
A simple, comforting side dish featuring butternut squash roasted with nutty brown butter, sweet honey, and salt. This recipe requires only four main ingredients and delivers sophisticated flavor with minimal effort.
Ingredients
- 1 large butternut squash (about 2 pounds / 900g), peeled and cut into 1-inch cubes
- 4 tablespoons (60g) unsalted butter
- 3 tablespoons (45ml) honey
- 1 teaspoon kosher salt (plus more to taste)
- Optional: ½ teaspoon black pepper
- Optional: ¼ teaspoon red pepper flakes
- Optional: 1 tablespoon fresh thyme or sage, chopped
Instructions
- Preheat oven to 400°F (200°C). Line a rimmed baking sheet with parchment paper.
- Peel the squash, remove seeds, and cut into uniform 1-inch cubes. Place in a large bowl.
- Melt butter in a small saucepan over medium heat. Stir constantly with a whisk until the butter foams, turns deep golden brown, and smells nutty (about 3-5 minutes). Remove from heat immediately to prevent burning.
- Pour the hot brown butter over the squash cubes. Add honey and kosher salt. Toss until evenly coated.
- Spread squash in a single layer on the prepared baking sheet, ensuring pieces are not touching.
- Roast for 25-30 minutes, flipping halfway through, until edges are caramelized and centers are tender.
- Optional: Broil for the last 1-2 minutes for extra crispiness, watching closely to prevent burning.
- Serve immediately while hot.
Notes
Do not crowd the pan, as squash will steam instead of roast. Ensure butter is browned but not burnt, as burnt butter tastes bitter. For meal prep, store in an airtight container in the fridge for up to 4 days. Reheat in a skillet with a splash of water or broth to maintain texture. This recipe is naturally gluten-free. For dairy-free/vegan versions, substitute butter with coconut oil and honey with maple syrup.
- Prep Time: 10 minutes
- Cook Time: 30 minutes
- Category: Side Dish
- Cuisine: American
Nutrition
- Serving Size: Approximately 1 cup
- Calories: 180
- Sugar: 12
- Sodium: 350
- Fat: 10
- Saturated Fat: 6
- Carbohydrates: 22
- Fiber: 3
- Protein: 2
Keywords: brown butter, roasted squash, butternut squash, honey roasted vegetables, easy side dish, fall recipes, gluten-free side, weeknight dinner


