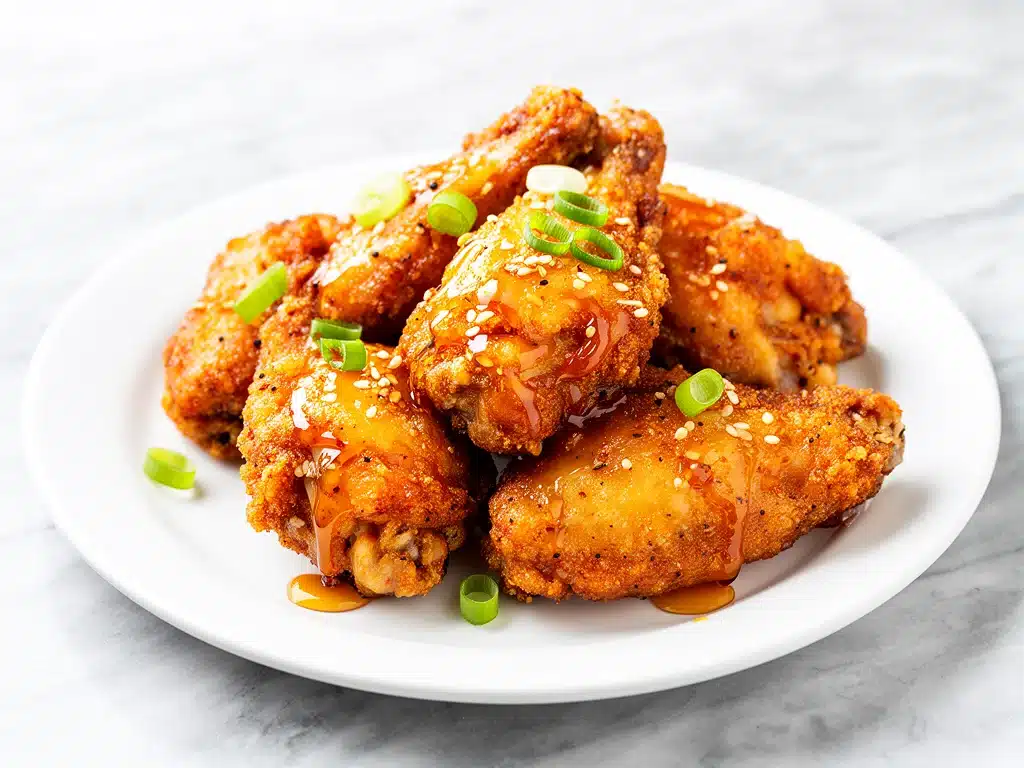
Last Friday night, I was sitting on my couch, staring at a greasy plastic container of takeout chicken wings that had arrived lukewarm and soggy. You know the type. The sauce was a watery mess that had soaked into the cardboard, and the skin had gone limp from sitting in a delivery bag for twenty minutes. I took one bite, sighed, and realized I was paying $25 for mediocrity. That was the moment I decided enough was enough. I wasn’t just tired of bad takeout; I was tired of paying a premium for it.
I headed to the kitchen and pulled out my air fryer (or you can use the oven, but hear me out on why this method is magic). I tossed some chicken wings in a secret dry rub, crisped them up until they were shatteringly crunchy, and then tossed them in a sticky, sweet, and savory honey garlic sauce that actually tasted like it came from a restaurant kitchen. The smell alone pulled my family out of their rooms. My husband, who claims he “doesn’t really like wings,” finished three before I could grab plates. My kids? They didn’t even notice the garlic because the honey was so prominent. It was a game-changer.
Since that night, I’ve made these crispy honey garlic chicken wings at least six times. Six. Because they are that good. They’ve become the star of our movie nights, the centerpiece of our weekend gatherings, and my secret weapon when friends come over. People always ask, “How did you get them so crispy?” or “Where do you get that sauce?” And every time, I tell them the truth: it’s not about fancy ingredients. It’s about technique. It’s about understanding how to get that crunch without deep frying, and how to balance sweet and savory so it doesn’t taste like dessert.
I’m sharing this recipe with you because I want you to experience that same “better than takeout” feeling. I’ve tested this method dozens of times—sometimes failing miserably when I tried to rush the drying process or when I added the sauce too early and made the wings soggy. But I’ve nailed it now. These crispy honey garlic chicken wings are sticky, crunchy, garlicky, and utterly addictive. They’re easier to make than you think, and they taste infinitely better than anything you’ll order from a chain restaurant. Let’s get into why these wings have completely taken over our kitchen.
Why You’ll Love This Crispy Honey Garlic Chicken Wings Recipe
There are a lot of chicken wing recipes out there, but this one stands out for a few specific reasons. It’s not just another buffalo wing clone or a bland BBQ version. This recipe hits every single note that makes takeout so irresistible, but without the grease, the wait, or the excessive cost. Here’s why I keep coming back to these wings:
- Actual Crunch, Not Soggy Mess — The secret to these crispy honey garlic chicken wings is a two-step cooking process. We crisp the wings first, then toss them in the sauce right before serving. The result? A shell so crunchy it shatters when you bite it, but still juicy inside. I’ve tried mixing the sauce earlier, and it just doesn’t work. This timing is everything.
- Sticky, Glossy, and Perfectly Balanced — Most homemade honey garlic sauces are either too sweet or too thin. This one uses a reduction technique that creates a glaze that clings to every nook and cranny of the wing. It’s glossy, it’s sticky, and it doesn’t drip all over your hands (well, not too much). The garlic flavor is bold but not overpowering, balanced perfectly by the honey.
- Weeknight Friendly — You might think making wings from scratch is a hassle, but it’s not. With an air fryer, it takes about 30 minutes. With an oven, it’s closer to 45 minutes. That’s it. No marinating overnight, no complex techniques. Just toss, cook, toss again, and eat. It’s perfect for those busy Tuesday nights when you want something special but don’t have hours to cook.
- Healthier Than Takeout — I know, I know. “Wings” and “healthy” don’t usually go in the same sentence. But air frying uses a fraction of the oil compared to deep frying, and these wings are baked, not submerged in grease. They’re still indulgent, but you won’t feel that heavy, sluggish feeling after eating a whole tray of them. Plus, you control the sugar and sodium levels.
- Crowd-Pleasing Flavor Profile — Sweet, salty, savory, and garlicky? Yes, please. This flavor combination is universally loved. Even my picky eater nephew, who usually turns his nose up at anything with garlic, asked for seconds. It’s the kind of recipe that disappears fast, so make extra if you’re hosting.
This recipe has saved me from takeout fatigue, saved my wallet, and honestly, saved my sanity during busy weeks. If you’ve been looking for a wing recipe that actually delivers on the promise of “crispy” and “flavorful,” this is it. It’s my go-to when I want to impress guests without spending hours in the kitchen.
Ingredients You’ll Need for Crispy Honey Garlic Chicken Wings
One of the best things about this recipe is how simple the ingredient list is. You probably have most of this in your pantry already. I’m particular about a few items here, though, so pay attention to the details. Quality matters, especially with the garlic and honey.
For the Wings
Chicken wings (2 to 3 pounds / 900g to 1.3kg) — I recommend using a mix of drumettes and flats. Avoid the wingtips unless you want to make stock later; they don’t have much meat. Fresh wings are better than frozen because they crisp up better. If you must use frozen, thaw them completely and pat them very dry. Look for wings that aren’t pre-marinated or injected with saline solution, as this affects seasoning and crispiness.
Garlic powder (1 tablespoon) — This adds a foundational garlic flavor that penetrates the skin. Don’t skip this. Use a good quality brand if you can.
Onion powder (1 teaspoon) — Adds a subtle sweetness and depth. It’s a classic wing seasoning partner.
Smoked paprika (1 teaspoon) — This gives the wings a beautiful color and a hint of smokiness. It’s not spicy, just flavorful. If you don’t have smoked paprika, regular paprika works, but you’ll miss that depth.
Salt (1 teaspoon) — Kosher salt is best because it’s easier to control. If you use table salt, reduce to ¾ teaspoon.
Black pepper (½ teaspoon) — Freshly cracked is always better.
Baking powder (1 tablespoon) — This is the secret weapon. Not baking soda! Baking powder raises the pH of the skin, which helps it break down and crisp up in the oven or air fryer. It’s what makes the difference between “okay” skin and “restaurant-quality” crunch. Make sure it’s aluminum-free for the best taste.
Neutral oil (1 tablespoon) — Just a light coat to help the seasoning stick and promote browning. Avocado oil or light olive oil works well.
For the Honey Garlic Sauce
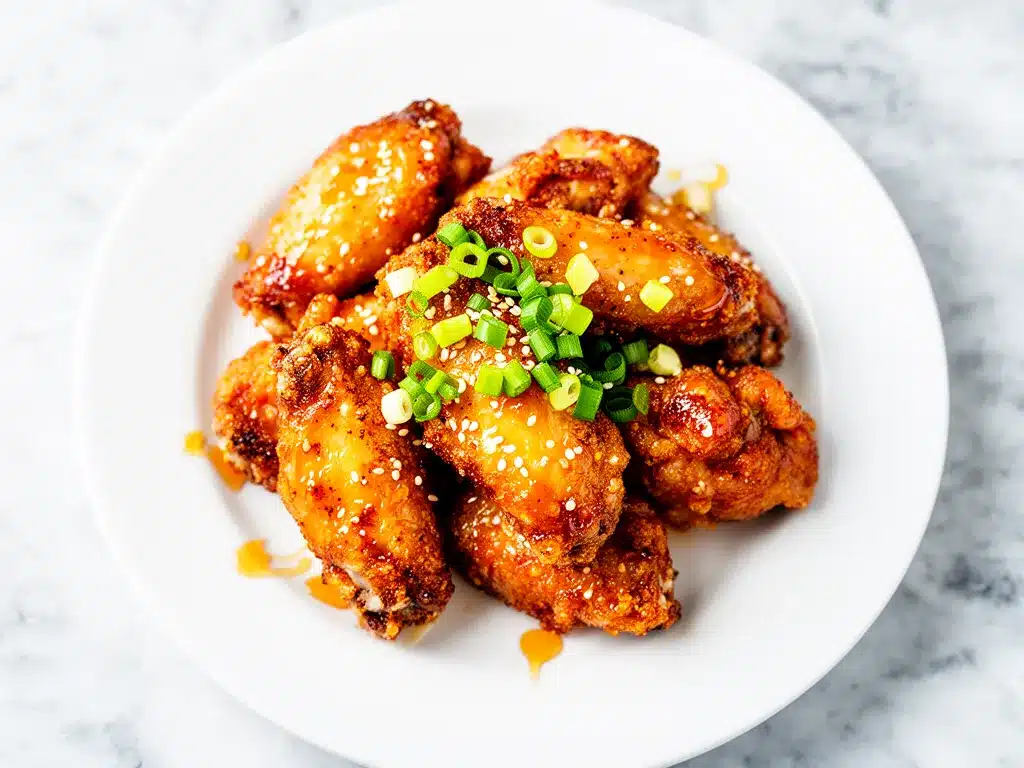
Honey (½ cup / 170g) — Use good quality honey. Clover or wildflower honey adds a nice floral note. Avoid cheap, processed honey that’s just corn syrup in disguise.
Soy sauce (3 tablespoons) — Adds the salty, umami backbone. Low-sodium soy sauce is better so you can control the saltiness. Tamari is a great gluten-free alternative.
Fresh garlic (4 to 5 cloves, minced) — Yes, fresh garlic. The powder in the rub is for the skin; the fresh garlic is for the sauce. It’s pungent and aromatic. Don’t use jarred garlic here—it has a metallic aftertaste that ruins the sauce.
Apple cider vinegar (1 tablespoon) — This cuts through the sweetness of the honey and the richness of the wings. It adds brightness. Rice vinegar works too, but apple cider vinegar has a slightly fruitier tang that I prefer.
Fresh ginger (1 teaspoon, grated) — Adds a warm, spicy kick. Grate it fresh for the best flavor. If you’re in a huge rush, ½ teaspoon of ground ginger works, but fresh is superior.
Sesame oil (1 teaspoon) — Just a drizzle. It adds a nutty aroma that ties everything together. Don’t overdo it, or it’ll overpower the garlic.
Red pepper flakes (½ teaspoon, optional) — For a little heat. Adjust based on your spice tolerance. I like a little kick to balance the sweet.
Cornstarch slurry (1 teaspoon cornstarch + 1 tablespoon water) — This is what thickens the sauce into a glossy glaze. If you don’t have cornstarch, arrowroot powder works too.
Optional Garnish — Toasted sesame seeds and sliced green onions. They add color, texture, and a fresh crunch that looks professional and tastes great.
Equipment Needed
You don’t need a professional kitchen to make these crispy honey garlic chicken wings. Here’s what I actually use and why:
Air Fryer or Oven — I use an air fryer because it circulates hot air efficiently, giving me that deep-fried crunch with a fraction of the oil. It takes about 25-30 minutes. If you’re using an oven, preheat to 400°F (200°C) and bake on a wire rack set over a baking sheet. This allows air to circulate underneath the wings, preventing sogginess. It takes about 40-45 minutes.
Wire Rack — If baking in the oven, a wire rack is essential. It elevates the wings so they don’t sit in their own grease. This is non-negotiable for crispiness.
Large Mixing Bowls — One for tossing the wings with seasoning, one for whisking the sauce. I prefer glass bowls because they’re easy to clean and don’t retain odors.
Small Saucepan — For cooking down the sauce. A small saucepan ensures the sauce reduces quickly and evenly. If you don’t have one, a small skillet works too.
Whisk — For emulsifying the sauce. You want it smooth and glossy, not separated.
Tongs — For handling the hot wings. Metal tongs are durable and heat-resistant. I have a pair that’s been with me for years.
Pastry Brush — Optional, but helpful for brushing extra sauce onto the wings after tossing. It adds an extra layer of gloss.
How to Make Crispy Honey Garlic Chicken Wings: Step-by-Step
Alright, let’s get cooking! This process is straightforward, but timing is key. I’m walking you through exactly how I do it, including the little tricks that ensure maximum crunch and flavor.
Step 1: Prep the Wings (10 minutes)
Start by patting the wings completely dry with paper towels. This is the most important step for crispiness. Moisture is the enemy of crunch. If the wings are wet, they’ll steam instead of crisp. Once dry, place them in a large bowl.
Step 2: Season the Wings (5 minutes)
Add the garlic powder, onion powder, smoked paprika, salt, black pepper, and baking powder to the wings. Drizzle with the neutral oil. Toss everything together with your hands or tongs until every wing is evenly coated. The baking powder will create a slightly alkaline environment that helps the skin brown and crisp up. Let them sit for 10 minutes while you preheat your oven or air fryer.
Step 3: Cook the Wings (25-45 minutes)
If using an air fryer: Preheat to 380°F (190°C). Arrange the wings in a single layer in the basket, making sure they don’t touch. Cook for 12 minutes, then flip the wings and cook for another 12-15 minutes until golden brown and crispy. Internal temperature should reach 165°F (74°C).
If using an oven: Preheat to 400°F (200°C). Place the wire rack on a baking sheet lined with foil (for easy cleanup). Arrange the wings on the rack in a single layer. Bake for 20 minutes, then flip and bake for another 20-25 minutes until crispy and browned.
Pro Tip: Don’t overcrowd the basket or rack. Crowding leads to steaming, not crisping. Cook in batches if necessary.
Step 4: Make the Sauce (10 minutes)
While the wings cook, make the sauce. In a small saucepan over medium heat, combine the honey, soy sauce, minced garlic, apple cider vinegar, grated ginger, and sesame oil. Whisk to combine. Bring to a simmer, then reduce heat to low. Let it simmer for 5-7 minutes, stirring occasionally, until it thickens slightly. It should coat the back of a spoon.
Whisk the cornstarch and water together in a small cup until smooth. Slowly drizzle this into the simmering sauce while whisking constantly. The sauce will thicken almost immediately. Remove from heat. Taste and adjust—if you want it sweeter, add more honey. If you want it saltier, add a splash of soy sauce. If you want it spicy, add more red pepper flakes.
Step 5: Toss and Serve (5 minutes)
Once the wings are done, remove them from the air fryer or oven. Immediately transfer them to a large bowl. Pour the warm honey garlic sauce over the hot wings. Toss quickly and thoroughly, making sure every wing is coated. The residual heat from the wings will help the sauce adhere and create that sticky glaze.
Transfer to a serving platter. Garnish with toasted sesame seeds and sliced green onions. Serve immediately while the wings are still hot and crispy.
Expert Tips & Tricks for Perfect Wings
Here’s everything I’ve learned from making these crispy honey garlic chicken wings dozens of times. These tips will save you from common mistakes and guarantee success.
Pat Them Dry, Then Pat Them Dry Again
I can’t stress this enough. Moisture is the enemy of crispiness. After washing the wings, use paper towels to pat them dry. Then, leave them uncovered in the fridge for an hour to air-dry further. This “fridge drying” method is a pro trick that removes surface moisture, leading to shatteringly crispy skin.
Don’t Skip the Baking Powder
This isn’t a typo. Baking powder (not soda) changes the pH of the skin, breaking down proteins and allowing the skin to crisp up faster and more evenly. It leaves no soapy taste, I promise. Just make sure it’s not baking soda, which will make the wings taste bitter.
Keep the Sauce Warm
When you toss the wings, make sure the sauce is warm. Cold sauce hitting hot wings can shock the skin and make it less crispy. Warm sauce flows better and coats more evenly.
Toss Quickly
Once the sauce is on the wings, toss them quickly and serve immediately. If you let them sit in the sauce for too long, the skin will start to soften. We want that crunch, right? If you’re making them ahead, keep the wings and sauce separate and toss just before serving.
Use a Wire Rack for Oven Baking
If you’re using the oven, never place wings directly on the baking sheet. They’ll sit in grease and get soggy. A wire rack allows air to circulate, ensuring even cooking and maximum crispiness on all sides.
Variations & Substitutions
Once you’ve mastered the basic crispy honey garlic chicken wings, here’s how you can mix it up. I’ve tried all of these, and they’re all winners.
Spicy Honey Garlic Wings
Add 1 teaspoon of chili flakes or 1 tablespoon of sriracha to the sauce. This adds a nice kick that balances the sweetness. Perfect for heat lovers.
Teriyaki Honey Wings
Swap the soy sauce for teriyaki sauce in the sauce recipe. This adds a deeper, richer umami flavor. It’s a slight variation but tastes incredible.
Gluten-Free Version
Simply use tamari instead of soy sauce. Everything else in the recipe is naturally gluten-free. I’ve tested this with Barilla gluten-free pasta (if serving with pasta) and it works great, but for wings, it’s even easier—just swap the soy sauce.
Dairy-Free
This recipe is already dairy-free! Just ensure your honey and soy sauce are dairy-free (most are). If you’re serving with a side, check the ingredients there.
Lower Sugar
Reduce the honey to ¼ cup and add a little more soy sauce and vinegar to maintain balance. It’s less sweet but still flavorful. I make this version when I’m watching my sugar intake.
Alternative Proteins
You can use chicken thighs or drumsticks for this recipe. Just adjust cooking time accordingly. Thighs take longer to crisp up, so you might need to air fry them at a higher temperature or bake them longer. I’ve also used this sauce on chicken tenders, and it works well.
Serving & Storage
How to Serve:
I usually serve these wings straight from the platter with extra sauce on the side for dipping. They’re perfect with a cold beer or a crisp white wine. For a complete meal, pair them with a simple green salad or roasted vegetables. I also love serving them with keto crispy air fryer chicken wings for guests who want variety, or even alongside no-bake chocolate peanut butter energy balls for a sweet-savory contrast at parties.
Refrigerator:
Store leftover wings in an airtight container for up to 3 days. Keep the sauce separate if possible. The wings will lose some crispiness in the fridge, which is normal.
Reheating:
To restore crispiness, reheat in an air fryer at 375°F (190°C) for 5-7 minutes, or in an oven at 400°F (200°C) for 10 minutes. Do not microwave, or they’ll become chewy and soggy. If you’re reheating sauced wings, you might want to re-crisp them first, then toss in fresh sauce.
Freezing:
I don’t recommend freezing these wings. The texture of the skin changes after freezing and reheating, and they won’t be as crispy. It’s best to make them fresh. If you must freeze, freeze the cooked wings without sauce, then reheat and sauce when ready to eat.
Nutrition Information
I’m not a nutritionist, but here’s the breakdown if you’re tracking. Please note that this is an estimate based on 2 pounds of wings with skin, divided into 4 servings.
- Calories: 450
- Protein: 28g
- Carbs: 25g
- Fiber: 0g
- Sugar: 22g
- Fat: 28g
- Sodium: 650mg
What’s Good: High in protein, which keeps you full. The air frying reduces fat compared to deep frying.
What to Know: Higher in sugar due to the honey sauce. If you’re watching sugar, reduce the honey or skip the sauce for some wings. Sodium is moderate, but using low-sodium soy sauce helps.
Final Thoughts
So that’s my go-to crispy honey garlic chicken wings recipe! I’ve probably talked your ear off at this point, but when you make a recipe this often, you have a lot to say about it. These wings have saved weeknight dinners more times than I can count. They’re my answer to “what’s for dinner” when I’m tired, don’t want takeout, and still want something that tastes really good. My kids are happy, my husband’s happy, and I’m happy because I’m not stressed about cooking.
Make it yours! Try different add-ins, swap in your favorite vegetables, adjust the garlic (though more is always better in my opinion). The best recipes are the ones you adapt to your family’s tastes. If you make this, drop a comment and let me know what you think! I love hearing how recipes turn out in your kitchen. And if something doesn’t work, tell me that too—I’m here to help troubleshoot.
Happy cooking! And I hope your kitchen smells half as good as mine does right now.
Frequently Asked Questions
Can I use frozen chicken wings?
You can, but it’s not ideal. Frozen wings release more moisture as they thaw, which can prevent them from crisping up properly. If you must use frozen, thaw them completely in the fridge overnight, then pat them very dry with paper towels. The drier they are, the better they’ll crisp. Fresh wings are always best for this recipe.
Why did my wings turn out soggy?
There are a few reasons. First, they weren’t dry enough before cooking. Moisture steams the skin instead of crisping it. Second, you might have overcrowded the air fryer or oven rack, preventing air circulation. Third, you might have tossed them in the sauce too early. Always toss the wings in the sauce right before serving to maintain crunch.
Can I make the sauce ahead of time?
Yes! The sauce can be made up to 3 days ahead and stored in the fridge. Reheat it gently in a saucepan before tossing with the wings. This actually helps the flavors meld together. Just make sure it’s warm when you toss it with the hot wings.
Is baking powder safe to eat?
Yes, absolutely. Baking powder is a leavening agent used in baking. When used in small amounts on the skin of wings, it helps break down proteins and crisp the skin. It doesn’t leave a soapy taste, especially if you rinse it off (though you don’t need to rinse it for wings). Just ensure you’re using baking powder, not baking soda.
Can I use honey substitute?
Maple syrup is a good substitute, but it has a stronger flavor. Agave nectar is another option, though it’s less viscous. If you use a substitute, you might need to adjust the cooking time for the sauce to thicken properly. Honey is best for its flavor and texture, but maple syrup adds a nice autumnal twist.
How spicy are these wings?
By default, they are mild to medium, with just a hint of heat from the red pepper flakes. If you want them spicier, add more red pepper flakes, a dash of cayenne, or a splash of sriracha to the sauce. Start with less and add more to taste. They’re customizable to your preference.
Can I serve these with a dipping sauce?
Absolutely! While the wings are already sauced, having extra on the side for dipping is fun. I like to serve a side of ranch, blue cheese, or even a simple garlic aioli. It adds variety and lets guests choose their preferred dip. They pair well with fall maple pecan cold brew for a cozy evening, or spiced brown sugar chai latte for a warm, comforting drink.
Pin This Recipe!
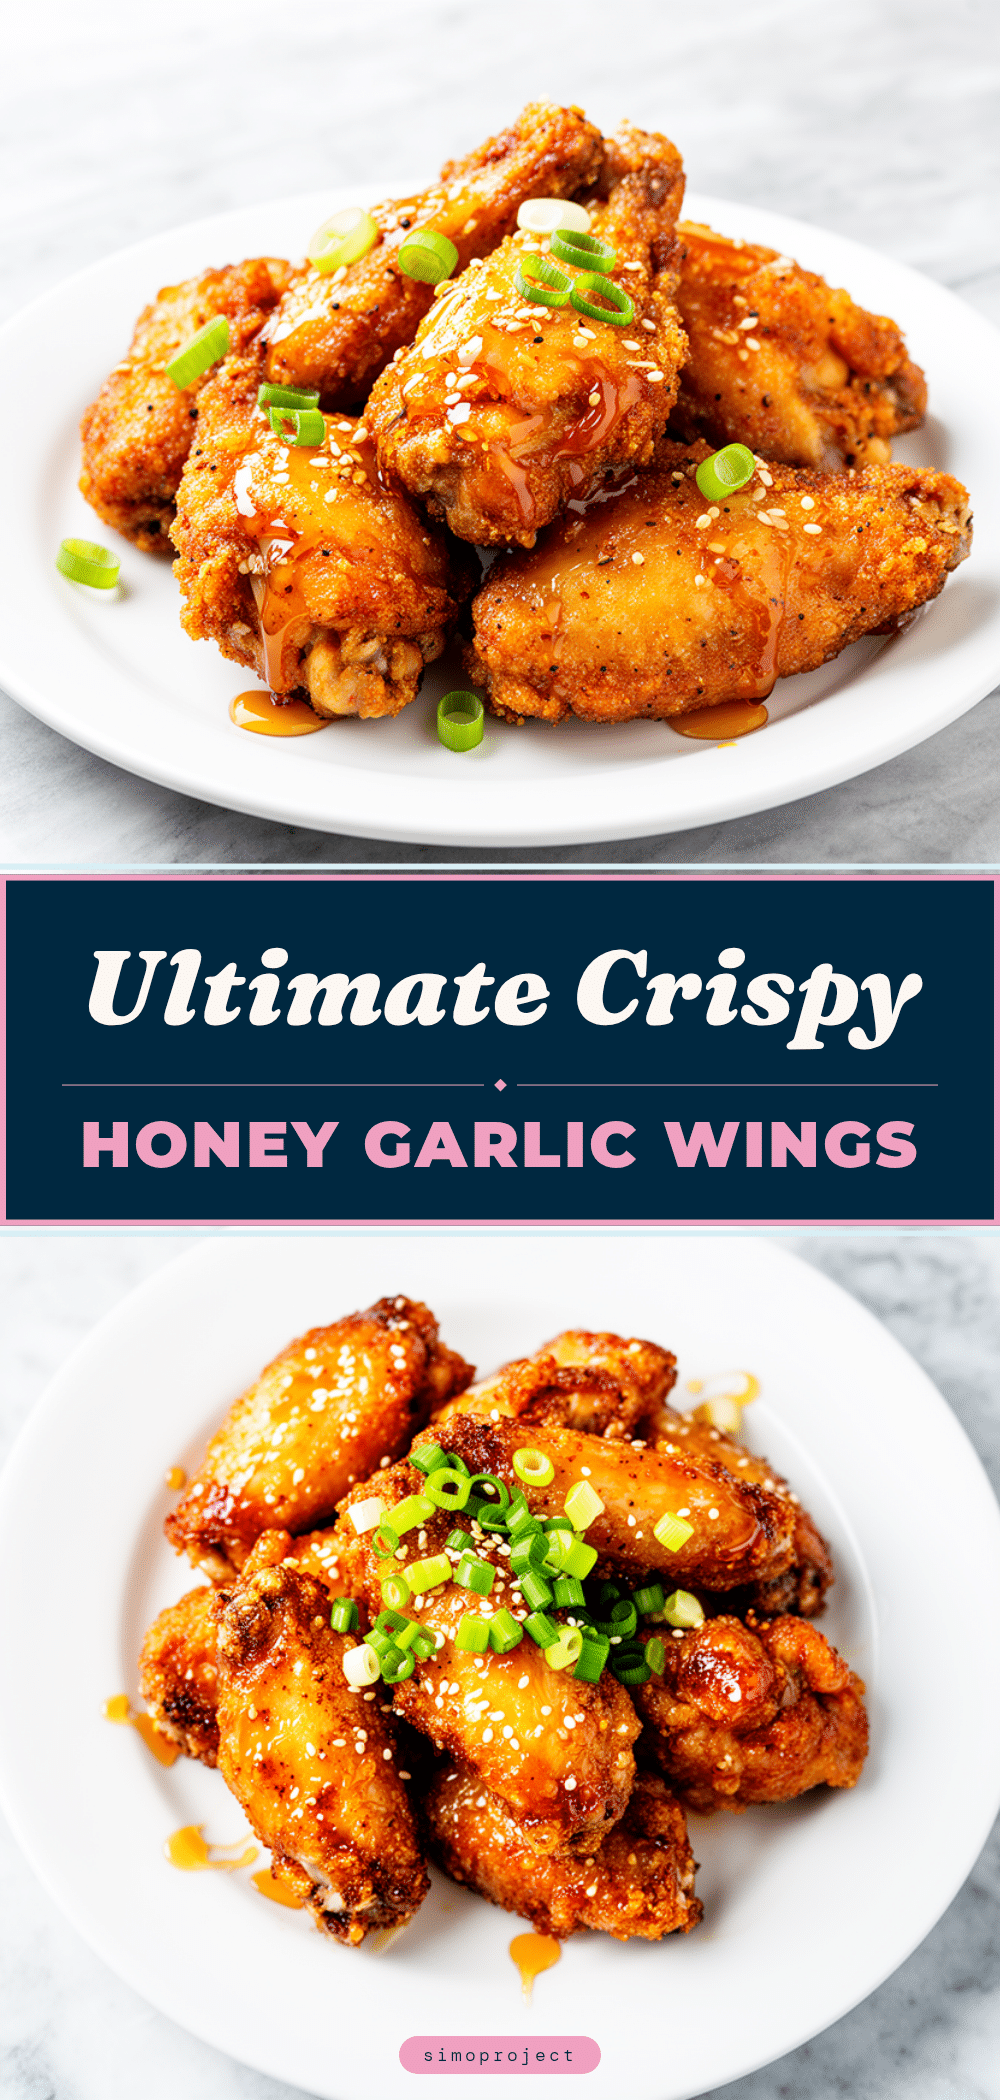
Crispy Honey Garlic Chicken Wings: Best Better Than Takeout Recipe
- Total Time: 45 minutes
- Yield: 4 servings 1x
Description
These crispy honey garlic chicken wings are sticky, crunchy, and garlicky, offering a better-than-takeout experience using an air fryer or oven. The recipe features a secret dry rub for maximum crunch and a balanced sweet-savory honey garlic glaze.
Ingredients
- 2 to 3 pounds chicken wings (drumettes and flats)
- 1 tablespoon garlic powder
- 1 teaspoon onion powder
- 1 teaspoon smoked paprika
- 1 teaspoon kosher salt
- ½ teaspoon black pepper
- 1 tablespoon baking powder (aluminum-free)
- 1 tablespoon neutral oil (avocado or light olive oil)
- ½ cup honey
- 3 tablespoons soy sauce (or tamari for gluten-free)
- 4 to 5 cloves fresh garlic, minced
- 1 tablespoon apple cider vinegar
- 1 teaspoon fresh ginger, grated
- 1 teaspoon sesame oil
- ½ teaspoon red pepper flakes (optional)
- 1 teaspoon cornstarch mixed with 1 tablespoon water
- Toasted sesame seeds and sliced green onions (for garnish)
Instructions
- Pat chicken wings completely dry with paper towels to ensure crispiness.
- In a large bowl, toss wings with garlic powder, onion powder, smoked paprika, salt, black pepper, and baking powder. Drizzle with neutral oil and toss until evenly coated. Let sit for 10 minutes.
- Preheat air fryer to 380°F (190°C) or oven to 400°F (200°C).
- If using an air fryer, arrange wings in a single layer in the basket. Cook for 12 minutes, flip, and cook for another 12-15 minutes until golden and crispy (internal temp 165°F).
- If using an oven, place wings on a wire rack over a baking sheet. Bake for 20 minutes, flip, and bake for another 20-25 minutes until crispy.
- While wings cook, combine honey, soy sauce, minced garlic, apple cider vinegar, ginger, and sesame oil in a small saucepan over medium heat.
- Bring sauce to a simmer, then reduce heat to low. Simmer for 5-7 minutes until it thickens slightly.
- Whisk cornstarch slurry into the simmering sauce and cook until thickened. Remove from heat.
- Transfer hot wings to a large bowl. Pour warm sauce over wings and toss quickly to coat.
- Serve immediately, garnished with sesame seeds and green onions.
Notes
For extra crispiness, pat wings dry and leave them uncovered in the fridge for an hour before cooking. Do not use baking soda; use baking powder to raise the pH of the skin. Toss wings in sauce immediately before serving to maintain crunch. Reheat leftovers in an air fryer or oven, not a microwave.
- Prep Time: 15 minutes
- Cook Time: 30 minutes
- Category: Main Course
- Cuisine: Asian Fusion
Nutrition
- Serving Size: Approximately 1/4 of
- Calories: 450
- Sugar: 22
- Sodium: 650
- Fat: 28
- Saturated Fat: 7
- Carbohydrates: 25
- Protein: 28
Keywords: crispy honey garlic chicken wings, air fryer wings, better than takeout, honey garlic sauce, chicken wing recipe, weeknight dinner


