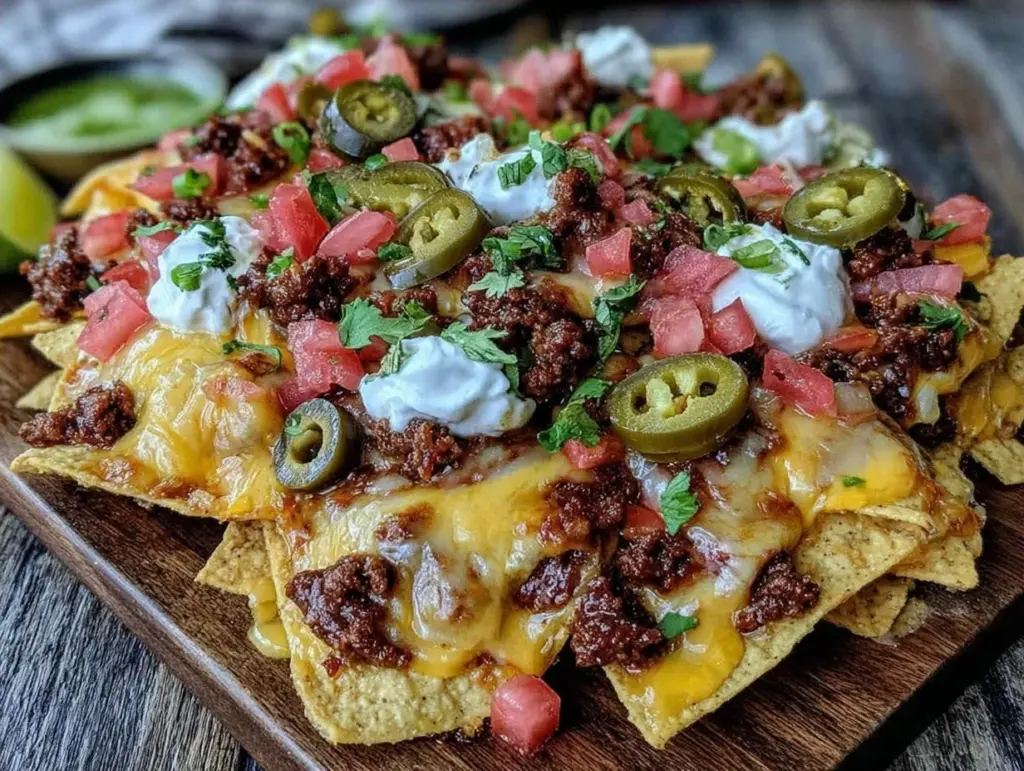
It was the second quarter of the big game, the score was tied, and my living room smelled like anxiety and stale popcorn. I had promised myself this would be the year I hosted the ultimate football party. I had the TV set up, the beer chilling, and my friends were already streaming in through the back door. But I had forgotten one crucial element: the food. Well, not forgotten exactly. I had bought a bag of tortilla chips and a jar of salsa, and I was staring at them like they were going to magically transform into a feast.
My husband, bless his heart, was eyeing the clock. “Do we have time to order pizza?” he asked, though we both knew pizza delivery takes longer than cooking this dish. That’s when I remembered a recipe I’d saved months ago but never actually made. I grabbed every cheese I could find, some ground beef I’d thawed in a bowl of warm water, and a handful of canned goods from the pantry. I didn’t have a plan. I just had hunger and a desperate need to look like a competent host.
Forty minutes later, we were sitting on the floor, picking meat off the chips, and arguing over whether the jalapeños were too spicy. The game didn’t even matter anymore. The Football Party Loaded Nachos with Ground Beef had become the main event. And honestly? They were so good that my friends asked for the recipe before the final whistle even blew. I’ve made these nachos at least a dozen times since that chaotic Sunday, tweaking the layers and perfecting the cheese pull, and I can tell you with absolute certainty: this is hands-down the best way to feed a hungry crowd without spending hours in the kitchen.
There’s something primal about nachos. They’re messy, they’re indulgent, and they’re designed to be shared. But most nacho recipes fall into one of two traps: either they’re just chips with cheese on top (boring), or they’re so overloaded with toppings that the chips disintegrate into a soggy mess before you can take a bite. This version? It’s the Goldilocks of game day food. It’s sturdy enough to hold its weight, rich enough to satisfy your comfort food cravings, and packed with savory ground beef that ties everything together. If you’re looking for an easy appetizer that actually feels like a celebration, this is it.
Why You’ll Love This Football Party Loaded Nachos with Ground Beef
Let’s be real. When you’re hosting a crowd, you want food that looks impressive but doesn’t require a culinary degree to assemble. These loaded nachos check every single box. I’ve served these at Super Bowl parties, casual BBQs, and even movie nights, and the reaction is always the same: people stop talking and start eating. Here’s why this recipe has earned a permanent spot in my rotation.
- Zero Stress Assembly — Seriously, if you can chop an onion and sprinkle cheese, you can make this. I’ve thrown these together in under 45 minutes, even when I’m running late. The beauty is in the layering. You don’t need fancy techniques, just a big baking sheet and a good oven.
- The Ultimate Crowd-Pleaser — I’ve served these to my vegetarian sister (skip the beef), my gluten-free neighbor (use corn chips), and my meat-loving dad (who wants double the beef). Everyone leaves happy. It’s the one dish that actually satisfies every dietary preference in the room.
- Sturdy Enough for Dipping — One of the biggest complaints about party nachos is that they get soggy. I’ve tested this recipe with thick-cut tortilla chips, and they hold up beautifully. You can pile them high, drizzle the sauce, and still pick up a chip without it breaking. That’s crucial when you’re trying to balance a plate while watching the game.
- Makes Amazing Leftovers — Okay, I know. Nachos are best fresh. But if you somehow have any left (unlikely), they reheat surprisingly well in the oven. I deliberately make extra for lunch the next day, and it’s like getting a free gourmet meal. Just don’t try to microwave them unless you want rubbery cheese.
- Budget-Smart — Feeds 6-8 people for under $25. That’s less than what you’d spend on two large pizzas. Plus, you’re using pantry staples like beans and salsa. It feels indulgent, but it’s actually pretty economical.
This is my go-to when I need dinner—or a massive snack—to just work. No complicated techniques, no weird ingredients, just reliable, delicious food that makes everyone happy. And the best part? The smell of melting cheese and seasoned beef will have your guests begging to come over.
Ingredients You’ll Need for the Perfect Nacho Spread
Here’s the best part: you probably have most of this already. I’m particular about three ingredients here, and I’ll tell you exactly why. The rest is just pantry basics and freezer staples. This isn’t a recipe that requires a special trip to a specialty store.
For the Beef Base
Ground beef (1 pound / 450g) — I use 80/20 lean-to-fat ratio. You want that fat for flavor. Lean beef tastes dry and sad in nachos. If you prefer a lighter option, 90/10 works, but you’ll need to add a little extra oil when browning. Brown it well; you want those crispy bits. That’s where the flavor is.
Taco seasoning (1 packet / 28g) — I know, I know. Some people swear by making their own. And sure, homemade is great. But for a party of this size, the packet is consistent and easy. I use a mild to medium blend. If you like it spicy, grab the “hot” version or add a teaspoon of cayenne yourself.
Water (½ cup / 120ml) — Just enough to create steam and dissolve the seasoning. Don’t add too much or the meat will boil instead of brown. Drain any excess liquid after cooking.
Black beans (1 can / 15oz, drained and rinsed) — These add protein and texture. I rinse them thoroughly to remove that canned metallic taste. If you’re in a rush, canned refried beans work too, but black beans give you those distinct bites.
For the Cheese Layer
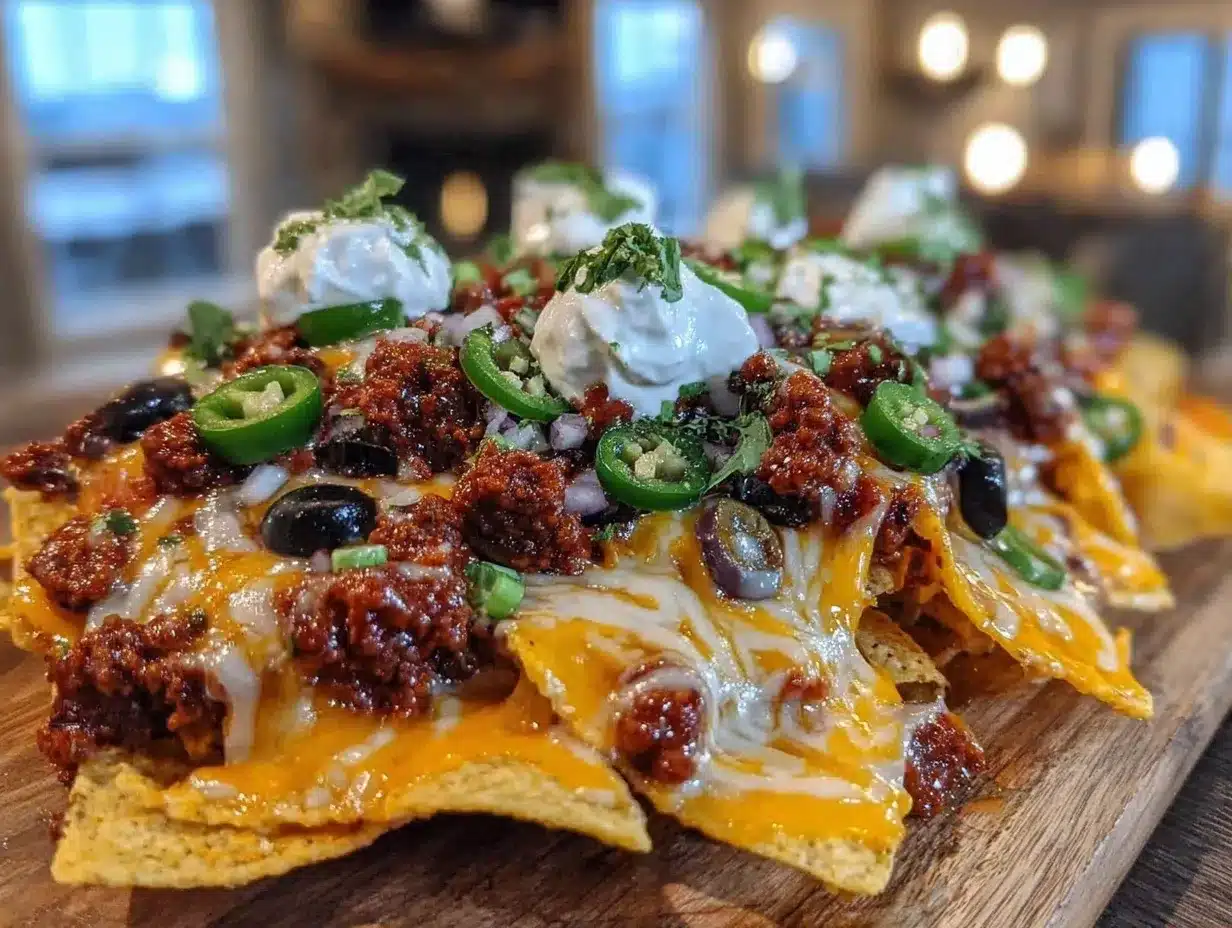
Cheddar cheese (2 cups / 200g, shredded) — Buy the block and shred it yourself. Pre-shredded cheese has cellulose (anti-caking agents) that prevents it from melting smoothly. You want gooey, stringy cheese, not grainy clumps. Sharp cheddar gives the best flavor.
Mozzarella cheese (1 cup / 100g, shredded) — This is the stretch factor. It melts beautifully and creates that Instagram-worthy cheese pull. Don’t skip it. It balances the sharpness of the cheddar.
Monterey Jack (1 cup / 100g, shredded) — Optional, but I love it. It melts like a dream and adds a mild, buttery flavor. If you can’t find it, just use more cheddar and mozzarella.
For the Toppings
Jalapeños (½ cup / 75g, sliced) — Fresh or pickled, your choice. Fresh gives a crisp bite; pickled gives a tangy kick. I usually use a mix. If you’re sensitive to heat, remove the seeds and ribs from the fresh jalapeños.
Tomatoes (2 medium, diced) — Roma tomatoes work best because they’re less watery. Dice them small so they distribute evenly. If you’re worried about sogginess, add them *after* baking, not before.
Green onions (½ cup / 50g, sliced) — Adds a fresh, oniony crunch that cuts through the richness. Use both the white and green parts.
Sour cream (½ cup / 120g) — Dollop this on after baking. It cools down the hot nachos and adds a creamy tang. Don’t mix it in; dollop it on top.
Salsa (1 cup / 240g) — Use a chunky salsa for texture. I prefer a mild or medium variety so it doesn’t overpower the beef. Pico de gallo works too if you want it fresher.
Guacamole (1 cup / 240g) — Fresh is best. If you’re buying it, look for one with lime and cilantro. If you’re making it, don’t skimp on the salt.
Tortilla chips (1 large bag / 13oz) — Use thick-cut, restaurant-style chips. Thin chips will break under the weight of the toppings. I like a mix of yellow and blue corn chips for visual appeal.
Equipment Needed
You don’t need fancy equipment for this. Here’s what I actually use.
Large baking sheet — I use a half-sheet pan. It needs to fit a single layer of chips with room for toppings. If you have two small pans, you can make two batches, but one big pan is easier for serving.
Skillet — 12-inch works best for browning the beef. I prefer cast iron because it distributes heat evenly, but stainless steel works too.
Colander — For draining the beans and rinsing them. Or just use the lid to drain—I do this when I’m lazy.
Sharp knife — For chopping tomatoes and green onions. Dull knives make you cry more—learned this the hard way.
Cutting board — Any size works. I use plastic for easier cleanup.
Grater — Box grater or microplane for the cheese. Or food processor if you’re grating lots of cheese, but hand-grating gives better texture.
Oven mitts — Because that baking sheet is going to be hot. Don’t skip this one.
How to Make It: Step-by-Step
Alright, let’s make this! I’m walking you through exactly how I do it, including the little tricks I’ve picked up. This process is straightforward, but timing matters.
Step 1: Prep Your Ingredients (10 minutes)
Before you start cooking, chop your tomatoes, slice your jalapeños, and dice your green onions. Measure out your cheeses. I know it seems fussy, but it makes the actual assembly way less stressful. Once you start layering, things move fast. Grate your cheese while you’re at it—don’t use pre-shredded. Trust me on this.
Step 2: Brown the Beef (8 minutes)
Heat your skillet over medium-high heat. Add the ground beef and break it up with a wooden spoon as it cooks. Cook until no pink remains, about 5-6 minutes. Drain any excess fat. Add the taco seasoning and water. Stir well and let it simmer for 2 minutes until the sauce thickens slightly. Remove from heat and stir in the drained black beans. Set aside.
Step 3: Layer the Base (5 minutes)
Preheat your oven to 400°F (200°C). Line your baking sheet with parchment paper for easy cleanup. Spread a single layer of tortilla chips on the sheet. Don’t overlap them too much; you want even baking. Sprinkle a generous amount of the cheese blend over the chips. This is the glue that holds everything together.
Step 4: Add the Beef and Toppings (5 minutes)
Spread the seasoned beef mixture evenly over the cheese. Then, scatter the jalapeños and diced tomatoes over the beef. Sprinkle more cheese on top—yes, double cheese. This second layer ensures every bite has that melty goodness. Be generous. Nachos are about abundance.
Step 5: Bake Until Golden (10-12 minutes)
Place the baking sheet in the oven. Bake for 10-12 minutes, or until the cheese is bubbly and the edges of the chips are golden brown. Keep an eye on it after 8 minutes. You want the cheese melted, not burned. If your oven runs hot, check early.
Step 6: Add Fresh Toppings (2 minutes)
Remove the nachos from the oven. Immediately dollop the sour cream and spoon the guacamole over the top. Sprinkle the sliced green onions and fresh salsa over everything. The residual heat will warm the toppings without wilting them. Serve immediately while the cheese is still hot and stringy.
Total Time: About 35 minutes (15 minutes active, 20 minutes mostly hands-off)
Expert Tips & Tricks
Here’s everything I’ve learned from making this dozens of times. These tips will save you from my mistakes.
- Don’t Skip the Double Cheese Layer — This is the #1 tip. If you just put cheese on top of the chips, it won’t melt evenly. Layering the cheese between the chips and the toppings ensures every chip gets coated. I forgot this once and ended up with dry chips. Never again.
- Drain the Beef Well — Greasy beef makes soggy chips. After browning, drain the fat thoroughly. If the beef looks oily, blot it with paper towels. Nobody wants a greasy nacho.
- Use Thick Chips — Thin chips break. Restaurant-style chips hold up to the weight. If you can only find thin chips, use fewer toppings per chip so they don’t collapse.
- Add Fresh Toppings After Baking — Tomatoes and green onions will burn in the oven. Add them fresh after you take the nachos out. This keeps them bright and crunchy.
- Keep It Warm — Nachos cool down fast. If you’re serving them over a long period, keep the oven on low (200°F) and put the pan back in for a minute before serving. Or serve in smaller batches.
Variations & Substitutions
Once you’ve nailed the basic version, here’s how you can mix it up. I’ve tried all of these.
Turkey or Chicken Version — Swap ground beef for ground turkey or chicken. Use the same seasoning. It’s leaner but still delicious. I add a little extra olive oil to keep it moist.
Vegetarian Loaded Nachos — Skip the beef. Add sautéed bell peppers, onions, and corn. Use extra beans and maybe some roasted cauliflower. It’s just as filling and colorful.
Spicy Kick — Add diced chorizo to the beef. Or use hot salsa and extra jalapeños. For the brave, add a drizzle of hot sauce after baking.
Seafood Nachos — Swap beef for cooked shrimp. Add a lime crema instead of sour cream. It’s a lighter, fresher take that’s great for summer parties.
Gluten-Free — Use corn chips instead of flour-based chips. Everything else is naturally gluten-free. Just check your seasoning packet to ensure it’s certified GF.
Serving & Storage
How to Serve: I usually serve these straight from the baking sheet. It’s rustic and communal. But here are other ways I’ve enjoyed them:
- Side Dishes: These are hearty enough to be a meal, but they pair well with a simple green salad or corn on the cob.
- Toppings Bar: When I have guests, I put out extra sour cream, guacamole, hot sauce, and cilantro. Everyone customizes their bowl.
- Wine Pairing: Not a wine expert, but a crisp Lager or a light Pinot Grigio works great with the richness.
Storage Instructions:
Refrigerator: Store leftovers in an airtight container for up to 2 days. The chips will soften, but it’s still edible.
Reheating: Best method: Spread on a baking sheet and bake at 350°F for 5-7 minutes. The oven restores the crunch. Microwave method: It works, but the chips get chewy. If you do microwave, do it in short bursts.
Freezing: Honestly, this doesn’t freeze well. The chips get soggy and the cheese separates. Make it fresh or store in the fridge for up to 2 days.
Nutrition Information
I’m not a nutritionist, but here’s the breakdown if you’re tracking. Keep in mind that these are estimates based on 8 servings.
Per Serving:
- Calories: 450
- Protein: 22g
- Carbs: 35g
- Fiber: 4g
- Fat: 26g
- Sodium: 650mg
What’s Good: Decent protein from the beef and beans. Calcium from the cheese. Can add vegetables to boost nutrition.
What to Know: Higher in calories and sodium. It’s comfort food. Enjoy it in moderation and load up on the fresh veggies.
Final Thoughts
So that’s my go-to Football Party Loaded Nachos with Ground Beef! I’ve probably talked your ear off at this point, but when you make a recipe this often, you have a lot to say about it.
This has saved game day dinners more times than I can count. It’s my answer to “what’s for food” when I’m tired, don’t want to cook a full meal, and still want something that tastes really good. My kids are happy, my friends are happy, and I’m happy because I’m not stressed about cooking.
Make it yours! Try different add-ins, swap in your favorite vegetables, adjust the spice level. The best recipes are the ones you adapt to your family’s tastes.
If you make this, drop a comment and let me know what you think! I love hearing how recipes turn out in your kitchen. And if something doesn’t work, tell me that too—I’m here to help troubleshoot.
Happy cooking! And I hope your kitchen smells half as good as mine does right now.
Frequently Asked Questions
Can I use pre-shredded cheese?
You can, but the sauce will be less smooth. Pre-shredded cheese has anti-caking agents that prevent it from melting evenly. If you’re in a rush, it works, but fresh-shredded cheese makes a huge difference in texture and flavor. I recommend taking the extra 5 minutes to grate your own.
Why did my nachos get soggy?
Usually means you added too many wet toppings before baking, or the chips were too thin. Make sure to drain your beans and tomatoes well. Also, add fresh salsa and guacamole *after* baking, not before. The oven steam from wet ingredients can soften the chips.
Can I make this ahead for a party?
Sort of. You can prep the ingredients and brown the beef ahead of time. Assemble the nachos right before you need to serve them. If you assemble them too early, the chips will absorb the moisture and get soft. Just layer, bake, and serve immediately.
Can I freeze leftover nachos?
It’s not recommended. The chips lose their crunch and become chewy when frozen and reheated. The cheese also separates. It’s best to eat them fresh or store in the fridge for up to 2 days and reheat in the oven.
What kind of chips work best?
Thick-cut, restaurant-style tortilla chips are ideal. They’re sturdy enough to hold the toppings without breaking. Avoid thin, delicate chips unless you’re using very light toppings. Yellow corn chips are traditional, but blue corn or multigrain chips add nice variety.
Can I use ground turkey instead of beef?
Yes! Ground turkey or chicken works great. Just be careful not to overcook it, as it can dry out faster than beef. Add a little extra oil to the pan and season generously. It’s a lighter option that still tastes delicious.
How do I keep the nachos warm during the game?
Keep your oven on low (200°F). Put the baking sheet back in for a minute or two before serving if it’s cooled down. Or serve in smaller batches. Nachos are best fresh, so don’t try to keep a giant pan warm for hours. It’ll just get soggy.
Pin This Recipe!
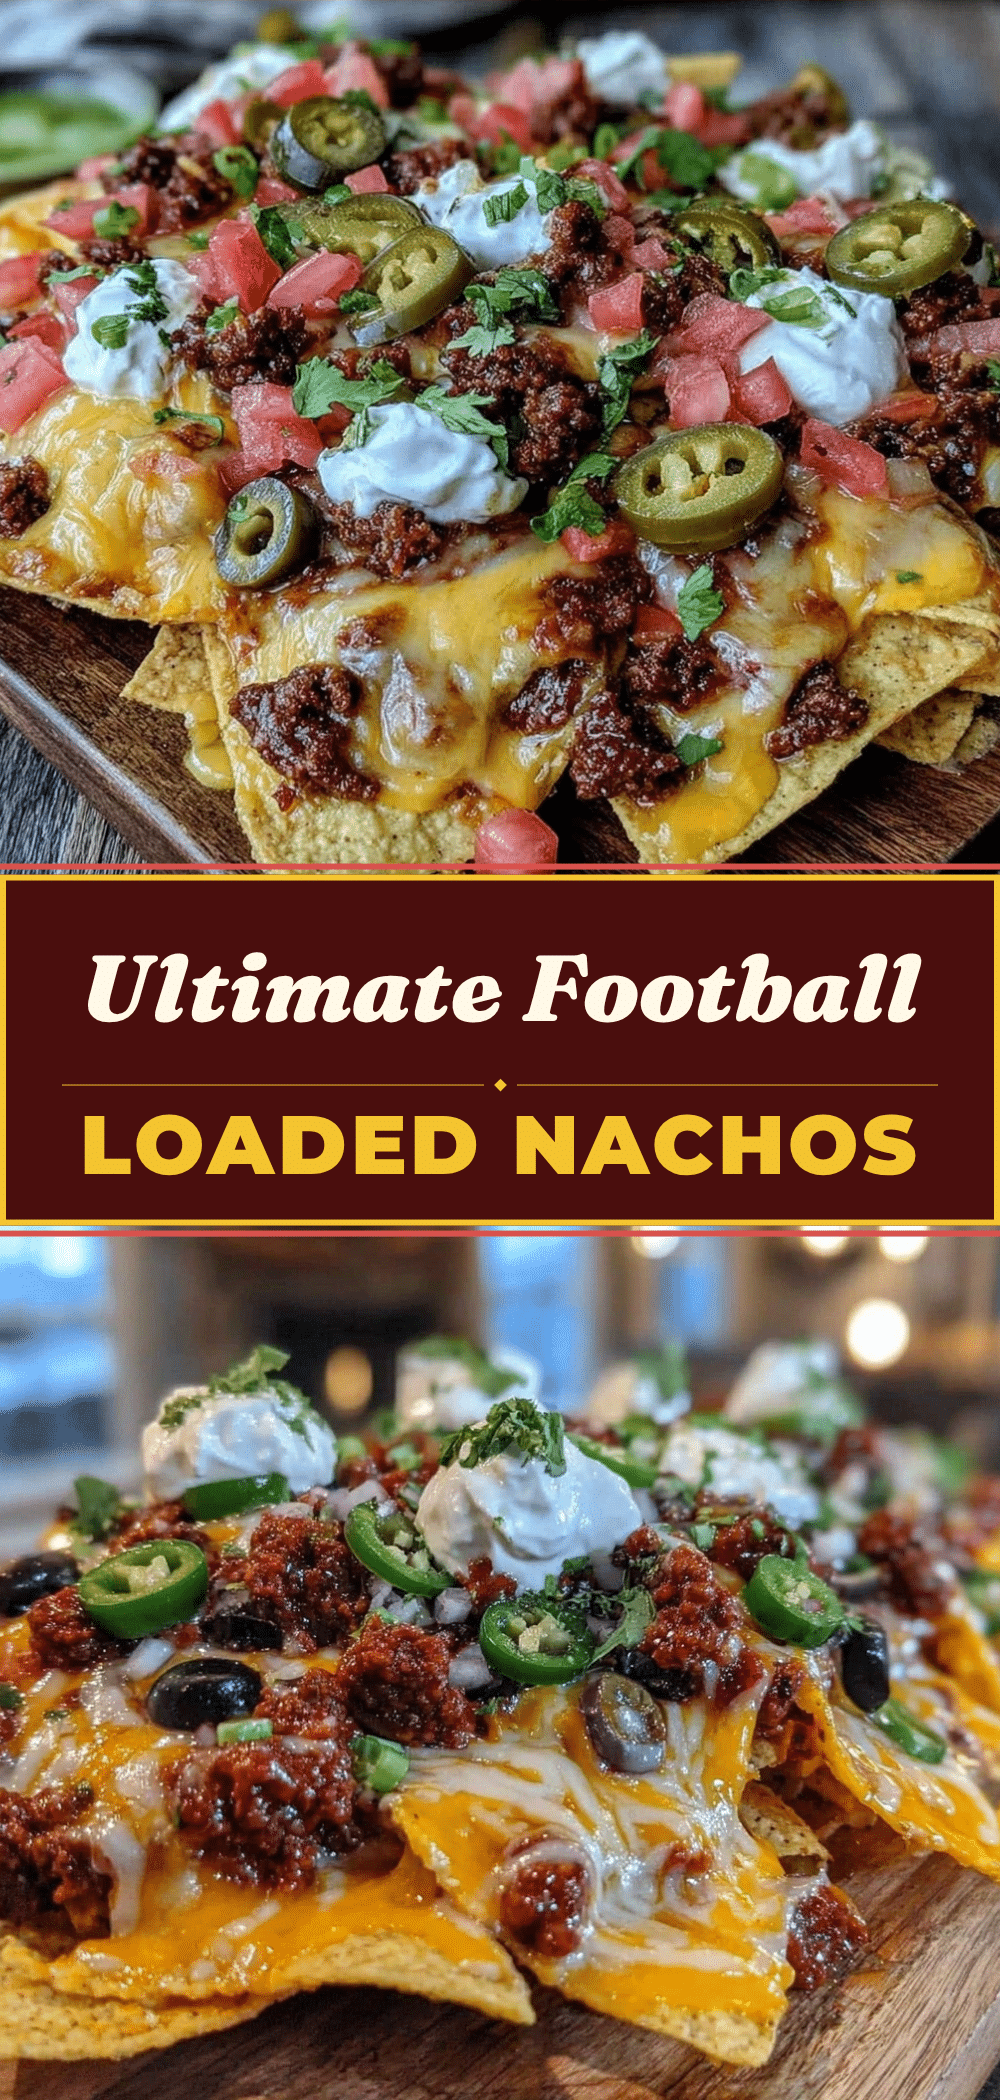

Football Loaded Nachos: 7 Ingredients for an Epic Party Feast
- Total Time: 35 minutes
- Yield: 8 servings 1x
Description
These Football Party Loaded Nachos with Ground Beef are the ultimate game day feast. Featuring a sturdy base of thick-cut tortilla chips, savory seasoned beef, and a double layer of melted cheese, this recipe feeds a crowd of 6-8 people in under 45 minutes.
Ingredients
- 1 pound (450g) ground beef (80/20 lean-to-fat ratio)
- 1 packet (28g) taco seasoning (mild to medium)
- ½ cup (120ml) water
- 1 can (15oz) black beans, drained and rinsed
- 2 cups (200g) sharp cheddar cheese, shredded
- 1 cup (100g) mozzarella cheese, shredded
- 1 cup (100g) Monterey Jack cheese, shredded (optional)
- 1 large bag (13oz) thick-cut tortilla chips
- ½ cup (75g) jalapeños, sliced
- 2 medium Roma tomatoes, diced
- ½ cup (50g) green onions, sliced
- ½ cup (120g) sour cream
- 1 cup (240g) chunky salsa
- 1 cup (240g) guacamole
Instructions
- Preheat oven to 400°F (200°C). Line a large baking sheet with parchment paper.
- In a skillet over medium-high heat, brown the ground beef, breaking it up with a spoon. Cook until no pink remains (5-6 minutes). Drain excess fat.
- Add taco seasoning and water to the beef. Stir well and simmer for 2 minutes until sauce thickens. Remove from heat and stir in the drained black beans.
- Spread a single layer of tortilla chips on the prepared baking sheet.
- Sprinkle half of the cheese blend (cheddar, mozzarella, Monterey Jack) evenly over the chips.
- Spread the seasoned beef mixture over the cheese layer. Scatter jalapeños and diced tomatoes on top.
- Sprinkle the remaining cheese over the toppings.
- Bake for 10-12 minutes until cheese is bubbly and chip edges are golden brown.
- Remove from oven. Immediately dollop with sour cream and spoon on guacamole.
- Sprinkle with green onions and fresh salsa. Serve immediately.
Notes
For best results, shred your own cheese to ensure smooth melting. Use thick-cut, restaurant-style chips to prevent sogginess. Add fresh toppings like tomatoes, green onions, salsa, and guacamole after baking to maintain texture and crunch. If serving over a long period, keep the oven on low (200°F) and reheat the pan briefly before serving.
- Prep Time: 15 minutes
- Cook Time: 20 minutes
- Category: Appetizer
- Cuisine: American
Nutrition
- Serving Size: 1 serving (approx. 1
- Calories: 450
- Sugar: 3
- Sodium: 650
- Fat: 26
- Saturated Fat: 12
- Carbohydrates: 35
- Fiber: 4
- Protein: 22
Keywords: football nachos, game day food, loaded nachos, ground beef nachos, party appetizer, easy nacho recipe, super bowl snacks


