It was 6:15 AM on a Saturday, and the house was still quiet. Well, quiet in that specific way that only exists before the kids realize they are alive and hungry. I was staring into the open refrigerator, holding a carton of eggs that had seen better days and a package of ham that had been hanging out since Tuesday. I had zero energy for flipping pancakes or stirring oatmeal. I just wanted something warm, something that felt like a treat, and something that wouldn’t require me to stand over a hot stove for twenty minutes.
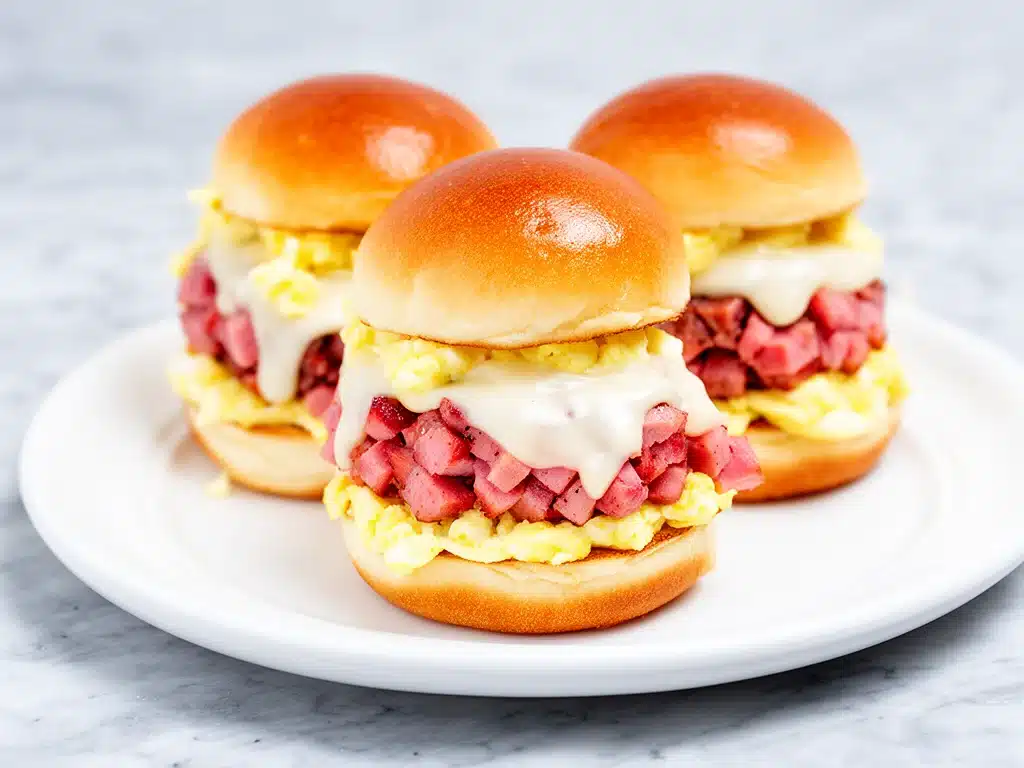
That was the moment I decided to stop treating breakfast like a chore and start treating it like meal prep. I grabbed a pack of Hawaiian sweet rolls, some shredded cheddar, and decided to assemble a batch of breakfast sliders. I didn’t plan to make them ahead, but as I was stacking the ham and egg in the pan, I realized I had enough for twelve. So I threw them in the fridge, covered them with foil, and went back to bed. When the alarm went off at 6:45 AM, I pulled them out, popped them in the oven, and by 7:15 AM, I had twelve perfectly golden, melty, cheesy sliders waiting for my family. They ate them before the milk even finished pouring.
That accidental experiment turned into a weekly ritual. These make-ahead cheesy ham and egg breakfast sliders have saved me from more burnt toast disasters than I can count. They are the ultimate answer to “what’s for breakfast?” when you have a full day ahead, a sports practice to attend, or just need five extra minutes of sleep. I’ve tested this recipe at least a dozen times, tweaking the egg ratio and the cheese blend, until I landed on the perfect balance of savory ham, fluffy egg, and gooey cheese. It’s not just convenient; it’s genuinely delicious. And trust me, once you try these, you’ll wonder why you ever stressed about weekday mornings again.
Why You’ll Love This Recipe
There are about ten reasons I keep making these sliders, but let’s be real: it’s mostly because they work. Every. Single. Time. Here’s why this recipe has earned a permanent spot in my weekly rotation.
Zero Morning Stress — Seriously, the entire assembly happens the night before. You wash three bowls, chop a little cheese, and you’re done. In the morning, your only job is turning on the oven. I’ve done this while half-asleep, holding a baby, and it still came out perfect. That’s how good this method is.
Portable and Mess-Free — Unlike a big plate of scrambled eggs that slides around on the plate, these sliders stay put. I wrap them in foil for the kids’ school lunches or pack them in a cooler for road trips. They eat like a sandwich but taste like a hot breakfast. No forks required.
Customizable for Picky Eaters — My daughter hates green peppers. My son loves extra cheese. Because these are individual sliders, I can make half plain and half loaded without making two separate dishes. It’s the ultimate compromise tool for family breakfasts.
Actually Tastes Better Reheated — I know, I know. Breakfast food is best fresh, right? Not these. The flavors meld together overnight. The bread soaks up just enough egg mixture to become custardy (in a good way), and the cheese gets melty and warm. They taste like a diner special, not a reheated leftover.
Budget-Friendly — You can make twelve sliders for under $10, depending on where you shop. Ham is cheap in bulk, eggs are affordable, and Hawaiian rolls are a bargain at most grocery stores. It’s way cheaper than stopping at the drive-thru, and you know exactly what’s in it.
This is my go-to when I need breakfast to just work. No complicated techniques, no weird ingredients, just reliable, delicious food that makes everyone happy. And if you’re looking for something to sip with these, I highly recommend pairing them with a warm cup of coffee or maybe one of these spiced brown sugar chai lattes for a cozy weekend vibe.
Ingredients You’ll Need
Here’s the best part: you probably have most of this already. This isn’t a recipe that requires a special trip to a specialty store. It’s pantry-friendly, fridge-clearing, and incredibly flexible. I’m particular about two things here—the bread and the cheese—but everything else is pretty standard.
Hawaiian Sweet Rolls (1 pack, 12 rolls) — This is non-negotiable for the authentic taste. They are soft, slightly sweet, and hold up well to the egg mixture. Brioche buns work too, but Hawaiian rolls have that specific texture that soaks up the egg without falling apart. Don’t use dinner rolls; they’re too dry. Don’t use burger buns; they’re too big.
Eggs (8 large) — I use eight large eggs for twelve sliders. This ratio ensures the egg is fluffy but not watery. If your eggs are small, go up to nine. If they are extra-large, eight is fine. Crack them into a bowl and whisk them well before adding to the mix.
Milk (¼ cup / 60ml) — Whole milk is best for richness. You can use half-and-half if you want extra indulgence, but milk keeps it light enough that the bread doesn’t get soggy. I use whatever is in my fridge, usually 2%.
Ham (1 cup / 115g, diced or shredded) — I prefer diced ham because it gives you a bite of meat in every slider. Shredded ham works too, but diced looks nicer. Use leftover spiral ham if you have it—that’s the pro move. If you’re buying fresh, diced deli ham is perfect. Bacon works as a substitute, but ham is the classic flavor here.
Cheddar Cheese (1 cup / 115g, shredded) — Sharp cheddar gives the best flavor. Mild cheddar is okay if you’re serving kids, but sharp cuts through the sweetness of the rolls. Buy a block and shred it yourself. Pre-shredded cheese has anti-caking agents that prevent it from melting smoothly. I learned this the hard way with a grainy, separated cheese situation.
Butter (2 tablespoons / 30g, melted) — We brush the tops with butter before baking. This gives them that golden, bakery-style shine and adds a rich flavor. You can use olive oil if you’re out of butter, but butter is better here.
Optional Add-ins — Diced bell peppers (½ cup) — If you want veggies, dice them super small so they cook through. Sautéed onions (¼ cup) — Caramelized onions add a sweet depth. Sausage crumbles (½ cup) — If you prefer pork over ham, this works great. Eggs are the base, so keep the total volume of add-ins under 1.5 cups so the sliders don’t fall apart.
Seasoning — A pinch of salt and black pepper in the egg mixture. I also love a dash of smoked paprika for a little kick. If you’re into spices, this is where you add them.
Pro Tip: I always keep a pack of Hawaiian rolls in my pantry for emergencies like this. They freeze well, too. If you run out, you can use soft dinner rolls, but the texture won’t be quite the same. And if you’re looking for a sweet treat to go with your breakfast, these no-bake chocolate peanut butter energy balls are a great grab-and-go option.
Equipment Needed
You don’t need fancy equipment for this. Here’s what I actually use, and what you can skip.
9×13 Inch Baking Dish — I use a ceramic baking dish because it heats evenly. Glass works too, but metal pans heat up faster. Make sure it’s deep enough to hold the sliders without the egg spilling over. A standard 9×13 is perfect.
Mixing Bowl — A medium bowl for whisking the eggs. I use a glass bowl because I can see the bottom to make sure I’ve whisked out all the yolks.
Fork or Whisk — For beating the eggs. A fork is fine, but a small whisk makes it faster and airier.
Sharp Knife and Cutting Board — For dicing the ham and veggies. A serrated knife is great for slicing the rolls if you’re making your own from scratch, but pre-packaged rolls save time.
Basting Brush or Pastry Brush — For brushing the melted butter on top. I use a silicone brush because it’s easy to clean. A regular spoon works in a pinch.
Aluminum Foil — To cover the dish. I use heavy-duty foil if I have it, but regular foil works fine. You need this for the make-ahead storage.
Optional but nice: Measuring Cups and Spoons — For the milk and cheese. I’m not super precise with the cheese, but the milk ratio matters more.
How to Make It: Step-by-Step
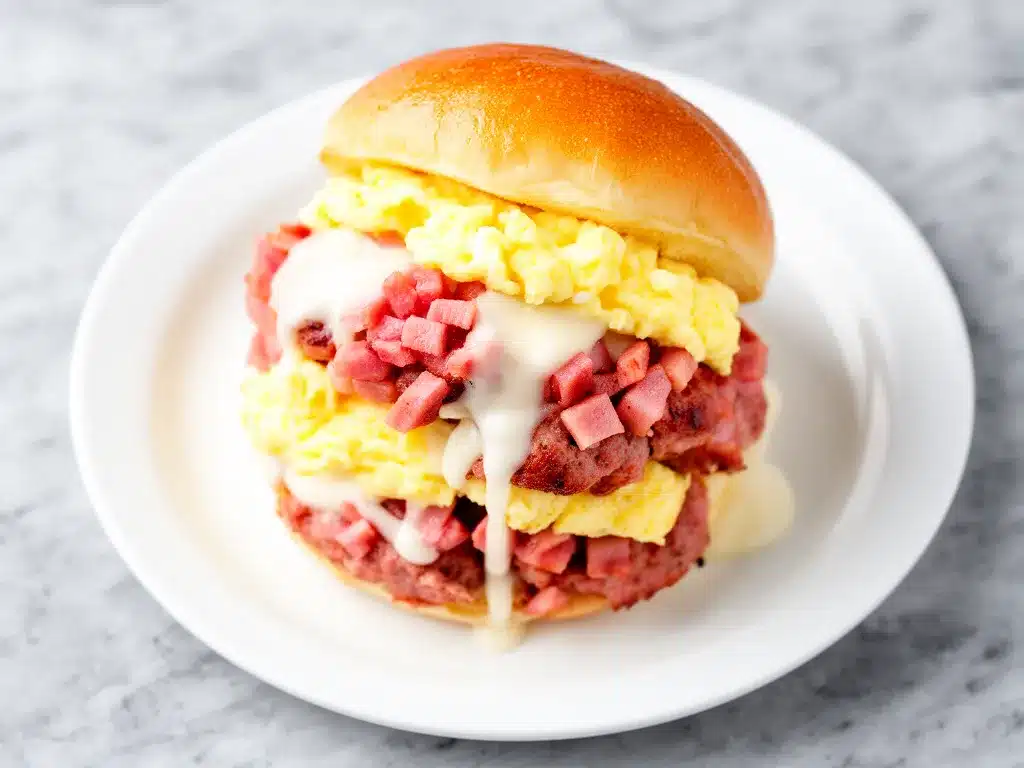
Alright, let’s make this! I’m walking you through exactly how I do it, including the little tricks I’ve picked up. This process is foolproof, but attention to detail makes the difference between good and amazing.
Step 1: Prep the Night Before (5 minutes)
Start by preheating your oven to 350°F (175°C). While it heats, take your Hawaiian rolls and slice them in half horizontally. You want two layers: the top half with the rolls still connected, and the bottom half. Set them aside in your baking dish, bottom side down. This keeps them stable.
Step 2: Assemble the Sliders (10 minutes)
Take each roll bottom and add a small square of ham (about 1 inch square). Sprinkle a pinch of shredded cheddar cheese on top of the ham. Then, add the top half of the roll. You should have a stack of 12 connected rolls in your dish. Don’t separate them; they need to stay connected so they steam together.
Step 3: Make the Egg Mixture (3 minutes)
In your mixing bowl, whisk the eggs, milk, salt, pepper, and any spices (like paprika) until well combined. You want it smooth and uniform. If you’re adding veggies or sausage, mix them into the egg mixture now. If you’re adding them to the sliders, save them for the next step.
Step 4: Pour and Soak (5 minutes)
Pour the egg mixture evenly over the assembled rolls. Use a spoon or your hands to gently press down on the rolls so they absorb the liquid. Let it sit for 10-15 minutes. This is crucial. The bread needs to soak up the egg. If you skip this, you’ll have dry bread and runny egg. If you’re short on time, you can bake immediately, but the soak makes a huge difference.
Step 5: Add Extra Cheese and Butter (2 minutes)
After the soak, sprinkle any extra cheese on top. Then, drizzle the melted butter evenly over the entire dish. Make sure to get into the cracks between the rolls. This butter will caramelize and create that golden crust.
Step 6: Bake (20-25 minutes)
Place the dish in the preheated oven. Bake for 20-25 minutes, or until the eggs are set and the tops are golden brown. If the tops are browning too fast, cover loosely with foil for the last 10 minutes. The center should be firm to the touch, and a knife inserted in the middle should come out clean.
Step 7: Cool and Serve
Let the sliders cool for 5 minutes before serving. This allows the eggs to set completely. If you cut into them hot, they might fall apart. Slice along the natural gaps between the rolls, and serve warm. They are best eaten fresh, but they reheat beautifully.
Total Time: About 45 minutes (10 minutes active, 35 minutes baking/soaking)
Troubleshooting: If the bottom is soggy, make sure your baking dish isn’t too deep or that you didn’t pour too much egg. If the top is too dark, lower the rack to the middle position. If the eggs are undercooked, cover with foil and bake for 5 more minutes.
Expert Tips & Tricks
Here’s everything I’ve learned from making this dozens of times. These tips will save you from my mistakes.
Don’t Skip the Soak
This is the #1 tip. Letting the bread absorb the egg mixture is what makes these sliders custardy and delicious instead of dry and eggy. I forgot it once and the result was… disappointing. Now I set a timer so I don’t forget.
Shred Your Own Cheese
Pre-shredded cheese contains cellulose, which prevents it from melting smoothly. Block cheese melts into a gooey, creamy layer that binds the slider together. It takes 2 minutes and makes a huge difference. My kids can tell when I’ve been lazy.
Use Room Temperature Eggs
Cold eggs can shock the bread and make it soggy in spots. If you have time, let the eggs sit out for 15 minutes before whisking. It’s not a dealbreaker, but it helps with even cooking.
Freeze for Later
You can assemble the sliders, cover tightly with foil, and freeze them for up to 3 months. Bake from frozen, adding 10-15 minutes to the cooking time. This is my ultimate meal prep hack for busy weeks.
Common Mistakes
Mistake: Sliders fall apart. Fix: Don’t separate the rolls when assembling. Let them cool for 5 minutes before cutting.
Mistake: Bottom is burnt. Fix: Use a light-colored baking dish, not dark metal. Dark pans absorb more heat.
Mistake: Eggs are watery. Fix: Don’t add too much milk. Stick to the ¼ cup ratio.
Pro Trick: If you want a little crunch, sprinkle some panko breadcrumbs on top before baking. It adds a nice texture contrast to the soft bread.
Variations & Substitutions
Once you’ve nailed the basic version, here’s how you can mix it up. I’ve tried all of these.
Bacon and Cheese
Swap the ham for crispy crumbled bacon. My husband prefers this version. The smokiness pairs perfectly with the sweet rolls.
Veggie Loaded
Toss in ½ cup diced bell peppers and ¼ cup sautéed onions into the egg mixture. This is how I get my kids to eat vegetables. They don’t even notice.
Breakfast Sausage
Use ½ cup crumbled breakfast sausage instead of ham. Brown the sausage first, then mix it into the eggs. It’s hearty and savory.
Spicy Kick
Add ¼ cup diced jalapeños and a dash of cayenne pepper to the egg mixture. For the cheese, use pepper jack instead of cheddar. This is for the heat lovers.
Gluten-Free
Use gluten-free Hawaiian-style rolls. They can be a bit drier, so soak them a little longer. Everything else is naturally gluten-free.
Dairy-Free
Replace butter with coconut oil and cheddar with dairy-free shreds. The texture won’t be quite as melty, but it still works. I use this version when my friend with dairy allergies visits.
Other Proteins:
– Smoked salmon (add in the last 5 minutes of baking)
– Turkey bacon (crumbled)
– Vegetarian sausage crumbles
– Hard-boiled eggs (chopped, added to the egg mixture)
Serving & Storage
How to Serve:
I usually serve these straight from the baking dish at the breakfast table. They look rustic and stay warm. But here are other ways I’ve enjoyed them:
Side Dishes:
– Fresh fruit salad (berries and melon are great)
– Greek yogurt with honey
– Crispy bacon (if you want extra meat)
– A simple green salad (yes, breakfast salad is a thing)
Wine Pairing:
Not a wine expert, but my wine-snob friend says a light Pinot Grigio works great with these. For a non-alcoholic option, a glass of orange juice or one of these fall maple pecan cold brew recipes is perfect.
Storage Instructions:
Refrigerator: Store leftovers in an airtight container for up to 4 days. The sliders will firm up in the fridge.
Reheating: Best method: Microwave individual sliders for 30-60 seconds. They come out soft and warm. Oven method: Reheat in a 350°F oven for 10 minutes, covered with foil. This keeps them moist.
Freezing: Freeze assembled (unbaked) sliders for up to 3 months. Bake from frozen, adding 10-15 minutes to the cooking time. Do not freeze baked sliders; the texture becomes mushy upon thawing.
Pro tip: If reheating in the microwave, cover with a damp paper towel. This adds steam and prevents the bread from drying out.
Nutrition Information
I’m not a nutritionist, but here’s the breakdown if you’re tracking. These are estimates based on 12 sliders.
Per Serving (1 slider):
– Calories: 180
– Protein: 8g
– Carbs: 16g
– Fiber: 1g
– Sugar: 4g
– Fat: 8g
– Saturated Fat: 3g
– Cholesterol: 55mg
– Sodium: 320mg
What’s Good:
– Decent protein from eggs and ham
– Calcium from cheese
– Easy to customize for lower sodium (use low-sodium ham)
– More filling than it looks
What to Know:
– Higher in calories from bread and cheese
– Contains gluten and dairy
– Moderate sodium (depends on ham brand)
My Take:
Look, this is comfort food. It’s not a diet recipe. But it’s way better than fast-food breakfast, costs less, and I know exactly what’s in it. When I want to make it lighter, I use less cheese and more veggies. But usually? I just eat two sliders and enjoy it.
Final Thoughts
So that’s my go-to make-ahead cheesy ham and egg breakfast sliders! I’ve probably talked your ear off at this point, but when you make a recipe this often, you have a lot to say about it.
This has saved my mornings more times than I can count. It’s my answer to “what’s for breakfast?” when I’m tired, don’t want to cook, and still want something that tastes really good. My kids are happy, my husband’s happy, and I’m happy because I’m not stressed about cooking.
Make it yours! Try different add-ins, swap in your favorite cheeses, adjust the spice level. The best recipes are the ones you adapt to your family’s tastes. If you make this, drop a comment and let me know what you think! I love hearing how recipes turn out in your kitchen. And if something doesn’t work, tell me that too—I’m here to help troubleshoot.
Happy cooking! And I hope your kitchen smells half as good as mine does right now.
Frequently Asked Questions
Can I use whole wheat rolls instead of Hawaiian rolls?
You can, but the texture will be denser and less sweet. Hawaiian rolls are key for that soft, brioche-like quality. If you must use whole wheat, look for “whole wheat Hawaiian” or soft whole wheat dinner rolls. They won’t be as sweet, but they’ll still work.
Why did my sliders turn out watery?
Usually, this means you added too much milk or didn’t let the bread soak up the egg properly. Stick to the ¼ cup milk ratio. Also, make sure you press the rolls down into the egg mixture so they absorb it. If they are still watery after baking, let them cool longer; the eggs will continue to set as they cool.
Can I make these ahead and freeze them baked?
I don’t recommend freezing baked sliders. The bread becomes soggy and the texture changes. It’s much better to assemble them raw, cover tightly, and freeze. Then bake from frozen when you’re ready. This preserves the texture best.
Can I use bacon instead of ham?
Absolutely! Crumbled bacon works great. Just make sure it’s cooked crispy before adding it. Bacon and cheese is a classic combination, and it pairs well with the sweet rolls. You might want to add a little less salt to the egg mixture since bacon is salty.
How do I reheat leftovers without them getting dry?
Microwave them with a damp paper towel on top. The steam from the towel keeps the bread moist. If you use the oven, cover the dish with foil to trap moisture. Never reheat uncovered in the microwave; the bread will turn into a rock.
Can I double this recipe?
Yes! Just use a larger baking dish, like a 9×13 or even two 9×9 dishes. The cooking time might increase by 5 minutes, so check for doneness. Make sure the egg mixture covers all the rolls evenly.
What if I don’t have Hawaiian rolls?
Soft dinner rolls or brioche buns are the best substitutes. Avoid hard rolls like baguettes or sourdough, as they won’t soak up the egg well. If you only have hard rolls, soak them in milk for 10 minutes first to soften them.
And if you’re looking for something sweet to balance out the savory sliders, these gluten-free banana bread is a great option for weekend brunch.
Pin This Recipe!
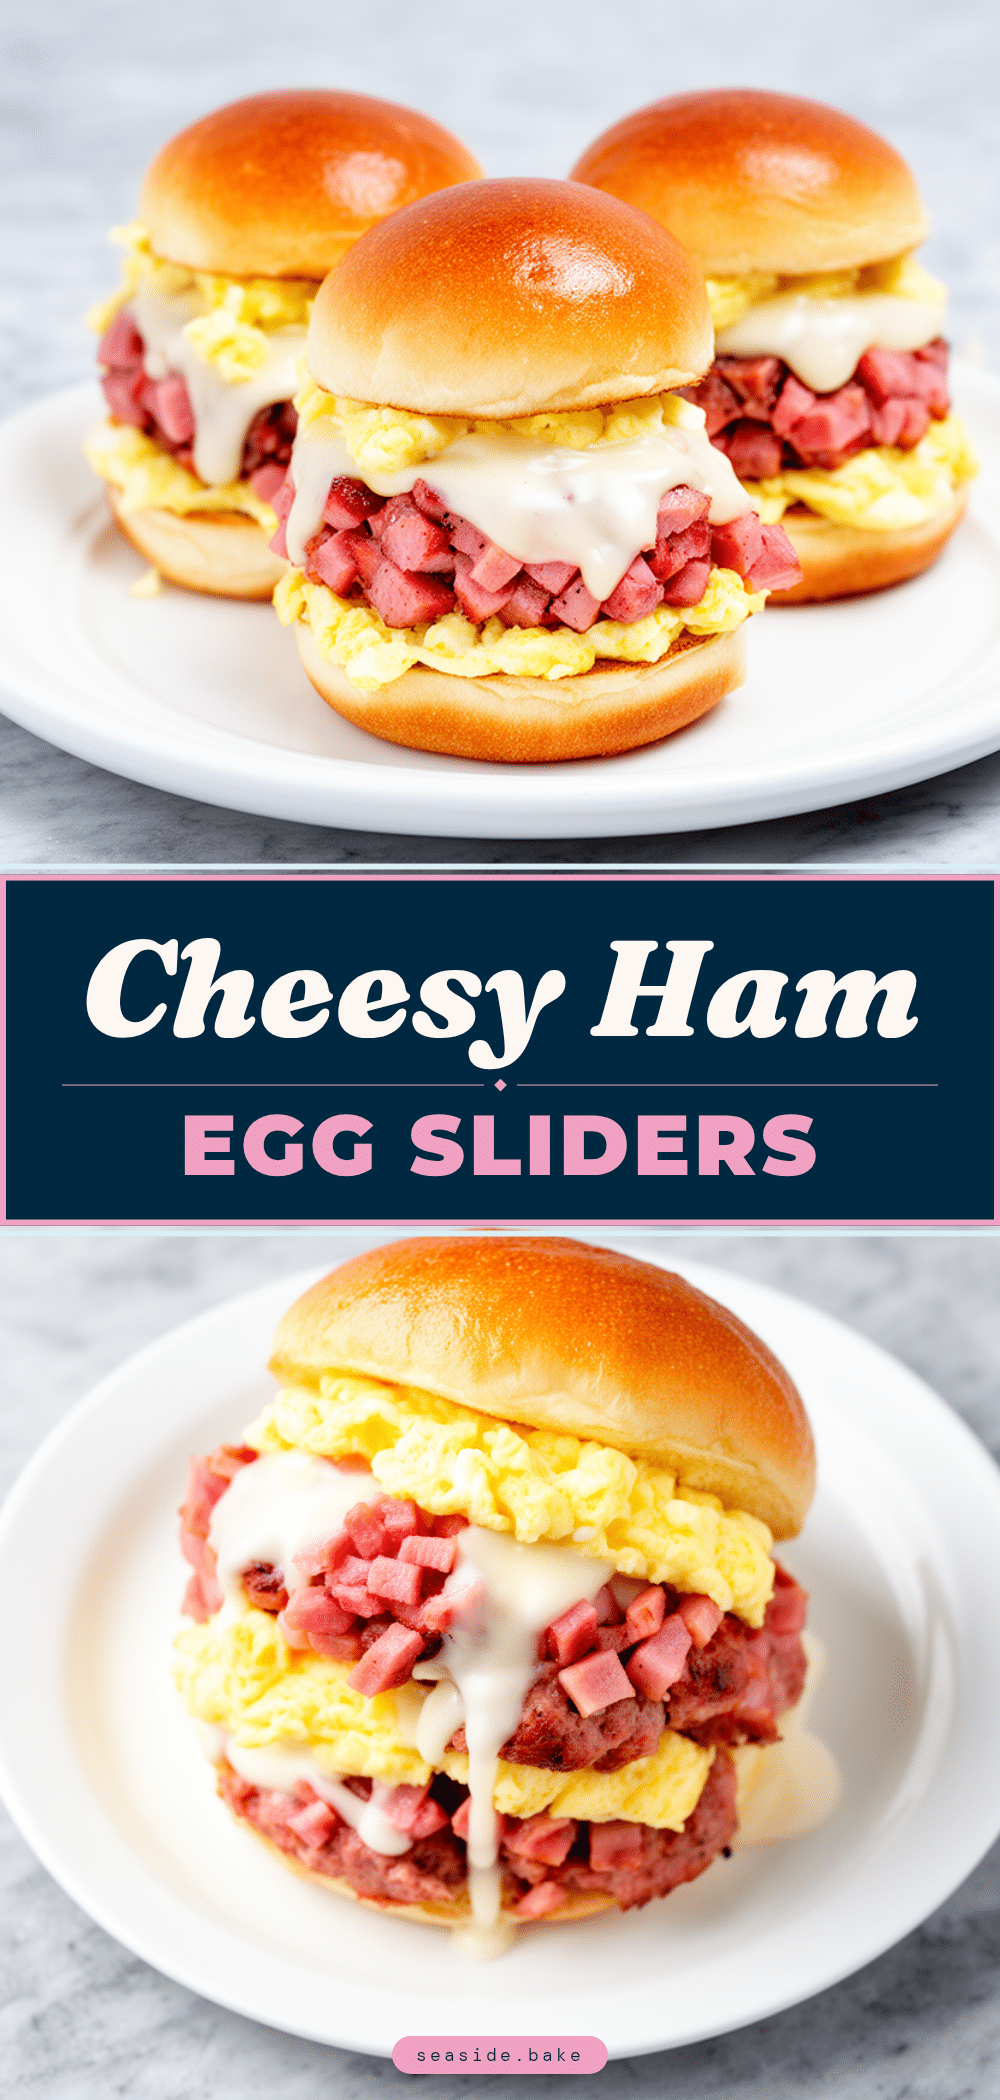

Make-Ahead Cheesy Ham and Egg Breakfast Sliders
- Total Time: 45 minutes
- Yield: 12 servings 1x
Description
These easy, make-ahead breakfast sliders are the perfect solution for busy mornings. Featuring Hawaiian sweet rolls, savory ham, fluffy eggs, and melty cheddar cheese, they can be assembled the night before and baked in the morning for a delicious, stress-free meal.
Ingredients
- 1 pack (12 rolls) Hawaiian Sweet Rolls
- 8 large eggs
- 1/4 cup milk
- 1 cup diced or shredded ham
- 1 cup shredded sharp cheddar cheese
- 2 tablespoons melted butter
- Salt and black pepper to taste
- Smoked paprika (optional)
Instructions
- Preheat oven to 350°F (175°C).
- Slice the Hawaiian rolls in half horizontally, keeping the rolls connected within each half.
- Place the bottom half of the rolls in a 9×13 inch baking dish.
- Top each roll with a small square of ham and a pinch of shredded cheddar cheese.
- Place the top half of the rolls over the ham and cheese.
- In a mixing bowl, whisk together eggs, milk, salt, pepper, and any desired spices until smooth.
- Pour the egg mixture evenly over the assembled rolls.
- Gently press down on the rolls to help them absorb the liquid. Let sit for 10-15 minutes.
- Sprinkle extra cheese on top and drizzle melted butter evenly over the dish.
- Bake for 20-25 minutes until eggs are set and tops are golden brown. Cover with foil if browning too quickly.
- Let cool for 5 minutes before slicing and serving.
Notes
Do not skip the soaking step; it ensures the bread becomes custardy rather than dry. Shred your own cheese for better melting. For make-ahead storage, assemble the sliders, cover tightly with foil, and refrigerate overnight or freeze unbaked for up to 3 months. If freezing, bake from frozen, adding 10-15 minutes to the cooking time. Do not freeze baked sliders as the texture will become mushy.
- Prep Time: 15 minutes
- Cook Time: 25 minutes
- Category: Breakfast
- Cuisine: American
Nutrition
- Serving Size: 1 slider
- Calories: 180
- Sugar: 4
- Sodium: 320
- Fat: 8
- Saturated Fat: 3
- Carbohydrates: 16
- Fiber: 1
- Protein: 8
Keywords: breakfast sliders, make-ahead breakfast, ham and egg sliders, meal prep breakfast, hawaiian roll breakfast, cheesy breakfast, easy morning meal


