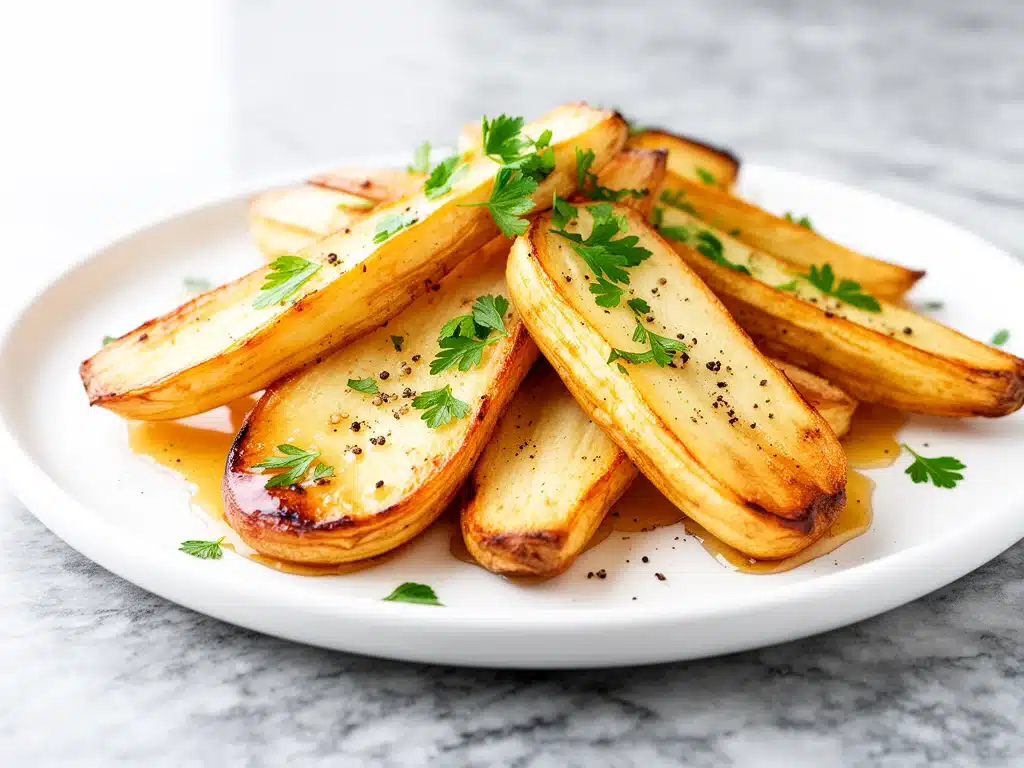
I have a confession to make. For the better part of a decade, I treated side dishes like an afterthought. You know the kind: steam those broccoli florets, throw some frozen peas in a bag, or worst of all, just eat the protein and call it a day. It wasn’t until a rainy Tuesday in November that I realized my dinner table was missing its soul. I was exhausted. I had a half-chopped onion on the counter, a sad-looking bunch of kale that was turning slimy, and zero energy to cook anything complicated. I was about to order takeout—again—when I spotted a bag of parsnips in the crisper drawer. They were old, wrinkled, and hiding in the back of my fridge like they were trying to avoid responsibility.
Something told me to give them a chance. I didn’t have fancy ingredients. I didn’t have time. But I did have maple syrup, olive oil, and a really good oven. I tossed those gnarly roots in, cranked the heat, and walked away. Twenty minutes later, my kitchen smelled like a fall bakery. When I tasted that first forkful—caramelized, sweet, earthy, and perfectly tender—I knew I was never going back to plain steamed veggies. These maple glazed roasted parsnips are better than takeout because they’re made with love, not grease, and they actually taste like something you’d want to eat on a weekend morning.
This recipe has become my secret weapon. It’s the dish that makes my friends ask for the recipe before they’ve even finished their main course. It’s the side that turns a boring Tuesday chicken dinner into a celebration. I’ve made this dozens of times, tweaking the spice levels, testing different glazes, and perfecting the roast until it’s foolproof. If you’ve ever looked at a parsnip and thought, “Is that just a white carrot?” or “How do I not burn these?”, this is your guide. It’s simple, it’s healthy, and it’s going to change how you think about vegetables forever.
Why You’ll Love This Recipe
Look, I get it. Cooking vegetables can feel like a chore. It’s often dry, bland, or overcooked to mush. But this maple glazed roasted parsnips recipe is different. It’s not just a side dish; it’s an experience. Here’s why this is the only roasted vegetable recipe you’ll ever need to bookmark:
- Stupidly Simple Prep — Seriously, if you can peel a carrot, you can make this. I chop the parsnips, toss them in a bowl, and dump them on a sheet pan. That’s it. No complex techniques, no fancy knives required. I’ve made this while watching TV, and it still comes out perfect.
- The Sweet-Salty Magic — The combination of natural parsnip sweetness with salty, herby olive oil and rich maple syrup is addictive. It hits every flavor note. It’s like dessert for your vegetables, but without the sugar crash. My kids, who usually pick around carrots, ask for seconds of these.
- Lightning Fast — From chopping to clean-up, it takes about 35 minutes. Most of that is just roasting time where you can do literally anything else. I make this on weeknights when I’m tired, and it feels like a gourmet meal.
- Pantry-Friendly Ingredients — You probably have maple syrup, olive oil, and spices in your kitchen right now. Parsnips are cheap and widely available, even in smaller grocery stores. This isn’t a recipe that requires a trip to a specialty market.
- Perfect for Meal Prep — These reheat beautifully. I’ll roast a big batch on Sunday and have a healthy, delicious side for lunches all week. They don’t get soggy like some veggies do. In fact, they often taste better on day two as the flavors meld.
- Feels Fancy, Costs Pennies — This looks like something you’d order at a high-end restaurant for $12. But it costs about $4 to make for four people. It’s budget-smart luxury.
This is my go-to when I need a side dish that just works. No stress, no weird ingredients, just reliable, delicious food that makes everyone happy. It’s the kind of dish that makes you feel like a good host, even if you’re just feeding your family of three.
Ingredients You’ll Need
Here’s the best part: you probably have most of this already. This recipe relies on high-quality basics because there’s nowhere to hide. If your ingredients are mediocre, the result will be mediocre. But if you use good stuff, you’ll taste the difference immediately.
For the Roast
Parsnips (2 pounds / 900g) — This is the star. Look for medium-sized parsnips, about 6-8 inches long. Avoid huge, woody ones at the top of the root; stick to the tapered bottom half for the sweetest, tenderest texture. If you can’t find fresh, frozen peeled parsnips work in a pinch, but fresh is always better.
Maple Syrup (3 tablespoons / 45ml) — Real maple syrup, grade A or B. Not pancake syrup! Pancake syrup is corn syrup with flavoring, and it will make these sticky and gross. I keep a bottle of grade B (dark) maple syrup for savory dishes because it has a deeper, more robust molasses flavor that stands up to the roasting heat.
Extra Virgin Olive Oil (2 tablespoons / 30ml) — Use a good quality oil here. It adds fruitiness and helps the maple syrup caramelize. I use a mild extra virgin so it doesn’t overpower the parsnips.
Garlic (3 cloves, minced / about 1 tablespoon) — Fresh garlic is non-negotiable. It adds a savory depth that balances the sweetness. I mince it finely so it distributes evenly.
For the Seasoning
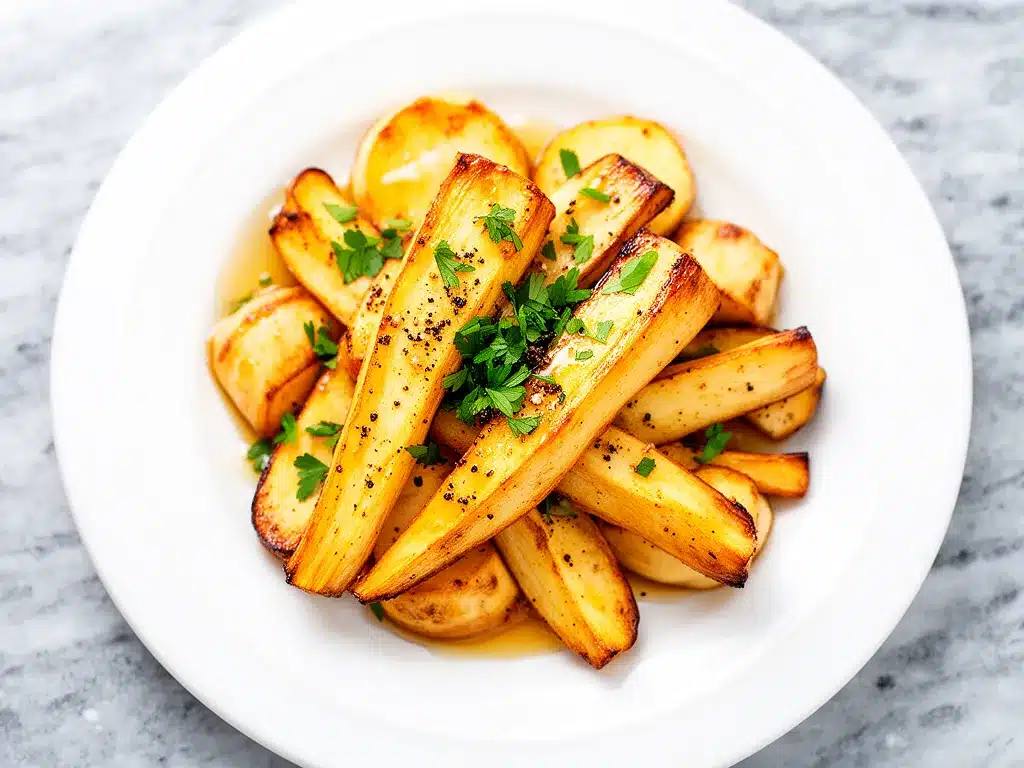
Sea Salt (1 teaspoon / 6g) — Kosher salt works too. I prefer sea salt for its clean flavor. Don’t skip this; salt brings out the natural sugars in the parsnips.
Black Pepper (½ teaspoon / 3g) — Freshly cracked is best. Pre-ground pepper loses its potency quickly.
Dried Thyme (½ teaspoon / 1g) — Thyme and parsnips are a classic pairing. It adds an earthy, slightly floral note. If you don’t have dried thyme, fresh thyme leaves (about 1 teaspoon) work great, but add them in the last 5 minutes of roasting so they don’t burn.
Optional Spice Kick (½ teaspoon smoked paprika or cayenne) — I love a little heat to contrast the sweet maple. Smoked paprika adds a nice smokiness that mimics grilling. Cayenne is for those who want a real kick.
For the Finish
Fresh Parsley (2 tablespoons, chopped) — Adds color and a fresh, bright bite to cut through the richness. Flat-leaf parsley is best. I sprinkle this on right before serving.
Optional: Pecans or Walnuts (¼ cup, toasted) — If you want extra crunch and richness, chop up some pecans and sprinkle them on at the end. This pairs beautifully with the maple flavor. It’s a great addition if you’re serving this for a holiday dinner.
Common Questions:
- Can I use carrots instead? Yes, but carrots are sweeter and denser. You’ll need to roast them longer, and the flavor profile will shift. I prefer parsnips for their unique peppery-sweet balance.
- What if my parsnips are woody? If the center is hard, peel them deeper. The top inch of a large parsnip can be tough. Discard that part if it’s too fibrous.
- Can I use honey instead of maple? You can, but honey burns faster than maple syrup. If you use honey, lower the oven temp slightly or check them a few minutes early. Maple syrup has a higher smoke point and a more complex flavor that suits savory dishes better.
Equipment Needed
You don’t need fancy equipment for this. Here’s what I actually use.
Sheet Pan (Baking Sheet) — I use a half-sheet pan (18×13 inches). It needs to be large enough so the parsnips aren’t crowded. Crowding leads to steaming, not roasting. I prefer dark metal pans because they conduct heat well, but light aluminum works too.
Large Mixing Bowl — For tossing the parsnips with oil and syrup. A wide bowl makes it easier to coat everything evenly.
Sharp Chef’s Knife — For chopping the parsnips into uniform pieces. Uniformity is key for even cooking. I learned this the hard way when I had some burnt bits and some raw centers.
Peeler — A standard Y-peeler works fine. I peel them before chopping.
Pastry Brush (Optional) — For brushing on extra maple syrup halfway through if you want extra glaze. I usually just toss them, but a brush gives you more control.
Whisk — To mix the olive oil, maple syrup, and spices before pouring over the parsnips. It ensures the seasoning is evenly distributed.
Colander — To rinse the parsnips after peeling. Always wash your veggies!
How to Make It: Step-by-Step
Alright, let’s make this! I’m walking you through exactly how I do it, including the little tricks I’ve picked up.
Step 1: Prep the Parsnips (10 minutes)
Preheat your oven to 400°F (200°C). While it heats, peel the parsnips. If they’re small, you can leave them whole, but I prefer cutting them into 1-inch coins or half-moons. Uniform size is crucial here. If you have very large parsnips, cut them into smaller pieces so they cook through. Rinse the chopped parsnips in a colander and pat them dry with a paper towel. Excess water will prevent caramelization.
Step 2: Make the Glaze (2 minutes)
In your large mixing bowl, whisk together the olive oil, maple syrup, minced garlic, sea salt, black pepper, dried thyme, and smoked paprika (if using). The mixture should look like a thick, fragrant paste. Taste it—it should smell amazing. If it’s too thick, add a teaspoon more olive oil.
Step 3: Toss the Parsnips (3 minutes)
Add the dried parsnips to the bowl. Use your hands or a sturdy spoon to toss them until every single piece is coated in the glaze. I get a little messy with this part; it ensures no bare spots. The oil and maple syrup should cling to the parsnips.
Step 4: Arrange on the Pan
Line your sheet pan with parchment paper for easy cleanup (though it’s not strictly necessary). Spread the parsnips in a single layer. Do not crowd them! If they’re touching too much, they’ll steam. Give them space. If you have a small pan, roast in two batches. I’ve ruined batches by overcrowding, and it’s a tragedy I won’t repeat.
Step 5: Roast (20-25 minutes)
Place the pan in the preheated oven. Roast for 10 minutes, then pull the pan out and toss the parsnips. This ensures even browning. Return to the oven and roast for another 10-15 minutes. You’re looking for golden-brown edges and tender centers. A fork should slide through easily. The maple syrup will bubble and caramelize, creating little crispy bits. That’s the good stuff.
Step 6: Finish and Serve
Remove from the oven. Sprinkle with fresh chopped parsley. Taste and add more salt if needed. Serve immediately while hot and crisp. They lose their crunch if they sit too long, so get them to the table fast.
Total Time: About 35 minutes (10 minutes prep, 25 minutes cooking)
Expert Tips & Tricks
Here’s everything I’ve learned from making this dozens of times. These tips will save you from my mistakes.
- Don’t Skip the Dry Step — After washing your parsnips, make sure they’re dry. Wet parsnips = steamed parsnips. I use a salad spinner or paper towels to ensure they’re bone dry before tossing in oil.
- Uniform Cuts Matter — If you cut some pieces big and some small, the small ones will burn before the big ones are cooked. Take the time to make them similar sizes. It’s worth the extra minute.
- High Heat is Key — 400°F (200°C) is the sweet spot. Lower temps won’t caramelize the maple syrup enough. Higher temps might burn the garlic. This temp gives you tender insides and crispy outsides.
- The Toss is Non-Negotiable — Pulling the pan out halfway through to toss the parsnips ensures they brown evenly on all sides. I know it’s annoying, but it makes a huge difference.
- Watch the Last 5 Minutes — Maple syrup burns faster than you think. If your oven runs hot, check them at 20 minutes. They should be golden, not black. If they’re browning too fast, cover loosely with foil.
- Leftover Glaze — If you have extra glaze in the bowl, don’t pour it down the drain! Drizzle it over the finished dish for extra flavor. It’s liquid gold.
Variations & Substitutions
Once you’ve nailed the basic version, here’s how you can mix it up. I’ve tried all of these.
Honey-Rosemary Variation
Swap maple syrup for honey and dried thyme for fresh rosemary. Rosemary and honey are a classic combo. It’s slightly more floral and less robust than the maple version. Great with roast chicken.
Spicy Cajun Style
Add 1 teaspoon Cajun seasoning and swap maple syrup for a mix of maple syrup and hot sauce. The heat cuts through the sweetness beautifully. This is my favorite for game day snacks.
Cranberry-Orange Twist
Add ¼ cup dried cranberries and the zest of one orange to the glaze. Roast as usual. The cranberries plump up and add bursts of tartness. Perfect for Thanksgiving.
Dietary Modifications
Vegan — This recipe is already vegan! Just ensure your maple syrup is pure (some cheap brands add corn syrup, which is still vegan but less healthy).
Gluten-Free — Naturally gluten-free. Just check your spice blends for hidden gluten.
Low-Sugar — Reduce maple syrup to 1 tablespoon and add a pinch of stevia or monk fruit if needed. It will be less sweet but still flavorful.
Serving & Storage
How to Serve: I usually serve these straight from the pan. They look rustic and inviting. They pair beautifully with roasted chicken, grilled steak, or even a hearty lentil soup. They’re also fantastic alongside keto crispy air fryer chicken wings for a balanced meal.
Side Dishes: Garlic bread (obviously), a simple green salad with balsamic vinaigrette, or a quinoa pilaf.
Toppings Bar: When I have guests, I put out: extra maple syrup, crushed pecans, fresh thyme sprigs. Everyone customizes their bowl.
Storage Instructions:
- Refrigerator: Store in an airtight container for up to 3 days. They will soften in the fridge, which is normal.
- Reheating: Best method: Oven or toaster oven at 375°F for 10 minutes. This restores the crispiness. Microwave method: Works in a pinch, but they’ll be soft. Heat in 30-second intervals.
- Freezing: I don’t recommend freezing. The texture changes and becomes mushy upon thawing. Make it fresh or store in the fridge.
Nutrition Information
I’m not a nutritionist, but here’s the breakdown if you’re tracking.
Per Serving (based on 4 servings):
- Calories: 180
- Protein: 3g
- Carbs: 32g
- Fiber: 5g
- Sugar: 18g (natural sugars from parsnips and maple)
- Fat: 6g
- Saturated Fat: 1g
- Sodium: 320mg
What’s Good: High in fiber, vitamin C, and potassium. Low in saturated fat. A great source of complex carbohydrates for energy.
What to Know: Higher in natural sugars due to maple syrup. If you’re watching sugar, reduce the syrup or use a sugar substitute.
My Take: Look, this is a vegetable dish with maple syrup. It’s not a diet food, but it’s nutrient-dense and far better than processed sides. When I want to make it lighter, I reduce the syrup and add more herbs. But usually? I just enjoy the balance of sweet and savory.
Final Thoughts
So that’s my go-to maple glazed roasted parsnips! I’ve probably talked your ear off at this point, but when you make a recipe this often, you have a lot to say about it. This has saved weeknight dinners more times than I can count. It’s my answer to “what’s for dinner?” when I’m tired, don’t want takeout, and still want something that tastes really good. My kids are happy, my husband’s happy, and I’m happy because I’m not stressed about cooking.
Make it yours! Try different spices, swap in your favorite herbs, adjust the maple syrup. The best recipes are the ones you adapt to your family’s tastes. If you make this, drop a comment and let me know what you think! I love hearing how recipes turn out in your kitchen. And if something doesn’t work, tell me that too—I’m here to help troubleshoot.
Happy cooking! And I hope your kitchen smells half as good as mine does right now. If you’re looking for more cozy, homemade recipes, check out this fall maple pecan cold brew to pair with your meal. It’s the perfect autumn treat.
Frequently Asked Questions
Q: Can I use frozen parsnips?
A: You can, but the texture won’t be as crisp. Frozen parsnips release more water, so they’ll steam more than roast. If you use frozen, thaw them first and pat them very dry. Roast at a slightly higher temp (425°F) to help crisp them up. Fresh is always best for this recipe.
Q: Why did my parsnips burn?
A: Maple syrup has a low smoke point. If your oven runs hot or the parsnips were too close to the heating element, they’ll burn. Check them at the 15-minute mark. If they’re browning too fast, cover them loosely with aluminum foil for the remaining time.
Q: Can I make this ahead for a dinner party?
A: Sort of. You can prep the parsnips (peel and chop) and store them in water in the fridge for up to 24 hours. Drain and dry them before roasting. The actual roasting should be done fresh, as they lose crispiness quickly. I recommend roasting them 30 minutes before serving.
Q: What if I don’t have maple syrup?
A: Honey is the closest substitute. Use the same amount. Brown sugar mixed with a little water also works, but it won’t have the same liquid consistency. Avoid artificial sweeteners; they don’t caramelize the same way.
Q: How do I know when parsnips are done?
A: Pierce one with a fork. It should slide through easily with no resistance. The edges should be golden brown and slightly crispy. If they’re still hard in the center, roast for 5 more minutes.
Q: Can I add other vegetables to this?
A: Yes! Carrots, sweet potatoes, and Brussels sprouts all roast well with this glaze. Just note that denser vegetables like sweet potatoes may need a few extra minutes. Carrots will cook faster, so add them later in the roasting process.
Pin This Recipe!
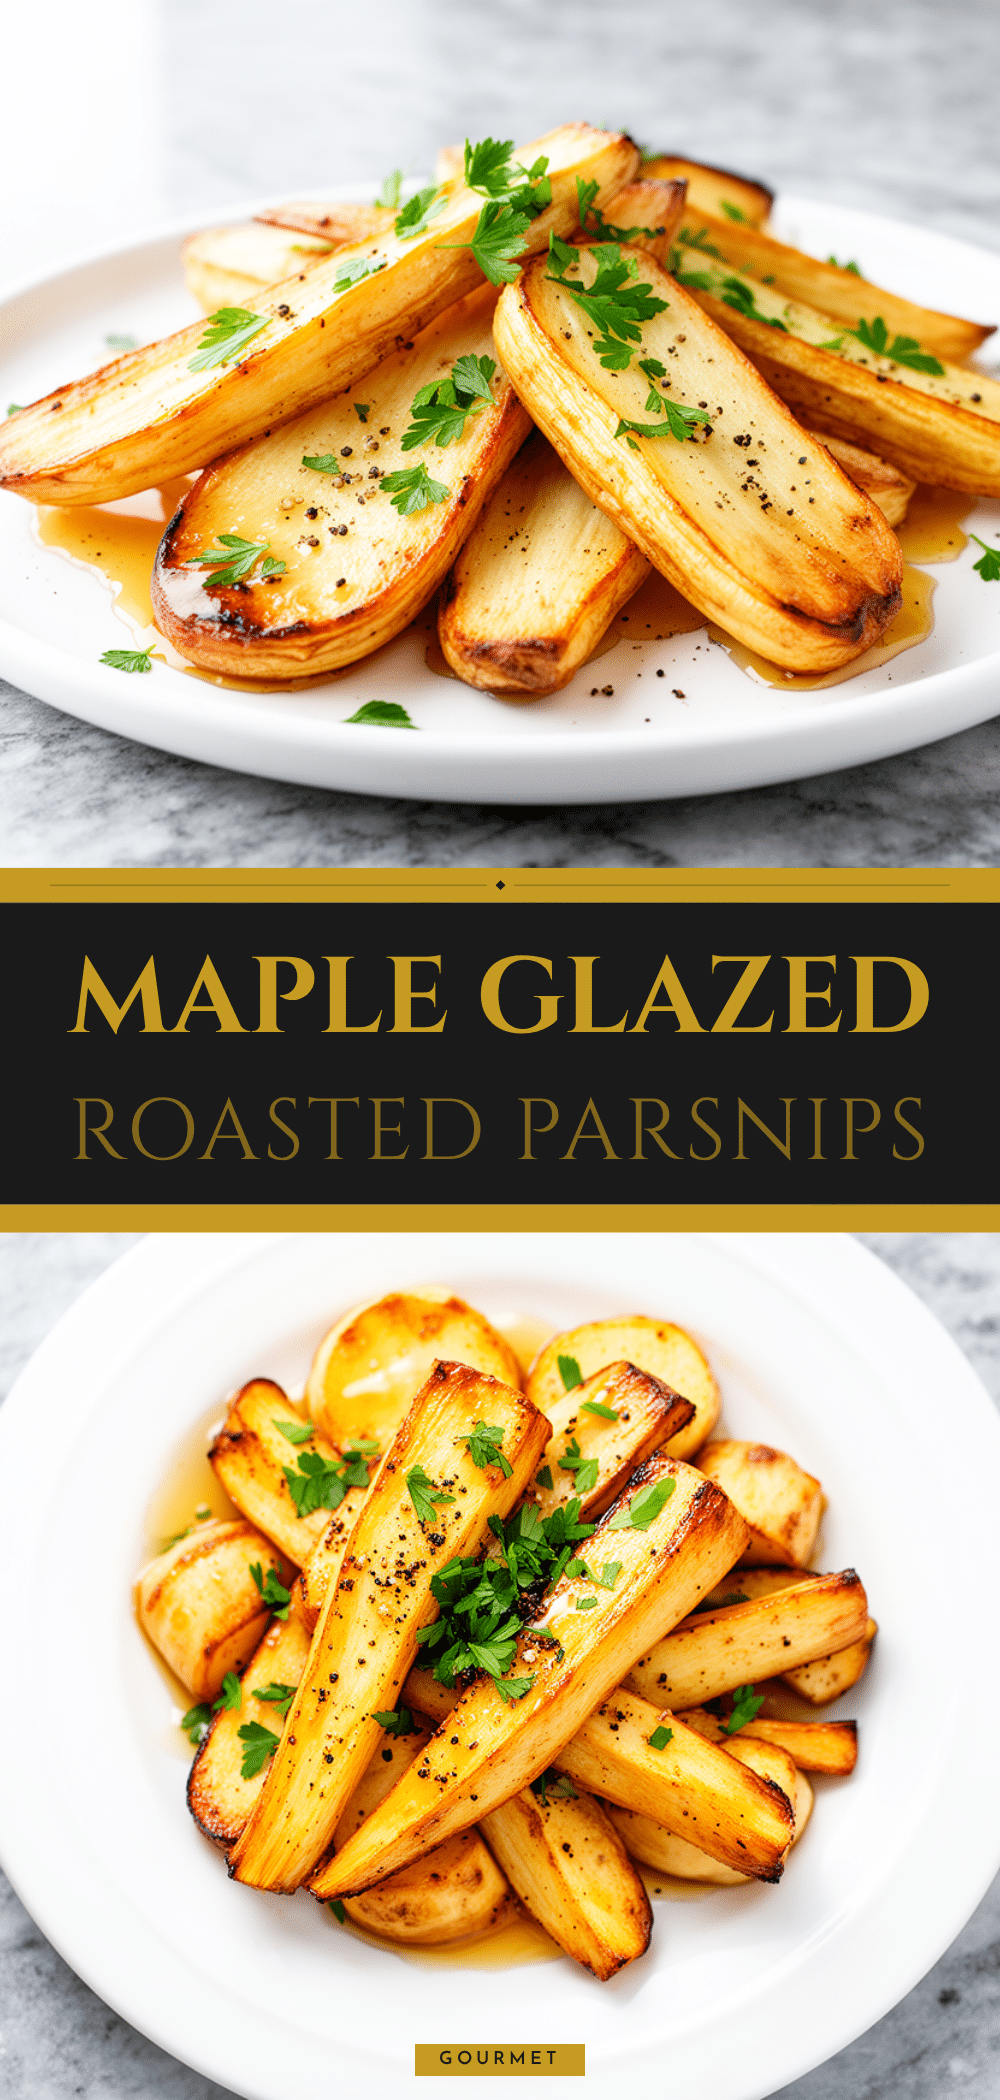
Maple Glazed Roasted Parsnips: 10-Minute Healthy Side Dish
- Total Time: 35 minutes
- Yield: 4 servings 1x
Description
A simple, healthy, and delicious side dish featuring caramelized parsnips tossed in a sweet and savory maple glaze. Ready in under 35 minutes with pantry-friendly ingredients.
Ingredients
- 2 pounds (900g) parsnips, peeled and cut into 1-inch coins or half-moons
- 3 tablespoons (45ml) pure maple syrup (Grade A or B)
- 2 tablespoons (30ml) extra virgin olive oil
- 3 cloves garlic, minced
- 1 teaspoon sea salt
- ½ teaspoon black pepper, freshly cracked
- ½ teaspoon dried thyme
- ½ teaspoon smoked paprika or cayenne (optional)
- 2 tablespoons fresh parsley, chopped
- ¼ cup pecans or walnuts, toasted (optional)
Instructions
- Preheat oven to 400°F (200°C).
- Peel the parsnips and cut them into uniform 1-inch coins or half-moons. Rinse in a colander and pat completely dry with paper towels.
- In a large mixing bowl, whisk together the olive oil, maple syrup, minced garlic, sea salt, black pepper, dried thyme, and smoked paprika (if using) to form a glaze.
- Add the dried parsnips to the bowl and toss thoroughly until every piece is evenly coated in the glaze.
- Line a half-sheet pan (18×13 inches) with parchment paper. Spread the parsnips in a single layer, ensuring they are not crowded.
- Roast for 10 minutes, then remove the pan and toss the parsnips to ensure even browning.
- Return to the oven and roast for another 10-15 minutes, or until edges are golden brown and centers are tender when pierced with a fork.
- Remove from oven and immediately sprinkle with fresh chopped parsley.
- Serve hot. Optional: Top with toasted pecans or walnuts.
Notes
Ensure parsnips are completely dry before tossing in oil to promote caramelization rather than steaming. Cut parsnips into uniform sizes for even cooking. Do not crowd the pan; roast in batches if necessary. Maple syrup can burn easily, so check the dish during the last 5 minutes of roasting. If using honey instead of maple syrup, lower the oven temperature slightly as honey burns faster.
- Prep Time: 10 minutes
- Cook Time: 25 minutes
- Category: Side Dish
- Cuisine: American
Nutrition
- Serving Size: 1 cup
- Calories: 180
- Sugar: 18
- Sodium: 320
- Fat: 6
- Saturated Fat: 1
- Carbohydrates: 32
- Fiber: 5
- Protein: 3
Keywords: roasted parsnips, maple glazed vegetables, healthy side dish, vegan side dish, gluten-free recipe, easy dinner sides, fall recipes, roasted root vegetables


