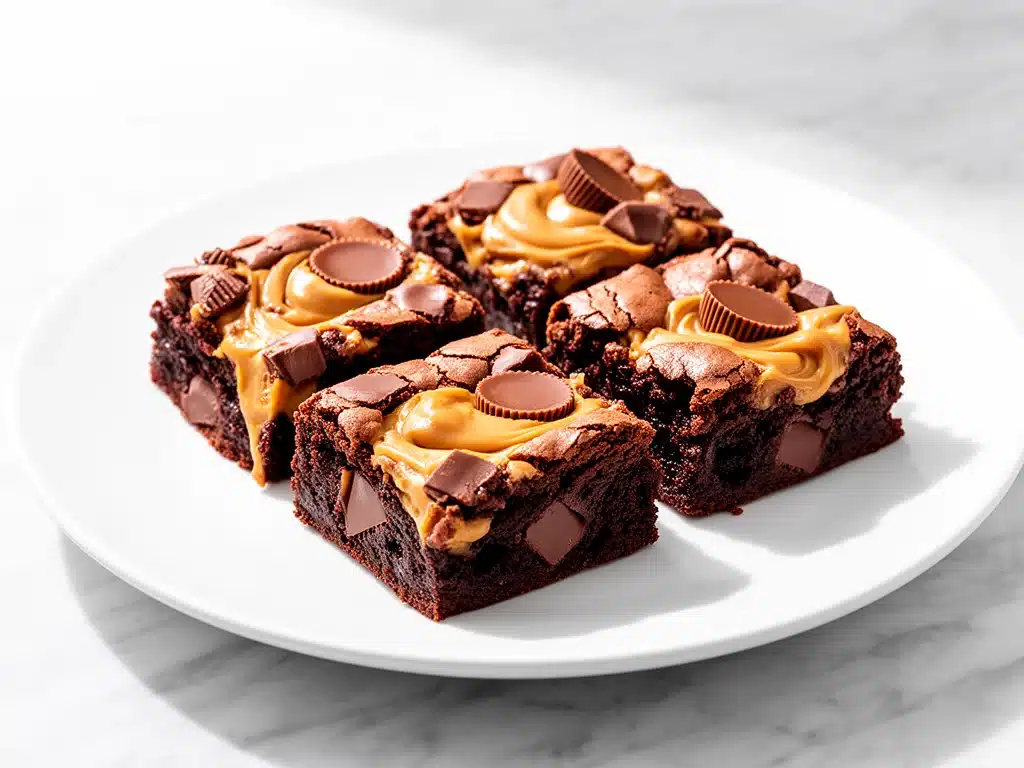
One rainy Saturday afternoon, I found myself rummaging through the pantry, trying to satisfy a sudden chocolate craving without the hassle of a complicated recipe. I spotted a lonely bag of peanut butter cups and a box of brownie mix—nothing fancy, just the basics. I decided to combine the two, thinking it would be a decent snack at best. Fast forward 40 minutes, and I was slicing into the fudgiest, most irresistible peanut butter cup brownie bars that quickly became the star of every gathering I brought them to. Honestly, everyone always asks me for the recipe now, and I’m happy to share. These Peanut Butter Cup Brownie Bars have a fudgy texture that’s just the right balance of rich chocolate and melty peanut butter goodness, making them impossible to resist.
I’ve tested this recipe more times than I can count—sometimes doubling the peanut butter cups, sometimes swapping out chocolate chips, and each time it turns out just right. If you’ve ever wondered how to get that perfect fudgy brownie base with pockets of peanut butter cup magic, this recipe is for you.
Why You’ll Love This Recipe
This recipe has totally changed my dessert game, especially when I need something quick but impressive.
- Fudgy Texture Every Time — No dry edges or cakey crumbs here. I’ve tweaked the baking time and ingredient amounts to nail that soft, gooey middle that brownie lovers crave.
- Peanut Butter Cup Magic — The surprise pockets of melted peanut butter cups throughout make these bars insanely addictive. I once doubled the cups and nearly hid the whole batch from my family.
- Super Easy to Make — Use one bowl, a spatula, and a baking pan. I’ve made these while helping my kids with homework—zero stress involved.
- Perfect for Sharing — Whether it’s a casual get-together or a potluck, these bars get rave reviews. I’ve gifted these alongside my no-bake chocolate peanut butter energy balls for a peanut butter-themed dessert spread that disappeared in minutes.
- Great Make-Ahead — Bake a day ahead and the flavors deepen. They also freeze well if you want to stash some away for emergencies.
Honestly, these bars are my go-to when I want something that feels indulgent but doesn’t require a ton of effort or fancy ingredients. Once you try them, you’ll get why everyone keeps asking for these peanut butter cup brownie bars with fudgy texture.
Ingredients You’ll Need
Here’s the best part: most of these ingredients are probably already in your kitchen. I’m picky about the chocolate and peanut butter cups, and I’ll tell you why.
- Unsweetened cocoa powder (½ cup / 50g) — This is the secret to deep chocolate flavor without adding extra sugar. I use natural cocoa powder for a richer taste.
- All-purpose flour (1 cup / 125g) — The backbone of the bars. If you want a gluten-free option, you can substitute with almond flour, but the texture will be different.
- Sugar (1 cup / 200g) — Granulated sugar works great here. I’ve tried brown sugar for a caramel note, but it makes the bars a bit cakier.
- Butter (½ cup / 113g, melted) — Use unsalted butter for control over salt. Melting it first helps with that fudgy texture.
- Eggs (2 large) — Room temperature is best for even mixing.
- Vanilla extract (1 teaspoon) — Adds warmth and depth.
- Salt (½ teaspoon) — Balances the sweetness and enhances chocolate flavor.
- Peanut butter cups (1 ½ cups / ~225g, chopped) — Use your favorite brand. I chop them into quarters so you get little melty bites scattered throughout.
Personal tip: I always buy the classic mini peanut butter cups and chop them myself. The size is perfect for pockets of melty goodness without overwhelming each bite.
Equipment Needed
You won’t need any fancy gadgets for this one. Here’s what I actually use:
- 9×9-inch square baking pan — Perfect size for thick bars. I line mine with parchment paper to make removal a breeze.
- Mixing bowl — Just one, to keep cleanup simple.
- Whisk or sturdy spoon — For combining wet and dry ingredients. I prefer a whisk to avoid lumps.
- Measuring cups and spoons — Accuracy helps with that fudgy texture.
- Knife and cutting board — To chop the peanut butter cups.
Optional: A rubber spatula for folding in the peanut butter cups without breaking them too much.
How to Make It: Step-by-Step
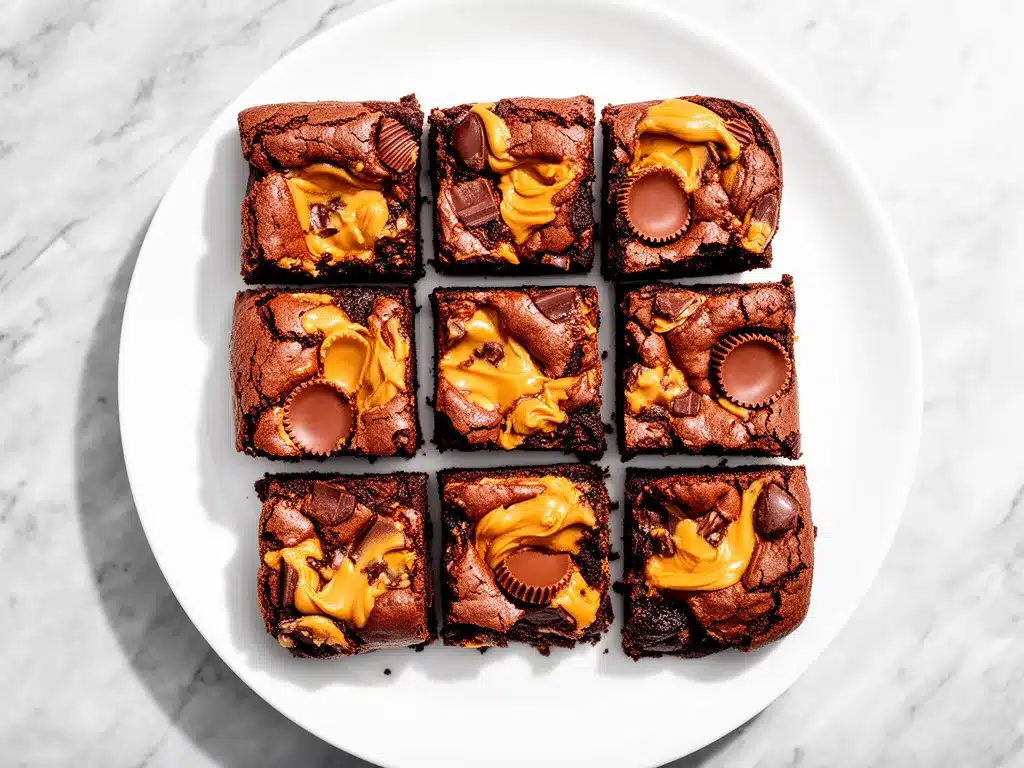
Alright, let’s get to the good stuff! I’m walking you through exactly how I make these peanut butter cup brownie bars, including my favorite little tricks.
Step 1: Prep Your Ingredients (5 minutes)
Preheat your oven to 350°F (175°C). Line your 9×9-inch pan with parchment paper, leaving an overhang on the sides for easy removal later. Melt the butter and chop the peanut butter cups into quarters. Set everything aside.
Step 2: Mix the Dry Ingredients (2 minutes)
In your mixing bowl, whisk together the cocoa powder, flour, sugar, and salt until well combined. This helps avoid lumps of cocoa powder in your batter.
Step 3: Combine Wet Ingredients (2 minutes)
Add the melted butter, eggs, and vanilla extract to the dry ingredients. Stir vigorously with your whisk or spoon until smooth and shiny, with no streaks of flour. The batter will be thick and fudgy—exactly what you want.
Step 4: Fold in the Peanut Butter Cups (1-2 minutes)
Using a spatula or wooden spoon, gently fold in about 1 cup of the chopped peanut butter cups. Save the rest for sprinkling on top before baking. This way, you get peanut butter goodness inside and on top of your bars.
Step 5: Bake (25-30 minutes)
Pour the batter into your prepared pan and spread evenly. Sprinkle the remaining chopped peanut butter cups on top. Bake for 25-30 minutes, or until the edges are set but the center still looks slightly underbaked. That’s how you get that perfect fudgy texture.
Step 6: Cool and Slice (at least 30 minutes)
Let the bars cool completely in the pan on a wire rack. If you try to cut them too soon, they’ll be gooey and messy. Once cooled, use the parchment overhang to lift the entire slab out and slice into 12 bars.
Troubleshooting Tips:
- Batter too thick? That’s normal! It should be thick but spreadable.
- Bars too cakey? Try reducing the flour by a tablespoon next time or bake a minute less.
- Peanut butter cups sinking? Toss them lightly in flour before folding in to help them stay suspended.
Expert Tips & Tricks
Here’s everything I’ve learned after making these bars dozens of times.
- Chop peanut butter cups small but not too small — Quartered pieces give you little melty pockets without overwhelming the texture.
- Don’t overbake — The center should look slightly underdone when you take it out. It will firm up as it cools for that fudgy bite.
- Use parchment paper — It makes cleanup easier and gives you perfect, clean edges when slicing.
- Room temperature eggs — They blend better and help create a smoother batter.
- Try adding a pinch of espresso powder — It enhances the chocolate flavor without adding coffee taste. I do this when I want a deeper richness.
- Let bars rest before cutting — I’ve burned my fingers trying to slice too soon. Patience pays off.
One pro trick I learned from my keto fudgy almond flour brownies experience is to always trust your instinct on doneness over the timer. Ovens vary, and fudgy brownies can look deceiving.
Variations & Substitutions
Once you’ve nailed the basic peanut butter cup brownie bars, here’s how to shake things up.
- Nutella Swirl — Drop spoonfuls of Nutella on top before baking and swirl with a knife for a chocolate-hazelnut twist.
- Salted Caramel — Drizzle salted caramel sauce over the top right after baking. It’s a crowd-pleaser.
- Crunchy Addition — Add chopped walnuts or pecans into the batter for texture.
- Peanut Butter Alternative — Swap peanut butter cups for white chocolate or dark chocolate chips for a different flavor profile.
- Vegan Version — Use flax eggs and dairy-free butter. Replace peanut butter cups with vegan chocolate cups or chopped vegan chocolate bars.
For a lighter twist, you might want to check out my no-bake chocolate peanut butter energy balls—they’re a healthier, fuss-free peanut butter and chocolate treat.
Serving & Storage
Serving Suggestions: I love serving these bars slightly warmed with a scoop of vanilla ice cream or alongside a cup of rich coffee. They pair beautifully with cozy drinks like the spiced brown sugar chai latte I make on chilly mornings.
Storage: Store leftover bars in an airtight container at room temperature for up to 3 days, or in the fridge for up to 5 days. They actually taste better chilled if you like a firmer texture.
Freezing: Wrap individual bars tightly in plastic wrap and freeze for up to 2 months. Thaw overnight in the fridge and warm gently before serving.
Reheating: Microwave for 10-15 seconds or warm in a low oven to bring back that melty, fudgy feel.
Nutrition Information
I’m not a nutritionist, but here’s a rough breakdown per serving based on 12 bars:
| Calories | 280 |
|---|---|
| Protein | 4g |
| Carbohydrates | 32g |
| Fiber | 2g |
| Sugar | 22g |
| Fat | 15g |
| Saturated Fat | 7g |
| Cholesterol | 45mg |
| Sodium | 110mg |
What to know: These bars are a treat with a decent amount of fat and sugar from butter, chocolate, and peanut butter cups. You can make them lighter by swapping ingredients or enjoying smaller portions.
Final Thoughts
So that’s my much-requested peanut butter cup brownie bars recipe with that fudgy texture everyone always asks for. I’ve probably talked your ear off, but when I make something this often, I have plenty of opinions!
These bars have saved me more times than I can count—from last-minute dessert emergencies to casual weekend treats. They’re simple, reliable, and deliver that perfect chocolate-peanut butter combo every single time. My family loves them, friends ask for the recipe, and I’m happy because they come together fast and taste like you spent hours in the kitchen.
Make it yours—try adding a pinch of espresso powder or swapping in your favorite chocolate. And if you want to keep the peanut butter love going, don’t miss my take on no-bake chocolate peanut butter energy balls for a quick snack that’s just as satisfying.
If you try this recipe, drop a comment below and let me know how it turned out! I love hearing your tweaks and troubleshooting stories. Happy baking—and may your kitchen smell as amazing as mine does right now.
Frequently Asked Questions
Q: Can I use peanut butter instead of peanut butter cups?
A: You can, but it won’t give you those melty chocolate pockets. If you want to add peanut butter, swirl a few spoonfuls on top before baking for a peanut butter swirl effect. The texture will be different but still delicious.
Q: My bars came out cakey—what went wrong?
A: Most likely, you baked them too long or added too much flour. Try reducing baking time by a few minutes and measuring flour carefully (spoon into the cup and level, don’t scoop directly). Also, make sure you use melted butter, which helps with fudginess.
Q: Can I freeze these bars?
A: Absolutely! Wrap bars tightly in plastic wrap and freeze for up to 2 months. Thaw overnight in the fridge and warm slightly before eating for best texture.
Q: Can I make these bars nut-free?
A: Since peanut butter cups contain nuts, this recipe isn’t nut-free as is. You could try swapping peanut butter cups for chocolate chips or other nut-free candy pieces, but you’ll lose the peanut butter flavor.
Q: What if I don’t have unsweetened cocoa powder?
A: You can use Dutch-processed cocoa or even hot cocoa mix, but the flavor and texture will change. Unsweetened cocoa gives the best rich chocolate taste without extra sugar.
Q: How do I keep the peanut butter cups from sinking?
A: Toss the chopped peanut butter cups in a tablespoon of flour before folding them into the batter. This helps suspend them evenly so they don’t all sink to the bottom.
Q: Can I make these bars gluten-free?
A: Yes! Substitute the all-purpose flour with a 1:1 gluten-free baking flour blend. The texture will be slightly different but still fudgy and delicious.
Pin This Recipe!
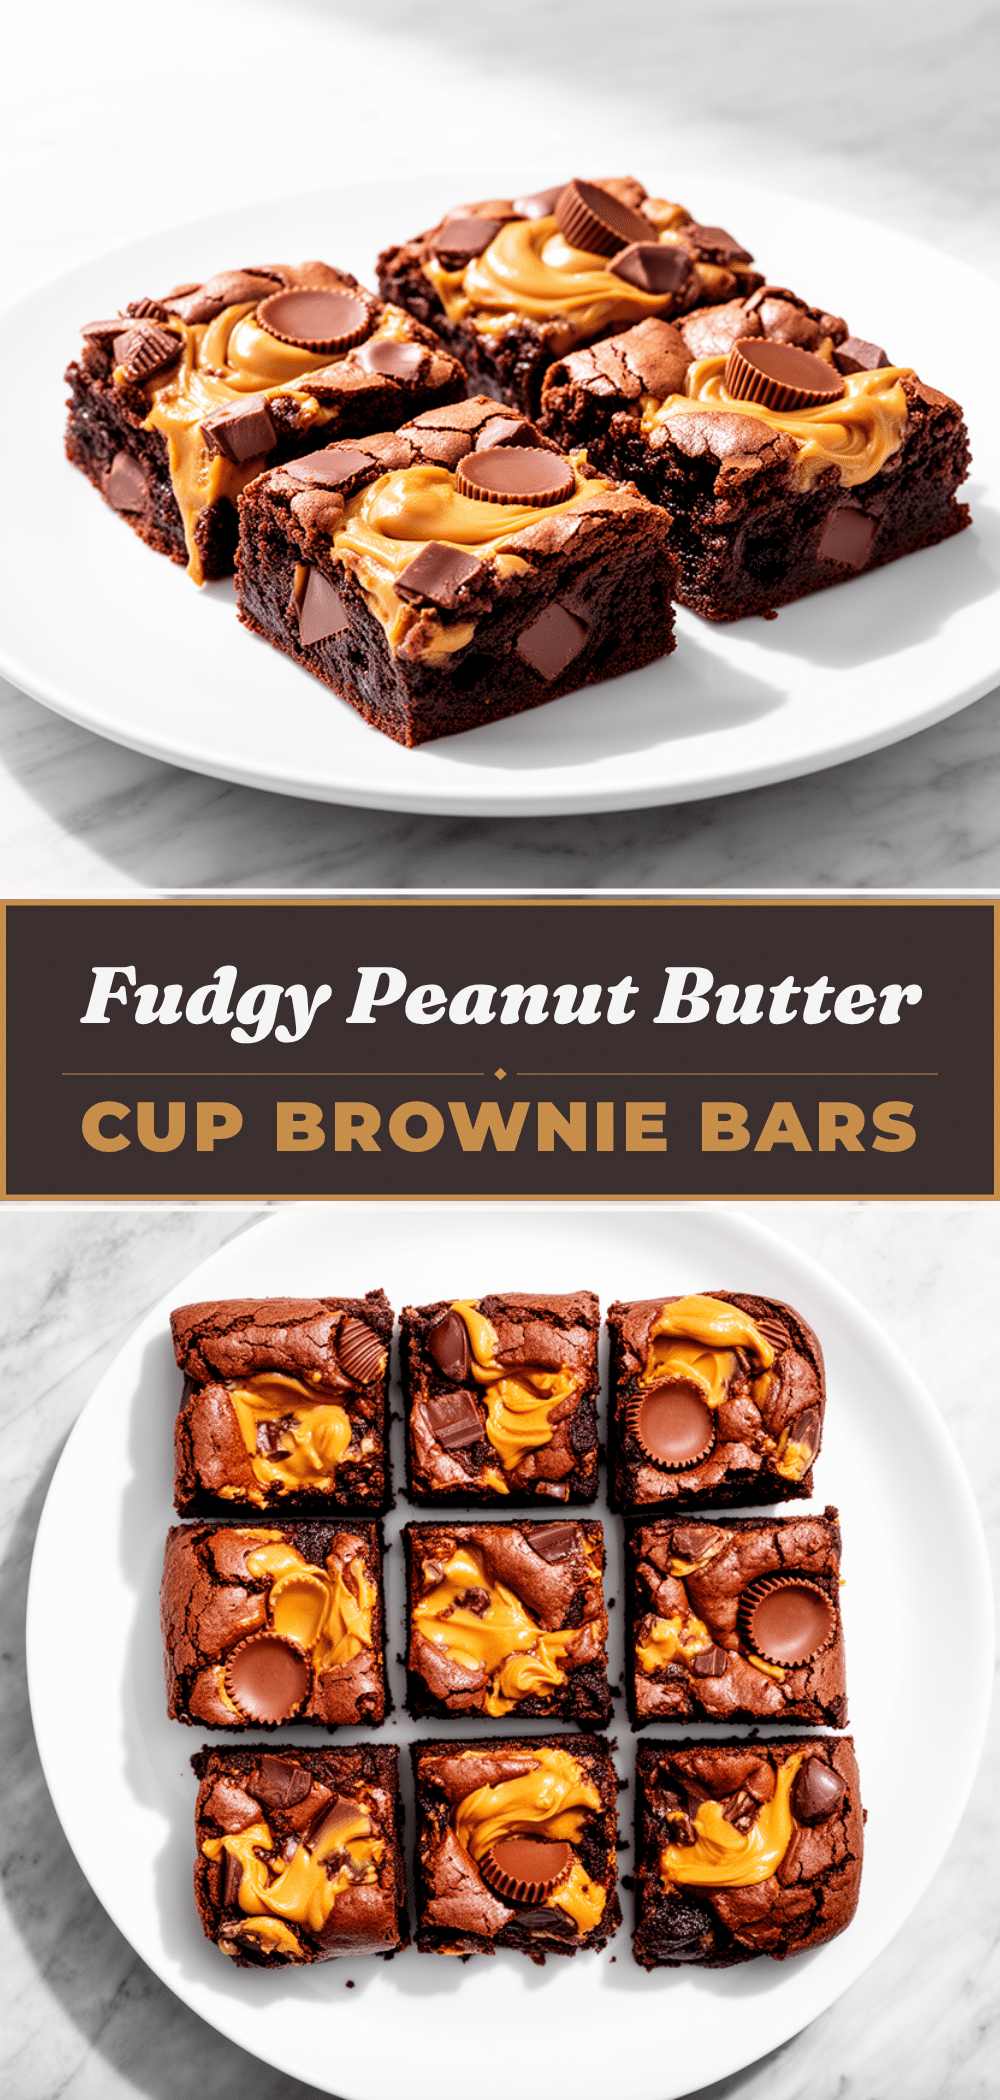
Peanut Butter Cup Brownie Bars
- Total Time: 40 minutes
- Yield: 12 bars 1x
Description
Fudgy brownie bars with pockets of melted peanut butter cups, combining rich chocolate and peanut butter flavors in an easy-to-make dessert.
Ingredients
- ½ cup unsweetened cocoa powder (50g)
- 1 cup all-purpose flour (125g)
- 1 cup granulated sugar (200g)
- ½ cup unsalted butter, melted (113g)
- 2 large eggs, room temperature
- 1 teaspoon vanilla extract
- ½ teaspoon salt
- 1 ½ cups peanut butter cups, chopped (~225g)
Instructions
- Preheat oven to 350°F (175°C). Line a 9×9-inch baking pan with parchment paper, leaving an overhang for easy removal.
- Melt the butter and chop the peanut butter cups into quarters. Set aside.
- In a mixing bowl, whisk together cocoa powder, flour, sugar, and salt until well combined.
- Add melted butter, eggs, and vanilla extract to the dry ingredients. Stir vigorously until smooth and shiny with no streaks of flour.
- Gently fold in about 1 cup of the chopped peanut butter cups using a spatula or wooden spoon. Save the rest for topping.
- Pour batter into the prepared pan and spread evenly. Sprinkle remaining peanut butter cups on top.
- Bake for 25-30 minutes, until edges are set but center looks slightly underbaked for a fudgy texture.
- Cool completely in the pan on a wire rack. Use parchment overhang to lift out and slice into 12 bars.
Notes
Use room temperature eggs for smoother batter. Do not overbake; the center should look slightly underdone to maintain fudginess. Toss peanut butter cups in flour before folding in to prevent sinking. Let bars cool completely before slicing. For gluten-free, substitute all-purpose flour with a 1:1 gluten-free baking flour blend.
- Prep Time: 10 minutes
- Cook Time: 25-30 minutes
- Category: Dessert
- Cuisine: American
Nutrition
- Serving Size: 1 bar
- Calories: 280
- Sugar: 22
- Sodium: 110
- Fat: 15
- Saturated Fat: 7
- Carbohydrates: 32
- Fiber: 2
- Protein: 4
Keywords: peanut butter cup brownie bars, fudgy brownies, easy dessert, chocolate peanut butter bars, peanut butter cups, quick brownies


