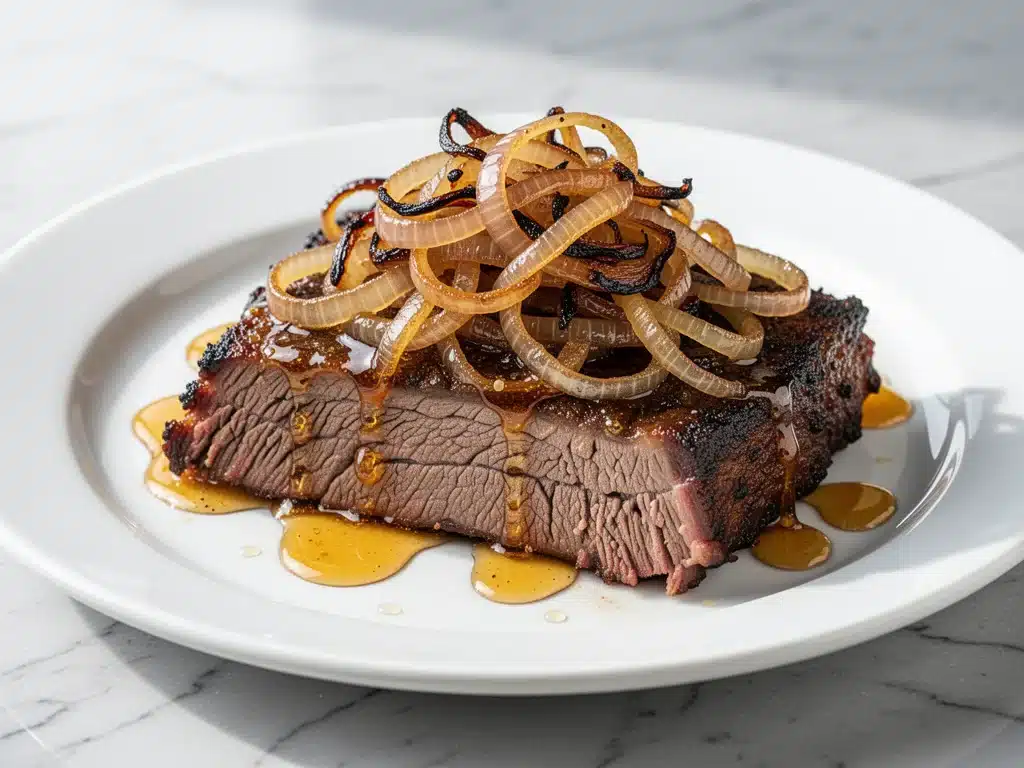
There is a specific kind of panic that sets in about three weeks before Rosh Hashanah. You’re standing in the kitchen, staring at a massive cut of beef, wondering how you’re going to feed twelve people without spending the entire holiday behind the stove. Last year, I made the mistake of trying to cook everything from scratch on the day of the holiday itself. The brisket was dry, the applesauce was chunky, and I was sweating through my shirt before the first prayer service even ended.
This year, I decided to stop guessing and start trusting my process. I went back to my grandmother’s old notebook, dug up the recipe she used for her legendary holiday brisket, and tweaked it until it was foolproof. The result? A Rosh Hashanah Honey Brisket that is fall-apart tender, deeply caramelized, and sweet enough to symbolize the sweet year we all pray for—but savory enough that even the skeptics at the table come back for seconds.
I’ve made this brisket for every Rosh Hashanah since, and I’ve watched my friends and family beg me to bring it to every other holiday gathering. It’s become the centerpiece of our autumn celebrations. Whether you’re hosting a large family dinner or just want to impress your partner with something special, this recipe is the answer. It’s rich, it’s comforting, and it tastes like tradition, but it’s actually simple enough for a busy cook to handle.
What makes this version different from other brisket recipes you’ve tried is the balance. Too much honey can make it cloying; too little and it lacks that symbolic sweetness. I’ve found the perfect ratio that creates a glossy, sticky glaze without overpowering the rich beef flavor. Plus, the slow-cooking method ensures that even the leanest cuts become melt-in-your-mouth tender. If you’ve ever been intimidated by cooking brisket, this is the recipe that will change your mind.
Why You’ll Love This Holiday Brisket Recipe
I’ve tested this Rosh Hashanah Honey Brisket recipe at least a dozen times over the last five years, and it has never failed me. Here’s why it’s become the non-negotiable centerpiece of my holiday table:
- It Feeds a Crowd Effortlessly — One 4-5 pound brisket feeds 8-10 people easily. I’ve served it at gatherings of 15 with leftovers to spare. It’s the ultimate crowd-pleaser because it’s universally loved.
- Make-Ahead Magic — This is the biggest secret. Brisket actually tastes better the next day. The flavors meld overnight, and you can reheat it easily. I usually cook it the night before or morning of, so I’m free to enjoy the holiday.
- Simple Ingredients — You don’t need a specialty store. Everything is from your local supermarket: beef, onions, honey, apples, and basic spices. No weird sauces or hard-to-find herbs.
- Deeply Flavorful — The slow braise in the oven infuses the meat with a rich, savory-sweet gravy. It’s not just sweet; it’s complex with caramelized onions and warm spices.
- Comfort Food Vibes — It smells incredible while it cooks, filling your whole house with that warm, nostalgic aroma that immediately makes guests feel welcome.
This isn’t just a recipe; it’s a memory maker. It’s the dish that brings people together, that you serve with pride, and that everyone asks for the formula for. Once you make it, you’ll understand why it’s a holiday staple.
Ingredients You’ll Need for Honey Brisket
Here’s the thing about brisket: the quality of the meat matters, but the balance of sweet and savory in the sauce is what makes it shine. I’m particular about a few of these ingredients, and I’ll tell you exactly why.
For the Meat and Base
Brisket (4-5 pounds) — This is the star. Look for a well-marbled piece. You want the “point” cut if possible, as it has more fat and stays juicier. Flat cuts are leaner and can dry out if overcooked. Ask your butcher for a “packer brisket” if you want the best of both worlds.
Yellow onions (3 large, thinly sliced) — These are your flavor base. They caramelize in the oven and create a natural gravy. Don’t skip this step; they’re half the sauce.
Garlic (6 cloves, minced) — Fresh garlic only. Jarred garlic has a metallic taste that clashes with the honey. Mince it fine so it infuses the meat.
Beef broth (2 cups, low-sodium) — Use low-sodium so you can control the saltiness. Chicken broth works too, but beef adds more depth.
Apple cider (1 cup) — This adds a subtle fruitiness that pairs perfectly with the honey. You can use apple juice if you don’t have cider, but cider is richer.
For the Sweet Glaze
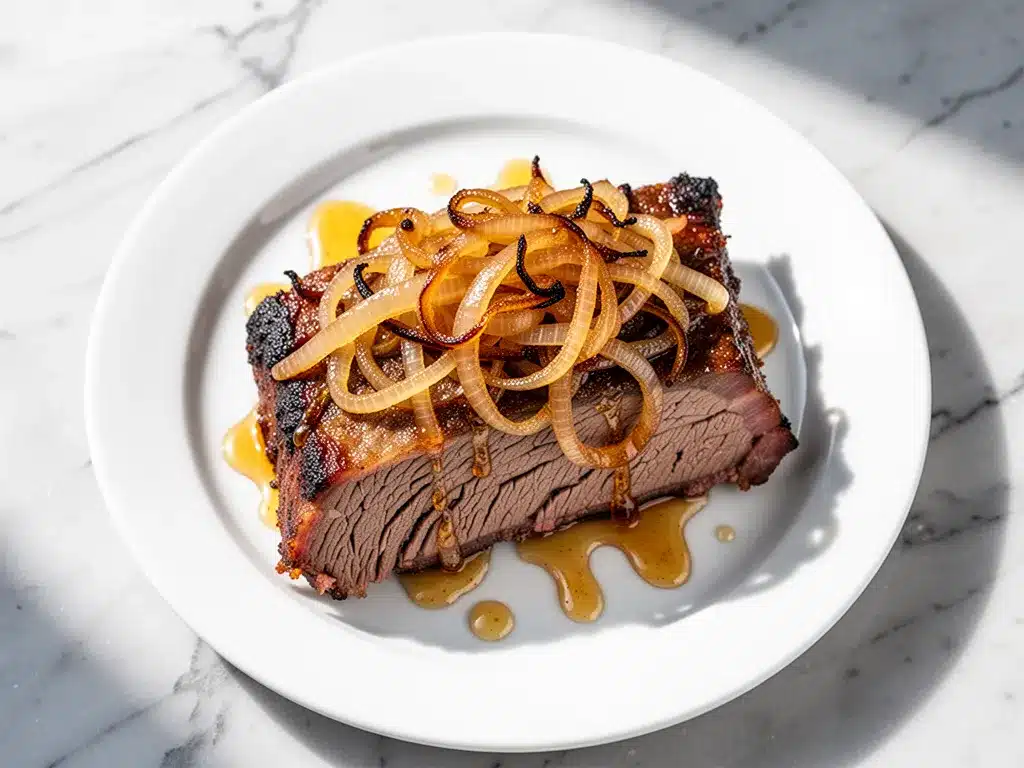
Honey (½ cup) — This is the symbol of the sweet new year. Use good quality clover or wildflower honey. Avoid honey that has been heavily processed; you want that natural floral note.
Brown sugar (¼ cup, packed) — Adds molasses depth and helps the glaze caramelize. It balances the sweetness of the honey.
Apple (1 large, peeled and sliced) — I use Granny Smith apples for tartness, or Honeycrisp for sweetness. The apples break down during cooking and add moisture.
Spices and Seasoning
Ground cinnamon (1 teaspoon) — Warm and festive. It ties the sweet elements together.
Ground ginger (½ teaspoon) — Adds a tiny kick of warmth. Don’t use fresh ginger; ground is more traditional here.
Salt and black pepper (to taste) — Essential for balancing the sweetness. Season the meat generously before searing.
Butter (2 tablespoons) — Used for searing the meat. It adds a rich, golden crust.
Optional Add-ins: Carrots (2 large, chopped) — I add these for extra veggies. They get sweet and tender in the sauce. Bay leaves (2) — Remove before serving. They add a subtle herbal note.
Equipment Needed
You don’t need fancy gadgets for this. Here’s what I actually use:
Large Dutch oven (6-quart) — This is essential. It goes from stovetop to oven seamlessly. I use a heavy-bottomed one to prevent burning. A roasting pan with a lid works too, but a Dutch oven distributes heat better.
Sharp chef’s knife — For slicing onions and apples evenly. A dull knife will make you cry more.
Cutting board — Any size works.
Tongs — For flipping the meat. Metal tongs are best for searing.
Measuring cups and spoons — Standard stuff.
Aluminum foil — For covering the pot if your lid doesn’t fit tightly.
Instant-read thermometer — Not strictly necessary for braising, but helpful if you want to check internal temp. Brisket is done when it’s fork-tender, around 200°F.
How to Make It: Step-by-Step
Alright, let’s make this! I’m walking you through exactly how I do it, including the little tricks I’ve picked up over the years.
Step 1: Prep the Meat (10 minutes)
Take the brisket out of the fridge 30 minutes before cooking. Let it come to room temperature. This helps it cook evenly. Pat it dry with paper towels—this is crucial for a good sear. Season both sides generously with salt and pepper. Don’t be shy with the salt; it needs to penetrate the meat.
Step 2: Sear the Brisket (5-8 minutes)
Heat your Dutch oven over medium-high heat. Add the butter. Once it’s foaming, place the brisket in the pot. Sear for 3-4 minutes per side until you have a deep brown crust. This Maillard reaction adds so much flavor. Don’t rush this step. If your pot is too small, sear in batches. Remove the meat and set aside on a plate.
Step 3: Sauté the Aromatics (5 minutes)
Reduce heat to medium. Add the sliced onions to the same pot. Cook for 5-7 minutes until they start to soften and turn golden. Add the garlic and cook for 1 minute more, stirring constantly so it doesn’t burn. The smell will be amazing. Scrape up any browned bits from the bottom of the pot—those are flavor gold.
Step 4: Build the Sauce (2 minutes)
Pour in the apple cider and beef broth. Stir well to deglaze the pot. Add the honey, brown sugar, cinnamon, and ginger. Stir until the sugar and honey are dissolved. Taste the liquid—it should be sweet and savory. Adjust spices if needed.
Step 5: Assemble and Braise (2 minutes)
Place the seared brisket back into the pot, on top of the onions. Arrange the apple slices around the meat. If you’re using carrots, add them now. Add the bay leaves. The liquid should come about halfway up the brisket. If it’s too low, add a little more broth. If it’s too high, it might boil instead of braise.
Step 6: Slow Cook (3-4 hours)
Cover the pot tightly with a lid. If your lid isn’t tight, cover with foil first. Place in a preheated 325°F (165°C) oven. Cook for 3-4 hours. After 3 hours, check for tenderness. The meat should be easily pierced with a fork. If it’s still tough, cook for another 30-60 minutes. Brisket is done when it’s fork-tender, not just cooked through.
Step 7: Rest and Serve (15 minutes)
Remove the pot from the oven. Carefully lift the brisket out and place it on a cutting board. Let it rest for 15 minutes. This allows the juices to redistribute. Meanwhile, you can thicken the sauce if you want. Remove the bay leaves and apples (if you don’t want them mushy). Simmer the sauce on the stovetop for 10 minutes to reduce it to a gravy consistency. Slice the brisket against the grain. Serve with the sauce poured over the top.
Expert Tips & Tricks for Perfect Brisket
Here’s everything I’ve learned from making this dozens of times. These tips will save you from my mistakes.
Always Sear First
I know it’s tempting to just throw everything in the pot. But searing creates a crust that adds texture and depth. Without it, the brisket tastes boiled. Trust me, the extra 10 minutes is worth it.
Don’t Skimp on the Onions
The onions break down and create a natural thickener for the sauce. If you use too few, you’ll have a thin, watery gravy. Use at least three large onions.
Slice Against the Grain
This is the most important step for tenderness. Look at the direction of the muscle fibers and cut perpendicular to them. Short fibers mean easy-to-chew meat. Long fibers mean chewy, tough brisket.
Make It Ahead
Brisket tastes even better the next day. Cook it the night before, let it cool, and refrigerate overnight. The fat solidifies on top, making it easy to remove. Reheat gently in the oven or on the stovetop. This also makes the holiday less stressful.
Control the Sweetness
Taste the sauce before you add the honey. If your apples are very sweet, reduce the honey slightly. If they’re tart, add a bit more. Balance is key.
Variations & Substitutions
Once you’ve nailed the basic version, here’s how you can mix it up. I’ve tried all of these.
Spicy Version
Add 1 teaspoon of cayenne pepper or red pepper flakes to the sauce. It adds a nice kick that balances the sweetness. My husband loves it this way.
Gluten-Free
This recipe is naturally gluten-free! Just make sure your beef broth is certified gluten-free. No modifications needed.
Slow Cooker Method
You can make this in a slow cooker. Sear the meat first, then add everything to the slow cooker. Cook on low for 8 hours. The texture might be slightly less firm, but it’s still delicious.
Instant Pot Method
Sear the meat, then add everything to the Instant Pot. Cook on high pressure for 60 minutes, then natural release for 15 minutes. Faster, but less caramelized.
Veggie Boost
Add potatoes, parsnips, or sweet potatoes along with the carrots. They absorb the sauce and become incredible.
Serving & Storage
How to Serve:
I usually serve this straight from the cutting board, with the sauce ladled over the top. It pairs beautifully with caramelized French onion soup flavors, so it feels familiar yet special. Great sides include mashed potatoes, roasted carrots, or a simple green salad.
Storage:
Store leftovers in an airtight container in the fridge for up to 4 days. The sauce will thicken in the fridge—totally normal. Reheat gently in a skillet with a splash of broth or water to loosen it up.
Freezing:
Yes, you can freeze brisket! Freeze in portions with some sauce. Thaw in the fridge overnight and reheat gently. It freezes very well.
Nutrition Information
I’m not a nutritionist, but here’s the breakdown if you’re tracking. This is a rich, hearty dish.
Per Serving (based on 8 servings):
- Calories: 450
- Protein: 35g
- Carbs: 25g
- Fiber: 2g
- Sugar: 18g
- Fat: 22g
- Sodium: 400mg
It’s high in protein and satisfying. If you want to lighten it, remove the visible fat before serving or use less honey.
Final Thoughts
So that’s my go-to Rosh Hashanah Honey Brisket! It’s a dish that carries so much meaning, so much flavor, and so much love. I’ve talked your ear off at this point, but when you make a recipe this often, you have a lot to say about it.
This has saved my holidays more times than I can count. It’s my answer to “what’s for dinner” when I want to feed a crowd and impress everyone. My family is happy, my guests are happy, and I’m happy because I’m not stressed about cooking.
Make it yours! Try different apples, adjust the spices, or add your favorite veggies. The best recipes are the ones you adapt to your family’s tastes. If you make this, drop a comment and let me know what you think! I love hearing how recipes turn out in your kitchen.
Happy cooking! And I hope your kitchen smells half as good as mine does right now.
Frequently Asked Questions
Can I use maple syrup instead of honey?
You can, but the flavor will be different. Maple syrup has a distinct taste that might clash with the cinnamon. Honey is traditional for Rosh Hashanah because of its symbolic sweetness. If you must use maple, reduce the amount slightly as it’s sweeter.
Why is my brisket tough?
It probably wasn’t cooked long enough. Brisket needs time to break down the connective tissue. Check it at 3 hours, but don’t stop until it’s fork-tender. It might need 4 or even 5 hours. Don’t rush it.
Can I make this in advance?
Yes! In fact, it’s better made in advance. Cook it the night before, refrigerate, and reheat on the day of. The flavors meld overnight and become richer.
How do I slice the brisket?
Always slice against the grain. Look for the direction of the muscle fibers and cut perpendicular to them. This ensures tender, bite-sized pieces.
Can I freeze leftovers?
Absolutely. Freeze in portions with some sauce. Thaw in the fridge overnight and reheat gently. It freezes very well and tastes great reheated.
What sides go well with honey brisket?
Mashed potatoes, roasted carrots, sweet potato mash, or a simple green salad. I also like it with soft homemade brioche buns if I want to soak up the sauce.
Is this recipe gluten-free?
Yes, as long as you use gluten-free beef broth. All other ingredients are naturally gluten-free.
Pin This Recipe!
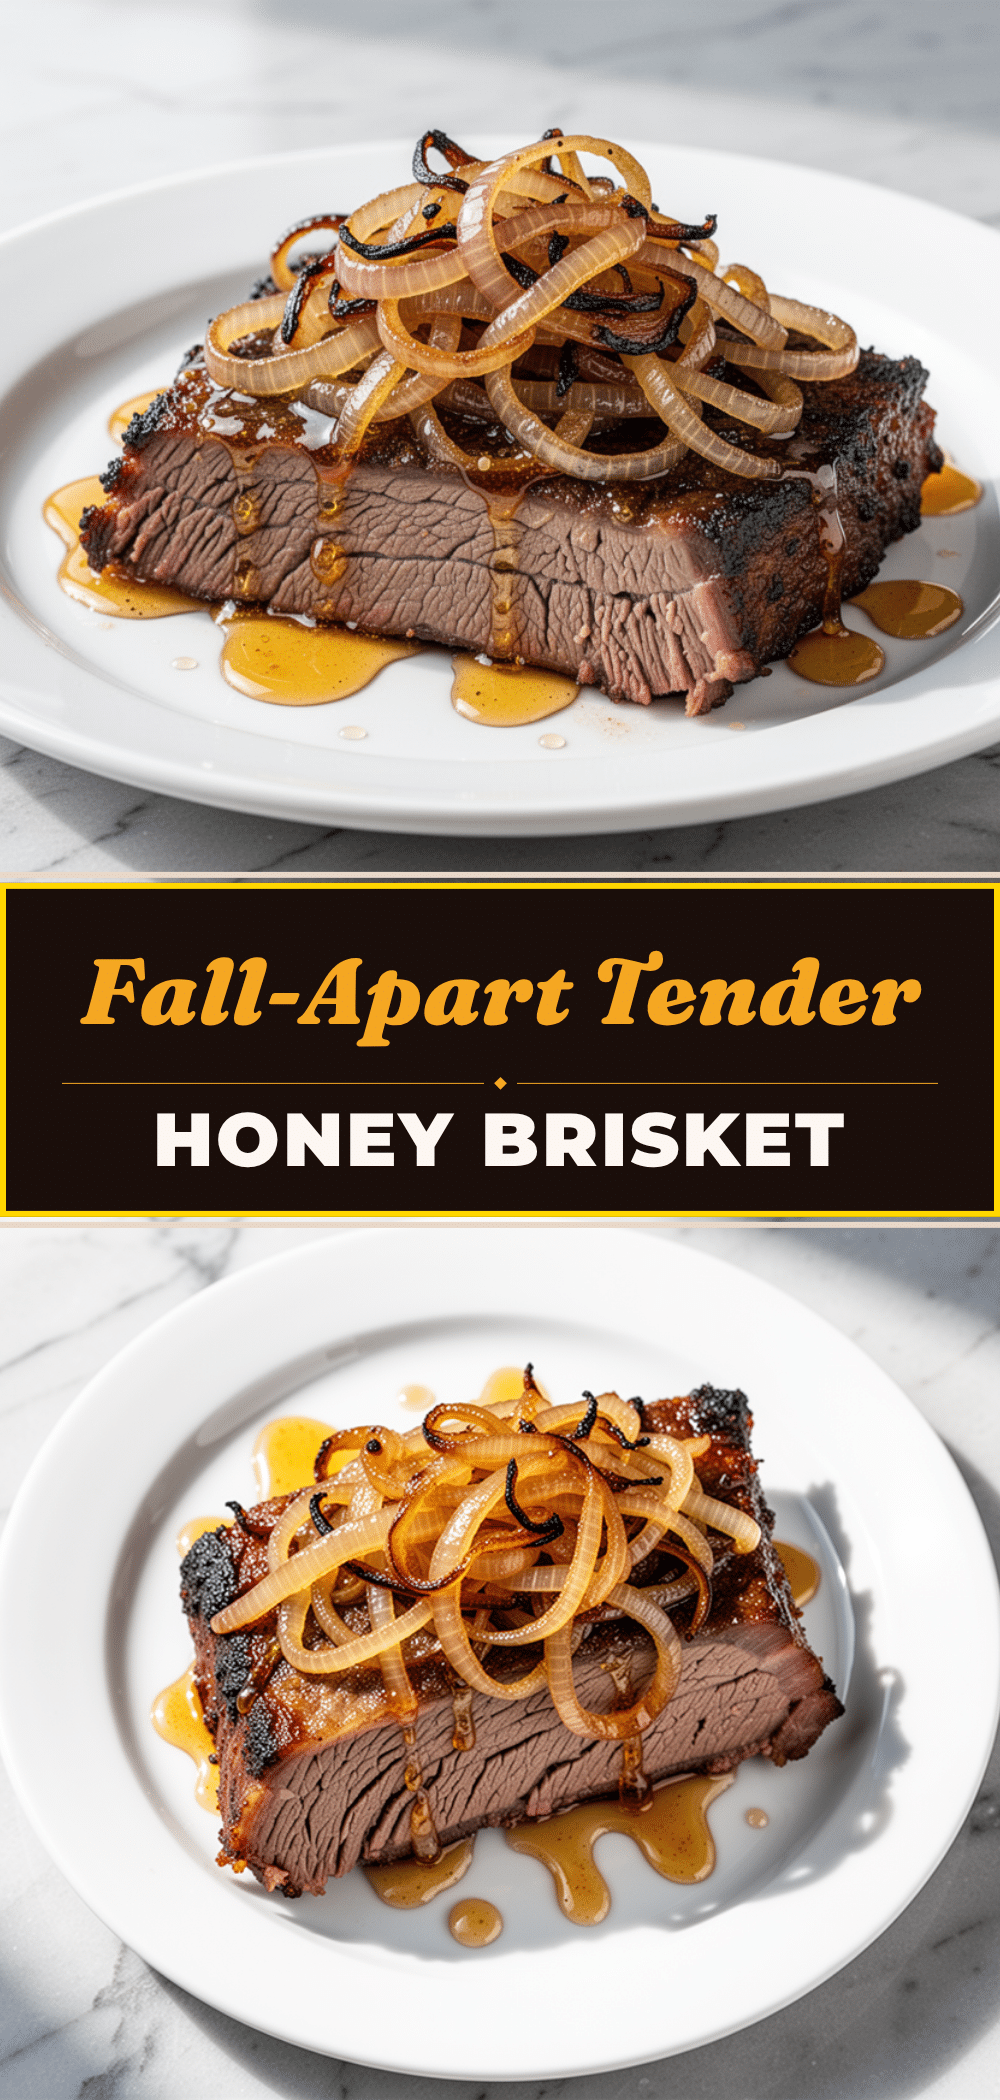
Rosh Hashanah Honey Brisket: Easy Holiday Recipe
- Total Time: 3 hours 25 minutes
- Yield: 8 servings 1x
Description
A fall-apart tender, deeply caramelized brisket with a sweet honey glaze, perfect for Rosh Hashanah or any holiday gathering. This slow-braised recipe is foolproof, make-ahead friendly, and balances savory beef with symbolic sweetness.
Ingredients
- 4–5 pounds beef brisket (preferably packer or point cut)
- 3 large yellow onions, thinly sliced
- 6 cloves garlic, minced
- 2 cups low-sodium beef broth
- 1 cup apple cider
- ½ cup honey
- ¼ cup packed brown sugar
- 1 large apple (Granny Smith or Honeycrisp), peeled and sliced
- 1 teaspoon ground cinnamon
- ½ teaspoon ground ginger
- Salt and black pepper, to taste
- 2 tablespoons butter
- Optional: 2 large carrots, chopped
- Optional: 2 bay leaves
Instructions
- Take the brisket out of the fridge 30 minutes before cooking to reach room temperature. Pat dry and season generously with salt and pepper.
- Heat a large Dutch oven over medium-high heat with butter. Sear the brisket for 3-4 minutes per side until a deep brown crust forms. Remove and set aside.
- Reduce heat to medium. Add sliced onions to the pot and cook for 5-7 minutes until softened and golden. Add garlic and cook for 1 minute more, scraping up browned bits.
- Pour in apple cider and beef broth to deglaze the pot. Stir in honey, brown sugar, cinnamon, and ginger until dissolved.
- Return the brisket to the pot on top of the onions. Arrange apple slices around the meat. Add carrots and bay leaves if using. Ensure liquid comes halfway up the brisket.
- Cover tightly with a lid (or foil if lid is loose). Place in a preheated 325°F (165°C) oven and braise for 3-4 hours, or until fork-tender.
- Remove brisket from the oven and let rest for 15 minutes on a cutting board.
- Optional: Remove bay leaves and apples. Simmer the sauce on the stovetop for 10 minutes to reduce to a gravy consistency.
- Slice the brisket against the grain and serve with the sauce poured over the top.
Notes
Brisket tastes better the next day as flavors meld. Always slice against the grain for tenderness. If using a slow cooker, sear first then cook on low for 8 hours. For Instant Pot, cook on high pressure for 60 minutes with natural release. Ensure beef broth is certified gluten-free if needed.
- Prep Time: 10 minutes
- Cook Time: 3 hours 15 minutes
- Category: Main Course
- Cuisine: Jewish
Nutrition
- Serving Size: 1 slice with sauce
- Calories: 450
- Sugar: 18
- Sodium: 400
- Fat: 22
- Saturated Fat: 8
- Carbohydrates: 25
- Fiber: 2
- Protein: 35
Keywords: Rosh Hashanah, Honey Brisket, Holiday Recipe, Slow Cooked Brisket, Jewish Holiday Food, Braised Beef, Make Ahead Dinner


