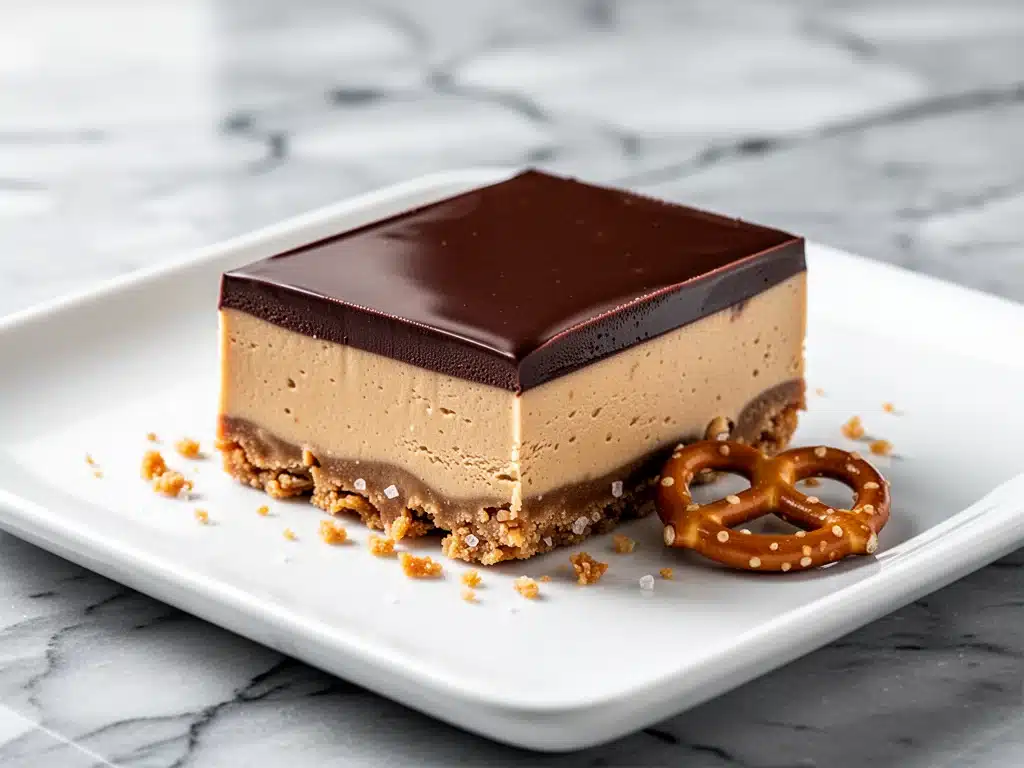
Let’s be honest for a second. I have a problem with bars. Not the dessert kind, but the kind where I start a recipe and immediately think, “I could just make a chocolate cake instead.” Or, “Why bother with layers when I can just eat the ingredients out of the jar?” But then I make these Silky Chocolate Peanut Butter Icebox Bars with Pretzel Crust, and suddenly, the problem solves itself.
Last week, I was staring into the fridge at 9 PM on a Tuesday. We had leftover pretzels from a movie night, a jar of peanut butter that was halfway empty, and a bag of chocolate chips that needed to be used before they got weird. I didn’t feel like heating up the oven. I didn’t feel like washing a mountain of dishes. So I threw together what I thought would be a mediocre, messy snack. Twenty minutes later, my partner walked in, took one bite, and stopped mid-chew to ask if I was hiding a secret stash of professional baking skills from him.
That’s when I knew. These bars were different. They weren’t just “okay” for a no-bake dessert. They were actually incredible. The salty crunch of the pretzel crust, the thick, chewy peanut butter layer, and that top layer of smooth, silky chocolate—it hits every single craving center in your brain at once.
I’ve made this recipe at least seven times in the last month. Seven. And every single time, they disappear faster than I can keep track. They’re perfect for potlucks because they travel well (unlike those fragile chocolate lava cakes that collapse if you look at them wrong). They’re great for meal prep because they’re individual portions. And honestly? They’re the easiest dessert I’ve made all year. If you’re tired of complicated bakes that require a stand mixer and three hours of your life, you need to stop reading and start making these.
Why You’ll Love This Recipe
There are about ten reasons I keep coming back to these icebox bars, but here are the big ones that convinced me to add them to my regular rotation.
- Zero Baking Required — Seriously, if you can melt chocolate and press a crust into a pan, you can make these. No oven, no preheating, no timing a cake to the second. I make these on nights when I have zero energy left for real cooking.
- Salty-Sweet Perfection — The pretzel crust isn’t just a gimmick; it’s the structural integrity of the whole bar. The salt cuts through the sweetness of the chocolate and peanut butter so perfectly. It’s the same vibe as those pretzel cookie bars but way richer and more indulgent.
- Make-Ahead Friendly — These are better the next day. And the day after that. I actually prefer making them the night before a party so I don’t have to stress about dessert on the day of. They hold their shape perfectly in the fridge.
- Minimal Cleanup — One pan. One microwave-safe bowl (or double boiler). That’s it. You’re not washing mixing bowls, whisk attachments, or cake pans. It’s the ultimate guilt-free dessert for lazy cooks.
- Crowd-Pleaser Status — I’ve served these to kids, picky eaters, and people who claim they “don’t really like sweets.” Everyone loved them. The texture contrast is what gets people. Crunchy, chewy, creamy, smooth. It’s a mouthfeel dream.
- Uses Pantry Staples — You probably have most of these ingredients already. Pretzels, peanut butter, chocolate chips, butter, powdered sugar. It’s a great way to use up those random ingredients sitting in your cupboard.
This is my go-to when I need a dessert that looks impressive but takes almost no effort. No fancy techniques, no weird ingredients, just reliable, delicious food that makes everyone happy.
Ingredients You’ll Need
Here’s the best part: this recipe is incredibly forgiving. You don’t need high-end, hard-to-find ingredients. But I am particular about a few things, and I’ll tell you exactly why.
For the Pretzel Crust
Pretzel sticks or twists (4 cups, crushed / about 150g) — This is your base. I use pretzel sticks because they crush evenly and create a nice sandy texture. Pretzel twists work too, but you might get bigger chunks. Don’t use pretzel chips; they’re too fragile and turn to dust. You want some crunch.
Unsalted butter (½ cup / 113g, melted) — This binds the crust. Use real butter, not margarine. It adds that rich, toasted flavor that makes the crust taste like a real pastry base. Melt it in the microwave or a small saucepan.
Powdered sugar (2 tablespoons) — Just a little bit to sweeten the crust so it’s not overwhelmingly salty. You don’t want a sweet crust; you want a salty-sweet contrast.
Salt (¼ teaspoon) — Even though you’re using pretzels, a pinch of extra salt enhances the flavor. Use fine sea salt.
For the Peanut Butter Layer
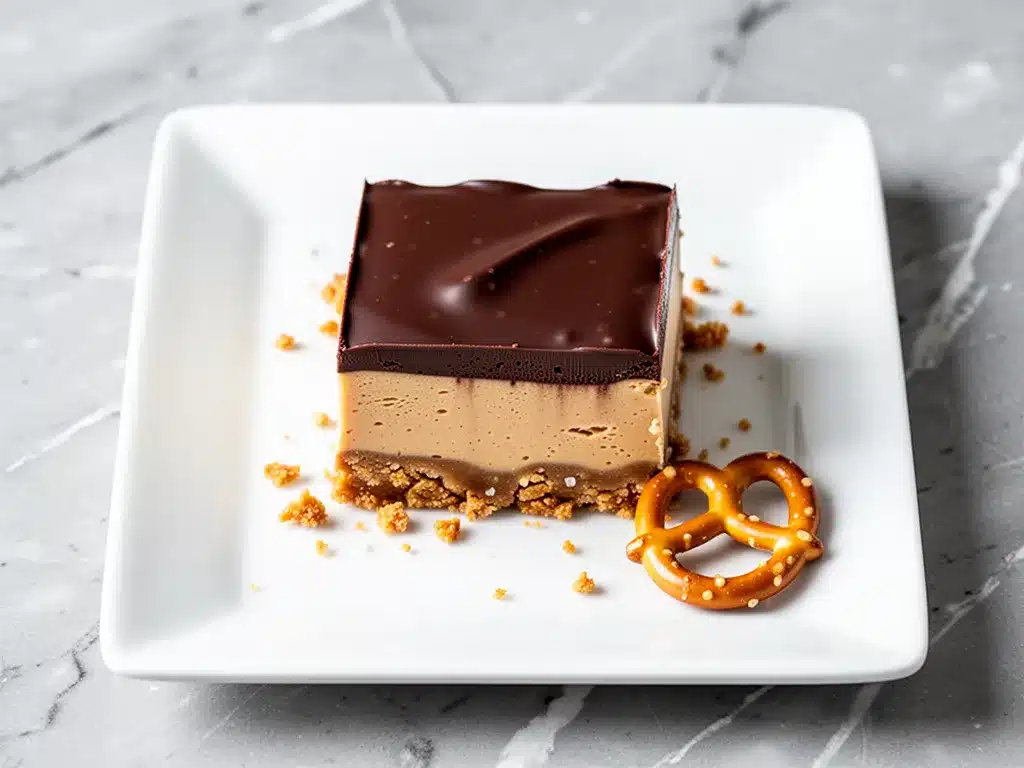
Creamy peanut butter (1 cup / 250g) — This is crucial. Use smooth, commercial peanut butter (like Jif or Skippy). Natural peanut butter separates and has an oily texture that won’t set properly. You need that emulsified, smooth consistency. Do not use crunchy peanut butter unless you want chunks in your layer.
Unsalted butter (½ cup / 113g, softened) — This adds richness and helps the layer set. Soften it in the microwave for 10 seconds if you’re in a hurry.
Powdered sugar (2 cups / 240g) — This sweetens the peanut butter and gives it that fudgy, dense texture. Sift it if it’s lumpy. You want a smooth, creamy layer, not a grainy one.
Vanilla extract (1 teaspoon) — Just a splash to round out the flavors. Pure vanilla is best, but imitation works in a pinch.
For the Chocolate Topping
Semi-sweet chocolate chips (12 ounces / 340g) — I use semi-sweet because it’s not too sweet, which balances the salty pretzel and sweet peanut butter. Milk chocolate is too sweet; dark chocolate might be too bitter. Semi-sweet is the Goldilocks zone. You can also use chopped chocolate bars for a shinier finish.
Heavy cream (¼ cup / 60ml) — This turns the chocolate chips into a silky ganache. Don’t skip it. Without the cream, you’ll just have melted chocolate that might crack or be too hard. The cream keeps it smooth and spreadable.
Flaky sea salt (optional, for topping) — I love sprinkling a little Maldon salt on top right before they set. It makes them look fancy and adds those little bursts of saltiness.
Equipment Needed
You don’t need fancy equipment for this. Here’s what I actually use.
9×13 inch baking pan — I line it with parchment paper, leaving an overhang on the sides. This is non-negotiable for easy removal. If you don’t have parchment, grease it well with butter, but parchment is easier.
Food processor or zip-top bag — To crush the pretzels. A food processor takes 30 seconds. A rolling pin and a zip-top bag takes about 5 minutes of arm work. Both work fine.
Large mixing bowl — For the peanut butter layer. A bowl with a wide mouth is easier to stir in.
Microwave-safe bowl or double boiler — For melting the chocolate and cream. I use the microwave in 30-second intervals, stirring in between. It’s faster than a double boiler.
Spatula — A silicone spatula is perfect for spreading the layers. You need something flexible to get into the corners.
Knife or pizza cutter — For slicing the bars. A pizza cutter works wonders for clean cuts through the layers.
How to Make It: Step-by-Step
Alright, let’s make this! I’m walking you through exactly how I do it, including the little tricks I’ve picked up.
Step 1: Prep the Pan and Crush the Pretzels
Line your 9×13 inch pan with parchment paper, leaving a 2-inch overhang on the long sides. This makes lifting the bars out later a breeze. Crush your pretzels into small, sand-like pieces. You want them fine enough that the crust holds together, but not so fine that it’s just dust. If you’re using a food processor, pulse until they’re the consistency of coarse sand. If you’re using a rolling pin, keep rolling until you’re satisfied. Transfer the crushed pretzels to a bowl.
Step 2: Make the Crust
Add the melted butter, powdered sugar, and salt to the crushed pretzels. Stir until it looks like wet sand. It should hold together when you pinch it. Press this mixture firmly and evenly into the bottom of your prepared pan. Use the bottom of a measuring cup or your fingers to press it down tight. Any gaps here will make the bars fall apart later. Put the pan in the fridge while you make the next layer. This helps the crust set quickly.
Step 3: Make the Peanut Butter Layer
In a large mixing bowl, beat the softened butter and creamy peanut butter together until smooth and creamy. This might take a minute or two with a hand mixer, or a good amount of elbow grease with a spoon. Add the powdered sugar and vanilla extract. Mix until everything is fully combined and smooth. The mixture will be thick and sticky. Spread this evenly over the chilled pretzel crust. Use a spatula to smooth the top. You want a uniform layer. Return the pan to the fridge for 15-20 minutes to firm up. This step is important so the chocolate layer doesn’t mix with the peanut butter.
Step 4: Make the Chocolate Ganache
Place the chocolate chips in a microwave-safe bowl. Pour the heavy cream over the chips. Let it sit for 2 minutes. This steeps the cream into the chocolate. After 2 minutes, stir gently from the center outwards. The heat from the cream will melt the chocolate. If there are still unmelted bits, microwave in 15-second bursts and stir until smooth. The ganache should be glossy and smooth. Don’t over-mix it, or you’ll incorporate air bubbles.
Step 5: Assemble and Chill
Pour the warm chocolate ganache over the chilled peanut butter layer. Use a spatula to spread it evenly to the edges. It should be thin but complete. If you want that fancy look, sprinkle flaky sea salt on top now. Place the pan in the fridge for at least 2 hours, or overnight. The longer it chills, the easier it is to cut. I usually make these the night before, so they’re ready to go in the morning.
Step 6: Slice and Serve
Lift the bars out of the pan using the parchment paper overhang. Place them on a cutting board. Use a sharp knife or a pizza cutter to slice into squares. Wipe the knife between cuts if it gets messy. Serve chilled. Store leftovers in the fridge.
Total Time: About 30 minutes active, plus 2+ hours chilling.
Expert Tips & Tricks
Here’s everything I’ve learned from making this dozens of times. These tips will save you from my mistakes.
Don’t Rush the Chilling
I know you want to eat them immediately. But if you skip the chilling steps, the layers will bleed into each other. The peanut butter layer needs to be firm before you add the chocolate. The whole bar needs to be solid before you cut it. Patience pays off. The texture is completely different when it’s properly chilled.
Use the Right Peanut Butter
I cannot stress this enough. Natural peanut butter will not work here. It’s too oily and won’t bind with the sugar. You need the emulsified kind. If you’re allergic to peanuts, you can try sunflower seed butter, but the texture might be slightly different. Stick to creamy for the best result.
Keep Your Chocolate Smooth
When melting the chocolate, low and slow is key. High heat can burn chocolate, making it grainy and seizing it up. If you’re using a microwave, be conservative with the time. If you’re using a double boiler, make sure the bottom of the bowl doesn’t touch the water. Stir constantly.
The Salt Sprinkle
Adding flaky sea salt on top isn’t just for looks. It adds a sophisticated touch and balances the sweetness. If you don’t have flaky salt, regular fine salt works, but it won’t have that pretty crunch. I always keep a jar of Maldon on hand for desserts like this.
Cutting Cleanly
If your knife is sticking or dragging, dip it in hot water and wipe it dry before each cut. The heat helps the chocolate slice cleanly. A pizza cutter is also great because it doesn’t drag the layers down like a knife sometimes does.
Variations & Substitutions
Once you’ve nailed the basic version, here’s how you can mix it up. I’ve tried all of these.
Gluten-Free Version — Use gluten-free pretzels. Most major brands make GF pretzels now. Everything else is naturally gluten-free. The texture is the same.
Peanut Butter Alternative — Try almond butter or cashew butter. Almond butter has a slightly nuttier flavor. Cashew butter is milder. The texture might be slightly different, but it’s still delicious. Just make sure it’s creamy.
Dark Chocolate Top — Swap semi-sweet chocolate for 70% dark chocolate. This makes the bars less sweet and more sophisticated. Great for adults who don’t like overly sweet desserts.
White Chocolate Layer — Swap the peanut butter layer for a white chocolate ganache layer. It’s sweeter and very pretty. But honestly, the peanut butter layer is the star here.
Add-ins — Sprinkle crushed pretzels or peanuts on top of the chocolate layer before it sets. It adds extra crunch and looks great.
Serving & Storage
How to Serve: I usually serve these straight from the fridge. They’re best when they’re cold and firm. They pair well with coffee or a glass of cold milk. I’ve also served them with a dollop of whipped cream for a fancy touch.
Storage: Store in an airtight container in the fridge for up to 1 week. They actually taste better after a day or two as the flavors meld together. You can also freeze them for up to 3 months. Wrap individual bars in plastic wrap and store in a freezer bag. Thaw in the fridge overnight before serving.
Reheating: Don’t reheat these. They’re meant to be eaten cold. Warming them up will make the layers soft and messy.
Nutrition Information
I’m not a nutritionist, but here’s the breakdown if you’re tracking. Keep in mind these are rich, indulgent bars, so portions matter.
Per Serving (based on 16 bars):
- Calories: 320
- Protein: 6g
- Carbs: 35g
- Fiber: 2g
- Sugar: 24g
- Fat: 18g
- Saturated Fat: 9g
- Cholesterol: 25mg
- Sodium: 220mg
These bars are high in sugar and fat, which is expected given the chocolate and peanut butter. But they’re also relatively small in portion size, which helps keep the calorie count in check. If you’re watching your sugar, you can reduce the powdered sugar in the peanut butter layer by half, though it might affect the texture.
Final Thoughts
So that’s my go-to Silky Chocolate Peanut Butter Icebox Bars with Pretzel Crust! I’ve probably talked your ear off at this point, but when you make a recipe this often, you have a lot to say about it.
This has saved dessert time more times than I can count. It’s my answer to “what’s for dessert?” when I’m tired, don’t want to bake, and still want something that tastes really good. My kids are happy, my partner’s happy, and I’m happy because I’m not stressed about cooking.
Make it yours! Try different salts, swap the chocolate, or add different nuts. The best recipes are the ones you adapt to your family’s tastes.
If you make this, drop a comment and let me know what you think! I love hearing how recipes turn out in your kitchen. And if something doesn’t work, tell me that too—I’m here to help troubleshoot.
Happy cooking! And I hope your kitchen smells half as good as mine does right now.
Frequently Asked Questions
Can I use crunchy peanut butter?
You can, but the texture will be different. The layers won’t be as smooth. I recommend creamy peanut butter for the best result. If you use crunchy, just make sure the pieces are small so they don’t disrupt the layers.
Why did my bars fall apart when I cut them?
This usually happens if the layers weren’t chilled long enough before adding the next one, or if you didn’t press the crust down firmly enough. Make sure each layer is set before moving on. Also, let the whole bar chill for at least 2 hours before cutting.
Can I make these ahead of time?
Yes! These are perfect for making ahead. They actually taste better the next day. You can make them up to 3 days in advance. Just keep them in the fridge in an airtight container.
Can I freeze these bars?
Yes, you can freeze them. Wrap individual bars in plastic wrap and store them in a freezer-safe bag for up to 3 months. Thaw in the fridge overnight before serving. The texture remains good after freezing.
What if I don’t have a 9×13 pan?
You can use an 8×8 pan, but the bars will be thicker. You’ll need to adjust the chilling time accordingly. Keep an eye on them to make sure the layers are set before cutting.
Can I use almond butter instead of peanut butter?
Yes, almond butter works well as a substitute. It has a slightly different flavor but the same texture. Just make sure it’s creamy almond butter, not natural.
How do I store leftovers?
Store in an airtight container in the fridge for up to 1 week. They will firm up in the fridge, so let them sit at room temperature for 10 minutes before eating if you prefer a softer texture.
Pin This Recipe!
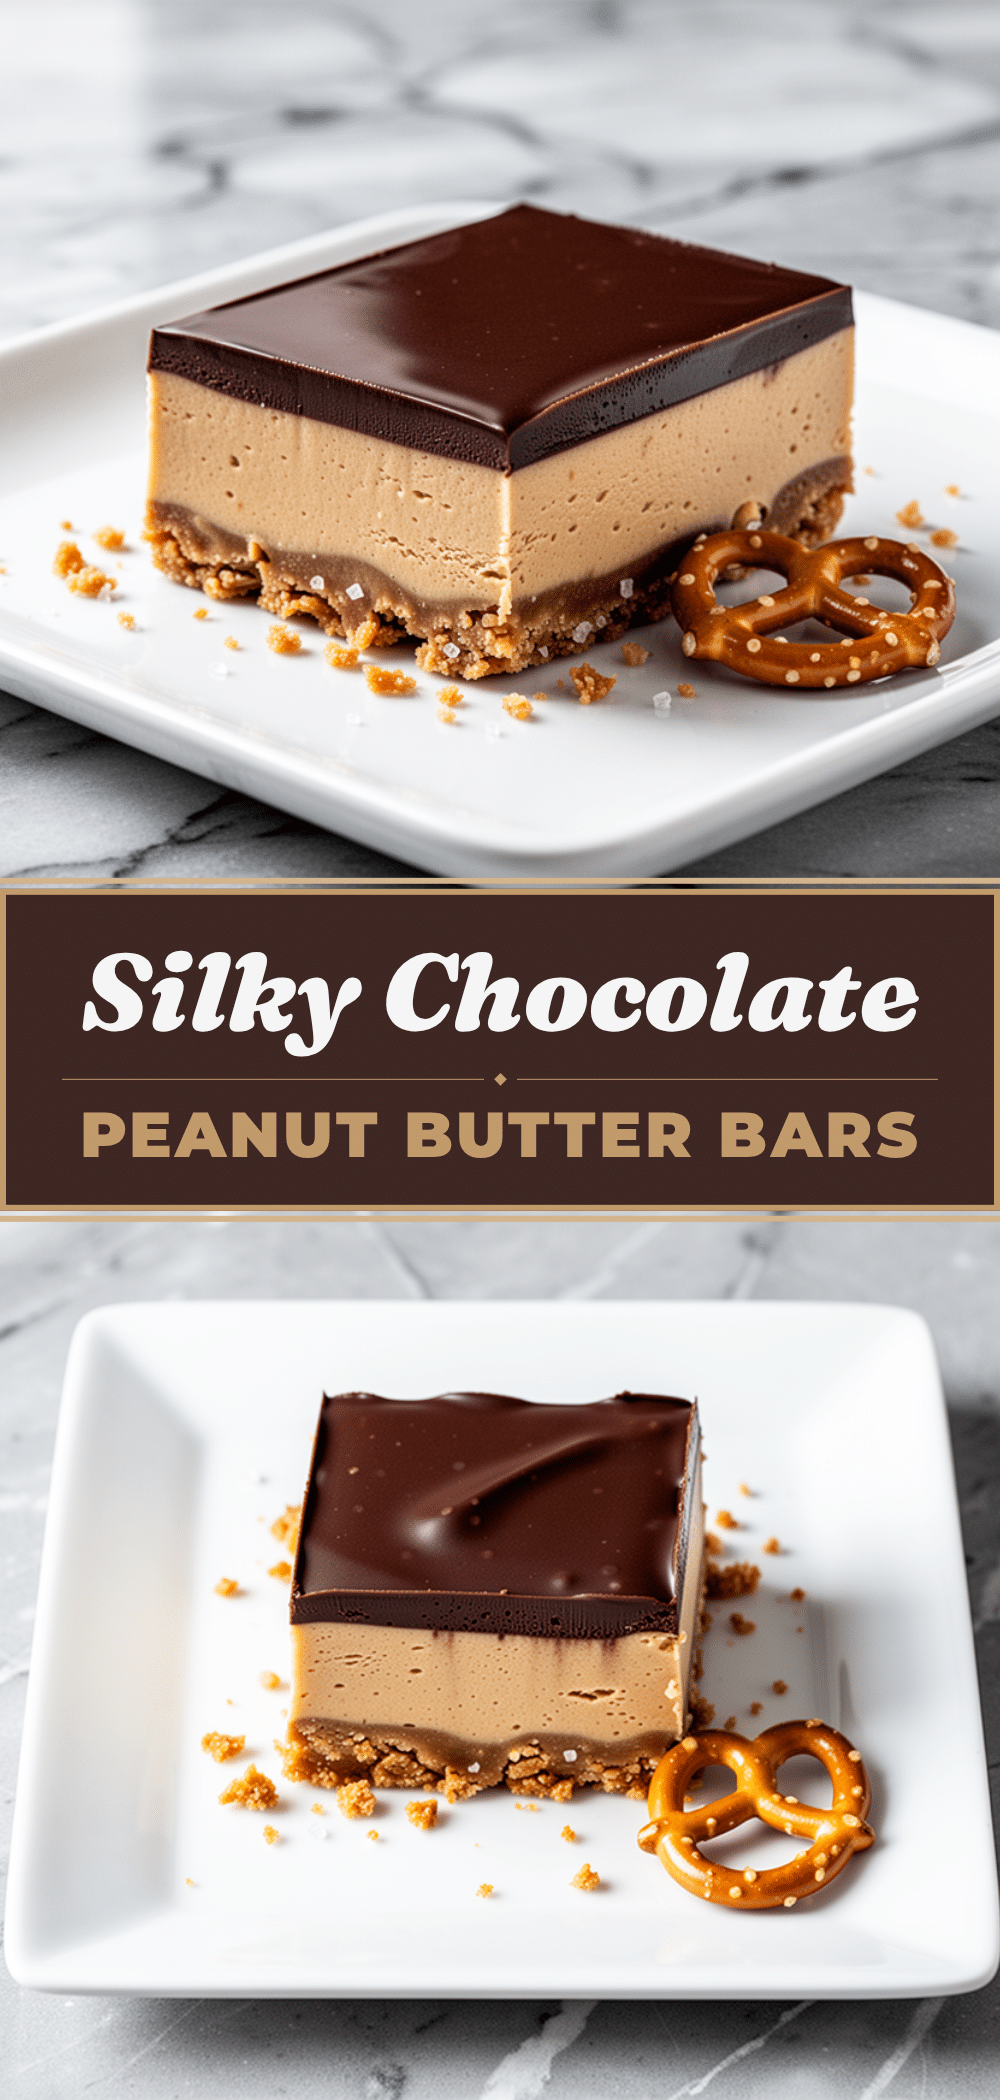
Silky Chocolate Peanut Butter Icebox Bars with Pretzel Crust
- Total Time: 2 hours 20 minutes
- Yield: 16 servings 1x
Description
A no-bake dessert featuring a salty pretzel crust, a thick creamy peanut butter layer, and a smooth chocolate ganache topping. These bars are easy to make, require minimal cleanup, and taste better the next day.
Ingredients
- 4 cups pretzel sticks or twists, crushed (approx. 150g)
- 1/2 cup unsalted butter, melted
- 2 tablespoons powdered sugar
- 1/4 teaspoon fine sea salt
- 1 cup creamy peanut butter (commercial, not natural)
- 1/2 cup unsalted butter, softened
- 2 cups powdered sugar
- 1 teaspoon vanilla extract
- 12 ounces semi-sweet chocolate chips
- 1/4 cup heavy cream
- Flaky sea salt, optional for topping
Instructions
- Line a 9×13 inch baking pan with parchment paper, leaving a 2-inch overhang on the long sides.
- Crush pretzels into small, sand-like pieces using a food processor or rolling pin.
- In a bowl, mix crushed pretzels, melted butter, powdered sugar, and salt until it resembles wet sand.
- Press the mixture firmly and evenly into the bottom of the prepared pan. Chill in the fridge.
- In a large mixing bowl, beat softened butter and creamy peanut butter until smooth.
- Add powdered sugar and vanilla extract, mixing until fully combined and smooth.
- Spread the peanut butter mixture evenly over the chilled crust. Return to the fridge for 15-20 minutes to firm up.
- Place chocolate chips and heavy cream in a microwave-safe bowl. Let sit for 2 minutes, then stir until smooth and glossy.
- Pour the warm chocolate ganache over the chilled peanut butter layer and spread evenly.
- Sprinkle with flaky sea salt if desired.
- Chill in the fridge for at least 2 hours or overnight until solid.
- Lift bars out using parchment overhang and slice into squares with a sharp knife or pizza cutter.
Notes
Use creamy commercial peanut butter, not natural, as it separates and won’t set properly. Ensure each layer is chilled before adding the next to prevent mixing. For clean cuts, dip the knife in hot water and wipe dry between slices. These bars taste better after sitting in the fridge for a day.
- Prep Time: 20 minutes
- Cook Time: 0 minutes
- Category: Dessert
- Cuisine: American
Nutrition
- Serving Size: 1 bar
- Calories: 320
- Sugar: 24
- Sodium: 220
- Fat: 18
- Saturated Fat: 9
- Carbohydrates: 35
- Fiber: 2
- Protein: 6
Keywords: no-bake dessert, chocolate peanut butter bars, pretzel crust, icebox bars, easy dessert, make-ahead dessert, salty sweet dessert


