Let me be completely honest with you. Last month, I walked into my friend Sarah’s kitchen with a bottle of wine and zero confidence. I had promised to bring dessert for her book club gathering, and like an idiot, I waited until 4 PM to start. My original plan—a complicated chocolate tart—had collapsed faster than a house of cards in a windstorm. I was sweating. I was panicking. I was about to serve store-bought ice cream in a bowl.
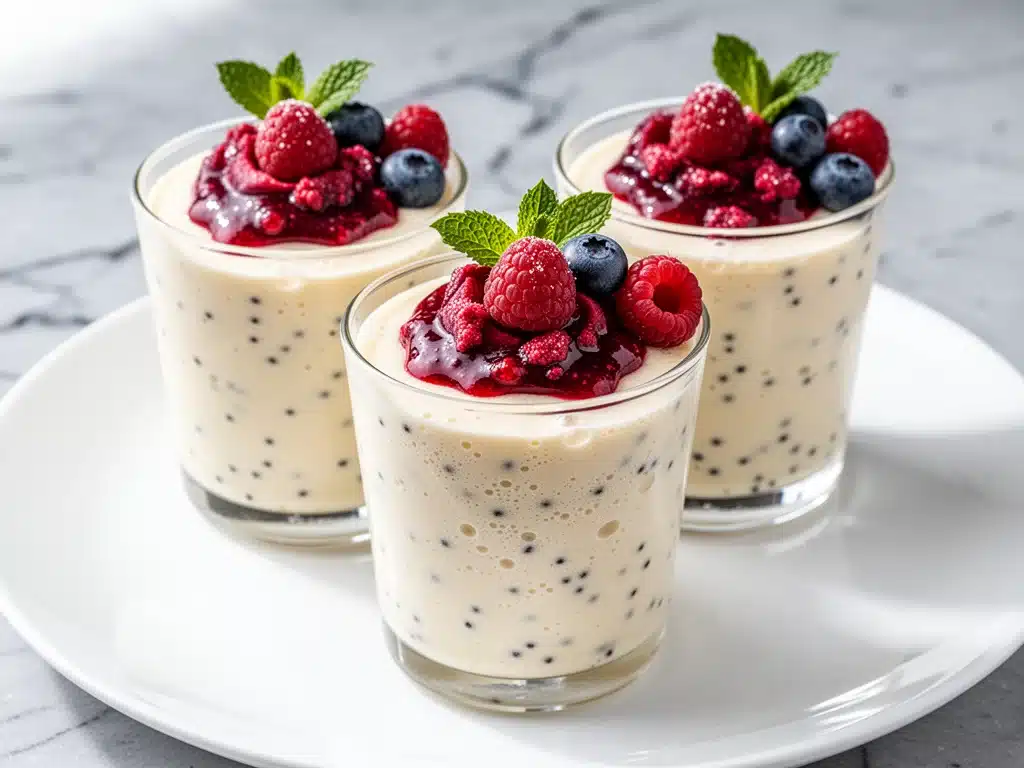
Then I remembered this recipe. The Silky Vanilla Bean Cheesecake Mousse Cups with Berry Compote Swirl. It’s a no-bake dessert that feels like it took hours to make, but it actually takes less time than I spent worrying. I whipped up the mousse while pouring the wine, chilled it for twenty minutes, and assembled it right before they arrived. The result? Silence. Then, “What is this? It’s impossible.” Then, “Can you teach me how to make this?”
That’s the magic of this dessert. It doesn’t just taste good; it looks like something from a high-end patisserie, but it’s forgiving. It’s impossible to mess up. If you’ve ever felt intimidated by baking (or just don’t want to heat up your kitchen in July), this is your new best friend. I’ve made these cups for everything from casual Tuesday nights to fancy dinner parties, and they never fail to impress. It’s elegant, it’s light, and it’s so much easier than a traditional cheesecake. Plus, unlike my chocolate lava cake which requires perfect timing, this mousse just needs patience in the fridge. No oven, no water baths, no stress.
Why You’ll Love This Recipe
There are a million desserts out there, but this one has earned a permanent spot in my rotation. Here’s why it’s different from the rest:
Zero Oven Required — Seriously. No preheating, no watching the edges burn, no guessing if it’s done. You mix, you chill, you eat. It’s the ultimate low-effort, high-reward dessert. I make this when I’m tired or when I just don’t want to stand over a stove.
Restaurant-Quality Texture — Most no-bake cheesecakes are dense and heavy, like eating a block of cream cheese. This mousse is whipped with cream, making it airy, light, and melt-in-your-mouth silky. It feels indulgent but doesn’t leave you feeling stuffed and sluggish afterward.
Make-Ahead Friendly — This is the biggest selling point. You can make these up to two days in advance. They actually taste better after chilling overnight because the flavors meld together. I love making them on Sunday for Friday night dinner. No last-minute panic.
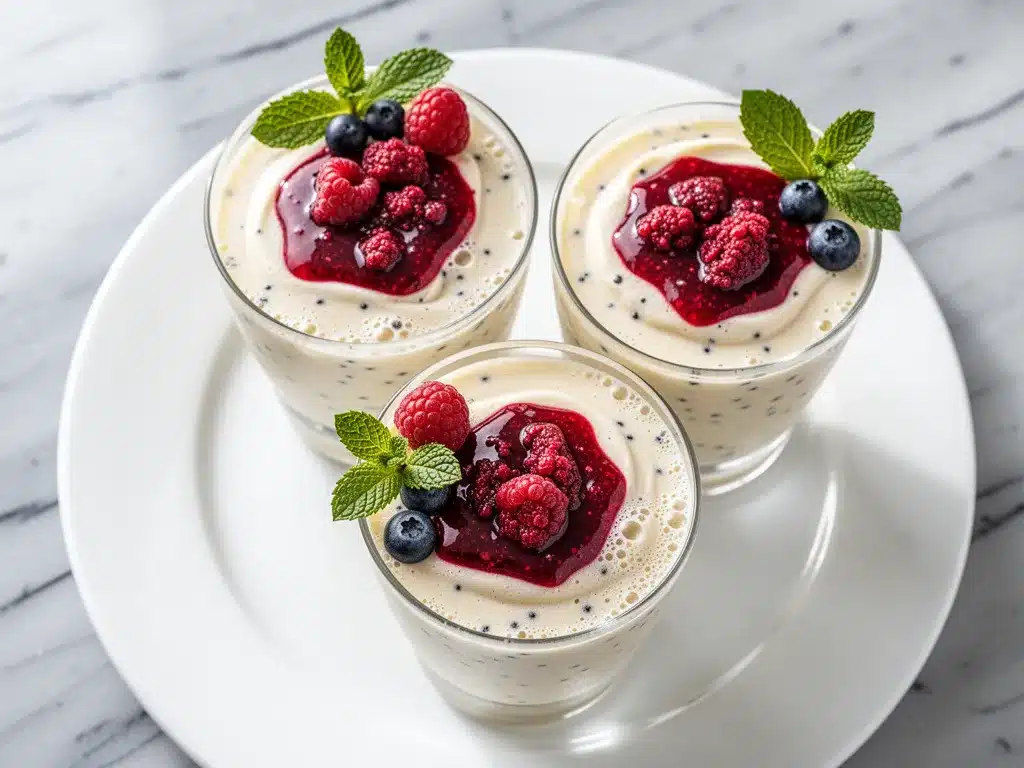
Stunning Presentation — Swirling the berry compote into the white mousse creates those beautiful marble patterns that look like you spent hours decorating. But it’s just a gentle swirl with a knife. It looks fancy, but it’s actually very easy to pull off.
Customizable — Love strawberries? Use them. Prefer raspberries? Go for it. Don’t like berries? Try a caramel swirl or a chocolate drizzle. The base is versatile enough to handle any flavor profile you want.
This recipe has completely changed how I think about dessert hosting. It’s my go-to when I need to look impressive but actually want to enjoy the party too. No complicated techniques, just reliable, delicious food that makes everyone happy.
Ingredients You’ll Need
Here’s the best part: you probably have most of this already. I’m particular about three ingredients here, and I’ll tell you exactly why. Don’t skip the quality checks on these!
Cream Cheese (16 oz / 450g, full-fat, softened) — This is the foundation. Do not use low-fat or whipped cream cheese. It won’t hold its structure, and the texture will be grainy. Block cream cheese is non-negotiable. Let it sit on the counter for 30 minutes before you start; cold cheese creates lumps that are impossible to whip out.
Heavy Cream (1 cup / 240ml, cold) — You need heavy whipping cream with at least 35% fat content. Half-and-half won’t whip up stiff peaks. This is what gives the mousse its airy, cloud-like texture. Keep it cold until the last second.
Vanilla Bean Paste (2 tablespoons) — Or high-quality vanilla extract. I prefer paste because you get those tiny black specks of vanilla seed, which look beautiful against the white mousse and scream “fancy.” If you can’t find paste, use 1 tablespoon of pure vanilla extract plus a pinch of salt.
Granulated Sugar (½ cup / 100g) — Standard white sugar works perfectly. It dissolves easily into the cream cheese mixture. If you prefer a less sweet dessert, you can reduce this to ⅓ cup, but I recommend sticking with ½ cup for balance against the tart berries.
Graham Cracker Crust (1 ½ cups / 150g crumbs) — You can buy pre-made crumbs or crush them yourself. For the best flavor, mix in 1 tablespoon of melted butter before pressing into the cups. It adds a rich, buttery crunch that contrasts with the soft mousse.
Frozen Mixed Berries (1 ½ cups / 200g) — Strawberries, raspberries, blueberries. Frozen berries are actually better for compote because they break down easier and release more juice. Fresh berries work too, but they might not get jammy enough.
Granulated Sugar (2 tablespoons / 25g) — For the berry compote. Adjust based on how tart your berries are.
Lemon Juice (1 teaspoon) — Brightens up the berry flavor and prevents the fruit from tasting flat. Just a splash is all you need.
Optional Garnish — Fresh mint leaves, a dollop of whipped cream, or a few whole berries on top. I usually just keep it simple with a mint leaf for that pop of green color.
Equipment Needed
You don’t need fancy equipment for this. Here’s what I actually use.
Electric Hand Mixer or Stand Mixer — I use my hand mixer because it’s faster to clean. You need to whip the cream and cream cheese vigorously to get that airiness. A whisk will work, but it’ll take arm ache. I learned this the hard way once and regretted it.
Mixing Bowls — Two large bowls. One for the cream cheese mixture, one for the whipped cream. Keep them separate until you’re ready to fold.
Spatula — A flexible silicone spatula is essential for folding the whipped cream into the cheese mixture without deflating it. Be gentle.
Small Saucepan — For making the berry compote. Any small pot works. I use my 1-quart saucepan.
Blender or Immersion Blender — Optional. If you want a smooth compote without chunks, blend the cooked berries. I like a little texture, so I just mash them with a fork. Your call.
Serving Glasses or Jars — This is where it gets fun. Use small dessert glasses, mason jars, or even espresso cups. I love using clear glass so you can see the layers. Any vessel that holds about 4-6 ounces works.
Piping Bag (Optional) — If you want it to look super professional, pipe the mousse into the cups. But honestly? A spoon works just fine. I’m not judging.
How to Make It: Step-by-Step
Alright, let’s make this! I’m walking you through exactly how I do it, including the little tricks I’ve picked up.
Step 1: Make the Berry Compote (10 minutes)
Start here because it needs to cool down. In a small saucepan, combine the frozen berries, 2 tablespoons of sugar, and lemon juice. Cook over medium heat, stirring frequently. The berries will release their juices and bubble up. Let it simmer for about 5-7 minutes until it thickens slightly and looks jammy. If you want it smooth, blend it now. If you like chunks, mash it with a fork. Remove from heat and let it cool completely to room temperature. You can speed this up by putting it in the fridge, but don’t rush it or it’ll melt the mousse.
Step 2: Whip the Heavy Cream (3 minutes)
In a large bowl, pour the cold heavy cream. Using your electric mixer, beat on high speed until stiff peaks form. This means when you lift the beaters, the cream stands up straight and doesn’t droop. Be careful not to over-whip it into butter! It should look fluffy and hold its shape. Set this aside in the fridge while you make the cheese mixture.
Step 3: Beat the Cream Cheese (2 minutes)
In another large bowl, add the softened cream cheese, ½ cup sugar, and vanilla bean paste. Beat on medium-high speed until completely smooth and creamy. Scrape down the sides of the bowl and beat again for another 30 seconds. This step is crucial for removing any lumps. The mixture should look like thick, smooth frosting.
Step 4: Fold It Together (2 minutes)
Now, gently fold the whipped cream into the cream cheese mixture. Add about one-third of the whipped cream to the cheese and mix it in to lighten the base. Then, add the rest and gently fold with your spatula. Use a cutting motion, turning the bowl as you go. You’re looking for a uniform pale yellow color with no streaks of white or yellow. Don’t stir too hard, or you’ll lose all that air you worked so hard to get in.
Step 5: Assemble the Cups (5 minutes)
Prepare your serving glasses. If using graham cracker crust, press a spoonful into the bottom of each glass. Now, spoon or pipe the mousse mixture into the glasses, filling them about halfway. Take a teaspoon of the cooled berry compote and dollop it on top of the mousse. Use a knife or skewer to gently swirl it into the mousse. Create a marble effect. Don’t over-mix; you want distinct swirls.
Step 6: Chill and Serve
Place the cups in the fridge for at least 2 hours, or overnight. This sets the mousse and makes it firm enough to scoop. When ready to serve, add a garnish if you like. A fresh mint leaf or a few fresh berries on top looks beautiful. Serve cold.
Expert Tips & Tricks
Here’s everything I’ve learned from making this dozens of times. These tips will save you from my mistakes.
Temperature Control is Key
Your cream cheese must be room temperature. Your heavy cream must be ice cold. If the cream cheese is cold, you get lumps. If the cream is warm, it won’t whip. I keep my cream in the fridge until the very last minute. If you’re in a hurry, put the mixing bowl in the freezer for 10 minutes before whipping.
Don’t Skimp on the Vanilla
This is a vanilla mousse. If you under-vanilla it, it’ll just taste like sweet cheese. Use good vanilla bean paste. It’s worth the extra cost for the flavor and the visual specks. It makes the dessert taste authentic and high-quality.
Swirl, Don’t Mix
When adding the berry compote, be gentle. If you mix it in too much, you’ll get pink mousse all the way through, which is fine, but less pretty. The goal is those white and red swirls. A simple knife twist is all it takes.
Compote Consistency
The compote should be thick enough to sit on top of the mousse without sinking immediately. If it’s too runny, cook it longer or add a tiny cornstarch slurry (1 teaspoon cornstarch mixed with 1 teaspoon water) to thicken it. I usually just cook it down until it’s jammy.
Common Mistakes (and how to avoid them):
Mistake: Mousse is too runny. Fix: Your cream didn’t whip stiff enough, or you over-folded it. Next time, ensure stiff peaks and fold more gently.
Mistake: Lumpy cream cheese. Fix: Your cheese wasn’t softened enough. Next time, leave it out for 30-45 minutes. You can microwave it in 5-second bursts if you’re in a rush, but watch it closely.
Mistake: Compote is too sweet. Fix: Tastes vary. Taste your berries before adding all the sugar. Frozen berries can vary in sweetness. Start with 1 tablespoon and add more if needed.
Variations & Substitutions
Once you’ve nailed the basic version, here’s how you can mix it up. I’ve tried all of these.
Chocolate Version
Add 2 tablespoons of melted dark chocolate to the cream cheese mixture. It’s rich and decadent. Pairs well with raspberry compote.
Lemon Blueberry
Swap the vanilla for lemon zest and juice. Use blueberry compote instead of mixed berries. It’s brighter and more refreshing.
Pumpkin Spice
Add 1 teaspoon pumpkin pie spice and 2 tablespoons of pumpkin puree (drained well) to the cream cheese. Top with apple compote. Perfect for fall.
Gluten-Free
Use gluten-free graham crackers or almond flour crust. The mousse itself is naturally gluten-free.
Dairy-Free
Use coconut cream instead of heavy cream and dairy-free cream cheese. It will be heavier and more coconut-flavored, but still delicious. I’ve made this for my lactose-intolerant friend, and she loved it.
Low-Sugar
Use a sugar substitute like erythritol or monk fruit. Reduce sugar in the compote and use unsweetened berries. It’s less sweet, but the flavor profile remains the same.
Serving & Storage
How to serve these babies. I usually serve them straight from the fridge. They taste best cold and firm.
Side Dishes
This is a dessert, so you don’t need sides. But if you’re having a full meal, these pair well with light appetizers. I often serve them after a meal like Marry Me Chicken because it balances the heavy cream sauce with a light, fruity finish.
Wine Pairing
Sweet wines work well here. Moscato, Riesling, or a late-harvest Gewürztraminer. The sweetness in the wine complements the berry compote.
Storage Instructions
Refrigerator: Store covered in the fridge for up to 3 days. The compote might release some liquid over time, so stir it gently before serving if needed.
Freezing: I don’t recommend freezing these. The texture of the mousse can change and become grainy when thawed. It’s best fresh.
Make-Ahead: You can make these up to 2 days in advance. This is actually better for flavor. Just add the garnish right before serving.
Nutrition Information
I’m not a nutritionist, but here’s the breakdown if you’re tracking.
Per Serving (based on 8 cups):
- Calories: 280
- Protein: 4g
- Carbs: 22g
- Fiber: 1g
- Sugar: 18g
- Fat: 20g
- Saturated Fat: 12g
- Cholesterol: 60mg
- Sodium: 120mg
It’s a rich dessert, so a little goes a long way. The berries add some antioxidants, and the graham cracker crust adds a bit of crunch. It’s indulgent, but not overwhelmingly heavy like a slice of dense cake. When I want to make it lighter, I use less sugar in the compote and skip the crust. But usually? I just enjoy a small cup and savor it.
Final Thoughts
So that’s my go-to silky vanilla bean cheesecake mousse cups! I’ve probably talked your ear off at this point, but when you make a recipe this often, you have a lot to say about it. This has saved weeknight desserts more times than I can count. It’s my answer to “what’s for dessert” when I’m tired, don’t want to bake, and still want something that tastes really good. My kids are happy, my friends are impressed, and I’m happy because I’m not stressed about cooking.
Make it yours! Try different berries, swap the vanilla for almond extract, or add a chocolate drizzle. The best recipes are the ones you adapt to your family’s tastes. If you make this, drop a comment and let me know what you think! I love hearing how recipes turn out in your kitchen. And if something doesn’t work, tell me that too—I’m here to help troubleshoot.
Happy cooking! And I hope your kitchen smells half as good as mine does right now.
Frequently Asked Questions
Can I use fresh berries instead of frozen?
Yes, you can. Fresh berries work fine, but they might not break down as easily. You may need to cook them a bit longer to get the same jammy consistency. Frozen berries are easier because they release more liquid as they thaw and cook.
Why is my mousse too runny?
Usually, this means the cream didn’t whip stiff enough, or the cream cheese wasn’t fully smooth. Make sure your cream is cold and whip it until stiff peaks form. Also, ensure your cream cheese is room temperature and beat it thoroughly before folding in the cream.
Can I make this ahead for a party?
Absolutely. This is actually better when made ahead. You can assemble the cups up to 2 days in advance. Just cover them tightly with plastic wrap or lids and store in the fridge. Add the garnish right before serving.
Why did my compote separate?
If the compote is too watery, it might sink into the mousse. Cook it longer to reduce the liquid, or add a tiny cornstarch slurry to thicken it. Let it cool completely before assembling so it doesn’t melt the mousse.
Can I use vanilla extract instead of vanilla bean paste?
Yes, use 1 tablespoon of pure vanilla extract. It won’t have the pretty black specks, but the flavor will be just as good. I recommend using high-quality extract for the best taste.
How long do these last in the fridge?
They last up to 3 days in the refrigerator. After that, the texture might start to change, and the compote might release more liquid. It’s best to eat them within the first two days.
Can I freeze these mousse cups?
I don’t recommend freezing them. The dairy-based mousse can become grainy or watery when thawed. It’s best enjoyed fresh from the fridge.
Pin This Recipe!
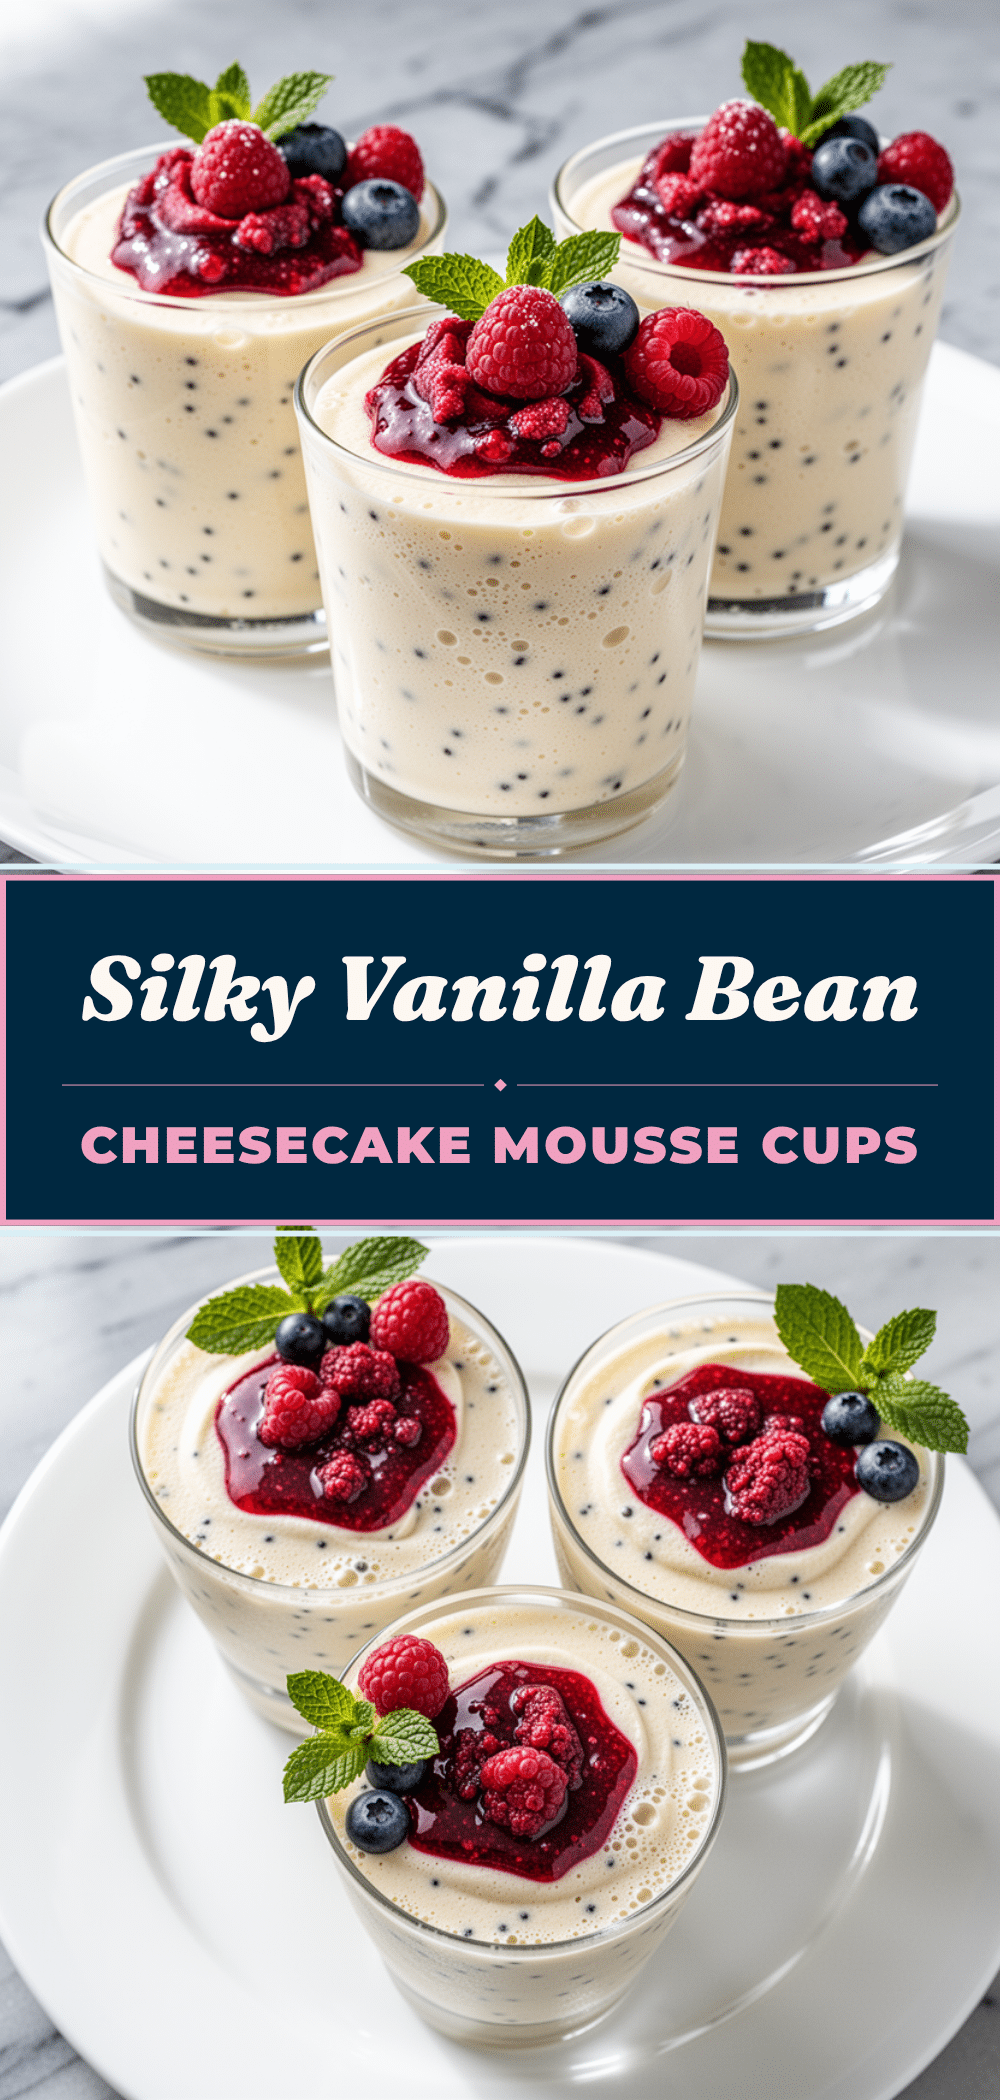
Silky Vanilla Bean Cheesecake Mousse Cups: No-Bake Dessert
- Total Time: 30 minutes
- Yield: 8 servings 1x
Description
A no-bake, make-ahead dessert featuring airy vanilla bean cheesecake mousse with a graham cracker crust and a swirl of berry compote. Elegant, light, and impossible to mess up.
Ingredients
- 16 oz (450g) full-fat cream cheese, softened
- 1 cup (240ml) heavy whipping cream, cold
- 2 tablespoons vanilla bean paste (or 1 tablespoon pure vanilla extract plus a pinch of salt)
- 1/2 cup (100g) granulated sugar
- 1 1/2 cups (150g) graham cracker crumbs
- 1 tablespoon melted butter (for crust)
- 1 1/2 cups (200g) frozen mixed berries
- 2 tablespoons (25g) granulated sugar (for compote)
- 1 teaspoon lemon juice
- Optional garnish: fresh mint leaves, whipped cream, or whole berries
Instructions
- Make the berry compote: In a small saucepan, combine frozen berries, 2 tablespoons sugar, and lemon juice. Cook over medium heat for 5-7 minutes until thickened and jammy. Blend or mash as desired. Cool completely to room temperature.
- Whip the heavy cream: In a large bowl, beat cold heavy cream on high speed until stiff peaks form. Set aside in the fridge.
- Beat the cream cheese: In another large bowl, beat softened cream cheese, 1/2 cup sugar, and vanilla bean paste on medium-high speed until smooth and creamy. Scrape down sides and beat for another 30 seconds.
- Fold together: Gently fold one-third of the whipped cream into the cheese mixture to lighten it. Add the remaining cream and gently fold with a spatula until uniform and no streaks remain.
- Assemble the cups: Press a spoonful of graham cracker crumbs mixed with melted butter into the bottom of serving glasses. Spoon or pipe mousse into glasses halfway. Dollop cooled berry compote on top and gently swirl with a knife for a marble effect.
- Chill and serve: Refrigerate for at least 2 hours or overnight to set. Garnish with mint or fresh berries and serve cold.
Notes
Ensure cream cheese is room temperature and heavy cream is ice cold for best results. The mousse can be made up to 2 days in advance. Do not freeze as the texture may become grainy. For a gluten-free version, use gluten-free graham crackers or almond flour crust.
- Prep Time: 20 minutes
- Cook Time: 10 minutes
- Category: Dessert
- Cuisine: American
Nutrition
- Serving Size: 1 cup
- Calories: 280
- Sugar: 18
- Sodium: 120
- Fat: 20
- Saturated Fat: 12
- Carbohydrates: 22
- Fiber: 1
- Protein: 4
Keywords: no-bake cheesecake, vanilla bean mousse, berry compote, make-ahead dessert, easy dessert, graham cracker crust, creamy mousse


