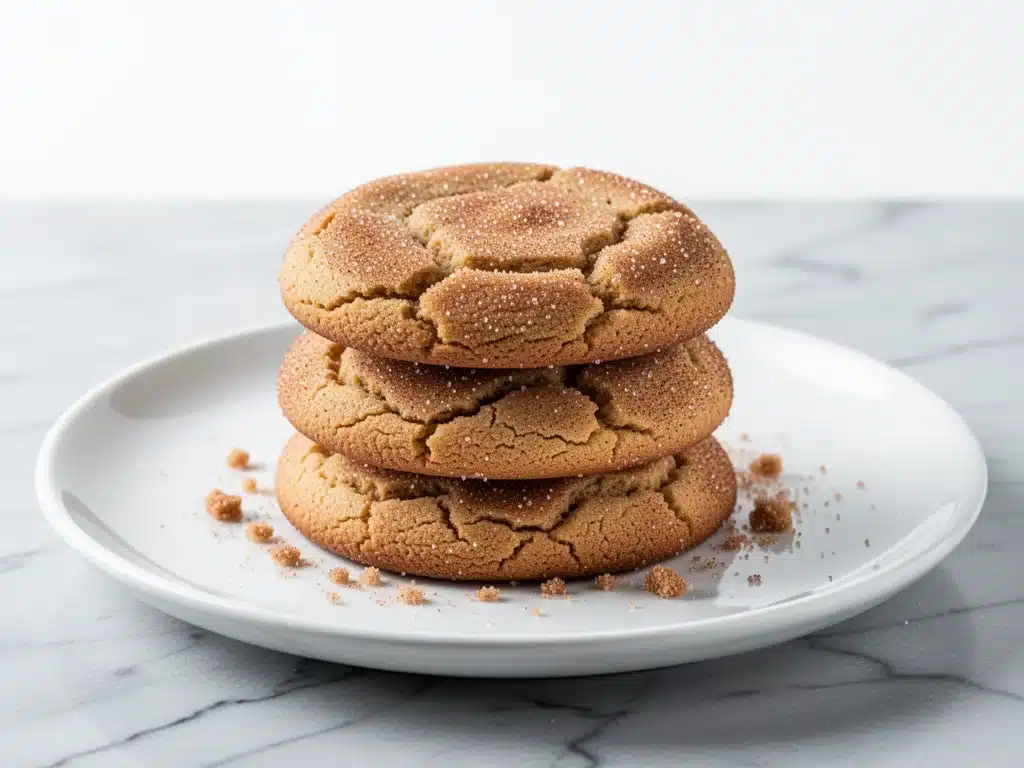
It was 9:30 PM on a Tuesday. I was standing in my kitchen, staring at a pile of laundry that had been waiting for me since Sunday, while my kids were begging for something “sweet but not too chocolatey.” You know the vibe. I didn’t have time for a complicated dessert, and I definitely didn’t want to order takeout. So, I reached for the one ingredient I always keep in the back of the pantry: brown butter.
I decided to take my usual snickerdoodle recipe and give it a serious upgrade. Usually, snickerdoodles are soft, pillowy clouds of cinnamon sugar. But I wanted something with more depth. Something that would crackle when you bite into it. I browned the butter until it smelled like toasted nuts and hazelnuts, then chilled the dough. The result? Ultra-crisp brown butter snickerdoodles that are thin, crunchy on the edges, and just slightly chewy in the center. They’re the perfect answer for those busy weeknights when you need a win in the kitchen without the stress.
These cookies have completely changed how I think about quick desserts. They’re not just snickerdoodles; they’re a flavor bomb. The browning of the butter adds this complex, nutty richness that plain butter just can’t match. And because I’ve tested this recipe over a dozen times (okay, maybe fifteen), I know exactly how to get that perfect crisp texture every single time. If you’re looking for a dessert that looks fancy but comes together in under an hour, you’re going to love this version. It’s honestly better than the brown butter chocolate chip cookies I usually make, because the cinnamon-sugar coating gives it that classic nostalgic kick.
Why You’ll Love This Recipe
There are about ten reasons I keep making these cookies, but here are the big ones that will make you want to start baking right now.
Stupid Simple — Seriously, if you can melt butter and mix flour, you can make these. There’s no complex creaming method or fancy piping bags. I’ve walked my teenage son through this recipe over FaceTime, and he nailed it on the first try. It’s foolproof.
Lightning Fast — 45 minutes from start to finish, and only 15 of those are active work. The rest is just baking time. I make these on weeknights when I get home at 6:30 PM and need to feed a hungry house. They’re faster than ordering pizza and way healthier.
Flavor Depth — Brown butter changes everything. It adds a toasty, caramel-like note that makes these cookies taste like they came from a high-end bakery. It’s a game-changer for such a simple ingredient swap.
Perfect Texture — I’ve spent years trying to get the balance right. These aren’t soft and cakey. They’re crispy. They have that satisfying “snap” when you break them in half. If you love the texture of a soft pretzel cookie bar but want something crispier and sweeter, this is your new best friend.
Make-Ahead Friendly — You can make the dough balls and freeze them. When your kids (or you) have a sudden sugar craving at midnight, you just throw them in the oven. No thawing required.
This is my go-to when I need dessert to just work. No complicated techniques, no weird ingredients, just reliable, delicious food that makes everyone happy.
Ingredients You’ll Need
Here’s the best part: you probably have most of this already. This isn’t a recipe that requires a special trip to the grocery store for obscure items. It’s pantry staples with one special technique.
Unsalted Butter (1 cup / 226g) — This is the star. You need enough to brown properly. I use high-quality European-style butter if I can find it, because it has a higher fat content and browns more beautifully. But standard unsalted butter works fine too.
All-Purpose Flour (2 ½ cups / 315g) — Don’t go crazy measuring. Just spoon it into the cup and level it off. I use Gold Medal flour because it’s consistent. If you’re using whole wheat, you can swap up to half, but it will change the texture.
Baking Soda (1 teaspoon) — This is what helps them spread and crisp up. Make sure it’s fresh! If your baking soda is older than six months, it’s probably dead. Test it by dropping a little in vinegar—it should fizz like crazy.
Salt (½ teaspoon) — Even though these are sweet, salt is crucial. It balances the sugar and enhances the nutty flavor of the brown butter. I use kosher salt.
Granulated Sugar (1 cup / 200g) — For the dough. White sugar helps create that crisp edge. Brown sugar would make them chewier, but we’re going for crisp here.
Vanilla Extract (1 teaspoon) — Pure vanilla only. I know it’s pricey, but the artificial stuff tastes chemical. For a deeper flavor, I sometimes swap half of this for honey, but stick to vanilla for this specific recipe.
For the Coating:
Granulated Sugar (½ cup / 100g) — To roll the dough balls in.
Ground Cinnamon (1 tablespoon) — Use a good quality cinnamon. If yours is stale, it’ll taste dusty. Smell it first—it should smell sweet and spicy.
Personal Tips:
I always measure my flour by weight if I have a kitchen scale. It’s more accurate. But if you’re using cups, don’t pack the flour down! That’s the #1 reason cookies turn out dry. And please, grate your own cinnamon if you have a whole stick. It makes a world of difference.
Equipment Needed
You don’t need fancy equipment for this. Here’s what I actually use.
Large Saucepan — For browning the butter. I use a light-colored stainless steel pan so I can see the color change. Dark pans hide the browning, and you might burn it.
Baking Sheets — I use half-sheet pans. If you’re using smaller ones, just watch the baking time closely.
Parchment Paper — Non-negotiable. It prevents sticking and makes cleanup a breeze. I never bake directly on the metal.
Mixing Bowls — One large for the wet ingredients, one medium for the dry.
Cooling Rack — Essential for letting the cookies cool completely so they crisp up. If you leave them on the hot pan, they’ll keep cooking and get too dark.
Whisk — For aerating the butter and mixing the dry ingredients.
Cookie Scoop — I use a 1.5-tablespoon scoop. It ensures uniform size so they bake evenly. But a spoon works if you’re being lazy.
How to Make It: Step-by-Step
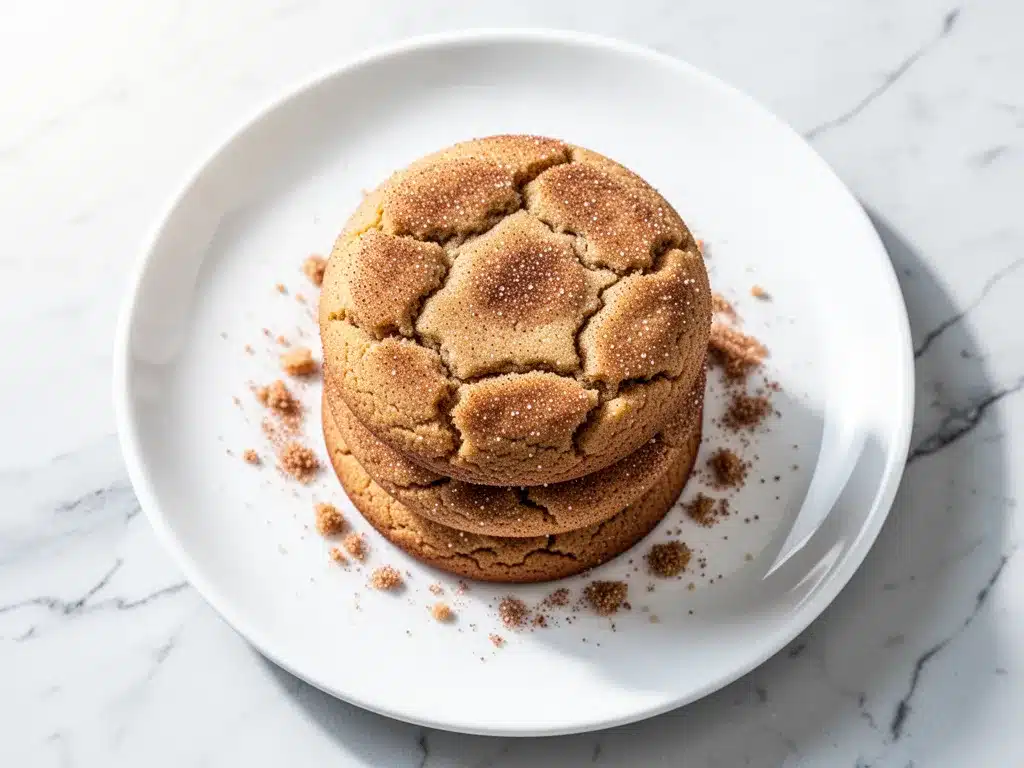
Alright, let’s make this! I’m walking you through exactly how I do it, including the little tricks I’ve picked up over years of baking.
Step 1: Brown the Butter (5-7 minutes)
This is the most important step. Melt the butter in a saucepan over medium heat. Stir it constantly with a wooden spoon. It will foam up, then subside. Watch it closely. You’ll see the milk solids turn golden brown at the bottom. Smell it—it should smell like toasted nuts or hazelnuts. As soon as you see that color and smell that scent, remove it from the heat immediately. Pour it into a heat-proof bowl to stop the cooking. Let it cool until it’s just warm to the touch, not hot. If it’s too hot, it’ll melt the sugar in the dough too fast.
Step 2: Mix the Wet Ingredients (2 minutes)
To the cooled brown butter, add the granulated sugar and vanilla extract. Whisk vigorously for about a minute. You want to incorporate air into the mixture. This helps with the texture. The mixture should look slightly lighter in color.
Step 3: Combine Dry Ingredients (1 minute)
In a separate bowl, whisk together the flour, baking soda, and salt. This ensures the baking soda is evenly distributed so you don’t get a metallic taste in one bite.
Step 4: Bring It Together (2 minutes)
Gradually add the dry ingredients to the wet ingredients. Mix until just combined. Do not overmix! Once there are no more streaks of flour, stop. The dough will be stiff and thick.
Step 5: Chill the Dough (Crucial Step!)
Here’s the secret to crisp cookies: cold dough. Wrap the dough in plastic wrap and refrigerate for at least 30 minutes. Ideally, 1-2 hours. This solidifies the fat, which means the cookies spread less and stay thicker and crispier. If you skip this, they’ll spread too thin and burn.
Step 6: Prep the Oven and Pan (2 minutes)
Preheat your oven to 350°F (175°C). Line two baking sheets with parchment paper. In a small bowl, mix the cinnamon and remaining sugar for coating.
Step 7: Roll and Bake (10-12 minutes)
Take the chilled dough out. Scoop tablespoon-sized balls and roll them in the cinnamon-sugar mixture. Place them on the baking sheets, about 2 inches apart. They will spread, but not too much. Bake for 10-12 minutes. You want the edges to be golden brown and crisp, but the centers might still look slightly soft. They will firm up as they cool.
Step 8: Cool Completely
Let the cookies sit on the baking sheet for 5 minutes, then transfer them to a wire rack. Let them cool completely. This is the hardest part, but it’s necessary for that ultimate crunch.
Expert Tips & Tricks
Here’s everything I’ve learned from making this dozens of times. These tips will save you from my mistakes.
Don’t Skip the Chill
I know it’s tempting to bake them right away. But warm dough spreads too much. If you bake warm dough, you get flat, greasy cookies. Cold dough keeps its shape and gets crisp. If you’re in a rush, put the scooped dough balls in the freezer for 15 minutes instead.
Watch the Butter Like a Hawk
Brown butter goes from perfect to burnt in seconds. Once the foam subsides, stay at the stove. If it burns, you have to start over. Burnt butter tastes bitter and ruins the whole batch.
Use a Scale
If you want consistent results, use a kitchen scale. Flour density varies wildly depending on how you scoop it. 2.5 cups can be 100 grams too much or too little. A scale removes the guesswork.
Store Properly
These cookies stay crisp if stored in an airtight container at room temperature for up to 5 days. If they lose their crunch, just pop them in the oven at 300°F for 3 minutes to revive them.
Pro Trick: The Egg White Trick
For extra crispness, I sometimes omit the yolk and use only an egg white. But since this recipe is designed to be simple, I find the butter browning does the heavy lifting. If you want them extra crisp, add an extra egg white.
Variations & Substitutions
Once you’ve nailed the basic version, here’s how you can mix it up. I’ve tried all of these.
Double Chocolate Brown Butter
Add ½ cup of cocoa powder to the dry ingredients. It’s rich, dark, and amazing. Pairs well with a glass of cold milk.
Cardamom Snickerdoodles
Swap the cinnamon for ground cardamom. It’s a floral, spicy flavor that feels very sophisticated. Great for holidays.
Gluten-Free
Use a 1:1 gluten-free flour blend. I’ve tested King Arthur Measure for Measure, and it works perfectly. Add an extra teaspoon of xanthan gum if your blend doesn’t have it.
Vegan
Use vegan butter (like Miyoko’s) and an egg replacer like flax eggs. The texture will be slightly different, but still tasty. I prefer the no-bake chocolate almond date bars for vegan options, but this works in a pinch.
Nutty Twist
Add ½ cup of toasted pecans or walnuts to the dough. The nuts complement the brown butter flavor beautifully.
Serving & Storage
How to Serve:
I usually serve these warm, straight out of the oven, with a cold glass of milk. But they’re also great for lunchboxes or office parties because they’re not too messy. They hold their shape well.
Side Dishes:
These are a dessert, so they don’t really need sides. But if you’re making a spread, they pair well with spiced apple cider or just plain milk.
Storage Instructions:
Refrigerator: Not recommended. The humidity will make them soft. Store at room temperature.
Freezing: You can freeze the baked cookies for up to 3 months. Let them thaw at room temperature. Or freeze the dough balls and bake from frozen (add 1-2 minutes to bake time).
Pro Tip: If your kitchen is humid, add an extra teaspoon of flour to the dough. It helps absorb moisture and keeps them crisp.
Nutrition Information
I’m not a nutritionist, but here’s the breakdown if you’re tracking. Note that this is an estimate based on standard ingredients.
Per Serving (based on 24 cookies):
- Calories: 140
- Protein: 2g
- Carbs: 18g
- Fiber: 0.5g
- Sugar: 10g
- Fat: 7g
- Saturated Fat: 4g
- Cholesterol: 15mg
- Sodium: 90mg
What’s Good:
- Small portion size helps control sugar intake.
- Simple ingredients, no artificial additives.
What to Know:
- Higher in sugar and saturated fat due to butter and sugar content.
- Contains gluten and dairy.
My Take:
Look, these are cookies. They’re meant to be enjoyed. They’re not a health food, but they’re better than store-bought cookies that have preservatives. When I make these, I enjoy two and call it a day. Moderation is key, but honestly, they’re so good you won’t want to overeat them.
Final Thoughts
So that’s my go-to ultra-crisp brown butter snickerdoodle recipe! I’ve probably talked your ear off at this point, but when you make a recipe this often, you have a lot to say about it. These cookies have saved weeknight dinners more times than I can count. They’re my answer to “what’s for dessert” when I’m tired, don’t want takeout, and still want something that tastes really good. My kids are happy, my husband’s happy, and I’m happy because I’m not stressed about cooking.
Make it yours! Try different extracts, add nuts, or swap the cinnamon for cardamom. The best recipes are the ones you adapt to your family’s tastes. If you make this, drop a comment and let me know what you think! I love hearing how recipes turn out in your kitchen. And if something doesn’t work, tell me that too—I’m here to help troubleshoot.
Happy baking! And I hope your kitchen smells half as good as mine does right now.
Frequently Asked Questions
Can I use salted butter?
You can, but reduce the added salt in the recipe to ¼ teaspoon. Salted butter varies in salt content, so it’s hard to control. I always recommend unsalted so you have full control over the flavor.
Why did my cookies spread too much?
Usually, this means the butter wasn’t cool enough when you mixed it, or the dough wasn’t chilled long enough. Warm butter melts too fast in the oven. Make sure your butter is just warm, not hot, and chill the dough for at least 30 minutes.
Can I make the dough ahead?
Yes! You can store the dough in the fridge for up to 3 days. Or, scoop the dough balls and freeze them on a baking sheet. Once frozen, transfer them to a bag. Bake from frozen, adding 1-2 minutes to the bake time.
Why are my cookies soft instead of crisp?
If you want them crisp, you need to bake them until the edges are golden brown. They will still look soft in the center when you take them out, but they will crisp up as they cool on the rack. Don’t underbake them! Also, ensure you’re using white sugar, not brown sugar, for the dough.
Can I substitute the brown butter with regular butter?
You can, but you’ll miss out on that deep, nutty flavor that makes these cookies special. Regular butter snickerdoodles are good, but brown butter snickerdoodles are *amazing*. It’s worth the extra 5 minutes.
How do I store these to keep them crisp?
Store them in an airtight container at room temperature. If they get soft, you can crisp them up in the oven at 300°F for 3-5 minutes. Avoid storing them in the fridge, as the moisture will make them soggy.
Pin This Recipe!
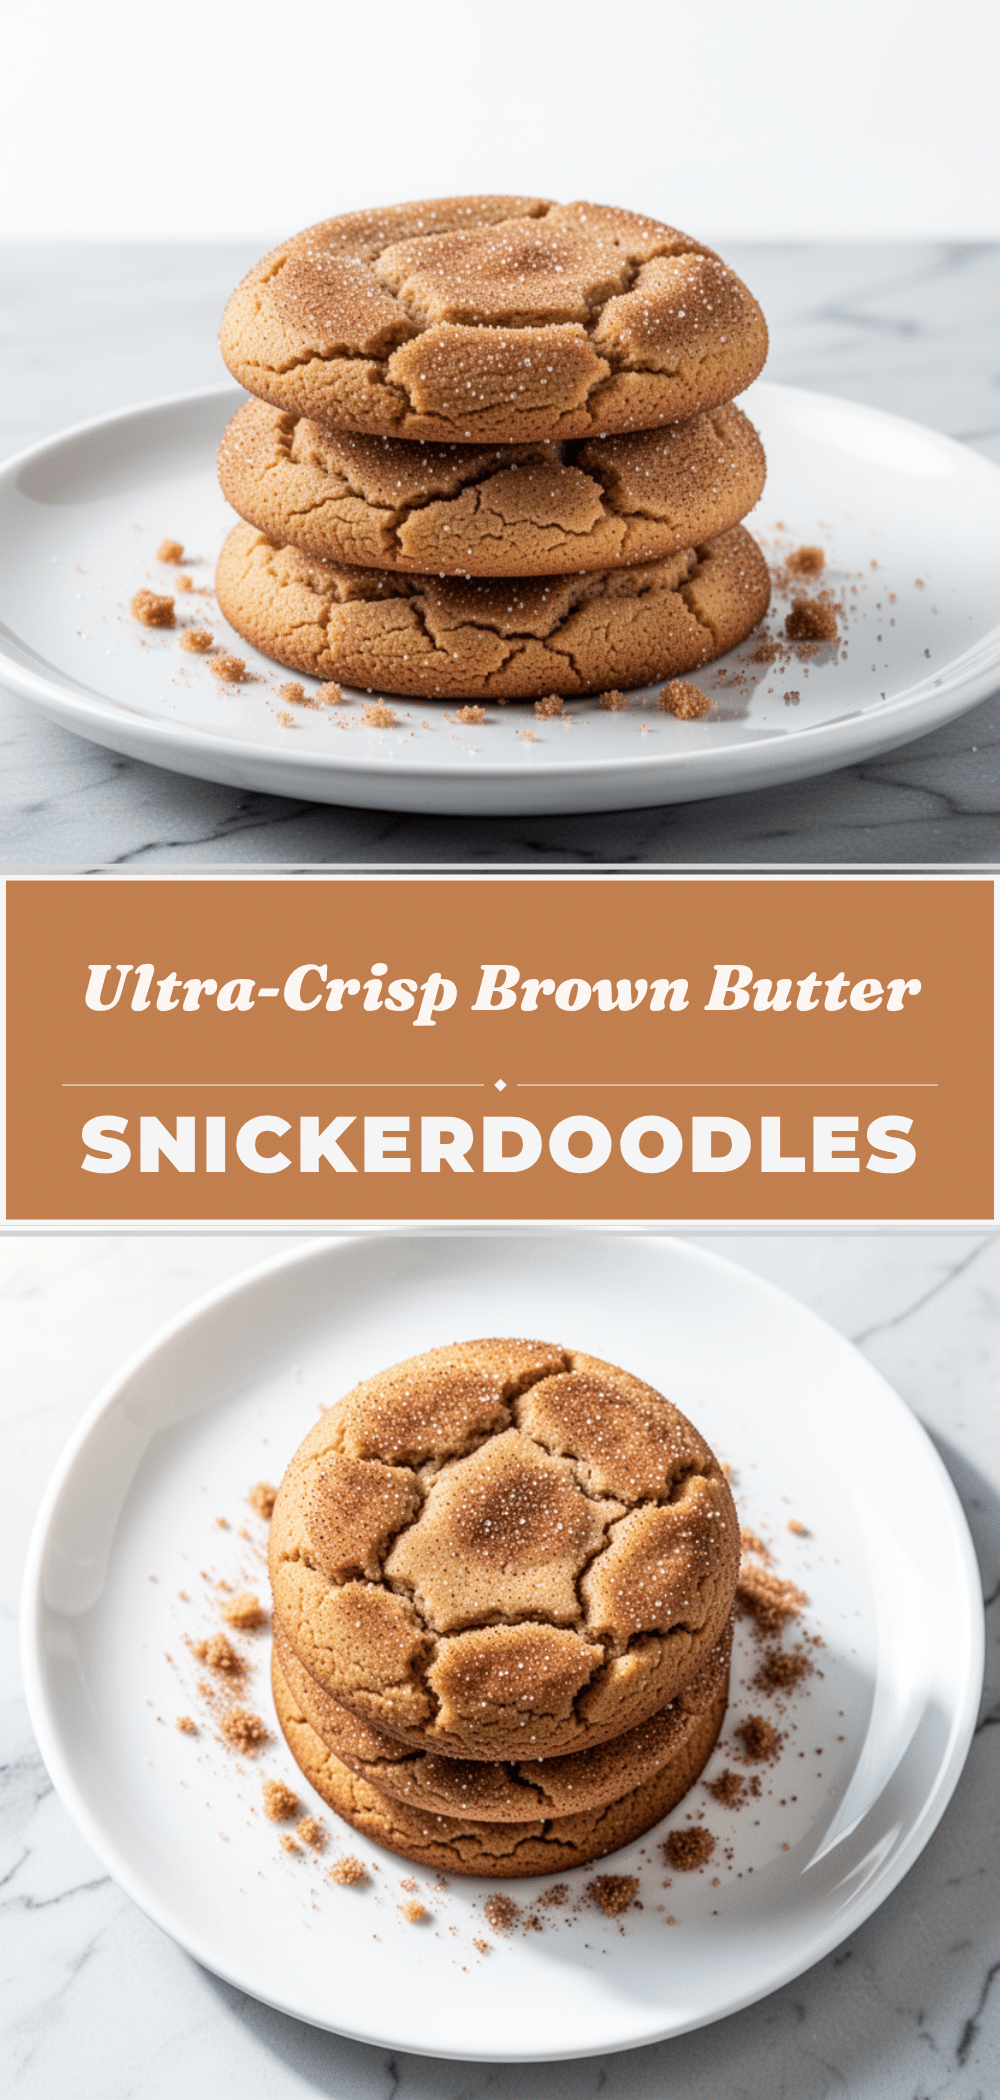
Ultra-Crisp Brown Butter Snickerdoodles: Easy Weeknight Cookies
- Total Time: 45 minutes
- Yield: 24 cookies 1x
Description
These ultra-crisp brown butter snickerdoodles are thin, crunchy on the edges, and slightly chewy in the center. They offer a complex, nutty flavor depth and come together in under an hour, making them the perfect quick weeknight dessert.
Ingredients
- 1 cup (226g) unsalted butter
- 2 ½ cups (315g) all-purpose flour
- 1 teaspoon baking soda
- ½ teaspoon salt
- 1 cup (200g) granulated sugar (for dough)
- 1 teaspoon vanilla extract
- ½ cup (100g) granulated sugar (for coating)
- 1 tablespoon ground cinnamon
Instructions
- Brown the butter in a large saucepan over medium heat, stirring constantly until it smells like toasted nuts and turns golden brown. Remove from heat and pour into a heat-proof bowl to cool until just warm.
- In a large bowl, whisk the cooled brown butter, 1 cup granulated sugar, and vanilla extract vigorously for about a minute until the mixture is slightly lighter in color.
- In a separate medium bowl, whisk together the flour, baking soda, and salt.
- Gradually add the dry ingredients to the wet ingredients and mix until just combined. Do not overmix.
- Wrap the dough in plastic wrap and refrigerate for at least 30 minutes (ideally 1-2 hours) to chill.
- Preheat oven to 350°F (175°C). Line two baking sheets with parchment paper.
- In a small bowl, mix the remaining ½ cup granulated sugar and cinnamon for the coating.
- Scoop tablespoon-sized balls of chilled dough and roll them in the cinnamon-sugar mixture.
- Place dough balls on baking sheets about 2 inches apart.
- Bake for 10-12 minutes until edges are golden brown and crisp, but centers may still look slightly soft.
- Let cookies sit on the baking sheet for 5 minutes, then transfer to a wire rack to cool completely.
Notes
Ensure butter is cooled before mixing to prevent melting the sugar. Chilling the dough is crucial for crisp texture. Store in an airtight container at room temperature. If cookies soften, crisp them in a 300°F oven for 3 minutes.
- Prep Time: 15 minutes
- Cook Time: 30 minutes
- Category: Dessert
- Cuisine: American
Nutrition
- Serving Size: 1 cookie
- Calories: 140
- Sugar: 10
- Sodium: 90
- Fat: 7
- Saturated Fat: 4
- Carbohydrates: 18
- Fiber: 0.5
- Protein: 2
Keywords: brown butter, snickerdoodles, crisp cookies, weeknight dessert, easy cookies, cinnamon sugar, nutty cookies


