Let’s be real for a second. Last Friday night, I was exhausted. You know that specific kind of tired where your brain is fried but your body is still buzzing with the need to do something? I was staring into my open fridge, the light flickering slightly, hoping a miracle dinner would jump out at me. There was nothing. Just a half-empty jar of pickles and some sad-looking spinach. But I was craving that salty, cheesy, crunchy fix that only comes from ordering overpriced appetizers at a restaurant.
I considered just making toast. Again. But then I remembered I had a block of mozzarella in the drawer and a box of panko breadcrumbs gathering dust in the back of the pantry. It was a gamble. Would it work? Would it be messy? Would my husband actually like it?
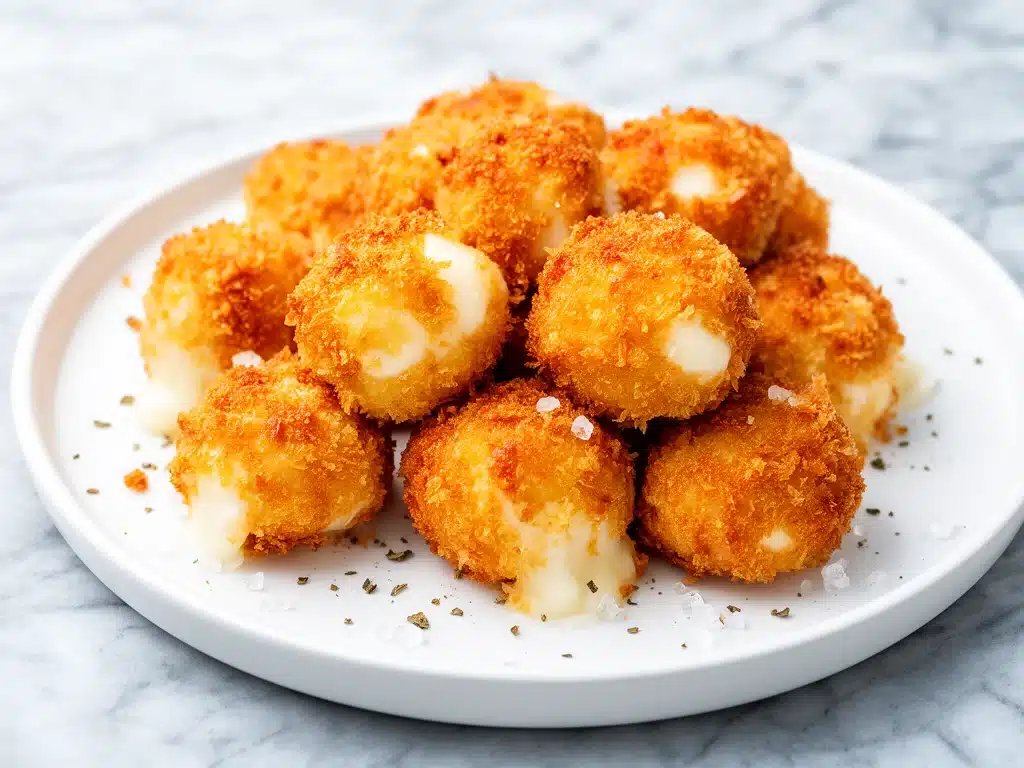
Enter the crispy baked mozzarella bites. I threw them in the oven, set a timer for ten minutes, and waited. When they came out, golden brown and bubbling, the smell alone was worth the effort. We ate them straight off the baking sheet, burning our fingers in the process. They were better than any restaurant version I’ve ever had, and they cost less than a single appetizer plate.
That night changed my snack game forever. I’ve made these crispy baked mozzarella bites probably twenty times since then. Sometimes for movie nights, sometimes as a late-night craving killer, and occasionally as a “I need to feel like a good parent” snack for my kids. They are stupidly simple, they come together in minutes, and they deliver that perfect contrast of crispy exterior and gooey, stretchy interior cheese. If you’re looking for an easy snack that feels indulgent without the guilt of deep frying, this is it.
Why You’ll Love This Recipe
There are about a dozen reasons I keep making these mozzarella bites on repeat, but here are the big ones that keep them in my regular rotation.
Lightning Fast — Seriously, if you can chop a piece of string cheese in half and dip it in flour, you can make this. The active prep time is maybe 10 minutes. The baking time is another 10-12 minutes. It’s faster than waiting for a delivery driver to ring your doorbell.
Healthier Than Fried — We’re baking, not deep frying in a vat of oil. Sure, it’s still cheese and breadcrumbs, but you’re saving a ton of calories and fat. I feel slightly less guilty eating these while watching TV. Plus, no splatter on my stove. Ever.
Crowd-Pleaser Status — I’ve served these to my picky eater brother, my foodie friends, and my kids’ friends. Everyone loves them. They’re universally appealing. It’s the one snack where no one complains about the texture.
Perfectly Portable — Unlike a hot pizza slice that gets soggy in the car, these hold up well. I pack them in a container for work lunches or car rides. They reheat nicely in the air fryer if you’re feeling lazy.
Zero Stress — There’s no complicated technique here. No tempering chocolate, no folding egg whites, no watching a sauce like a hawk. You coat, you bake, you eat. It’s foolproof. I’ve made these while one-handed holding a crying toddler. It works.
This is my go-to when I need a snack that feels special but requires zero effort. No fancy ingredients, no complicated steps, just reliable, delicious food that makes everyone happy.
Ingredients You’ll Need
Here’s the best part: you probably have most of this already. I’m particular about three things here, but the rest is basic pantry stuff.
Low-Moisture Mozzarella Cheese (1 block, 8oz / 225g) — This is non-negotiable. Do not use fresh mozzarella balls (the ones in water). They are too wet and will fall apart. You need the firm block that you grate yourself. I buy the 8oz block and cut it into cubes. It holds its shape much better.
All-Purpose Flour (½ cup / 60g) — This is the first layer of the breading. It helps the egg wash stick to the cheese. Standard white flour works fine. I don’t bother with fancy stuff here.
Eggs (2 large) — Beaten. Just crack them into a bowl and whisk with a fork until uniform. I use large eggs because they give the right volume. If you’re out, you can try a flax egg, but it won’t be as crispy.
Panko Breadcrumbs (1 cup / 100g) — This is the secret to the crunch. Regular breadcrumbs are too dense and powdery. Panko creates those big, airy, crispy shards that shatter when you bite. I buy the Japanese-style panko. It’s worth the extra dollar.
Italian Seasoning (1 tablespoon) — Adds that classic savory flavor. If you don’t have it, mix dried basil, oregano, and thyme. Or just use garlic powder and onion powder. I keep a jar of it because I use it everywhere.
Garlic Powder (1 teaspoon) — Adds a subtle background note. It’s not garlic-y, just savory. If you’re sensitive to garlic, skip it, but I think it balances the richness of the cheese.
Salt and Black Pepper (to taste) — A pinch of salt in the panko helps bring out the flavor. Don’t skip it.
Cooking Spray — I use avocado oil spray or olive oil spray. It helps the breadcrumbs brown evenly. You could brush with oil, but spray is easier and less messy.
Optional: Parmesan Cheese (2 tablespoons, grated) — I sometimes mix a little grated parmesan into the panko. It adds a nutty, salty depth. It’s not essential, but it’s a nice upgrade.
For Serving: Marinara Sauce — For dipping. I like a good quality jarred sauce, or I make my own buffalo sauce if I want a spicy kick. It’s the perfect companion.
Equipment Needed
You don’t need fancy equipment for this. Here’s what I actually use.
Baking Sheets — I use two large rimmed baking sheets. They need to be big enough to hold the bites in a single layer. I line them with parchment paper. It makes cleanup instant. If you don’t have parchment, grease the sheet well.
Three Shallow Bowls — You need three bowls for the dredging station: one for flour, one for egg, one for panko. I use pie dishes or shallow cereal bowls. They’re the perfect depth. If you only have two bowls, you’ll have to wash one in between, which is annoying. Just get three.
Cheese Knife or Sharp Knife — To cut the mozzarella block. A regular chef’s knife works, but a cheese knife makes clean cuts without squishing the block. I learned this the hard way with a dull knife.
Fork or Whisk — For beating the eggs. A fork is fine. I don’t bother with a whisk for two eggs.
Measuring Cups and Spoons — Standard stuff. Dollar store versions work fine. Accuracy isn’t super critical here, but it helps if you’re consistent.
Parchment Paper — Highly recommended. It prevents sticking and saves you from scrubbing the pan later. I’m lazy, so this is my best friend.
Air Fryer (Optional) — If you have an air fryer, you can cook these in there at 375°F for 6-8 minutes. They get even crispier. I switch between the oven and air fryer depending on how much else I’m cooking.
How to Make It: Step-by-Step

Alright, let’s make these crispy baked mozzarella bites! I’m walking you through exactly how I do it, including the little tricks I’ve picked up so they don’t melt into a puddle.
Step 1: Prep the Cheese (5 minutes)
Take your block of low-moisture mozzarella and cut it into 1-inch cubes. If you’re using a whole block, that’s about 16-20 cubes. Try to keep them uniform so they cook evenly. If they’re too small, they’ll melt too fast. If they’re too big, the breading might not stick well. I aim for bite-sized, but not tiny.
Step 2: Set Up Your Dredging Station (2 minutes)
Get your three bowls ready. Bowl 1: Flour. Bowl 2: Beaten eggs. Bowl 3: Panko mixed with Italian seasoning, garlic powder, salt, and pepper. Mix the dry ingredients in the third bowl thoroughly. You want the seasoning distributed evenly so every bite has flavor.
Step 3: The Dredge (5 minutes)
This is the most important part. Take a cube of cheese and dredge it in the flour. Shake off any excess. You just want a light coating. Next, dip it into the egg wash. Let the excess drip off—don’t drown it. Finally, roll it in the panko mixture. Press the breadcrumbs onto the cheese gently. You want them to stick. If they fall off, dip it back in the egg and panko. Double-coating is an option if you’re worried about melting, but one good coat is usually enough if you’re careful.
Pro Tip: Work quickly. The cheese is cold, but it starts to warm up the second it leaves the fridge. If the cheese gets too soft, the breading won’t stick. If you’re slow, put the coated bites back in the fridge for 5 minutes to firm up.
Step 4: Arrange on Baking Sheet
Place the coated bites on your parchment-lined baking sheet. Leave a little space between them. They don’t spread much, but they need air circulation to get crispy on all sides. Don’t crowd the pan.
Step 5: Spray and Bake (10-12 minutes)
Preheat your oven to 400°F (200°C). Once hot, spray the tops of the bites lightly with cooking spray. This helps them brown. Bake for 10-12 minutes. Watch them closely after 8 minutes. You want them golden brown and crisp. If they start to brown too fast, lower the heat by 25 degrees. If they’re still pale, give them another 2-3 minutes.
Step 6: Cool and Serve
Remove from the oven and let them cool for 2-3 minutes. This is crucial. The cheese is molten lava inside. If you bite immediately, you’ll burn your mouth. Let them sit so the cheese sets slightly. Then serve with marinara for dipping.
Expert Tips & Tricks
Here’s everything I’ve learned from making these dozens of times. These tips will save you from my mistakes.
Freeze Them First
This is the #1 tip. After you coat the bites, put the baking sheet in the freezer for 20-30 minutes before baking. Frozen cheese holds its shape much better in the oven. It gives the breading time to set before the cheese melts. I always do this now. It’s a game-changer.
Don’t Skip the Flour
It’s tempting to skip the flour and go straight to egg, but the flour creates a barrier between the cheese and the egg. It helps the coating adhere. Without it, the breading slides off.
Use Low-Moisture Mozzarella
Again, I can’t stress this enough. Fresh mozzarella is too wet. It will leak out and make a mess. Low-moisture block mozzarella is firm and melts beautifully without collapsing.
Panko is Key
Regular breadcrumbs are too fine. They’ll burn before the cheese melts. Panko has larger flakes that stay crispy longer. If you don’t have panko, crush some crackers or use crushed cornflakes as a last resort.
Watch the Oven
Ovens vary. My oven runs hot. Check your bites at 8 minutes. If they’re golden, they’re done. If they’re still pale, give them more time. Burnt breadcrumbs taste bitter and ruin the dish.
Double Dip for Extra Crisp
If you’re worried about melting, dip the cheese in flour, then egg, then panko, then egg again, then panko again. It creates a thicker shield. It’s more work, but worth it for beginners.
Variations & Substitutions
Once you’ve nailed the basic version, here’s how you can mix it up. I’ve tried all of these.
Spicy Version
Add red pepper flakes to the panko mixture. Or serve with a spicy marinara. I like adding a pinch of cayenne to the flour for a hidden kick.
Herb-Crusted
Use fresh chopped parsley and basil instead of dried Italian seasoning. It adds a fresher taste. Add it to the panko mixture.
Garlic Parmesan
Mix grated parmesan and extra garlic powder into the panko. It’s richer and saltier. Great for dipping in ranch.
Gluten-Free
Use gluten-free flour and gluten-free panko breadcrumbs. Many brands make good GF panko now. Just check the label. The technique stays the same.
Vegan Option
Use vegan mozzarella sticks or blocks. They melt differently, so freeze them longer. Use flax eggs instead of regular eggs. It’s not exactly the same, but it’s close.
Different Cheeses
You can try cheddar or provolone, but they melt faster. Mozzarella is ideal because it’s stretchy and doesn’t separate as easily. Stick with mozzarella for the best results.
Serving & Storage
How to Serve:
I usually serve these straight from the baking sheet with small bowls of marinara for dipping. They look rustic and homemade. But here are other ways I’ve enjoyed them:
Side Dishes:
– Simple arugula salad with lemon vinaigrette (cuts the richness)
– Garlic bread (obviously)
– A light soup like tomato bisque
Toppings Bar:
When I have guests, I put out: extra parmesan, red pepper flakes, fresh basil, ranch dressing, and marinara. Everyone customizes their dipping experience.
Storage Instructions:
Refrigerator:
Store leftovers in an airtight container for up to 2 days. They won’t be as crispy, but they’re still good.
Reheating:
Best method: Air fryer at 350°F for 3-4 minutes. Or oven at 375°F for 5 minutes. Microwave makes them soggy. Avoid it if you can. If you must microwave, do it in 15-second bursts.
Freezing:
Yes, you can freeze them! After coating, freeze on the baking sheet until solid, then transfer to a freezer bag. Bake from frozen, adding 2-3 minutes to the cooking time. They’re almost as good as fresh.
Nutrition Information
I’m not a nutritionist, but here’s the breakdown if you’re tracking. This is per serving (based on 4 servings, 4 bites each).
| Nutrient | Amount |
|---|---|
| Calories | 280 |
| Protein | 12g |
| Carbs | 22g |
| Fat | 16g |
| Fiber | 1g |
| Sugar | 2g |
What’s Good:
– Decent protein from the cheese
– Lower calorie than fried versions
– Simple ingredients
What to Know:
– Higher in saturated fat from the cheese
– Contains gluten and dairy
– Moderate sodium
My Take:
Look, these are a treat. They’re cheese and breadcrumbs. It’s not a health food. But they’re far better than store-bought frozen appetizers, and you control the ingredients. When I make them, I use less oil spray and watch the portion size. But usually? I just eat them and enjoy the crunch.
Final Thoughts
So that’s my go-to crispy baked mozzarella bites! I’ve probably talked your ear off at this point, but when you make a recipe this often, you have a lot to say about it.
This has saved movie nights more times than I can count. It’s my answer to “what’s a snack?” when I’m tired, don’t want takeout, and still want something that tastes really good. My kids are happy, my husband’s happy, and I’m happy because I’m not stressed about cooking.
Make it yours! Try different seasonings, dip in different sauces, adjust the garlic. The best recipes are the ones you adapt to your family’s tastes. If you make this, drop a comment and let me know what you think! I love hearing how recipes turn out in your kitchen. And if something doesn’t work, tell me that too—I’m here to help troubleshoot.
Happy snacking! And I hope your kitchen smells half as good as mine does right now.
Frequently Asked Questions
Q: Can I use fresh mozzarella?
A: You can, but it’s risky. Fresh mozzarella is very wet and soft. It will likely melt and leak out of the breading. If you must use it, pat it extremely dry with paper towels and freeze it longer. But low-moisture block mozzarella is much more reliable.
Q: Why did my mozzarella bites melt and make a mess?
A: This usually happens if the cheese was too warm when you coated it, or if you didn’t freeze them first. The breading needs time to set. Always freeze the coated bites for at least 20 minutes before baking. Also, don’t bake at too high a temperature. 400°F is the sweet spot.
Q: Can I make these ahead of time?
A: Yes! Coat them, freeze them on the baking sheet, then transfer to a bag. They’ll keep in the freezer for up to 3 months. Bake from frozen, adding a couple of minutes to the cook time. This is my favorite way to prep for parties.
Q: What’s the best dipping sauce?
A: Marinara is classic. But ranch, garlic aioli, spicy buffalo sauce, or even a simple yogurt-dill dip works great. I like switching it up to keep it interesting.
Q: Can I use an air fryer?
A: Absolutely. Preheat to 375°F. Cook for 6-8 minutes, flipping halfway through. They get incredibly crispy. Just watch them closely because air fryers vary in power.
Q: How do I reheat leftovers?
A: Oven or air fryer is best. Microwave makes them soggy. Heat at 350°F for 5-7 minutes until warm and crispy again.
Q: Can I double the recipe?
A: Yes! Just make sure you have enough baking sheet space. Don’t overcrowd the pan, or they’ll steam instead of bake. You might need two batches.
Pin This Recipe!
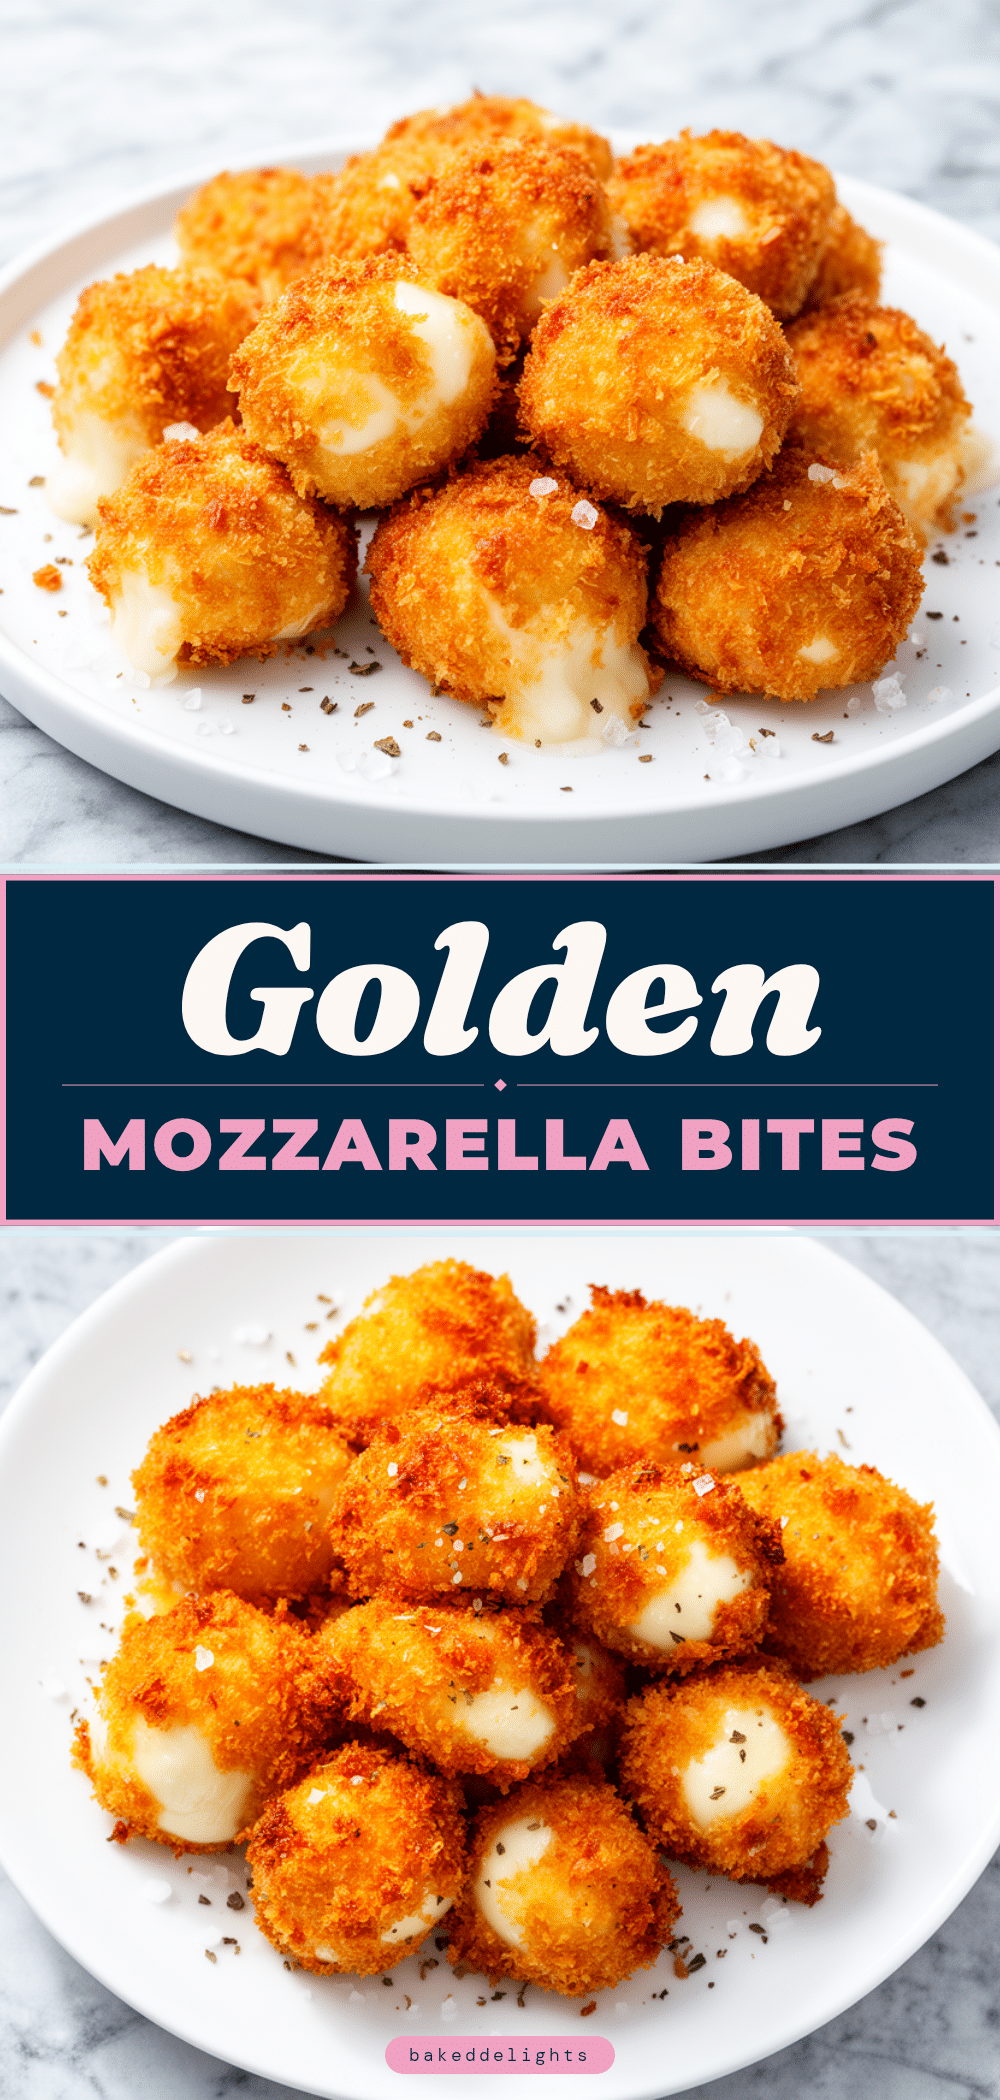

Crispy Baked Mozzarella Bites
- Total Time: 20 minutes
- Yield: 4 servings 1x
Description
A quick, easy, and healthier alternative to fried appetizers, these baked mozzarella bites feature a crispy panko crust and gooey, stretchy cheese interior. Ready in just 20 minutes, they are perfect for snacks, movie nights, or parties.
Ingredients
- 1 block (8oz / 225g) low-moisture mozzarella cheese, cut into 1-inch cubes
- ½ cup (60g) all-purpose flour
- 2 large eggs, beaten
- 1 cup (100g) panko breadcrumbs
- 1 tablespoon Italian seasoning
- 1 teaspoon garlic powder
- Salt and black pepper to taste
- Cooking spray (avocado oil or olive oil)
- 2 tablespoons grated Parmesan cheese (optional)
- Marinara sauce for serving
Instructions
- Preheat your oven to 400°F (200°C). Line two large rimmed baking sheets with parchment paper.
- Set up a dredging station with three shallow bowls: one with flour, one with beaten eggs, and one with panko mixed with Italian seasoning, garlic powder, salt, and pepper.
- Dredge each mozzarella cube in flour, shaking off excess. Dip into the egg wash, letting excess drip off, then roll in the panko mixture, pressing gently to adhere.
- Place coated bites on the prepared baking sheets, leaving space between them for air circulation.
- For best results, freeze the coated bites on the baking sheet for 20-30 minutes to help them hold their shape.
- Lightly spray the tops of the bites with cooking spray.
- Bake for 10-12 minutes, or until golden brown and crisp. Watch closely after 8 minutes to prevent burning.
- Remove from the oven and let cool for 2-3 minutes before serving to allow the cheese to set slightly.
- Serve warm with marinara sauce for dipping.
Notes
Use low-moisture block mozzarella, not fresh mozzarella balls, as they are too wet and will fall apart. Freezing the coated bites before baking is crucial to prevent melting. If you want extra crispiness, double-coat by dipping in egg and panko twice. For air fryer instructions, cook at 375°F for 6-8 minutes.
- Prep Time: 10 minutes
- Cook Time: 10-12 minutes
- Category: Snack
- Cuisine: American
Nutrition
- Serving Size: 4 bites per serving
- Calories: 280
- Sugar: 2
- Sodium: 450
- Fat: 16
- Saturated Fat: 8
- Carbohydrates: 22
- Fiber: 1
- Protein: 12
Keywords: mozzarella bites, baked mozzarella, easy snack, appetizer, panko, cheese snack, family friendly, quick recipes


