I have a confession to make. Last Saturday, I was supposed to be making a proper dessert for a dinner party. You know the kind—something that looks like it came out of a fancy patisserie, with perfect piping and those little gold-dusted macarons that cost more than my grocery budget. I had spent the morning trying to get meringue peaks that actually stayed stiff, and by 4 PM, I was covered in egg whites, my kitchen looked like a snowstorm, and the meringue had wept all over the counter. It was a disaster.
In a moment of panic, I looked at the fridge and saw a carton of heavy cream, a tub of vanilla yogurt, and a pint of strawberries that were starting to get a little soft. I didn’t have time to bake. I didn’t have time to cool anything. So, I grabbed some store-bought pound cake, threw it in a bowl, and started layering. I was going to make a trifle. But not just any trifle. I wanted something light, airy, and ridiculously easy that wouldn’t make me want to scream.
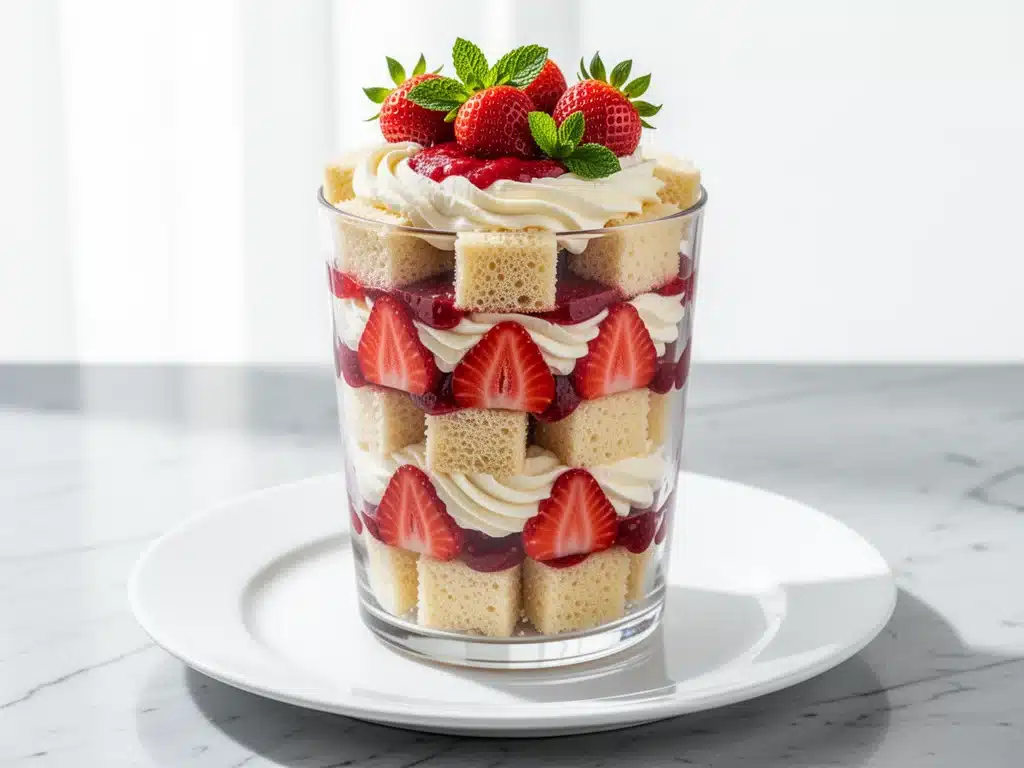
What came out of those little glass cups was honestly better than the meringue disaster I almost made. It was fluffy. It was bright. It was the kind of dessert that makes people ask, “Did you make this yourself?” when you clearly did it in 20 minutes. That’s when I fell in love with these Fluffy Strawberry Shortcake Trifle Cups. They’re basically a deconstructed strawberry shortcake, but in a form that’s impossible to mess up and way more fun to eat with a spoon. I’ve made them for brunch, for last-minute guests, and just because I wanted something sweet without the guilt of a heavy cake. And every single time? They disappear.
Why You’ll Love This Recipe
There are about ten reasons I keep coming back to this recipe, but let’s be real—you’re here because you want something that tastes amazing but doesn’t require a degree in pastry arts. Here’s why these trifle cups have taken over my kitchen:
- Zero Baking Required — Seriously. I used store-bought pound cake because life is too short to wait for an oven to preheat. But if you want to bake a quick loaf, that’s cool too. The point is, you can make this in under 30 minutes. I’ve made this while helping my kids with homework. It’s that fast.
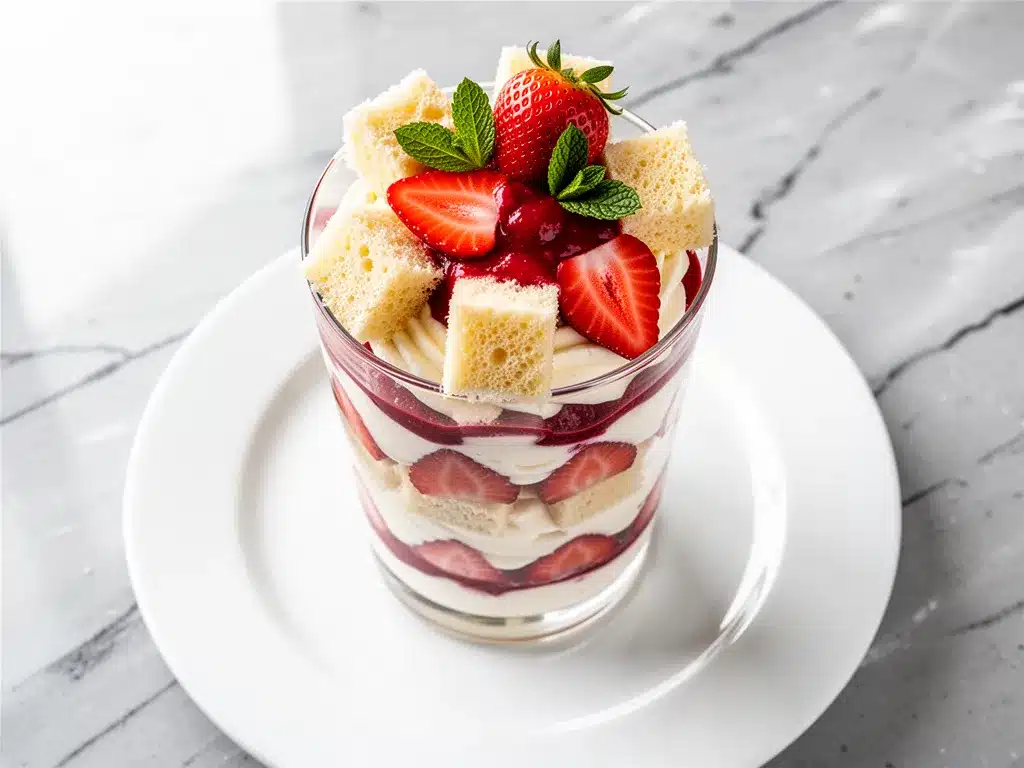
- Visually Stunning (But Lazy-Friendly) — There’s something magical about seeing layers in a clear glass. It looks like you spent hours arranging it, but really, you just scooped stuff into a cup. It’s perfect for Instagram, but also for your Tuesday night craving when you don’t want to clean up a mess.
- Perfectly Portioned — I hate making a whole cake and then having to figure out how to store it for a week. These individual cups are genius. You make exactly as many as you need. No leftovers staring at you from the fridge, wondering why they’re there.
- Light and Not Overly Sweet — Traditional shortcake can be a sugar bomb. This version uses vanilla yogurt and fresh fruit to balance the sweetness. It’s bright, tangy, and creamy without feeling heavy. You can eat two cups and still feel good about yourself.
- Make-Ahead Friendly — You can assemble these up to 4 hours before serving. In fact, I think they taste even better the next day because the cake has soaked up all that strawberry juice. It’s a flavor party in a glass.
This is my go-to when I need to impress people but have zero energy. It’s reliable, beautiful, and delicious. Just like soft pretzel cookie bars, it’s a dessert that feels fancy but is actually super simple to pull together.
Ingredients You’ll Need
Here’s the best part: you probably have most of this already. I’m not asking you to hunt down exotic ingredients from three different specialty stores. This is pantry-friendly, fresh, and simple.
For the Cake Base
Pound Cake (about 12-16 ounces / 340-450g) — I use store-bought for speed, but any dense, buttery cake works. A plain vanilla pound cake is classic. You could also use brown butter chocolate chip cookies crumbled up for a fun twist, but stick to the classic for the authentic shortcake vibe. Cut into 1-inch cubes. You want them small enough to fit in the cup but big enough to hold their structure.
For the Strawberry Layer
Fresh Strawberries (2 pints / 900g) — Look for bright red, firm berries. If they’re mushy, they’ll turn your trifle into soup. Hull them and slice them in half. If you’re using frozen strawberries (okay, I won’t judge if you’re in winter), thaw them completely and drain the excess liquid. Fresh is best, though.
Granulated Sugar (2 tablespoons / 25g) — This draws out the juices from the strawberries. Don’t skip it, or the fruit will taste bland. Toss the berries with the sugar and let them sit for 15 minutes. That liquid? That’s strawberry gold.
Lemon Juice (1 teaspoon / 5ml) — Just a splash. It brightens up the sweetness and keeps the berries from tasting flat. Trust me on this.
For the Fluffy Cream
Heavy Whipping Cream (2 cups / 480ml) — Cold is crucial. If your cream is warm, it won’t whip. Keep it in the fridge until the second you need it.
Vanilla Yogurt (1 cup / 240g) — This is the secret weapon. It adds tang and lightness, making the cream feel less dense than pure whipped cream. Greek yogurt works too, but vanilla yogurt adds that sweet shortcake flavor. Plain yogurt works but you’ll need extra sugar.
Confectioners’ Sugar (2 tablespoons / 15g) — Just enough to sweeten the cream slightly. Adjust based on how sweet your yogurt is.
Vanilla Extract (1 teaspoon / 5ml) — Pure vanilla, please. The artificial stuff tastes chemical in delicate desserts.
For Garnish
Extra Strawberries (a few, sliced thin) — For topping. Make it pretty.
Mint Leaves (small sprigs) — Adds a pop of green color that looks professional. Optional, but highly recommended for that “I tried” look.
Equipment Needed
You don’t need fancy gadgets for this. Here’s what I actually use:
- Clear Glasses or Jars — 8-10 oz capacity. I use mason jars or simple tumblers. The clear glass is non-negotiable because the layers are the point.
- Mixing Bowls — Two large bowls. One for the strawberries, one for the cream.
- Electric Hand Mixer or Stand Mixer — Whip cream by hand if you’re a gladiator, but a mixer is faster and gives more consistent results.
- Spatula — For folding the cream gently so you don’t deflate it.
- Knife and Cutting Board — For slicing cake and berries.
- Spoons — For layering. A tablespoon is perfect.
Keep it simple. You don’t need a piping bag unless you want to be extra fancy. A spoon works just fine for getting that rustic, homemade look.
How to Make It: Step-by-Step
Alright, let’s make this! I’m walking you through exactly how I do it, including the little tricks I’ve picked up over the years.
Step 1: Prep the Strawberries (15 minutes)
Wash your strawberries and hull them (remove the green tops). Slice them in half. Put them in a bowl and sprinkle with the 2 tablespoons of granulated sugar and the lemon juice. Toss gently to coat. Set this aside for at least 15 minutes. You’ll see the sugar dissolve and create a juicy syrup. This is crucial for flavor.
Step 2: Whip the Cream (5 minutes)
In a large, cold bowl, combine the heavy cream, vanilla yogurt, confectioners’ sugar, and vanilla extract. Beat on medium-high speed. Watch closely. You want soft peaks—when you lift the whisk, the cream should mound up and droop slightly. Do not overbeat! If you beat it too long, it’ll turn into butter. It takes about 2-3 minutes. Stop as soon as you see those soft peaks.
Step 3: Cube the Cake
While the berries are macerating, cut your pound cake into 1-inch cubes. If the cake is very dry, you can brush it lightly with a little bit of the strawberry syrup, but it’s not necessary. The cake will absorb moisture from the cream and fruit as it sits.
Step 4: Start Layering
Grab your first glass. Here’s the order that works best:
- Cake: Add a layer of cake cubes to the bottom. Fill about 1/4 of the cup. Press down gently.
- Strawberries: Spoon in some of the strawberries, including a good amount of that juicy syrup. Cover the cake layer.
- Cream: Add a generous dollop of the fluffy cream mixture. Use a spoon to spread it over the fruit, covering it completely. This acts as a barrier so the cake doesn’t get soggy too fast.
Repeat the layers: Cake, Strawberries, Cream. Finish with a final layer of cream on top.
Step 5: Garnish and Chill
Top with a few extra slices of fresh strawberry and a mint leaf. If you’re serving immediately, you can eat them now. But I recommend chilling them in the fridge for at least 30 minutes. This lets the flavors meld and the cream set slightly. It makes the texture even better.
Expert Tips & Tricks
Here’s everything I’ve learned from making this dozens of times. These tips will save you from my mistakes.
Keep Everything Cold
I can’t stress this enough. Cold cream whips better. Cold bowls help. If your kitchen is hot, put your bowl in the fridge for 10 minutes before whipping. It makes a huge difference in volume.
Don’t Skip the Sugar on the Berries
I know you’re watching your sugar intake, but the sugar on the strawberries isn’t just for sweetness. It draws out the juices. Without those juices, your trifle will taste dry and disjointed. The syrup binds all the layers together.
Fold, Don’t Stir
When you’re assembling, be gentle. If you stir the cream too aggressively, you’ll lose the airiness. Use a spatula and fold it in slowly. We want those fluffy clouds, not dense pudding.
Choose the Right Cake
Stay away from light, airy cakes like angel food or sponge cake. They’ll disintegrate into mush. You want something dense and buttery like pound cake, butter cake, or even a plain Victoria sponge. It needs to hold up against the moisture.
Common Mistakes (and how to avoid them):
Mistake: The cream is grainy. Fix: You overwhipped it. If you see curds, stop immediately. You can sometimes rescue it by gently folding in a little more cold liquid cream, but it’s risky. Better to stop earlier next time.
Mistake: The cups are too tall. Fix: Use smaller glasses. If the layers are too high, you can’t get a spoonful that has all three components. Aim for 3-4 inch tall cups.
Mistake: The cake is dry. Fix: Make sure you’re using fresh cake. Old, stale cake won’t absorb the moisture well. If you must use day-old cake, brush it with a little simple syrup or milk.
Variations & Substitutions
Once you’ve nailed the basic version, here’s how you can mix it up. I’ve tried all of these.
Seasonal Swaps
Blueberry Lemon: Swap strawberries for blueberries and use lemon zest in the cream. It’s basically a blueberry pie in a cup.
Raspberry White Chocolate: Use raspberries and fold white chocolate chips into the cream. It’s rich and tart.
Peaches and Cream: Use sliced peaches in summer. They’re juicy and sweet, just like strawberries.
Dietary Modifications
Gluten-Free: Use a gluten-free pound cake. Most brands work well. Just make sure it’s not too crumbly.
Dairy-Free: Use coconut cream (the thick part from a chilled can) instead of heavy cream, and dairy-free vanilla yogurt. It’s richer but still delicious. For the cake, use a vegan pound cake.
Lower Sugar: Use unsweetened vanilla yogurt and reduce the sugar on the berries to 1 tablespoon. Add a drop of stevia to the cream if needed. It’s less sweet but still tasty.
Pro Tricks I’ve Learned:
For Extra Flavor: Add a tablespoon of Grand Marnier or strawberry liqueur to the cream. It makes it feel like an adult dessert. (Skip this for kids, obviously.)
For Better Texture: Add a layer of crushed graham crackers or shortbread cookies between the cake and fruit. It adds a nice crunch that contrasts with the soft cream.
Serving & Storage
How to Serve:
I usually serve these chilled, straight from the fridge. They look beautiful on a dessert table alongside other treats like pomegranate honey cheesecake bars. They’re elegant but approachable.
Side Dishes:
These are desserts on their own, so you don’t need much else. Maybe some coffee or tea. They pair well with a light white wine or a sparkling rosé if you’re hosting a brunch.
Storage Instructions:
Store in the refrigerator for up to 2 days. Cover tightly with plastic wrap or lids. The cake will continue to soften, which some people love. After 2 days, the berries might start to release too much liquid, so eat them up!
Reheating:
Do not reheat these. They’re meant to be cold. The cream will separate if you warm it up.
Freezing:
I don’t recommend freezing these. The texture of the whipped cream and fresh berries changes when thawed. It becomes watery and mushy. Make them fresh for best results.
Meal Prep:
You can prep all the components (cut cake, wash berries, whip cream) the night before. Assemble them the morning of or right before serving. This is great for parties where you want to minimize day-of stress.
Nutrition Information
I’m not a nutritionist, but here’s the breakdown if you’re tracking. Keep in mind that these are estimates based on standard ingredients.
Per Serving (based on 8 cups):
- Calories: 320
- Protein: 4g
- Carbs: 38g
- Fiber: 2g
- Sugar: 24g
- Fat: 18g
- Saturated Fat: 11g
- Cholesterol: 60mg
- Sodium: 180mg
What’s Good:
– Contains fruit, so some vitamins and antioxidants.
– Portion-controlled, so you’re not eating a whole cake.
What to Know:
– Higher in sugar from the fruit syrup and added sugars.
– Contains dairy and gluten (unless modified).
My Take:
Look, this is a dessert. It’s sweet, it’s creamy, and it’s meant to be enjoyed. It’s not a health food, but it’s lighter than a slice of heavy chocolate cake. When I want to make it a bit healthier, I use less sugar on the berries and opt for Greek yogurt. But usually? I just enjoy it as a treat.
Final Thoughts
So that’s my go-to Fluffy Strawberry Shortcake Trifle Cups! I’ve probably talked your ear off at this point, but when you make a recipe this often, you have a lot to say about it.
This has saved me more times than I can count. It’s my answer to “what’s for dessert?” when I’m tired, don’t want to bake, and still want something that tastes really good. My family loves it, my friends ask for the recipe, and I love it because it’s basically foolproof.
Make it yours! Try different berries, swap the cake, or add a splash of liqueur. The best recipes are the ones you adapt to your tastes. If you make this, drop a comment and let me know what you think! I love hearing how recipes turn out in your kitchen. And if something doesn’t work, tell me that too—I’m here to help troubleshoot.
Happy cooking! And I hope your kitchen smells half as good as mine does right now.
Frequently Asked Questions
Can I use frozen strawberries?
You can, but they need to be thawed completely and drained well. Frozen strawberries release a lot of water, which can make your trifle soupy. Pat them dry with a paper towel after thawing, and reduce the sugar slightly since frozen berries are often sweeter. Fresh is still best, though.
Why did my cream turn into butter?
You overwhipped it. Heavy cream goes from liquid to soft peaks to stiff peaks to butter very quickly. If you see it starting to look grainy or separate, stop immediately. You can sometimes rescue it by gently folding in a tablespoon of cold liquid cream, but it’s risky. Next time, whip on medium speed and watch it closely.
Can I make this ahead for a dinner party?
Absolutely. You can assemble these up to 4 hours before serving. Keep them covered in the fridge. If you make them too early (like the night before), the cake might get too soggy. I recommend assembling them in the morning or early afternoon for an evening party.
What kind of cake works best?
Any dense, buttery cake works. Pound cake is the classic choice. Butter cake, vanilla cake, or even a plain sponge cake (if it’s not too airy) work well. Avoid light, fluffy cakes like angel food or chiffon, as they’ll dissolve into the cream. You want something that holds its shape.
Can I use Greek yogurt instead of vanilla yogurt?
Yes, but you’ll need to add more sugar to the cream mixture to compensate for the tartness of the Greek yogurt. Start with an extra tablespoon of sugar and adjust to taste. Vanilla yogurt gives that classic shortcake flavor, but Greek yogurt is a healthier option.
How long do these last in the fridge?
They’re best eaten within 24-48 hours. After that, the strawberries will release too much liquid, and the texture will become mushy. If you’re making them for a party, plan to serve them within a day for the best experience.
Pin This Recipe!
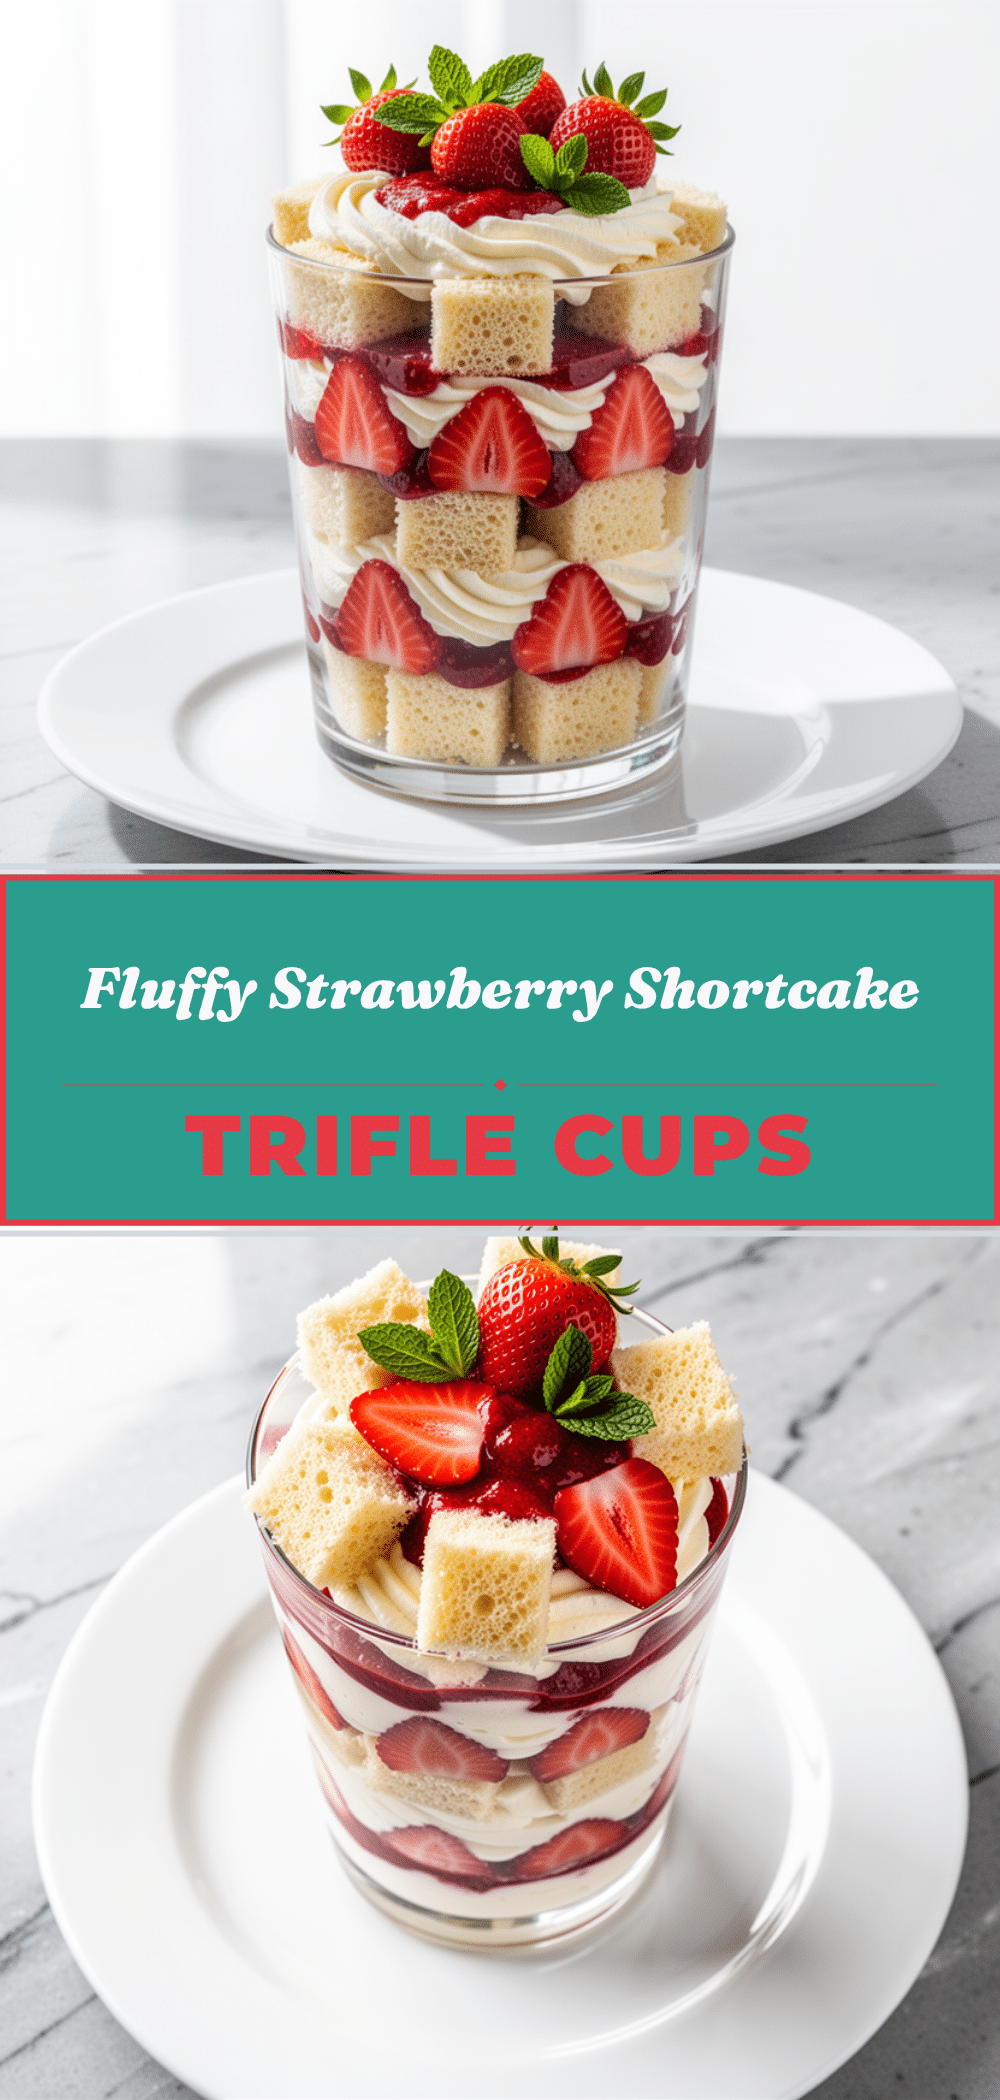
Fluffy Strawberry Shortcake Trifle Cups
- Total Time: 20 minutes
- Yield: 8 servings 1x
Description
A no-bake, layered dessert featuring cubes of pound cake, macerated strawberries, and a light vanilla yogurt whipped cream. These individual cups are visually stunning, easy to make, and perfect for last-minute entertaining.
Ingredients
- 12–16 ounces (340-450g) pound cake, cut into 1-inch cubes
- 2 pints (900g) fresh strawberries, hulled and sliced in half
- 2 tablespoons (25g) granulated sugar
- 1 teaspoon (5ml) lemon juice
- 2 cups (480ml) heavy whipping cream, cold
- 1 cup (240g) vanilla yogurt
- 2 tablespoons (15g) confectioners’ sugar
- 1 teaspoon (5ml) vanilla extract
- Extra strawberries for garnish
- Mint leaves for garnish
Instructions
- Wash and hull the strawberries, then slice them in half. Place them in a bowl and toss with granulated sugar and lemon juice. Let sit for 15 minutes to macerate and create syrup.
- In a large, cold bowl, combine heavy cream, vanilla yogurt, confectioners’ sugar, and vanilla extract. Beat on medium-high speed until soft peaks form (about 2-3 minutes). Do not overbeat.
- Cut the pound cake into 1-inch cubes.
- In a serving glass, add a layer of cake cubes filling about 1/4 of the cup.
- Spoon in a layer of strawberries along with their syrup.
- Add a generous dollop of the cream mixture, spreading it to cover the fruit.
- Repeat the layers (Cake, Strawberries, Cream) until the glass is filled, finishing with a layer of cream on top.
- Garnish with extra strawberry slices and mint leaves.
- Chill in the refrigerator for at least 30 minutes before serving to allow flavors to meld.
Notes
Keep all ingredients, especially the cream and bowls, cold to ensure the cream whips properly. Do not skip the sugar on the berries as it draws out juices for flavor. Fold the cream gently to maintain airiness. For a gluten-free version, use gluten-free pound cake. For dairy-free, use coconut cream and dairy-free yogurt. Do not freeze, as the texture will become watery.
- Prep Time: 20 minutes
- Cook Time: 0 minutes
- Category: Dessert
- Cuisine: American
Nutrition
- Serving Size: 1 cup
- Calories: 320
- Sugar: 24
- Sodium: 180
- Fat: 18
- Saturated Fat: 11
- Carbohydrates: 38
- Fiber: 2
- Protein: 4
Keywords: strawberry shortcake, trifle cups, no bake dessert, easy dessert, summer dessert, pound cake, whipped cream, make ahead dessert


