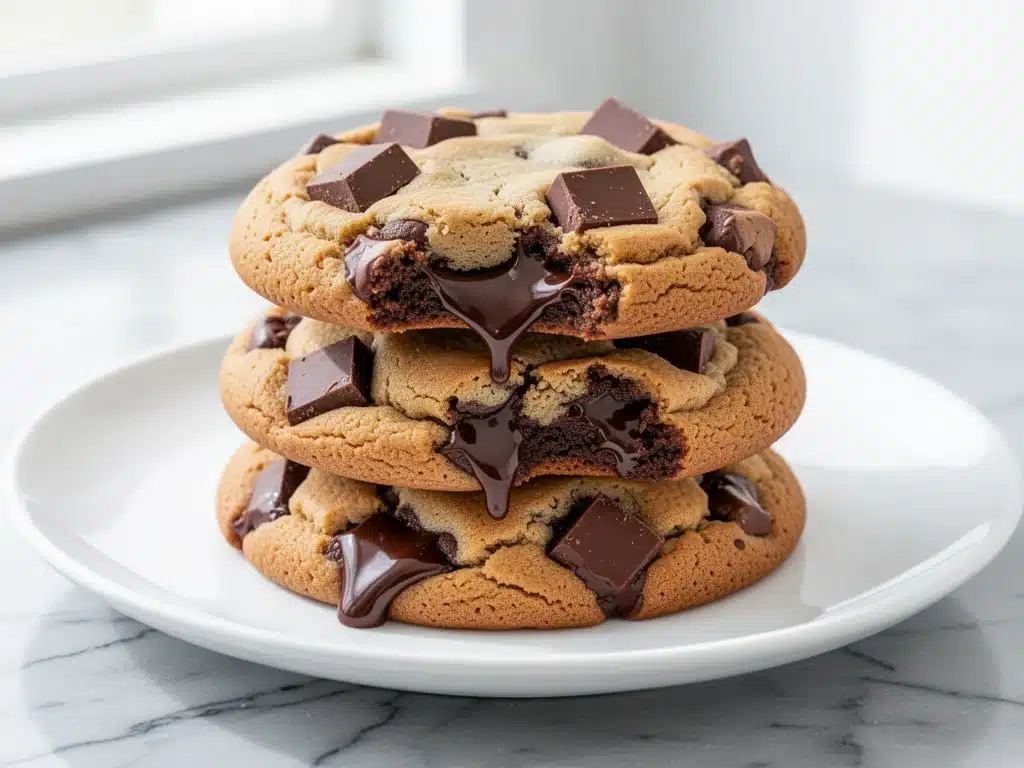
I used to think I was bad at baking cookies. For years, every batch I pulled out of the oven looked like a flat, pale disc of regret. They’d spread into oblivion, turn out cakey in the middle, or worse—crisp all the way through like I was making dog biscuits. I blamed my oven. I blamed the humidity. I blamed the brand of chocolate chips. (Spoiler: it was none of those things.)
The turning point came on a rainy Tuesday in November. I was craving something specific: the kind of cookie you get from that expensive, hipster bakery downtown. You know the ones. They’re thick. They have crispy, buttery edges that shatter when you bite them. The center is gooey and soft, like warm fudge. And they’re studded with chunks of high-quality chocolate, not tiny uniform pellets. I wanted that texture. I wanted that richness. I wanted to impress my book club without ordering takeout.
I spent three weeks testing. I adjusted the flour. I chilled the dough. I tried brown butter. I tried white chocolate. I even tried using cake flour (which was a mistake—too tender). Finally, I hit the jackpot. These soft-batch bakery-style chocolate chunk cookies are the result of that obsession. They’re thick, chewy, and impossibly rich. They smell like a Parisian patisserie. And the best part? You don’t need a mixer. You don’t need fancy ingredients. You just need patience and a little bit of technique.
My husband started asking for these on random Tuesdays. My kids cleared them out of the jar in 24 hours. Even my picky eater friend, who claims she “doesn’t like sweet things,” asked for the recipe. If you’ve ever wanted to bake cookies that look like they came from a high-end bakery but taste like homemade comfort, this is the one. I’ve tested this soft-batch bakery-style chocolate chunk cookies recipe at least eight times to get it right. It’s foolproof. It’s delicious. And it’s about to become your new favorite weekend project.
Why You’ll Love This Recipe
There’s a reason I make these soft-batch bakery-style chocolate chunk cookies every other week. They’re not just good; they’re reliable, impressive, and ridiculously satisfying. Here’s why they’ve earned a permanent spot in my baking rotation:
- Perfect Texture Every Time — Crispy edges, chewy center. I’ve tried dozens of cookie recipes, and this one consistently delivers that bakery-style contrast. No more flat, cakey disasters. The secret is in the flour ratio and chilling time.
- Rich, Deep Flavor — By browning the butter first, you get a nutty, toasty depth that regular melted butter just can’t match. It makes the cookies taste sophisticated, like they cost $4 each at a café.
- Chunky Chocolate Heaven — We’re using chopped chocolate bars, not chips. This means you get pockets of melty, intense chocolate in every bite. It’s luxurious. I use a mix of semi-sweet and dark chocolate for balance.
- Make-Ahead Friendly — The dough keeps for up to a week in the fridge. I often make a batch on Sunday and bake them throughout the week. Fresh cookies all week? Yes, please.
- Impress Without Stress — These look fancy. They photograph beautifully. They’re perfect for gift-giving, holiday parties, or just treating yourself. My brown butter chocolate chip cookies are great, but these bakery-style ones are on another level.
- Simple Ingredients — You likely have most of this in your pantry. Butter, sugar, eggs, flour, chocolate. No weird additives or hard-to-find items.
This recipe has saved me from takeout dessert more times than I can count. It’s the ultimate comfort bake. Whether you’re hosting a dinner party or just want a warm cookie with your morning coffee, these deliver. They’re thick, they’re chewy, and they’re genuinely the best chocolate chunk cookies I’ve ever made.
Ingredients You’ll Need
Here’s the thing about baking: precision matters, but quality matters more. For these soft-batch bakery-style chocolate chunk cookies, I’m particular about a few key items. Here’s what you need and why it works:
For the Dough
Unsalted butter (1 cup / 226g) — We’re browning this. Use high-quality European-style butter if you can find it (like Kerrygold or Plugrá). It has a higher fat content, which means richer flavor and better texture. Don’t substitute margarine or oil here.
Dark brown sugar (1 ½ cups / 300g) — This is crucial. Brown sugar contains molasses, which keeps the cookies chewy and adds a deep, toasty flavor. Light brown sugar works in a pinch, but dark is better. If you’re curious about other brown sugar treats, my buttery raspberry white chocolate scones also rely on brown sugar for that tender crumb.
Granulated sugar (½ cup / 100g) — This helps with the crispy edges. The combination of brown and white sugar gives you the perfect chew-crisp balance.
Eggs (2 large, plus 1 yolk) — I add an extra yolk for richness. It makes the center gooier and more tender. Room temperature eggs mix in easier, but cold eggs are fine if you’re in a rush.
Vanilla extract (2 teaspoons) — Use real vanilla, not imitation. The flavor of these cookies is simple, so the vanilla needs to shine. I use Nielsen-Massey because it’s pure and potent.
All-purpose flour (2 ¼ cups / 280g) — Spoon and level this. Don’t scoop directly from the bag, or you’ll pack in too much flour and get dry cookies. If you want extra tenderness, you can substitute 2 tablespoons of the flour with cake flour, but all-purpose works perfectly.
Baking soda (1 teaspoon) — This helps the cookies spread and brown. Make sure it’s fresh; old baking soda won’t give you the lift you need.
Salt (1 teaspoon) — Salt enhances chocolate flavor. Don’t skip it. I use fine sea salt.
For the Chocolate
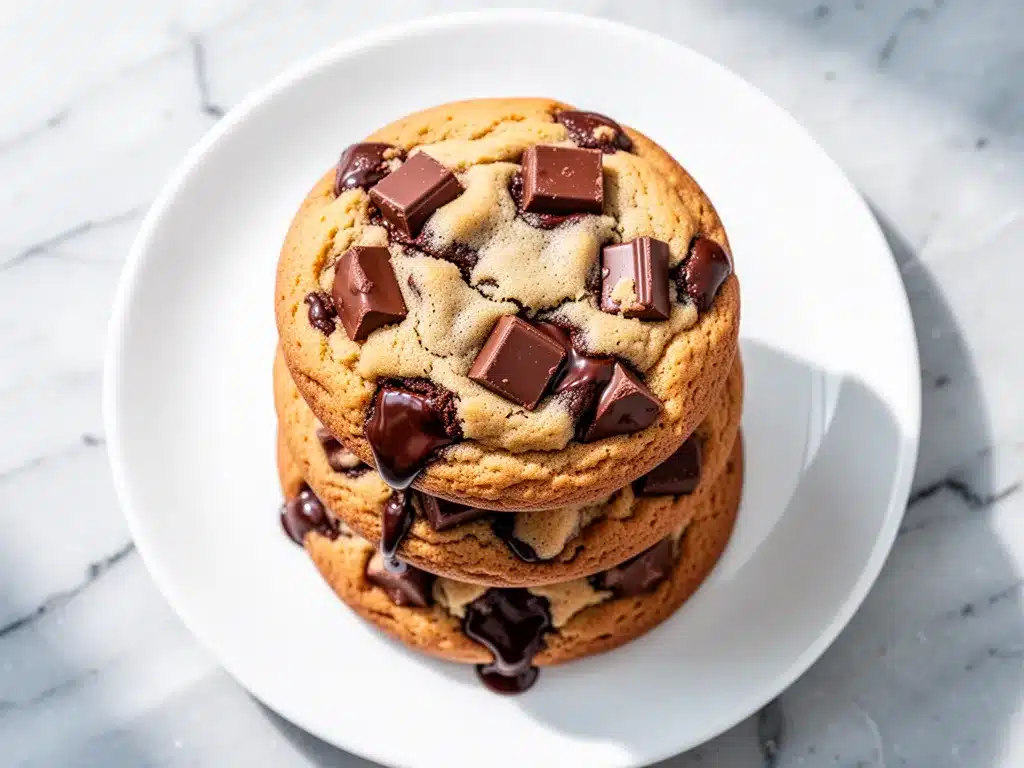
Semi-sweet chocolate bar (8 ounces / 225g) — Chop this yourself. I use Ghirardelli 60% Cacao. Chopped chunks create irregular pockets of chocolate that melt beautifully. Chocolate chips are designed to hold their shape, which isn’t what we want here.
Dark chocolate bar (4 ounces / 115g) — I use 70% cacao for a slightly bitter contrast to the sweet dough. If you prefer sweeter cookies, use all semi-sweet. But the bitterness balances the richness.
Flaky sea salt (for topping) — Maldon salt is my favorite. Sprinkle it on top right after baking. It crunches against the soft cookie and makes the chocolate taste even more intense.
Equipment Needed
You don’t need fancy gadgets for these soft-batch bakery-style chocolate chunk cookies. Here’s what I actually use:
Large skillet or saucepan — For browning the butter. I use a stainless steel skillet because I can see the color change clearly. A light-colored pan is best so you don’t miss the brown spots.
Large mixing bowl — A 5-quart bowl is ideal. You need room to mix everything by hand or with a stand mixer.
Whisk — For beating the sugars and eggs until pale and fluffy. This incorporates air, which helps with texture.
Silicone spatula — For folding in the flour and chocolate. Gentle folding prevents overmixing, which leads to tough cookies.
Baking sheets — I use half-sheet pans (18×13 inches). Dark pans bake faster, so I might reduce the oven temp by 25 degrees. Light aluminum pans are more forgiving.
Parchment paper — Line your sheets. It prevents sticking and makes cleanup easier. I never bake these directly on metal.
Cooling rack — Essential for stopping the cooking process. If you leave them on the hot pan, they’ll keep cooking and get dry.
Ice cream scoop or large spoon — For portioning the dough evenly. Uniform cookies bake evenly. I use a 3-tablespoon scoop for that bakery-sized look.
How to Make It: Step-by-Step
Alright, let’s make these soft-batch bakery-style chocolate chunk cookies! I’m walking you through exactly how I do it, including the little tricks I’ve picked up over years of baking.
Step 1: Brown the Butter (10 minutes)
Start by melting the butter in your skillet over medium heat. Stir constantly with a wooden spoon. The butter will foam up, then crackle, and finally settle. Watch closely! Once the foam clears and you see brown specks at the bottom, and it smells nutty (like toasted hazelnuts), remove it from the heat immediately. Pour it into a heatproof bowl and let it cool for 15 minutes. If you skip browning, you’re just making regular chocolate chip cookies. The nutty flavor is the secret weapon.
Step 2: Mix the Sugars and Eggs (3 minutes)
In your large bowl, whisk the cooled browned butter, brown sugar, and granulated sugar together until smooth. Add the eggs and vanilla. Whisk vigorously for about 2 minutes. You want the mixture to look slightly pale and glossy. This step emulsifies the fat and sugar, which creates that chewy texture. Don’t rush this.
Step 3: Add the Dry Ingredients (2 minutes)
Add the flour, baking soda, and salt. Mix on low speed or stir by hand until just combined. Do not overmix! Once you no longer see streaks of flour, stop. Overmixing develops gluten, which makes cookies tough instead of tender. The dough will look shaggy at first—that’s normal.
Step 4: Fold in the Chocolate (2 minutes)
Add the chopped chocolate chunks. Fold them in gently with your spatula. Save a few chunks to press onto the top of the cookies later for that bakery look. The dough will be thick and heavy. This is good. It means dense, fudgy cookies.
Step 5: Chill the Dough (30 minutes to 24 hours)
This is the non-negotiable step. Cover the bowl with plastic wrap and refrigerate for at least 30 minutes. Ideally, chill it for 24 hours. Chilling solidifies the fat, which prevents the cookies from spreading too thin. It also allows the flour to hydrate, deepening the flavor. If you bake immediately, you’ll get flat, greasy cookies. Patience pays off.
Step 6: Scoop and Bake (12-14 minutes)
Preheat your oven to 350°F (175°C). Line baking sheets with parchment. Scoop the dough into balls (about 3 tablespoons each) and place them 2 inches apart. Bake for 12-14 minutes. The edges should be golden brown and set, but the centers should still look slightly soft and underbaked. They will firm up as they cool. If you bake them until the center looks done, they’ll be dry.
Step 7: Cool and Salt (5 minutes)
Let the cookies cool on the baking sheet for 5 minutes. This allows them to set. Then transfer to a wire rack to cool completely. Right after pulling them out of the oven, sprinkle with flaky sea salt. The salt will melt slightly into the hot cookie, creating those beautiful, savory-sweet bursts.
Total Time: About 1 hour 15 minutes (including chill time, though you can chill longer).
Expert Tips & Tricks
Here’s everything I’ve learned from making these soft-batch bakery-style chocolate chunk cookies dozens of times. These tips will save you from my mistakes.
Don’t Skip the Chill — I know you’re excited to eat them. But chilling the dough is the #1 reason these cookies stay thick and chewy. If you’re short on time, freeze the dough balls for 15 minutes instead. But 24 hours is best for flavor.
Brown the Butter Properly — Watch it like a hawk. It goes from perfect to burnt in seconds. Once you see the brown bits and smell the nuts, pull it off the heat. The residual heat will continue cooking it slightly.
Underbake Intentionally — This is counterintuitive, but crucial. Pull the cookies out when the centers still look soft. They will finish cooking on the hot pan. If you wait until the center looks done, they’ll be cakey or dry.
Use Chopped Chocolate, Not Chips — Chocolate chips have stabilizers that keep them round. Chopped bars melt into irregular pools of chocolate, giving you that rustic, bakery-style look and richer flavor.
Measure Flour Correctly — Spoon the flour into the measuring cup and level it off. Scooping packs the flour in, leading to dry, crumbly cookies. I weigh my flour whenever possible (280g for 2 ¼ cups) for accuracy.
Room Temperature Eggs — Cold eggs can cause the butter to seize up when mixed. Take your eggs out of the fridge 30 minutes before you start. If you forget, drop them in a bowl of warm water for 5 minutes.
Flaky Salt is Non-Negotiable — The crunch of Maldon salt against the soft cookie is what makes these feel fancy. Don’t skip it. It balances the sweetness and elevates the chocolate.
Variations & Substitutions
Once you’ve mastered the basic soft-batch bakery-style chocolate chunk cookies, here’s how you can mix it up. I’ve tried all of these variations:
White Chocolate Macadamia — Swap the chocolate chunks for chopped white chocolate and toasted macadamia nuts. It’s tropical and rich. I’ve made these for summer parties, and they disappear fast.
Peanut Butter Swirl — Drop a teaspoon of peanut butter on top of each dough ball before baking. Swirl it in slightly with a knife. The saltiness of the peanut butter pairs perfectly with the chocolate.
Espresso Cookies — Add 1 teaspoon of instant espresso powder to the dry ingredients. It doesn’t make the cookies taste like coffee; it just intensifies the chocolate flavor. It’s a baker’s secret.
Gluten-Free Option — Use a 1:1 gluten-free flour blend (like Bob’s Red Mill). The texture will be slightly more tender, but still delicious. I’ve made these for my gluten-free sister, and she loved them.
Vegan Version — Replace butter with vegan butter (like Miyoko’s), use flax eggs (2 tablespoons ground flax + 5 tablespoons water), and use dairy-free chocolate chips. They’re still good, but not quite as rich as the original.
Double Chocolate — Add 2 tablespoons of cocoa powder to the dry ingredients. It makes the dough darker and more chocolate-forward. Pair it with dark chocolate chunks for a serious treat.
Chewy Oatmeal Twist — Replace ½ cup of flour with rolled oats. It adds chewiness and a heartier texture. Great for breakfast cookies.
Serving & Storage
These soft-batch bakery-style chocolate chunk cookies are best enjoyed fresh, but they’re also surprisingly good as leftovers if stored correctly.
How to Serve: I serve these warm, right out of the oven, with a glass of cold milk. They’re perfect for holiday gift boxes (tie them with twine and add a tag). They also travel well for potlucks. Just bring them in a cookie jar.
Storage: Store cooled cookies in an airtight container at room temperature for up to 5 days. Place a slice of bread in the container with them. The cookies will absorb moisture from the bread and stay soft. I do this every time.
Freezing Dough: You can freeze the dough balls for up to 3 months. Scoop them onto a baking sheet, freeze until solid, then transfer to a freezer bag. Bake directly from frozen, adding 1-2 minutes to the bake time. This is my favorite make-ahead strategy.
Reheating: If your leftovers have firmed up, microwave a cookie for 10-15 seconds. It will be gooey and fresh-tasting again. Avoid the oven for reheating single cookies; the microwave is faster and keeps the center soft.
Pro Tip: If you’re baking a batch and want the centers to stay extra soft, slightly underbake them by 1 minute. They’ll continue to cook as they cool, but the center will remain fudgy.
Nutrition Information
I’m not a nutritionist, but here’s the breakdown if you’re tracking. Keep in mind that these are rich, indulgent cookies, so portion control is key.
Per Cookie (makes 24 cookies):
- Calories: 280
- Protein: 4g
- Carbs: 38g
- Fiber: 2g
- Sugar: 24g
- Fat: 14g
- Saturated Fat: 8g
- Cholesterol: 45mg
- Sodium: 180mg
What’s Good: Real butter and eggs provide some protein and healthy fats. The chocolate offers antioxidants. Using chopped bars instead of chips means less sugar per calorie.
What to Know: High in sugar and saturated fat. These are a treat, not a health food. If you’re watching your intake, enjoy one or two and pair with a black coffee or tea.
My Take: Look, these are bakery-style cookies. They’re supposed to be indulgent. The brown butter and real chocolate make them worth the calories. I don’t feel guilty eating one (or two) with my afternoon coffee. Just be mindful of portions.
Final Thoughts
So that’s my soft-batch bakery-style chocolate chunk cookies recipe! I’ve probably talked your ear off at this point, but when you make a recipe this often, you have a lot to say about it. These cookies have saved my weekends. They’re my answer to “what should I bake?” when I want something impressive but simple. My kids love them, my friends beg for the recipe, and I love that I can make them from scratch with ingredients I trust.
Make it yours! Try different chocolates, add nuts, or experiment with the salt. The best recipes are the ones you adapt to your taste. And remember, if you burn the butter, start over. It happens to the best of us.
If you make this, drop a comment and let me know how they turned out! I love hearing how recipes work in your kitchen. And if something doesn’t work, tell me that too—I’m here to help troubleshoot. Happy baking!
Frequently Asked Questions
Why did my cookies spread too much?
This usually means the dough wasn’t chilled long enough, or the butter was too warm when you mixed it. Make sure you chill the dough for at least 30 minutes. Also, ensure you’re measuring your flour correctly. Too little flour leads to spreading.
Can I use chocolate chips instead of chopped chocolate?
You can, but the texture and flavor won’t be the same. Chips hold their shape and don’t melt into pools. Chopped bars create those irregular, gooey chocolate pockets that define bakery-style cookies. I recommend chopping a bar—it takes 5 minutes and makes a huge difference.
How long can I keep the dough in the fridge?
The dough keeps well in the fridge for up to 3 days. After that, it might start to dry out or ferment slightly. For longer storage, freeze the dough balls. They’ll last up to 3 months in the freezer.
Can I double the recipe?
Yes! Double all ingredients. Just make sure you have a large enough bowl to mix everything. You’ll need to bake in multiple batches to avoid overcrowding the pan, which causes uneven baking.
Why do I need to brown the butter?
Browning the butter adds a nutty, toasty flavor that melted butter doesn’t have. It also removes water from the butter, which concentrates the fat and leads to a chewier cookie. It’s the secret to that bakery-style depth.
Can I make these gluten-free?
Yes, use a 1:1 gluten-free flour blend. The texture will be slightly more tender, but still delicious. Make sure your baking soda and chocolate are certified gluten-free if you have celiac disease.
What’s the best chocolate to use?
I recommend a mix of semi-sweet and dark chocolate bars. Ghirardelli 60% and 70% are my go-tos. Avoid chocolate chips. Look for bars that melt well and have a high cocoa butter content.
Pin This Recipe!
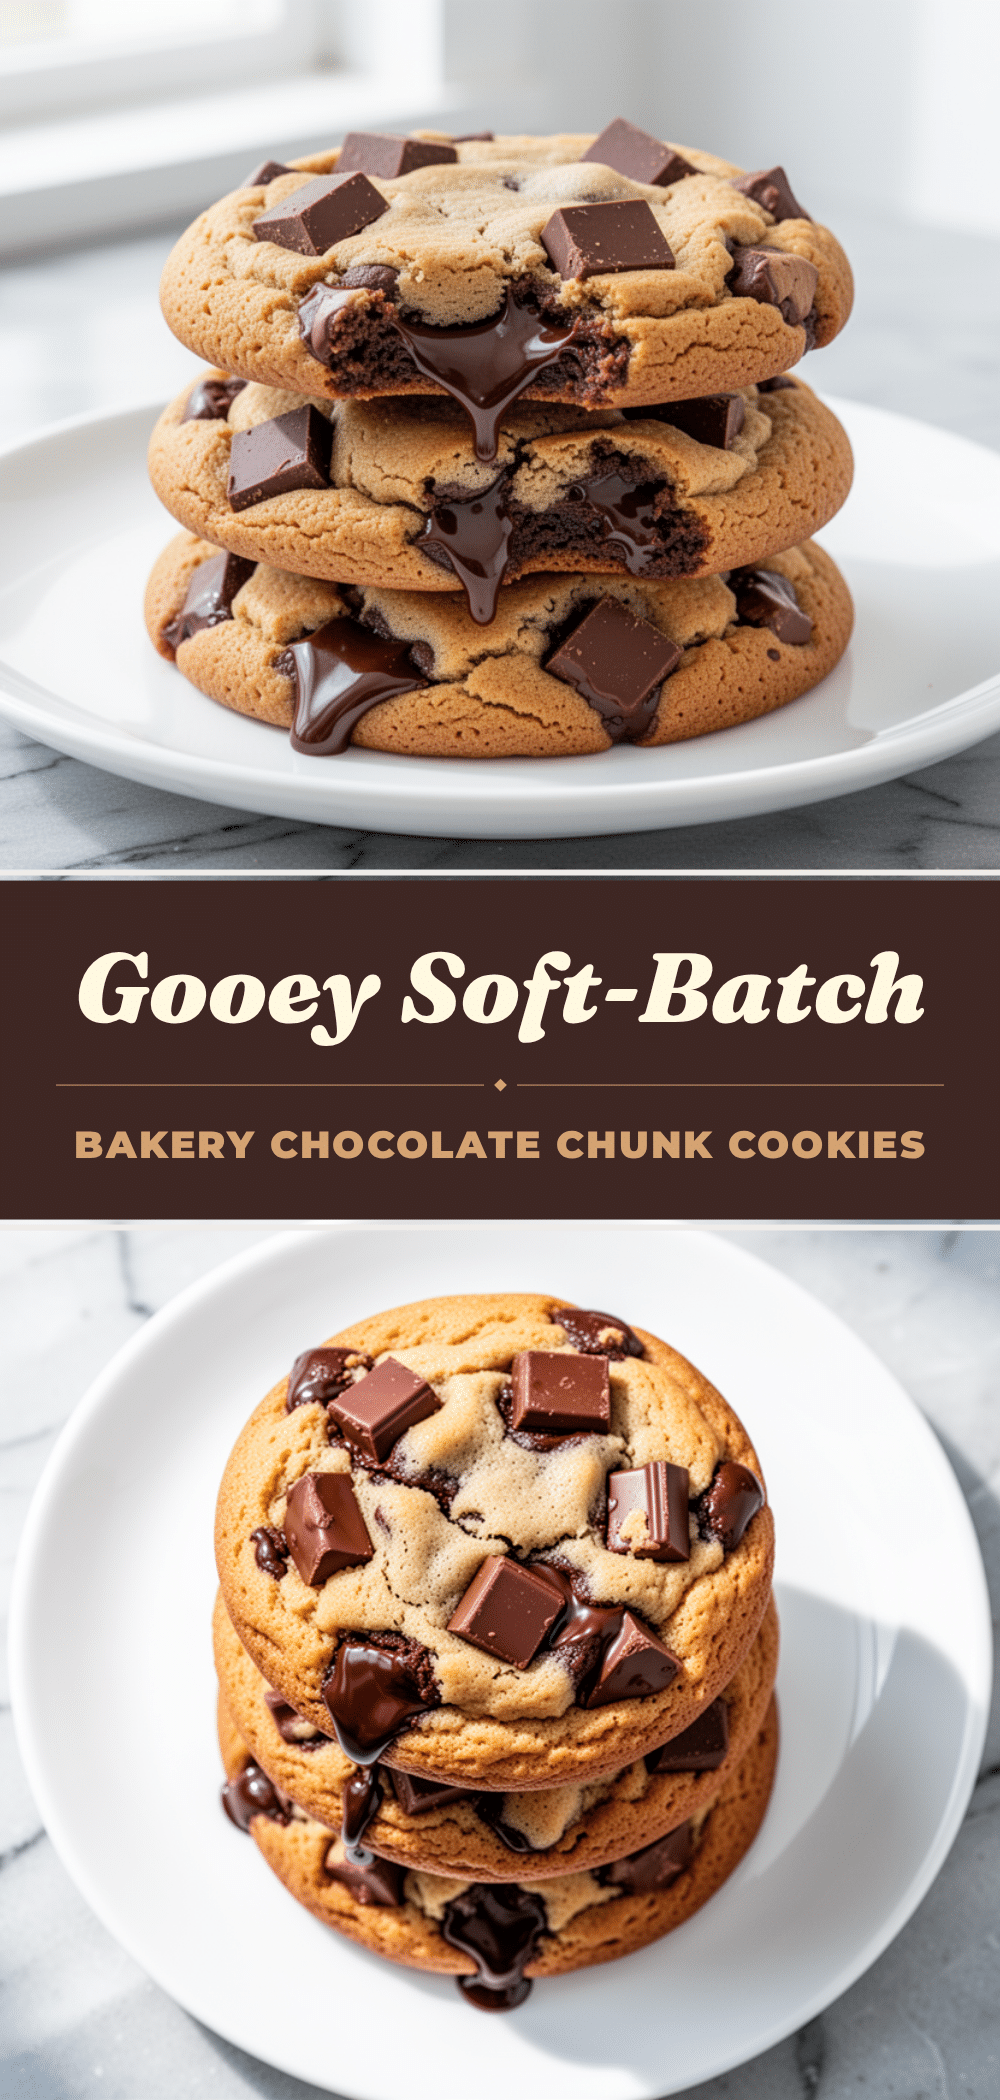
Soft-Batch Bakery-Style Chocolate Chunk Cookies
- Total Time: 1 hour 15 minutes
- Yield: 24 cookies 1x
Description
Thick, chewy cookies with crispy edges and a gooey center, made with browned butter and chopped chocolate for a rich, bakery-style treat.
Ingredients
- 1 cup (226g) unsalted butter
- 1 ½ cups (300g) dark brown sugar
- ½ cup (100g) granulated sugar
- 2 large eggs, room temperature
- 1 egg yolk, room temperature
- 2 teaspoons vanilla extract
- 2 ¼ cups (280g) all-purpose flour
- 1 teaspoon baking soda
- 1 teaspoon fine sea salt
- 8 ounces (225g) semi-sweet chocolate bar, chopped
- 4 ounces (115g) dark chocolate bar (70% cacao), chopped
- Flaky sea salt (e.g., Maldon), for topping
Instructions
- Brown the butter: Melt butter in a large skillet over medium heat, stirring constantly until it foams, crackles, and settles with brown specks and a nutty aroma. Pour into a heatproof bowl and cool for 15 minutes.
- Mix wet ingredients: In a large mixing bowl, whisk the cooled browned butter, brown sugar, and granulated sugar until smooth. Add eggs, egg yolk, and vanilla. Whisk vigorously for 2 minutes until the mixture is pale and glossy.
- Add dry ingredients: Add flour, baking soda, and salt to the wet mixture. Mix on low speed or stir by hand until just combined. Do not overmix.
- Fold in chocolate: Gently fold in the chopped semi-sweet and dark chocolate chunks using a silicone spatula. Reserve a few chunks for topping.
- Chill dough: Cover the bowl with plastic wrap and refrigerate for at least 30 minutes (ideally 24 hours) to solidify the fat and prevent spreading.
- Preheat and prep: Preheat oven to 350°F (175°C). Line baking sheets with parchment paper.
- Scoop and bake: Scoop dough into 3-tablespoon balls and place 2 inches apart on prepared sheets. Bake for 12-14 minutes until edges are golden brown but centers still look soft.
- Cool and salt: Let cookies cool on the baking sheet for 5 minutes, then transfer to a wire rack. Sprinkle with flaky sea salt immediately after removing from the oven.
- Serve: Enjoy warm with milk or store in an airtight container.
Notes
Chilling the dough is essential for thick, chewy cookies. Brown the butter carefully to avoid burning. Underbake slightly for a gooey center. Store with a slice of bread to maintain softness. Dough can be frozen for up to 3 months.
- Prep Time: 30 minutes
- Cook Time: 12-14 minutes
- Category: Dessert
- Cuisine: American
Nutrition
- Serving Size: 1 cookie
- Calories: 280
- Sugar: 24
- Sodium: 180
- Fat: 14
- Saturated Fat: 8
- Carbohydrates: 38
- Fiber: 2
- Protein: 4
Keywords: bakery-style cookies, chocolate chunk cookies, brown butter cookies, soft batch cookies, homemade cookies, easy baking


