There’s a specific kind of heat that hits in mid-July. It’s the kind where the pavement gets soft under your sneakers and the air feels thick enough to chew. I remember last year, I was desperate for something sweet that wouldn’t turn my kitchen into a sauna. I’d tried baking cookies, but the oven had turned my living room into a desert. I needed something cold. Something bright. Something that tasted like a vacation I couldn’t afford but desperately wanted.
That’s when I stumbled onto the concept of an icebox pie. It’s one of those old-school, no-bake desserts that feels like a secret shared between grandmothers. You don’t need fancy equipment. You don’t need to wait for a cake to cool. You just layer, chill, and wait. And honestly? The result is often better than anything you’d pull from a bakery.
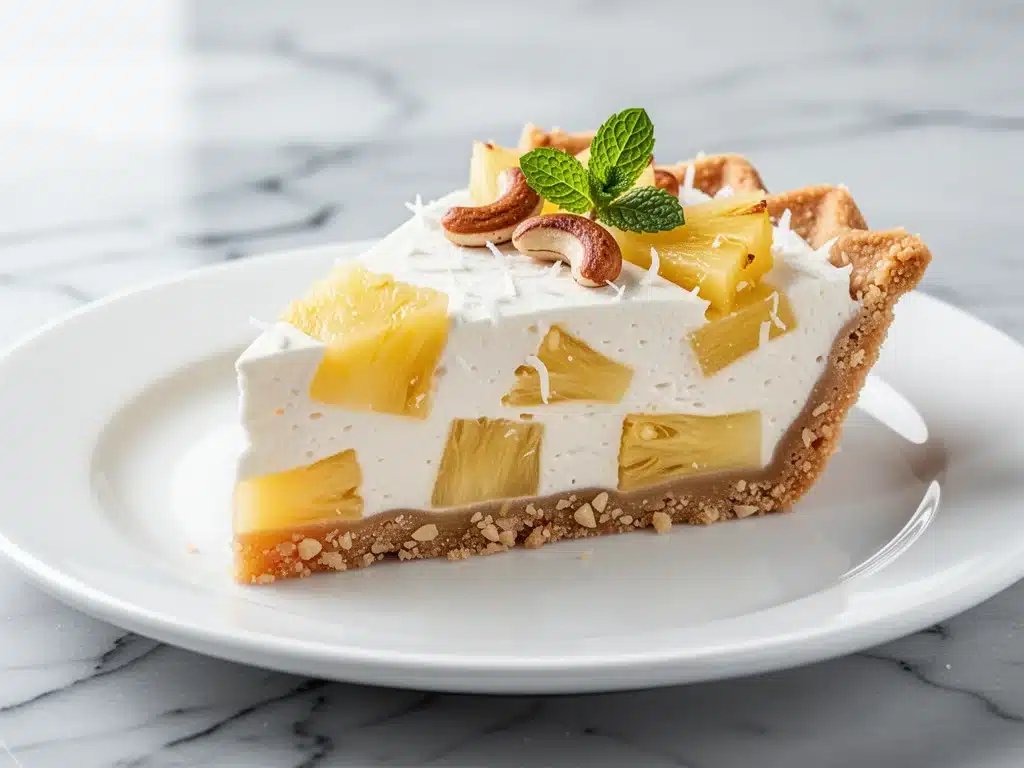
This Ultra-Creamy Pineapple Coconut Icebox Pie with Toasted Macadamia Crust has become my absolute go-to for July dinners. It’s the dessert that shows up when I’m hosting friends who are tired of heavy meals, or when I need to satisfy a sugar craving without the guilt of a warm, gooey chocolate treat. It’s light, it’s tropical, and that toasted macadamia crust? It’s the game-changer that separates this from any other pineapple pie you’ve ever made.
I’ve tested this recipe about six times in the last two months. I’ve tweaked the sweetness, played with the ratio of cream cheese to whipped cream, and even experimented with different nuts for the crust. This version is the winner. It’s stable enough to slice cleanly, creamy enough to melt in your mouth, and bright enough to cut through the humidity. If you’re looking for a dessert that feels fancy but takes almost zero effort, this is it. It’s better than my apple challah bread pudding for summer because it doesn’t require hours of prep or a hot kitchen.
Why You’ll Love This Recipe
I’m not going to sit here and tell you this is the only icebox pie recipe you’ll ever need. But it’s the one I keep coming back to. Here’s why this Ultra-Creamy Pineapple Coconut Icebox Pie with Toasted Macadamia Crust deserves a permanent spot in your summer dessert rotation.
- Zero Oven Heat — Seriously. This is the biggest selling point for me. When it’s 95 degrees outside, I am not turning on my oven. This pie relies on chilling, not baking. It’s perfect for hot days when you want to bake something but don’t want to sweat through your shirt.
- Crust That Actually Crunches — Most no-bake crusts get soggy within an hour. Not this one. By toasting the macadamia nuts and mixing them with a little butter, you create a barrier that keeps the crust crisp even after sitting in the fridge overnight. It’s a texture game-changer.
- Make-Ahead Magic — This pie needs to chill for at least 6 hours, preferably overnight. That means you can make it on Tuesday, forget about it, and serve it on Thursday. It actually gets better as it sits. The flavors meld together, and the texture firms up perfectly.
- Lighter Than It Looks — Because it’s built on a base of whipped cream and cream cheese, it’s airy. It doesn’t sit heavy in your stomach like a dense fruit cobbler or a rich pomegranate honey cheesecake. It’s refreshing. You can eat two slices and still feel good.
- Pantry-Friendly Ingredients — You probably have most of this already. Canned pineapple, coconut milk, macadamia nuts (or a good substitute), cream cheese, and whipped cream. It’s simple. It’s accessible. It’s delicious.
This is my answer to “what’s for dessert?” when I want to impress but don’t want to stress. It looks like something from a high-end resort, but it’s made in my standard pie dish with ingredients from the local grocery store.
Ingredients You’ll Need
Here’s the thing about this Ultra-Creamy Pineapple Coconut Icebox Pie with Toasted Macadamia Crust: the quality of a few key ingredients really shines through. You don’t need expensive luxury items, but you do need to pay attention to the details. I’m particular about three things here, and I’ll tell you exactly why.
For the Toasted Macadamia Crust
Macadamia nuts (1 cup / 120g, roughly chopped) — This is the star of the crust. Macadamias are buttery and rich, which pairs perfectly with the tropical filling. If you can’t find macadamias, pecans are a close second, but you lose that distinct tropical vibe. Avoid walnuts; they’re too bitter.
Granulated sugar (2 tablespoons / 25g) — Just a little bit to help the crust caramelize slightly in the pan. Don’t skip it; it adds that subtle crunch.
Unsalted butter (3 tablespoons / 45g, melted) — This binds the nuts together. Use real butter, not margarine. The milk solids in butter help create that crisp texture. If you’re dairy-free, you can use coconut oil, but the flavor won’t be as rich.
Pinch of salt — Always add a pinch. It balances the sweetness of the sugar and the nuts.
For the Ultra-Creamy Filling
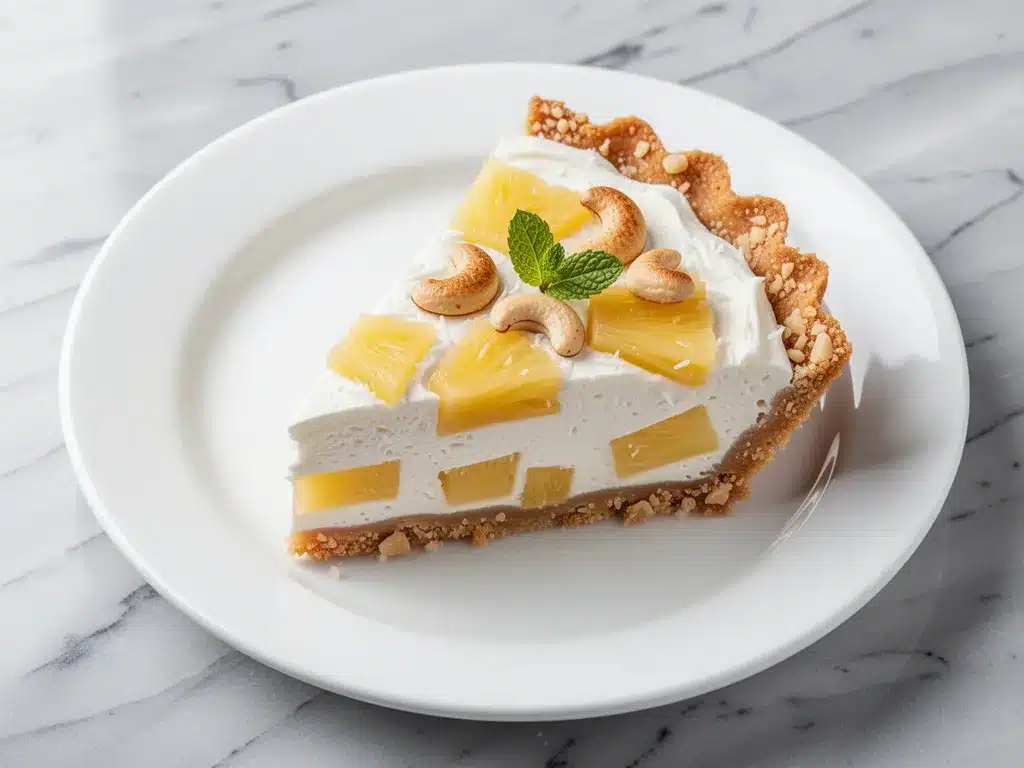
Full-fat canned coconut milk (2 cans / 400ml each) — This is crucial. Do not use “light” coconut milk or coconut beverage from a carton. You need the thick, heavy stuff from the can. Chill the cans overnight if possible, and scoop out the solid cream that rises to the top. That’s what gives the filling its body. The liquid water can be saved for smoothies.
Block cream cheese (8 ounces / 225g, softened) — Full-fat cream cheese is non-negotiable here. Low-fat versions will make the filling grainy and watery. Let it sit on the counter for 30 minutes before you start so it whips up smooth.
Confectioners’ sugar (powdered sugar) (½ cup / 60g) — We use powdered sugar instead of granulated because it dissolves instantly in the cream cheese mixture. No gritty bits allowed. Sift it if there are lumps.
Vanilla extract (1 teaspoon) — Good quality vanilla makes a huge difference. If you have vanilla bean paste, use that for beautiful speckles.
Whipped cream (2 cups / 480ml, cold) — You can buy this, but I make my own. Whip 2 cups of heavy cream with 2 tablespoons of powdered sugar until stiff peaks form. It’s lighter and fresher than the canned stuff.
Pineapple (2 cups / 250g, finely chopped or crushed) — I use canned pineapple tidbits or crushed pineapple, drained VERY well. If you use fresh pineapple, you MUST cook it down first to remove the enzymes (bromelain) that can curdle the dairy. Canned is safer and easier for this no-bake style. Drain it in a fine-mesh strainer for at least 30 minutes. Excess moisture is the enemy of a creamy pie.
Shredded coconut (½ cup / 40g, toasted) — For garnish and extra coconut flavor in the filling. Toasting it brings out the nutty flavor. You can buy it pre-toasted or toast it in a dry pan for 2-3 minutes.
Equipment Needed
You don’t need a fancy kitchen to make this. Here’s what I actually use. If you don’t have these exact items, don’t worry—substitutions are easy.
9-inch Pie Dish — Glass or ceramic works best. I use a Pyrex pie dish because I like to see how the crust is browning. Metal pans conduct heat faster but aren’t necessary since we’re not baking the crust in the oven (we toast it in a skillet).
Large Mixing Bowls — You’ll need two large bowls. One for the cream cheese mixture and one for the whipped cream. Make sure they’re cold! If your bowls are warm, your whipped cream won’t whip up properly.
Electric Hand Mixer or Stand Mixer — While you *can* do this by hand, I don’t recommend it. Creaming the cream cheese and folding in the whipped cream takes some elbow grease. A mixer ensures everything is smooth and airy. I use my hand mixer because it’s faster to clean than a stand mixer bowl.
Skillet — A 10-inch skillet is perfect for toasting the macadamia nuts and making the crust. Cast iron is great for even heating, but stainless steel works too.
Spatula — A silicone spatula is essential for folding the whipped cream into the cream cheese without deflating it. Be gentle. We want air in there.
Fine-Mesh Strainer — For draining the pineapple. This is the most important tool for texture. If your pineapple is wet, your pie will be soupy.
How to Make It: Step-by-Step
Alright, let’s make this Ultra-Creamy Pineapple Coconut Icebox Pie with Toasted Macadamia Crust! I’m walking you through exactly how I do it, including the little tricks I’ve picked up over the years. It’s easier than it looks, and the smell alone is worth it.
Step 1: Prep the Pineapple (The Most Important Step)
Before you start mixing anything, get the pineapple draining. Open your cans of pineapple, dump them into a fine-mesh strainer, and press down with a spoon to get as much liquid out as possible. Let it sit for at least 30 minutes, preferably longer. If you’re in a rush, you can pat it dry with paper towels, but time is your best friend here. Wet pineapple = watery pie. We don’t want that.
Step 2: Toast the Macadamia Crust
Heat your skillet over medium heat. Add the macadamia nuts and toast them for 3-4 minutes, stirring constantly. You want them to get golden and fragrant. Be careful not to burn them; macadamias have a high oil content and can go from toasted to bitter in seconds. Remove them from the pan and let them cool slightly.
In a medium bowl, combine the toasted nuts, sugar, salt, and melted butter. Mix well until it looks like wet sand. Press this mixture firmly into the bottom of your 9-inch pie dish. Use the bottom of a measuring cup to pack it down tightly. You want it flat and even. Set this aside while you make the filling.
Step 3: Whip the Cream
In a large, cold bowl, pour your cold heavy cream (and the reserved coconut cream if you separated it). Add the 2 tablespoons of powdered sugar. Whip on medium-high speed until stiff peaks form. This means when you lift the beaters, the cream stands up straight. Don’t over-whip it into butter, but don’t under-whip it either. It needs to be stable.
Transfer the whipped cream to a separate bowl and set aside. (Yes, two bowls. I know it seems like extra work, but it keeps the temperatures separate and ensures success.)
Step 4: Make the Cream Cheese Base
In the same bowl you used for the cream (rinse and chill it if you have time), add the softened cream cheese and the ½ cup of powdered sugar. Whip on medium speed until smooth and creamy. Scrape down the sides of the bowl. Add the vanilla extract and whip for another 30 seconds. The mixture should be silky. If you see lumps, keep whipping. It takes about 2 minutes.
Step 5: Fold It All Together
This is where the magic happens. Add about one-third of the whipped cream to the cream cheese mixture and whisk it in to lighten the base. Then, gently fold in the remaining whipped cream using your spatula. Use a cutting motion, lifting from the bottom and folding over the top. You want to keep as much air as possible. It should look fluffy and uniform.
Now, gently fold in the drained pineapple and half of the toasted shredded coconut. Be gentle here. You don’t want to crush the pineapple chunks. Just mix until combined.
Step 6: Assemble and Chill
Pour the filling into the prepared crust. Smooth the top with your spatula. Sprinkle the remaining toasted coconut on top for garnish. Cover the pie loosely with plastic wrap or foil. Place it in the refrigerator for at least 6 hours, but ideally overnight (8-12 hours). This chilling time allows the filling to set and the flavors to meld.
Step 7: Serve
When you’re ready to serve, remove the pie from the fridge. Slice it with a sharp knife dipped in hot water for clean cuts. Top each slice with a dollop of fresh whipped cream, a few pineapple tidbits, and a macadamia nut half if you’re feeling fancy. Enjoy immediately.
Expert Tips & Tricks
Here’s everything I’ve learned from making this dozens of times. These tips will save you from my mistakes and ensure your pie is perfect every time.
Drain the Pineapple Like Your Life Depends On It
I cannot stress this enough. I once made this pie with pineapple that wasn’t drained enough, and it turned into a soup. Use a strainer, press it, and wait. If you’re using fresh pineapple, you MUST cook it in a pan first to deactivate the bromelain enzyme, or it will turn your cream cheese filling watery and weird. Canned is easier and safer for no-bake pies.
Keep Everything Cold
Temperature control is key for whipped cream. Chill your bowl and beaters in the freezer for 15 minutes before whipping. If the cream is warm, it won’t whip. If the cream cheese is warm, it will separate. Cold ingredients = stable filling.
Toast Your Coconut
Don’t skip this. Raw shredded coconut is fine, but toasted coconut adds a depth of flavor that makes the pie taste gourmet. Toast it in a dry skillet over medium heat for 2-3 minutes, watching it like a hawk. It goes from perfect to burnt in seconds.
Use Full-Fat Dairy
I know “ultra-creamy” sounds like it might be heavy, but using low-fat cream cheese or light coconut milk will result in a grainy, watery texture. Full-fat ingredients emulsify better and create that luxurious mouthfeel. Trust me on this.
Chill Overnight
While you *can* eat it after 6 hours, the flavor is better after 12. The coconut and pineapple have time to infuse into the cream cheese. I usually make it the night before a party so I don’t have to think about it on the day of.
Variations & Substitutions
Once you’ve nailed the basic version, here’s how you can mix it up. I’ve tried all of these, and they’re all good in their own way.
Macadamia-Free Version
If macadamias are too expensive or hard to find, use pecans or almonds. Pecans will give a similar nutty richness, while almonds will give a lighter crunch. You can also use graham cracker crumbs mixed with a little crushed nuts for a hybrid crust.
Coconut-Free Filling
If you’re not a fan of coconut flavor in the filling, you can use regular heavy cream instead of coconut cream. Add a teaspoon of coconut extract to mimic the flavor. The crust will still have the toasted coconut, so you get the aroma without the strong taste.
Chocolate Chip Twist
Fold in ½ cup of semi-sweet chocolate chips along with the pineapple. It’s a bit heavier, but it’s delicious. It reminds me of a brown butter chocolate chip cookie in pie form.
Strawberry Coconut
Swap the pineapple for diced fresh strawberries. They release less water, so you don’t need to drain them as long. Just make sure to chop them small. This version is a bit sweeter and very spring-like.
Dairy-Free Option
Use coconut cream instead of heavy cream and dairy-free cream cheese. It works surprisingly well! The texture is slightly denser, but the flavor is still amazing. Just make sure your dairy-free cream cheese is full-fat and softens well.
Serving & Storage
This pie is best served cold. I usually serve it straight from the pie dish at the dinner table—it looks rustic and stays cold. But here are other ways I’ve enjoyed it:
Side Dishes & Pairings
Because this pie is sweet and tropical, it pairs well with savory, light meals. I often serve it after a simple lemon herb grilled chicken skewer dinner. The contrast is perfect. It also goes great with grilled shrimp or a light salad.
Drink Pairings
A cold glass of white wine, like a Sauvignon Blanc or a Pinot Grigio, cuts through the sweetness nicely. I also love serving it with a rum punch or a simple coconut water. It’s very beachy.
Storage Instructions
Refrigerator: Store covered in the fridge for up to 5 days. It actually gets firmer and more flavorful as it sits. After day 3, the crust might start to soften slightly, but it’s still delicious.
Freezing: I don’t recommend freezing this pie. The whipped cream and cream cheese can separate and become grainy when thawed. The texture just isn’t the same. It’s best enjoyed fresh from the fridge.
Leftovers: If you have leftovers, they’re best eaten within 2 days. The pineapple will continue to release some moisture, so the pie might get a bit softer. I usually finish it within the first 48 hours.
Nutrition Information
I’m not a nutritionist, but here’s the breakdown if you’re tracking. Keep in mind that this is a rich dessert, so portions should be moderate.
| Per Serving (1 of 8 slices) |
|---|
| Calories: 380 |
| Protein: 5g |
| Carbs: 35g |
| Fat: 26g |
| Sugar: 28g |
| Fiber: 2g |
What’s Good: It’s gluten-free (if you use a GF crust option) and dairy-free (if you use dairy-free substitutes). It’s a good source of healthy fats from the macadamias and coconut.
What to Know: It’s high in sugar and saturated fat. It’s a treat, not a health food. Enjoy it as a special dessert, not a daily snack.
Final Thoughts
So that’s my Ultra-Creamy Pineapple Coconut Icebox Pie with Toasted Macadamia Crust! I’ve probably talked your ear off at this point, but when you make a recipe this often, you have a lot to say about it.
This pie has saved summer dinners more times than I can count. It’s my answer to “what’s for dessert?” when I’m tired, don’t want to bake, and still want something that tastes really good. It’s light, it’s refreshing, and it’s incredibly easy to make. My friends are always impressed, and my family asks for it again and again.
Make it yours! Try different nuts, swap the fruit, or add a different extract. The best recipes are the ones you adapt to your tastes. If you make this, drop a comment and let me know what you think! I love hearing how recipes turn out in your kitchen. And if something doesn’t work, tell me that too—I’m here to help troubleshoot.
Happy cooking! And I hope your kitchen smells half as good as mine does right now.
Frequently Asked Questions
Can I use fresh pineapple instead of canned?
You can, but you have to be careful. Fresh pineapple contains bromelain, an enzyme that breaks down proteins and can curdle the cream cheese, making the filling watery. To use fresh pineapple, you must dice it and cook it in a pan for 5-10 minutes to deactivate the enzyme. Then, let it cool completely and drain it very well. Canned pineapple is already cooked and is much easier for this recipe.
Why did my pie not set?
This usually happens for two reasons: not enough chilling time or too much moisture in the pineapple. Make sure you chill the pie for at least 6 hours, preferably overnight. Also, ensure your pineapple was drained thoroughly. If the filling is too wet, it won’t set properly. Next time, try pressing the pineapple in a strainer for a full hour before adding it.
Can I make this pie ahead of time?
Yes! This is actually best when made ahead. You can make it up to 2 days in advance. In fact, the flavors improve after sitting overnight. Just keep it covered in the fridge until you’re ready to serve.
Can I use whipped topping (like Cool Whip) instead of whipped cream?
You can, but the texture and taste won’t be as good. Homemade whipped cream is lighter and fresher. If you must use whipped topping, make sure it’s thawed completely and folded in gently. It will work, but it will be denser and sweeter.
How do I store leftovers?
Store leftovers in an airtight container or covered tightly with plastic wrap in the refrigerator. They will keep for up to 5 days. The crust may soften slightly over time, but the filling will stay creamy.
Can I freeze this pie?
I don’t recommend freezing this pie. The whipped cream and cream cheese filling can separate and become grainy when thawed. It’s best enjoyed fresh from the fridge.
Pin This Recipe!
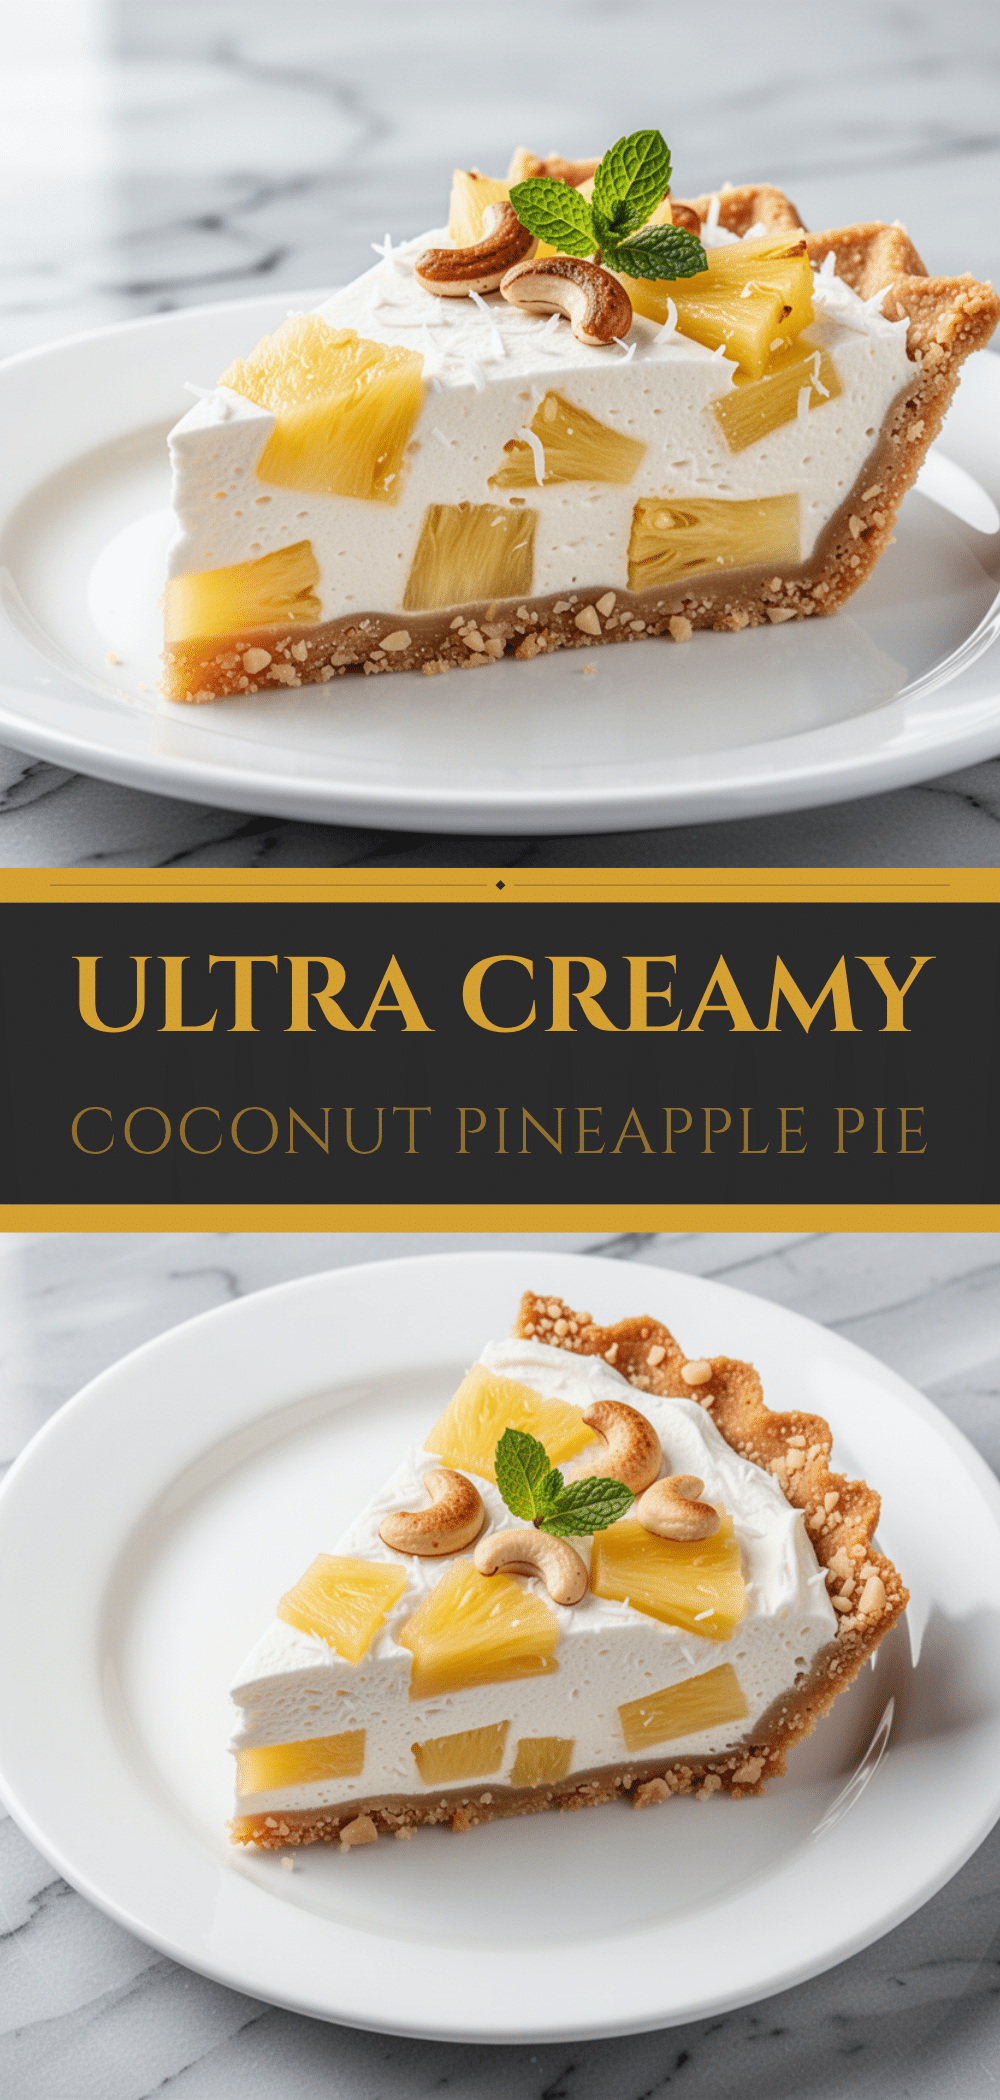

Ultra-Creamy Pineapple Coconut Icebox Pie with Toasted Macadamia Crust
- Total Time: 6 hours 40 minutes
- Yield: 8 servings 1x
Description
A no-bake, ultra-creamy tropical dessert featuring a toasted macadamia nut crust and a light filling of cream cheese, whipped cream, and drained pineapple. Perfect for hot summer days as it requires no oven heat.
Ingredients
- 1 cup (120g) macadamia nuts, roughly chopped
- 2 tablespoons (25g) granulated sugar
- 3 tablespoons (45g) unsalted butter, melted
- Pinch of salt
- 2 cans (400ml each) full-fat canned coconut milk, chilled overnight
- 8 ounces (225g) block cream cheese, softened
- 1/2 cup (60g) confectioners’ sugar (powdered sugar)
- 1 teaspoon vanilla extract
- 2 cups (480ml) heavy cream, cold
- 2 tablespoons (25g) powdered sugar (for whipping cream)
- 2 cups (250g) canned pineapple tidbits or crushed pineapple, drained VERY well
- 1/2 cup (40g) shredded coconut, toasted
Instructions
- Drain the canned pineapple in a fine-mesh strainer for at least 30 minutes to remove excess moisture.
- Heat a skillet over medium heat and toast the macadamia nuts for 3-4 minutes until golden and fragrant. Let cool slightly.
- In a medium bowl, combine toasted nuts, sugar, salt, and melted butter. Press firmly into the bottom of a 9-inch pie dish to form the crust. Set aside.
- In a large, cold bowl, whip the cold heavy cream (and reserved coconut cream if separated) with 2 tablespoons of powdered sugar until stiff peaks form. Transfer to a separate bowl.
- In the same bowl (rinsed and chilled if possible), whip the softened cream cheese and 1/2 cup powdered sugar until smooth. Add vanilla and whip for 30 seconds.
- Lighten the cream cheese mixture by whisking in one-third of the whipped cream. Gently fold in the remaining whipped cream using a spatula.
- Gently fold in the drained pineapple and half of the toasted shredded coconut.
- Pour filling into the prepared crust, smooth the top, and sprinkle with remaining toasted coconut.
- Cover and refrigerate for at least 6 hours, preferably overnight, until set.
- Slice with a sharp knife dipped in hot water and serve cold.
Notes
Ensure pineapple is drained thoroughly to prevent a watery pie. Keep all ingredients cold for best whipping results. Toasting the coconut and macadamia nuts enhances flavor and texture. This pie is best made ahead of time to allow flavors to meld.
- Prep Time: 30 minutes
- Cook Time: 10 minutes
- Category: Dessert
- Cuisine: American
Nutrition
- Serving Size: 1 slice
- Calories: 380
- Sugar: 28
- Sodium: 150
- Fat: 26
- Saturated Fat: 18
- Carbohydrates: 35
- Fiber: 2
- Protein: 5
Keywords: pineapple pie, coconut icebox pie, no-bake dessert, macadamia crust, summer dessert, tropical pie, creamy pie


